The chickens and turkeys turned two months old over the weekend. They are doing really well. Today, I’m going back to review our brooder set up and how we got from day-old birds to here.
We decided to brood in the house, and I would definitely do that again. Having the birds close made it easy to check on them frequently and manage their food, water and temperature.
The brooders
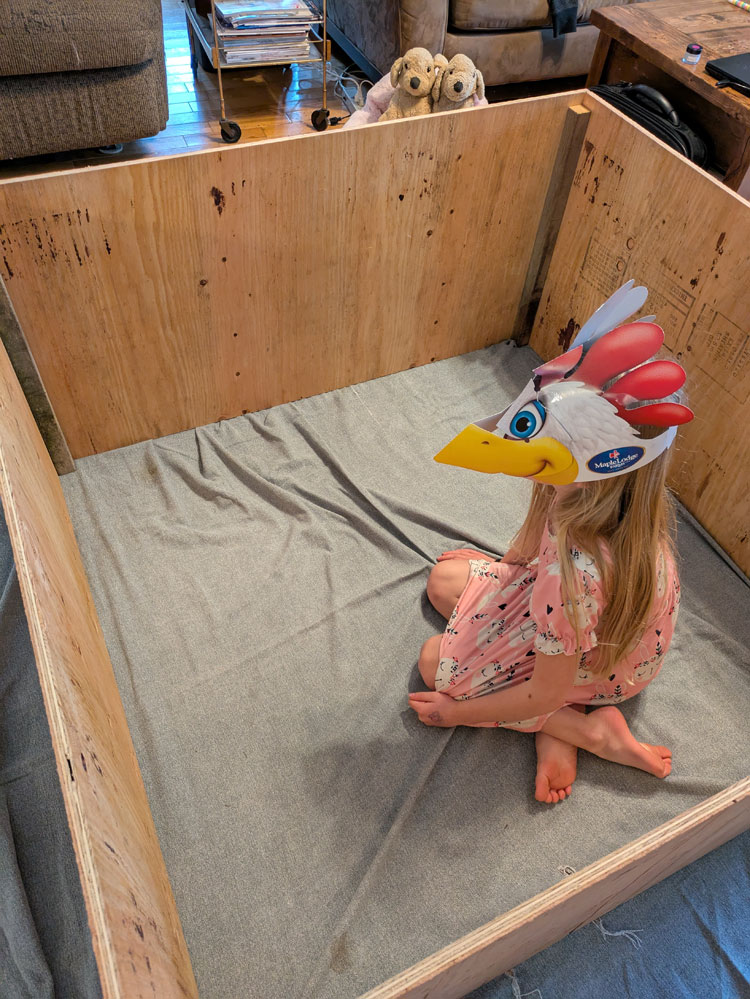
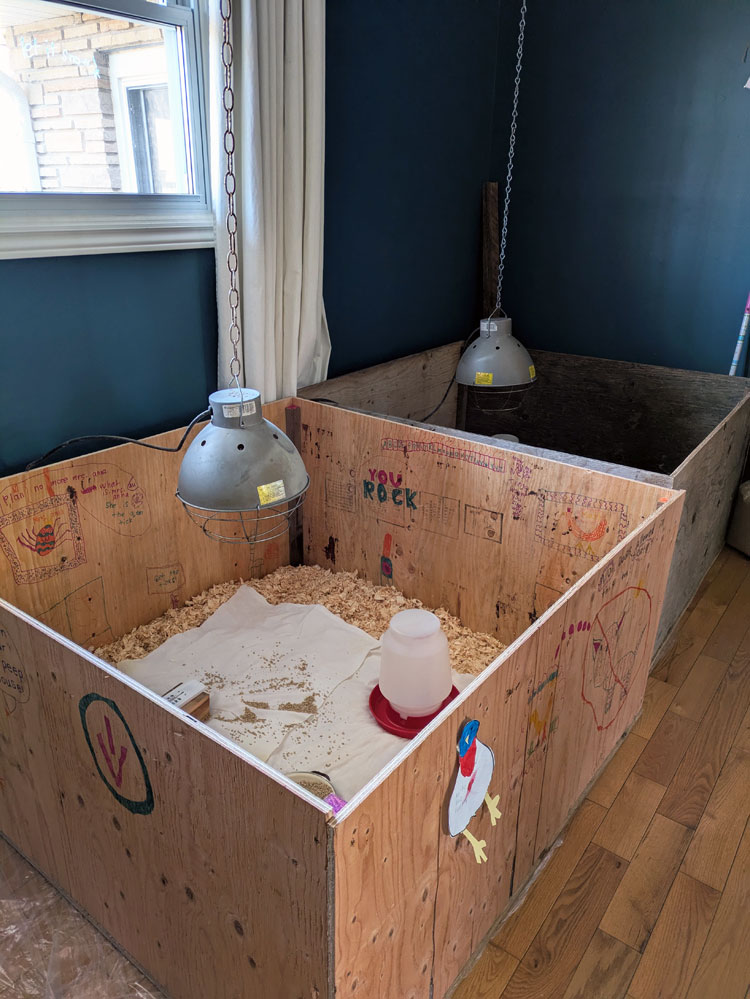
We built two large plywood boxes. Each box was 4 feet wide by 4 feet long by 2 feet high (a sheet and a half of plywood). We used 2x2s to reinforce each vertical corner and screwed the plywood to the 2x2s. The bottom of the box is nailed on.
This is my little chick testing out the box before we attached the base. Thanks to Matt’s Dad for the mask.
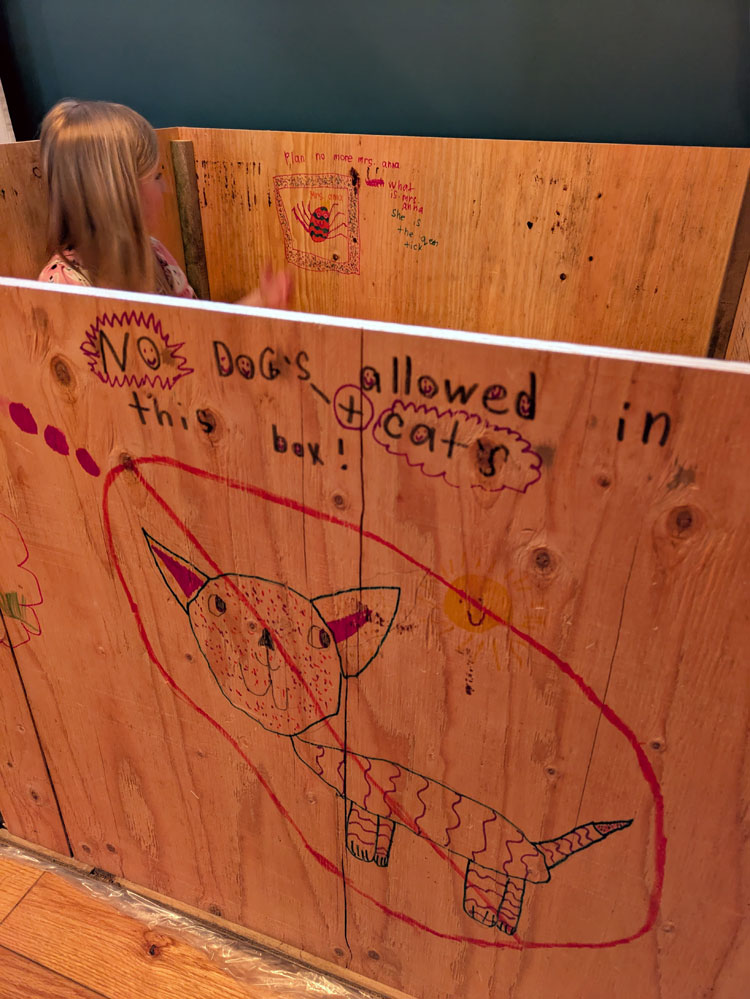
And here she is describing the decorations she added to the boxes. Many of the drawings are instructional. The birds received directions about eating ticks and learning the alphabet. Cigo got repeated lessons that birds are boring (and he absorbed those lessons so, so well).
We filled each box with wood shavings bought at the feed mill and added our waterers and food dishes (more details on food and water below).

At three weeks, we cleaned out the brooders and changed the shavings. The boxes were pretty stinky by that point, so to keep things pleasant in the house, a cleanout was needed.
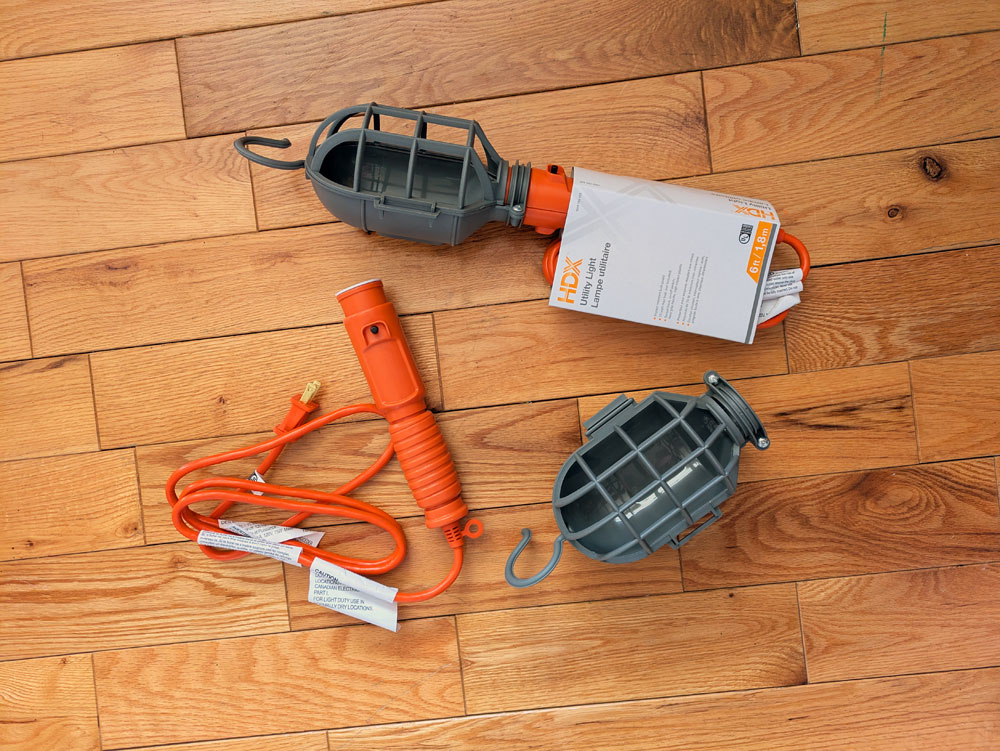
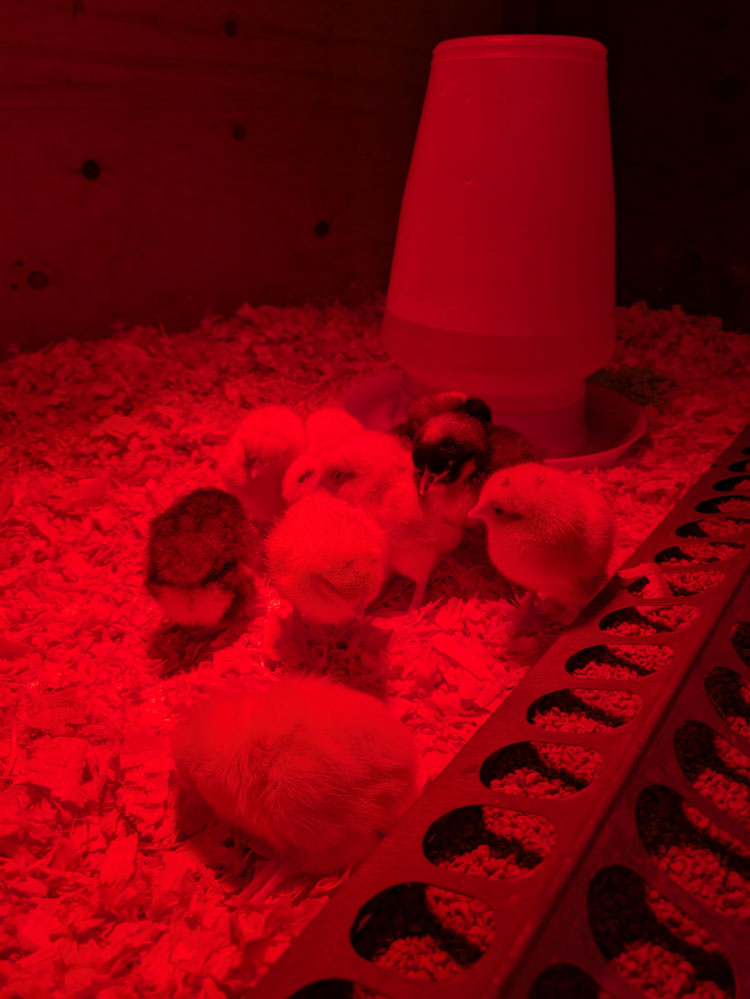
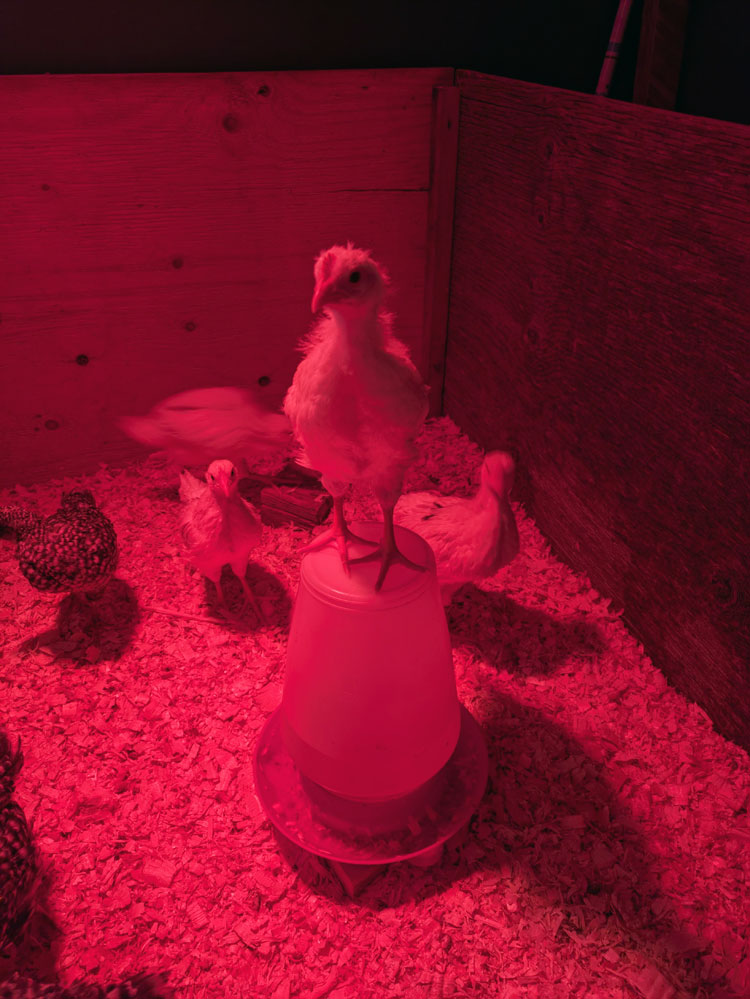
For warmth in the brooder we used some heat lamps we found in the barn. Growing up, I remember my Dad using basic lightbulbs. I bought a couple of utility lights and gave it a try, but I couldn’t get the temperature warm enough, so I went with the proper heat lamps.
I set the lamps up on chains hanging from the ceiling. I started with the lights right at the top of the box. This allowed me to achieve the recommended temperatures for the chicks (33ºC) and poults (35ºC).
As the birds grew and I was able to decrease the temperature, I raised the lights higher above the brooders. At the beginning, I had thermometers in both boxes to keep an eye on the temperature. The birds ended up kicking the thermometers around, and I found they weren’t necessary. I watched the birds and adjusted the lights accordingly. If everyone was huddled along the edge of the brooder away from the light, I figured the temperature was too high. If they were hanging out comfortably in the middle, I left the light alone.
Regardless I raised the lights a few inches every week, as the birds needed less and less warmth (about 2ºC per week). At week 5, I began turning the lamps off during the day, and then I turned them off entirely to give the birds a few days to acclimatize before they went outside at week 6.
The temperature in the house was still significantly warmer than outside, so the move was still an adjustment, but the birds didn’t seem to have any issues (more on this below).
Food and water
For the turkeys I started with a basic bowl for their food. An information sheet I got from the feed mill recommended spreading a cloth over the shavings, I believe to help with traction. They also recommended sprinkling some feed on the cloth, so we did all of that.
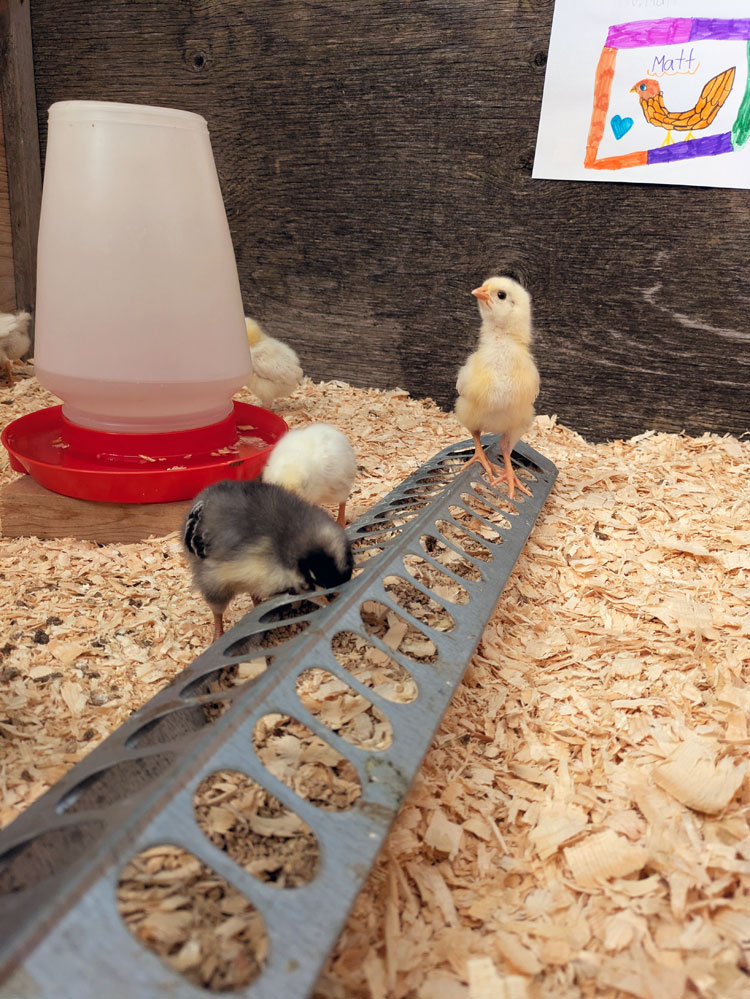
The chicks got an official chick feeder that was left in the barn by past owners. I’ve never used a chick feeder before, and it worked very well. They were able to access their food easily, they didn’t spill a lot, and the food stayed relatively clean. As the chicks grew, they kicked more and more shavings into the feeder. I think raising it up on a board once they’re bigger would be helpful.
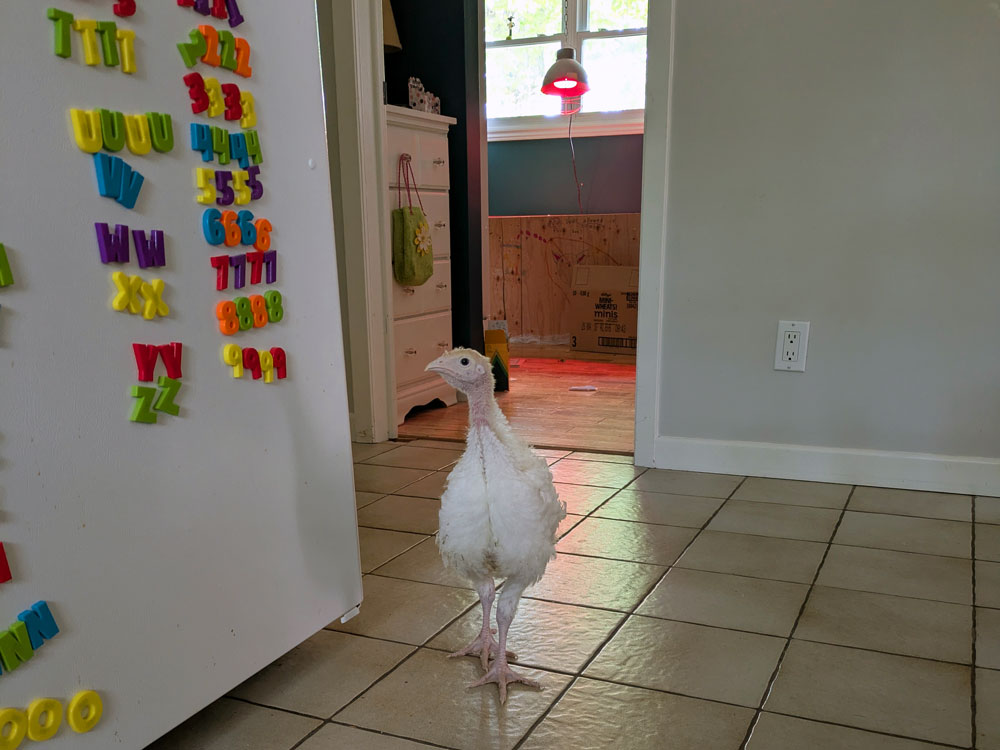
The turkeys graduated from their bowl (and the cloth covering) very quickly. Our turkeys are the Large White breed, and they are living up to their name. They eat constantly and grow so quickly. They stepped in their bowl, sat in it, pooped in it, tipped it over, emptied it.
I moved to another bowl that was in a little box to help stabilize it, and it only worked for a few days before they were too big again. I ended up with a small rectangular cement plant pot. It held more food and was a bit heavier so they couldn’t tip it as easily.
When I first put it in the brooder, I set it on a block of wood. The turkeys were so tall I thought it would help them to have their food a bit higher. A turkey climbed up to stand on the food dish, and he could see right over to the top of the box. It seemed like I’d given him an escape ladder. So the food dish went back down in the shavings. I’d like to find a better feeder solution if we do turkeys again.
At week 4, the chicks transitioned to a 50-50 mix of starter and grower food. I also started to mix the turkeys’ food. By week 6, everyone was fully eating grower. (The chicks will transition to a layer feed around week 18.)
In total, 10 chicks ate 20 pounds of starter. Four turkeys ate 40 pounds (!) of starter (they are monsters).
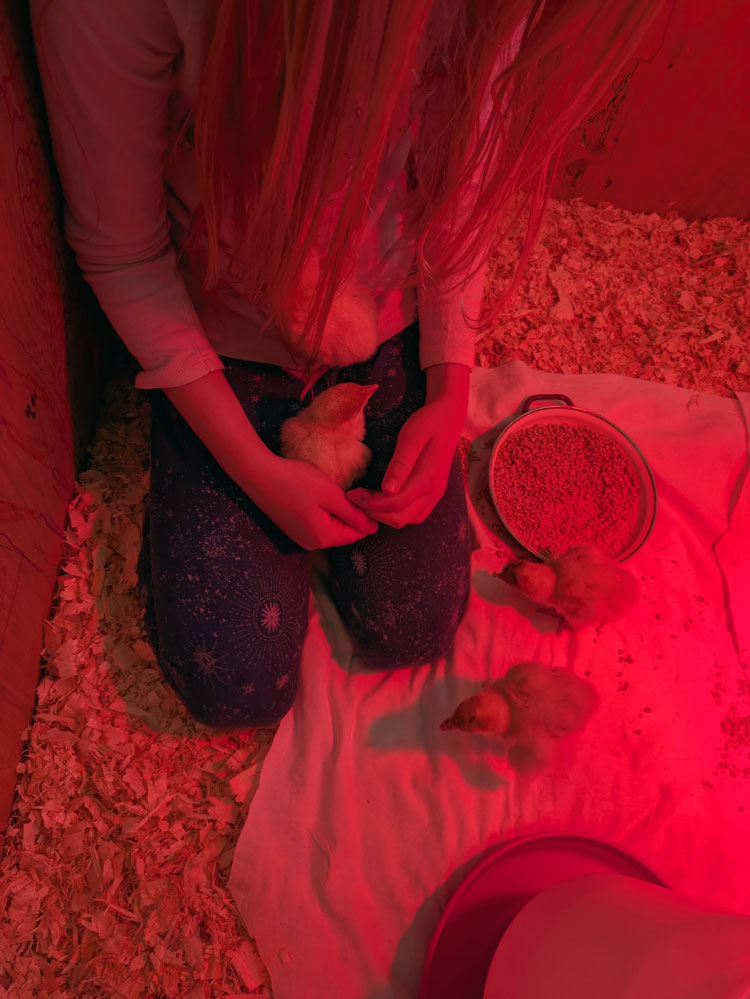
The waterers worked pretty well. When we first put the birds in the brooders, we dipped each of their beaks in the water. After this, they had no trouble finding the water themselves.
As the birds grew, I put the waterers up on wooden blocks so they could reach a bit easier and hopefully kick fewer shavings into the water.
The chicks came to like to perch on top of their waterer. They didn’t use it as an escape ladder (though they easily could have), so the perching was not a problem.
The problem was the turkeys (again) who knocked their waterer over repeatedly. Wet shavings are not a good thing. Propping the waterer in the corner helped a bit, but they still managed to tip it from there.
Transition to the coop
When we first ordered the birds, I asked the staff at the feed mill when they could move outside. The answer was, “It depends.” Not helpful. Now that I’ve gone through one cycle, I understand that answer a little better. The forums at www.backyardchickens.com have also been helpful.
Birds can be outside without supplemental heat when they are fully feathered and the temperature is around 10-15ºC consistently day and night.
Our spring was a bit slow here this year, so getting to that consistent temperature took awhile. The birds ended up staying inside for nearly 6 weeks. By the end, that felt long.
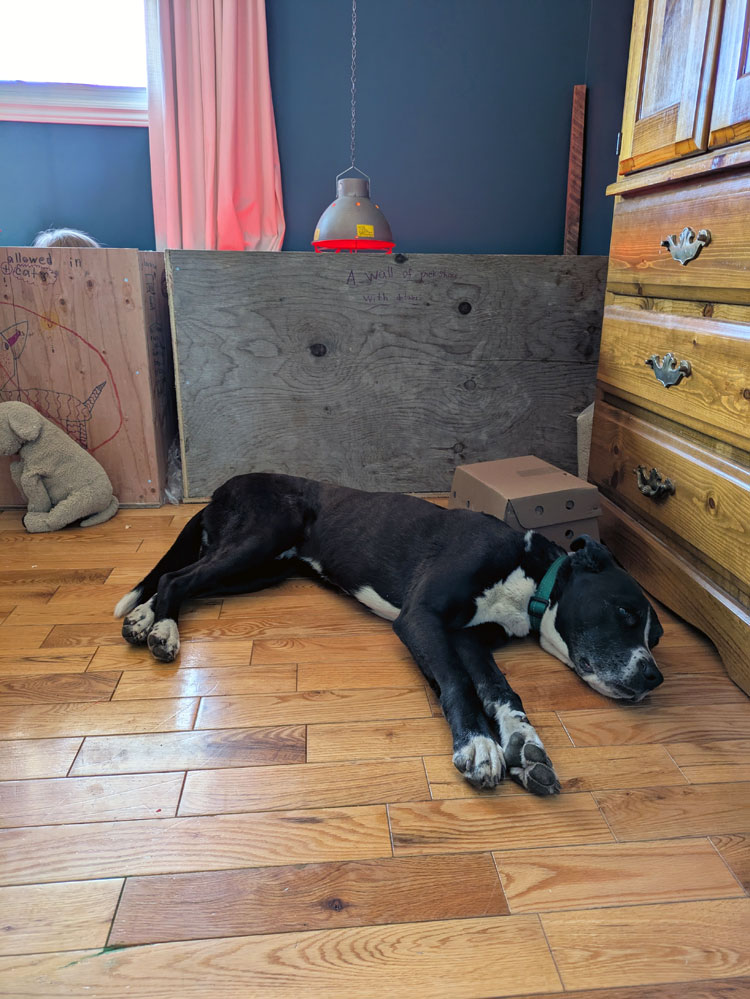
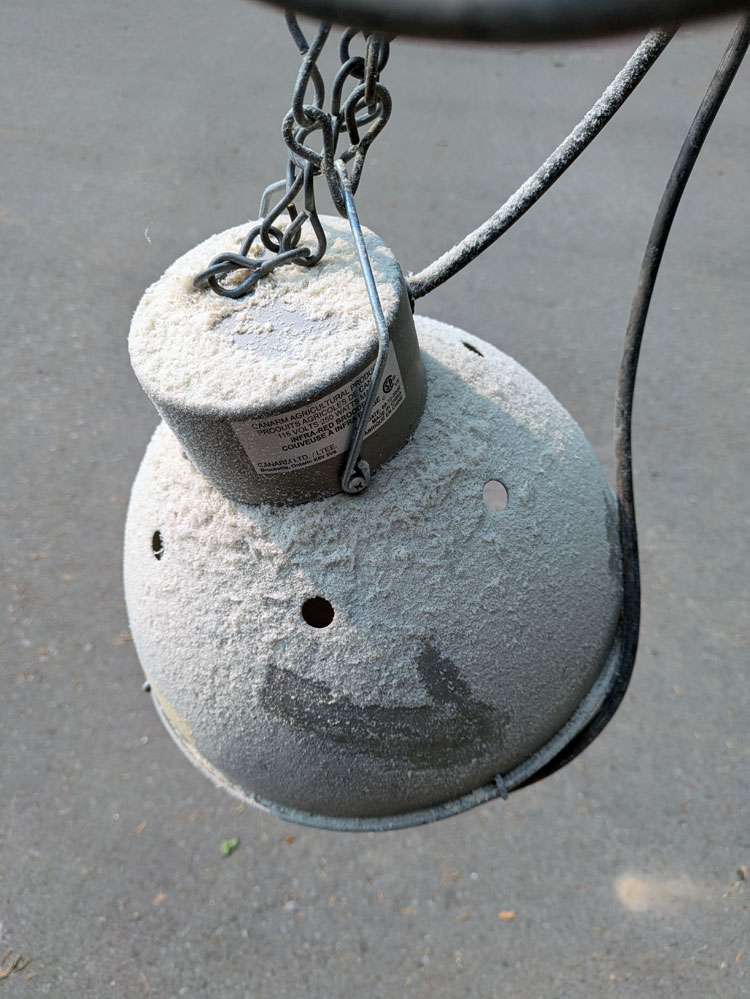
Things were pretty stinky and dusty. Between poop, feather fluff and sawdust, I felt like I was living in a barn. The photo below shows the amount of dust on the heat lamp when I finally took everything down. This dust went everywhere.
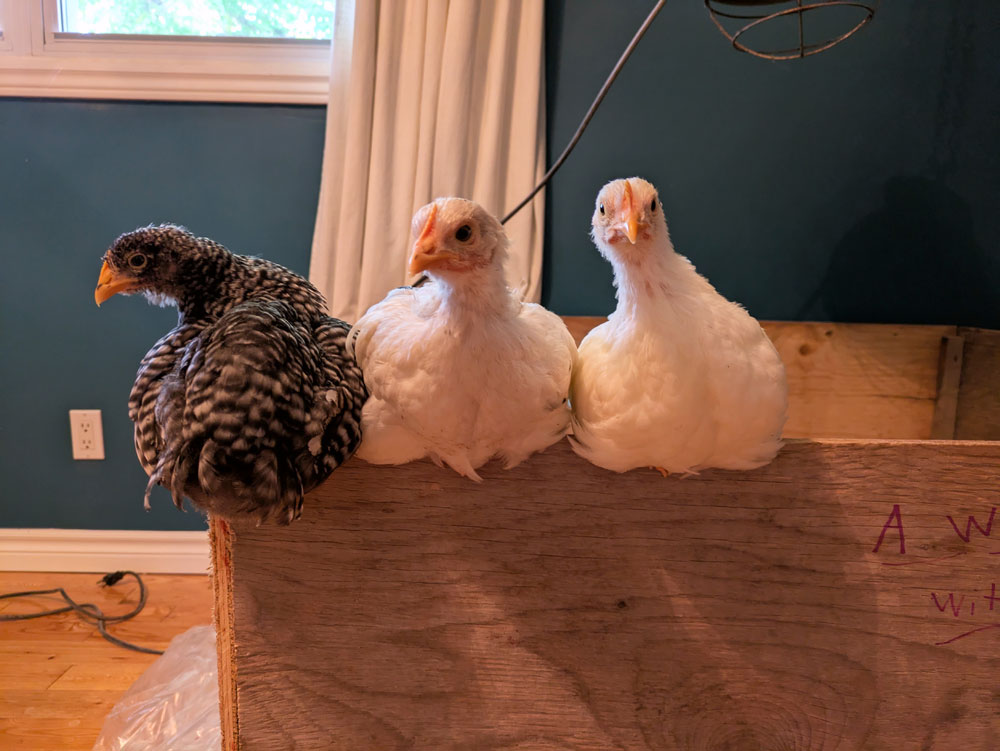
Everyone was big enough to hop out of the brooders. The turkeys have no coordination, so they were always surprised when it happened. The chicks had more control, so they mostly perched on the edge of the box or tight roped along the top. A couple did fall into the turkey box, which they turkeys did not appreciate. Fortunately, I was always nearby to rescue.
Then the turkeys started to fight. That was my sign they were over-crowded and had outgrown the brooder. On a warm Friday morning, I very quickly transferred some cantankerous turkeys to the run outside. Then I spent the day debating whether they could stay out. The weekend forecast was quite cold. What was worse? Fighting in the house? Or freezing in the barn?

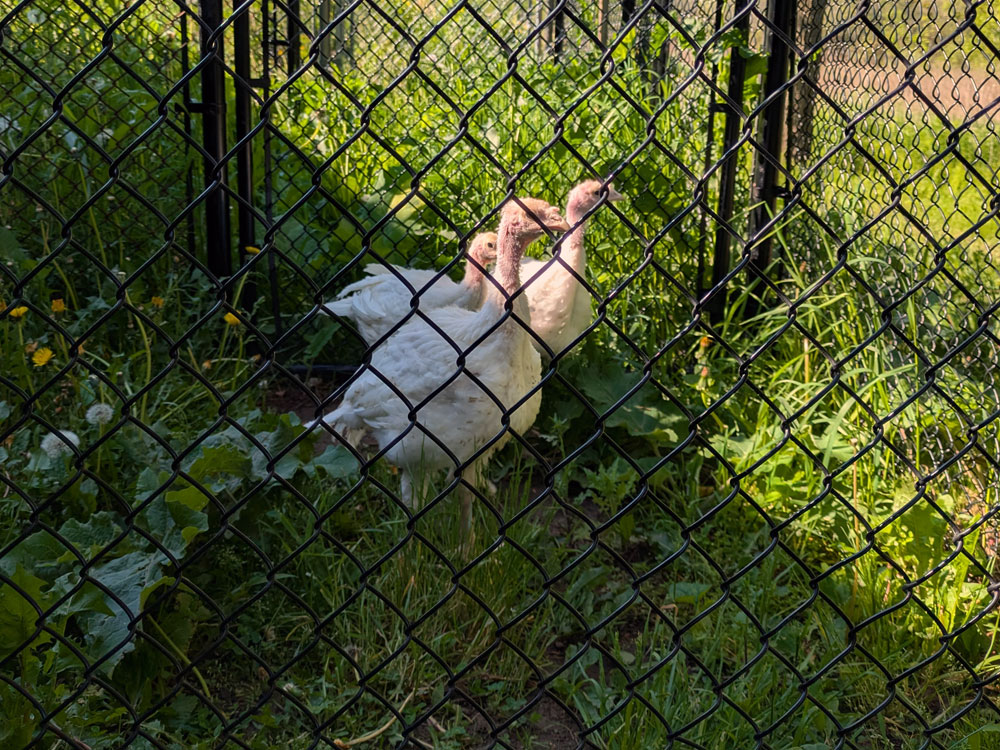
We decided to keep them outside, and they did just fine. For the first weekend, we kept them locked in the barn where it was warmer, but when it finally warmed up the next week, they were thrilled to be out in the run.
The chickens joined them in the coop at officially 6 weeks and everyone transitioned without issue.
Final thoughts
Overall, our brooder set up worked very well. Everyone was safe and comfortable for a long time. I liked having day-olds. I feel like it’s a fun way to for everyone to get used to each other. Brooding the birds in the house was easy, albeit smelly and dusty by the end.
If we do birds again, I might try to move them outside around 3 or 4 weeks. Getting them a bit later in the spring would hopefully mean more favourable temperatures. I would also like to work on the wiring in the barn so we can have some heat out there safely if we need to.
So far, the birds have been a really fun experience. We’re definitely learning as we go, but the preparation we put into the coop and the brooders have worked out well. Two months in, I feel like we’re off to a good start.
