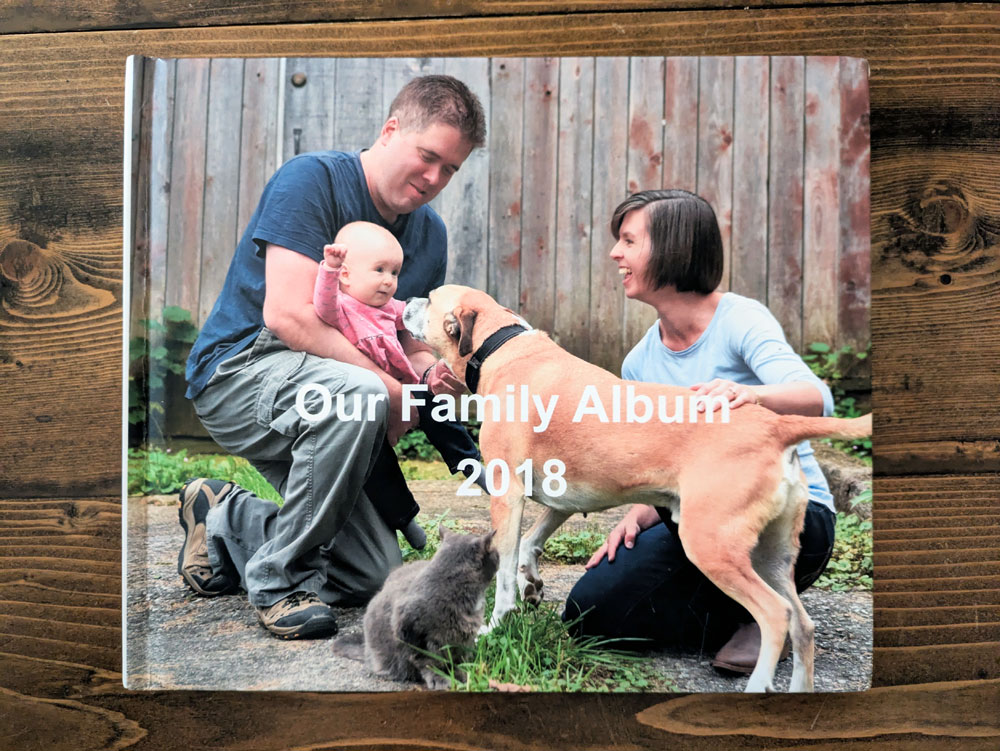
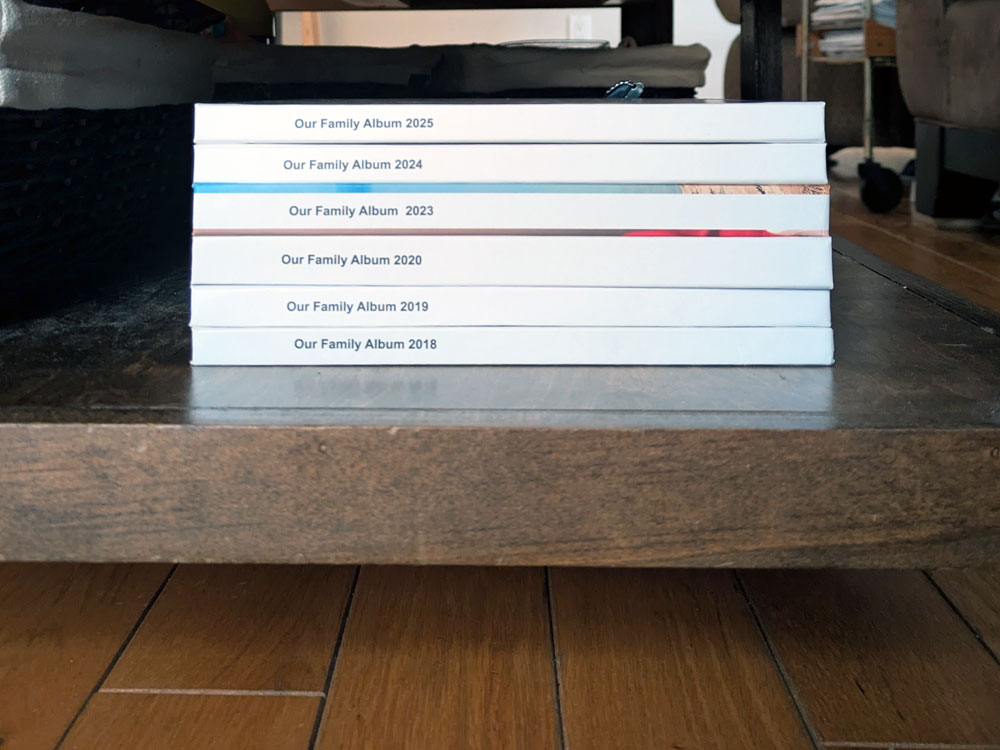
On the shelf under our coffee table, we have a stack of books. These are our annual photo books, and they are one of our most special heirlooms.
Photo books are such a good way to record special moments in your life. Ellie and I both frequently flip through them and reflect on the things we did.
I love our tradition of documenting each year in a book, and I have a lot of fun putting these together. I thought, with the holidays approaching, now might be a good time to share my tips of how I create our family photo books.
I also asked my friend Laurie the share her advice. There are so many different ways to make photo books. I wanted to show just some of the options that are available.
What program do you use?
There are lots of programs available to make photo books. Laurie uses Blacks, a Canadian company. I’ve used Blurb for all of my books.
Some things to think about might include cover options (hard or soft cover), book dimensions, page limits (minimum and maximum), paper quality, cost. It really depends on what is most important to you.
With Blurb, I get a hard cover book that can go up to 440 pages. My books have ranged from 90-156 pages.
Most programs have lots of built in layouts, and I’ve figured out which ones work best for me. I’ve also found it easy to build my own layouts when I need them. One feature I always use in Blurb is automatic image enhancing. It makes my pictures more vibrant, which I like.
I will say I’m definitely faster and better at using the software now than I was on my first book. There is a bit of a learning curve to figure out how to move photos around or manipulate layouts, but it’s really not complicated.
I found out about Blurb from Young House Love who have a very detailed post about using Blurb.
No matter what program you use, Laurie has some important advice. Save often. Photo books are a lot of work. You don’t want to lose all of your progress if your computer crashes or the software has a problem.
How do you choose photos?
I take lots of photos. Every day activities, special occasions, funny moments–they all live on my phone. I’ve learned over eight years of building books that I need to organize my photos as I go. Each day I go through the images I’ve taken and delete any that aren’t keepers. This daily cull means much less sorting when it’s photo book time. My phone is set to automatically back all my pictures up to Google photos. I also save any photos people send me to Google. When I want to begin my book, I know I need to look in just one place to find all the pictures I want.
Laurie is also a prolific photographer, usually taking around 700 pictures a year. She uploads all of her photos to her computer organizes them in folders by date. She then goes through one day at a time and picks her favourites, which go into a new folder titled ‘photo book’ and the year.
“Once I have the entire year’s worth of pictures I want to keep in one folder, I go through and delete the ones that are not as good and that are redundant. Going through the slideshow in order helps me cull more,” she says.
Sometimes I come across an HEIC photo. This is a format some iPhones use, but it’s not compatible with many programs, including Blurb. I tried some online converters, but there were limits on how many photos I could convert, and I wasn’t confident in their security. I found HEIC to JPG Real Converter, a free download that I could install on my computer. It’s easy to use, unlimited (at least I’ve never found a limit) and preserves good image quality.
The biggest thing with my photobooks is everything goes in–the good, the bad, the ugly. Matt when he was sick? In there. Visiting Matt’s Mom in the hospital? In there. Ellie’s x-ray when she broke her arm? In there. Life is made up of good and bad, and our photo books are a record of it all.
How do you start a photo book?
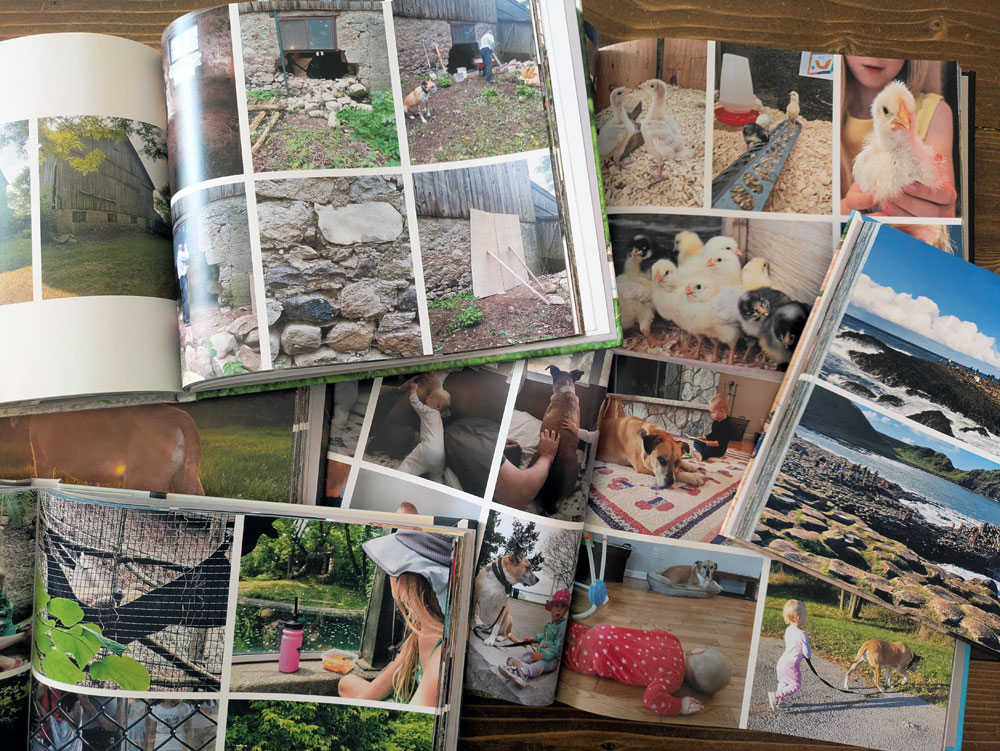
A photo book can feel daunting when you’re first faced with a blank pages and hundreds of photos. I take it a month at a time. I will pull up all the photos I took in January, pick the ones I want for the book (usually this ends up being around 50 photos), download them all and then start to put them into the book. Doing one month at a time makes the process much easier for me.
Laurie uploads the whole year of photos at once. She says, “Then I can open it and work on it whenever I feel like it.”
To start, Laurie looks at her first 6 photos. “I may have 3 tall photos and 3 wide, so I choose a layout to fit them. I like being able to adjust my layout to best fit my pictures.”
How do you lay out a photo book?
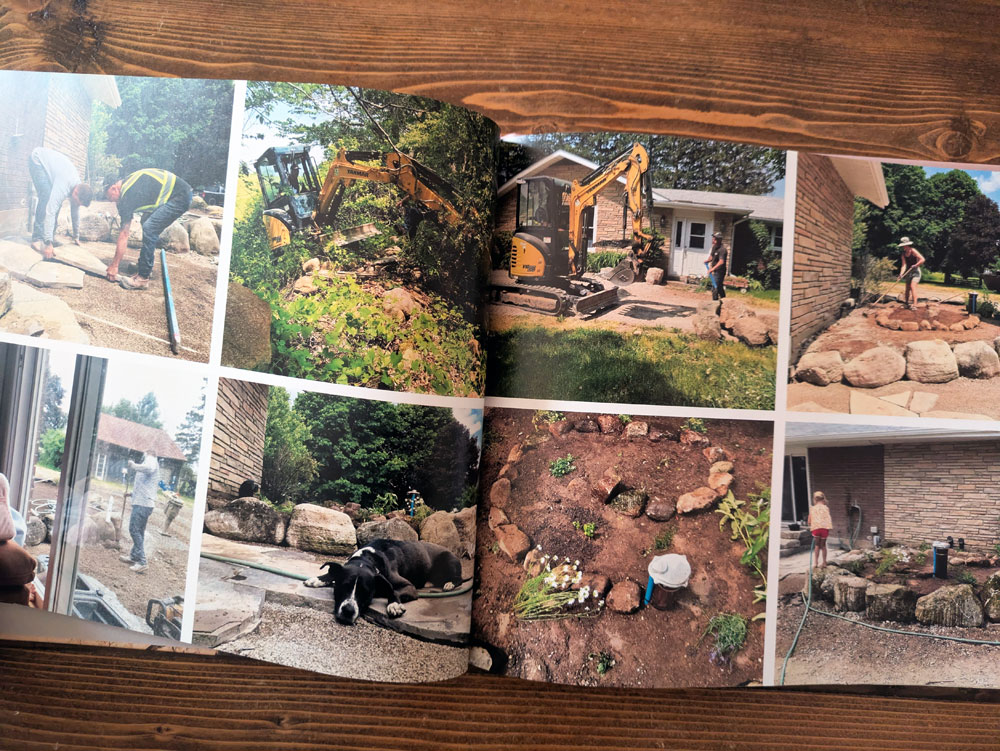
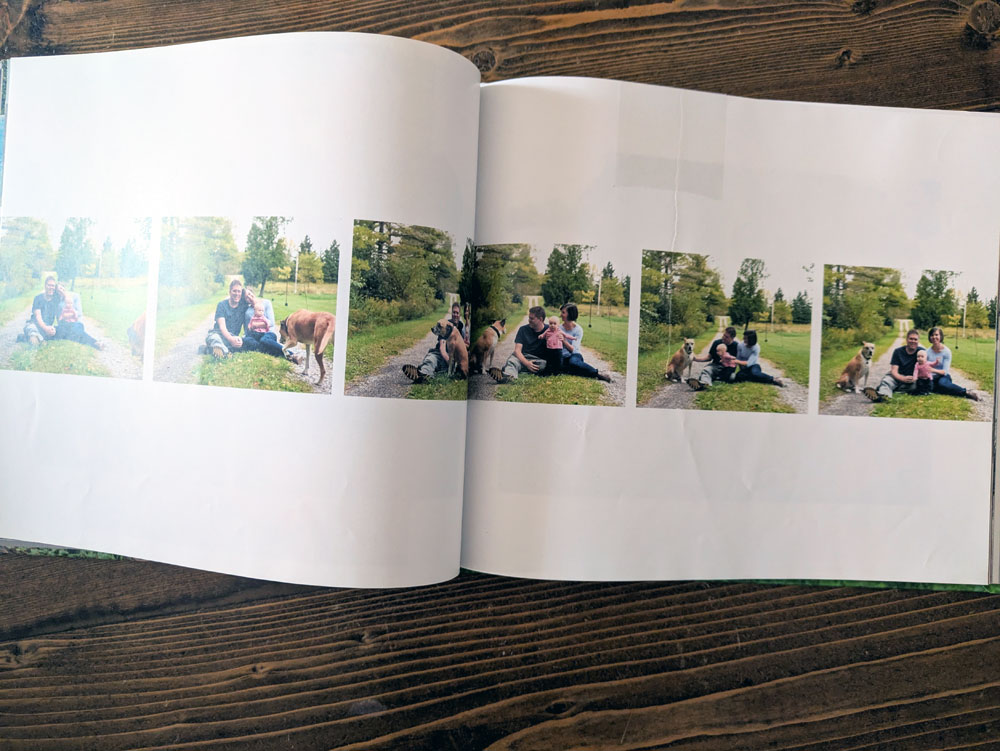
I always start with the pre-made layouts available in Blurb. Mostly I choose 4 or 6 picture grids with a white border between the photos. These layouts allow me to fit a lot of photos in not too much space. Occasionally I’ll use different layouts, like a full page for special photographs. A consistent layout makes the book easier to build and also easier to read. Our brains like patterns.
I don’t use backgrounds or graphics. I like a pretty clean look.
Laurie aims to fit 6 to 9 pictures on a page. She uses dark coloured backgrounds on all of her pages alternating between 5 or 6 solid colors. She does the background last to ensure the colour complements the photos on that particular page. Facing pages have matching colors and she avoids using the same color on more than 2 pages in a row. For special holidays she’ll occasionally use a themed backgrounds like candy canes or pumpkins.
I organize the photos in roughly chronological order. Sometimes to make a layout work, I may shuffle photos around a bit. For example, since I wanted everything Halloween–pumpkin, costume, trick or treating, candy sorting–on one spread, Thanksgiving and Ellie’s cross country race ended up together, even though they didn’t happen at the same time.
Laurie likes to keep pictures in a sequential order but may organize a day or two in reverse order to make photos fit. She keeps seasons together. For example, all the Christmas pictures have their own pages.
Laurie also pays close attention to the photos themselves. She arranges pictures so that faces and bodies are pointed in towards the centre of the book to keep the eyes from wandering off the edges of the page. She says, “I like balance on my pages. And symmetry. I’m not sure how to explain this!” Mostly, it comes down to what works best for your eye.
Another way I organize my layouts is to put “projects” in their own sections. For example, the vegetable garden is 12 pages all together in the middle of the book. Those pages include spring planting, summer harvesting and fall clean-up. I would rather have everything garden all together, as opposed to having it broken up across all the seasons. I also use this for renovation projects.
Over eight years of building photobooks, I’ve developed a consistent style that I use year to year, and Laurie has done the same. She puts a family picture on the front and a picture of her two boys on the back. The last page is for a repeat of one or two favorite pictures of the year.
For me, every book starts with a title page that is the same as the cover–usually our best family photo. Then I have a grid of 9 photos of favourite moments from the year (these photos are usually repeated in their appropriate section in the book). The next page is split between another family photo on one half and a list of highlights on the other. Then the book starts.
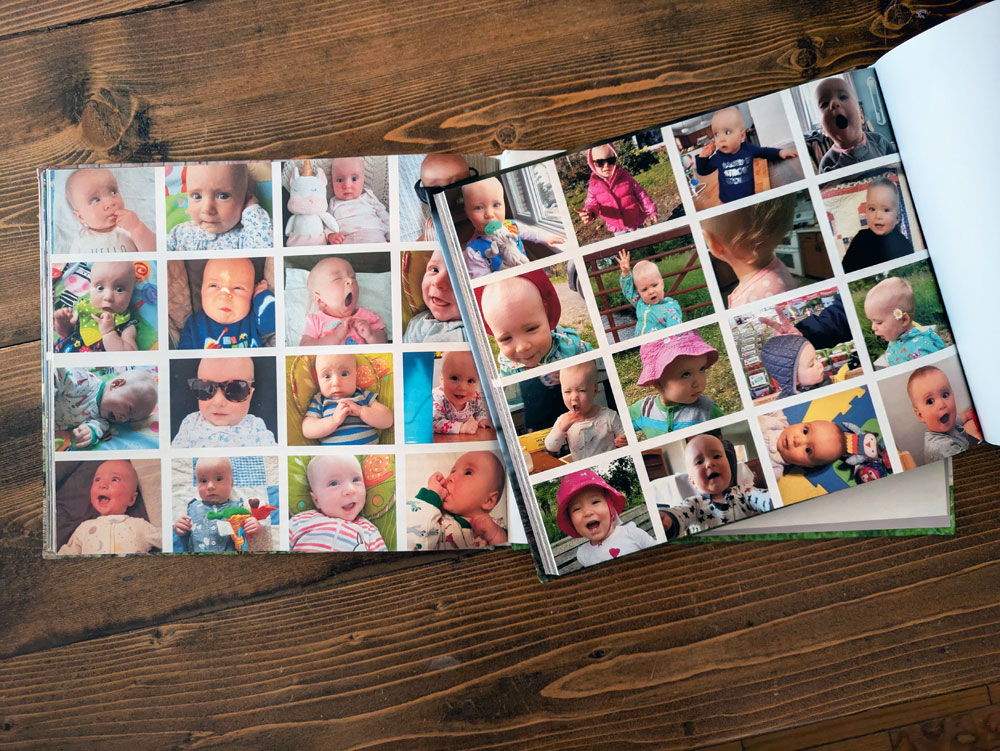
The very last page of the book is a grid of 16 funny Ellie faces. The back cover is usually another family photo, or something significant that has happened that year. For example when Matt’s Mom died, I put a beautiful photo of her and Ellie on the back cover.
What do you write in a photo book?
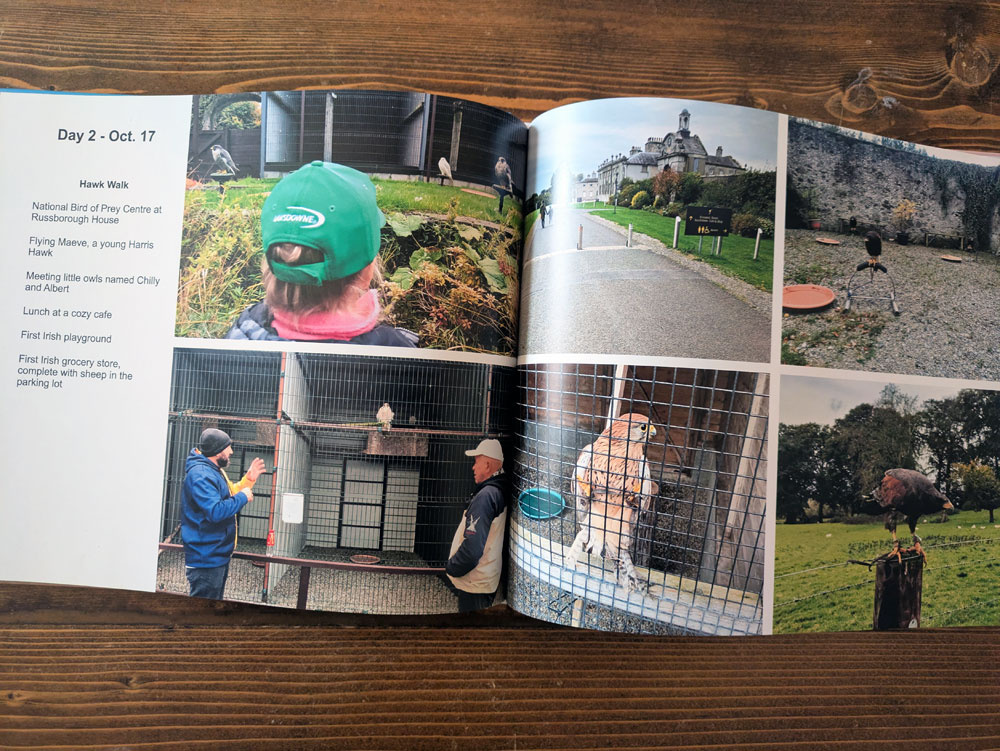
I don’t use a lot of text or captions in my books. I write a list of highlights at the start of the book to summarize key things that happened in the year. Occasionally, I’ll put in a write up for something important. For example, I have my Dad’s and Matt’s Mom’s obituaries, a log of what we did on our trip to Ireland, an explanation of Covid-19, and all the tributes we received for Matt in their respective books.
I realize that we may forget some of the people, places or activities over the years. I’m okay with that. I prefer the look of just photos and it’s a lot simpler to build the book without text.
On the other hand, Laurie notes the date on most of her photos. Occasionally she’ll include the setting or the names of people who are not usually in the book. She admits her captions have gotten simpler over the years. Figure out what is most important to you.
How long does it take to make a photo book?
A photo book usually takes me about a month. I like to lay out one month worth of photos a night. I use the rest of the time to add special sections or write-ups, track down missing photos or high resolution versions of photos I saved from texts, tweak the layout, check that there are no mistakes.
Laurie usually spends a few months on a book. “I just go at it while watching TV or just when I’m in the mood. I may sit down one day and only do one page, while the next day I may sit down and spend hours.”
For the past couple of years, I’ve been catching up on a few photo books that I missed. For these books, a dedicated month has worked well. I usually aim to finish the books in time to give them to Ellie for Christmas (it’s one of her favourite gifts).
This year, I’ve been building my 2026 book as we go. I started in the summer when I had half a year of photos. Since then, once we reach the end of each month, I put those photos into the book. I think I like building the book as I go, rather than doing it all at once. It feels like much less work to break it up.
My photo book schedule usually relates to gift giving and sales (more on this below). If I finish a book in November, I can print it during Black Friday sales and give it to Ellie for Christmas. If my book is almost done by New Year’s, I’ll finish it the first week of January, take advantage of another sale and give it to Ellie for her birthday.
How much does a photo book cost?
The price of your book depends on the company you use and the features you choose. Size, cover and page count all affect the price.
My last three photo books have had 120-150 pages and have cost about $95 each. This includes tax and shipping… and a discount code. Laurie’s books end up being about $200 before taxes, shipping or a discount. (She always uses the maximum number of pages.)
Most sites run promotions several times a year. If you’re able to finish your book and wait for a sale, it can make a big difference. Last week, Blurb was offering 30% off. Laurie usually waits for 40% from Blacks.
Blurb recommends printing a sample book as a proof. But they don’t offer proof copies and the sample is the same as a regular book, and the same price too.
I have had mistakes in my books–the cover photos on 2023 wrap onto the spine slightly, which none of the other books do, one photo in 2019 was wrong, the font in 2023 turned out bigger than I expected (2023 was a weird year). None of the mistakes are tragic and I can happily live with our imperfect books. But if perfection is important to you, you might want to budget for a proof copy if needed.
Final thoughts
For me, photo books have been a great way to chronicle our years. So much happens. I don’t want to forget. Pulling a book out of the stack and flipping through it with Ellie is special.
I’ve also used photo books as gifts. Many years ago I made books of our wedding for my two grandmothers. I also gave Matt’s Dad a book of our Ireland trip.
Whether you do a whole year, an occasion, or a person, photo books are a special heirloom.

