As the temperatures warm up, I love being outside. For us, being outside usually means working outside because the one thing missing at the farm is a good outdoor living or dining area. But Sarah has a great spot at her home in Illinois. She and her husband Steve recently tackled a project that upgraded a key feature of that area–the dining table. Read on to see the results. Spoiler alert, they’re pretty amazing.
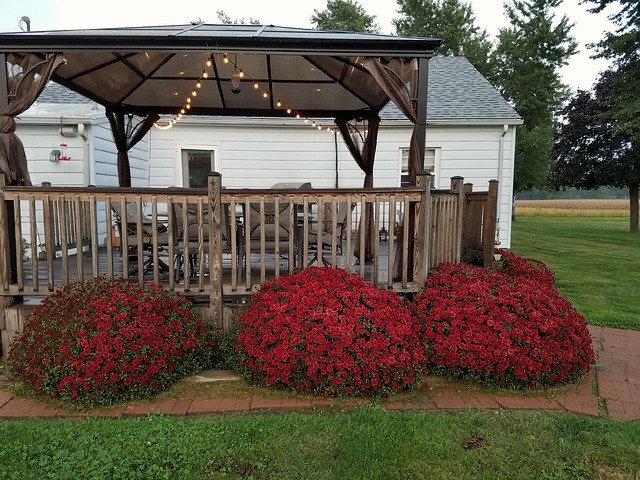
One of the favorite spots in our yard is our deck. Several days a week we head there as soon as we get home from work and have a drink and discuss the day and throw the ball for Blitz. It’s also the spot we head to after a full day of sweaty yard work. We have a nice awning to sit under and a patio table and chair set to relax in.
However, the table was starting to show some wear. It is a metal frame and had two inset panels that were supposed to resemble slate or some type of stone. I am sure when it was new it looked very nice, but over the years the compressed material that made up the fake slate absorbed water and warped. It got to the point where we could not set a glass on it without it falling over. So we started talking about how we could replace it.
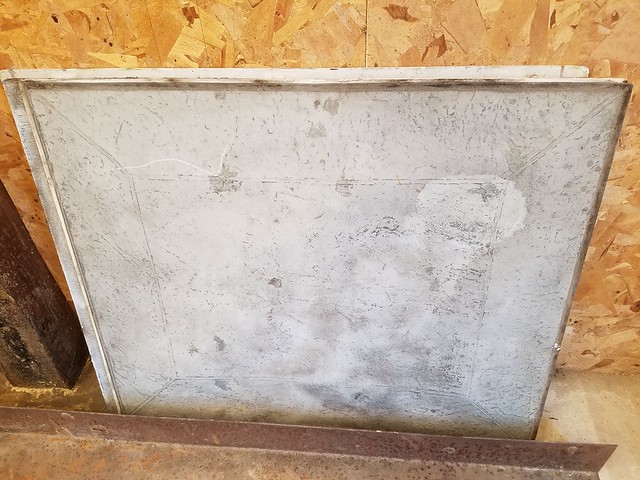
I wish I had taken a good before picture but here are the fake slabs that we took out of the table.
Our first thought was to put a thin board in the recessed area and then to tile it. I think that would have looked very nice, but our concern was how much weight it would add to the table. It is not a light table to start with, and we move it into our pole barn every winter to try to help it last longer. Plus, the backing for the tile would have to be pretty thick to hold up the tiles, and we didn’t know if there would be enough room for the backing, the thin set and the tile in the recessed area without really altering the table.
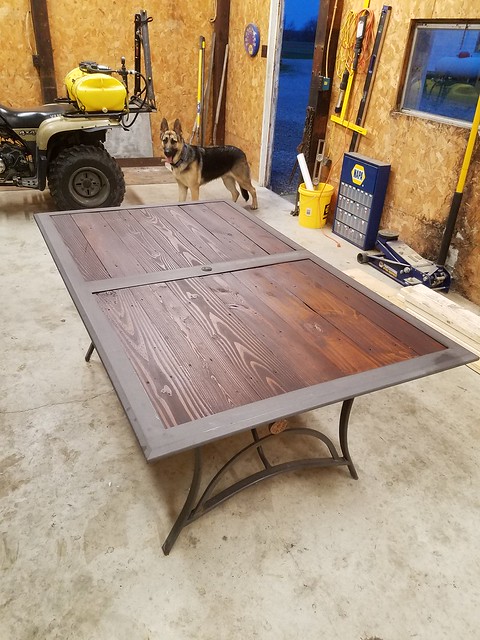
One day when we were looking for something in the barn, Steve saw a pile of old tongue and groove barn wood. He grabbed a measuring tape and said that it was even the right thickness for the area in the table. We talked about if we stained it dark and added some polyurethane, it might look kind of nice in the table.
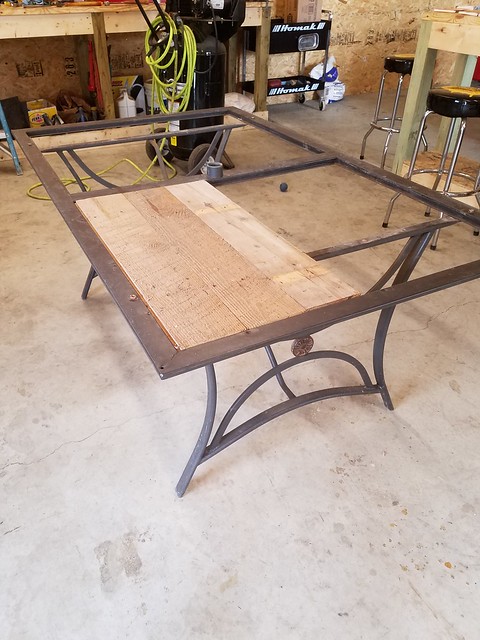
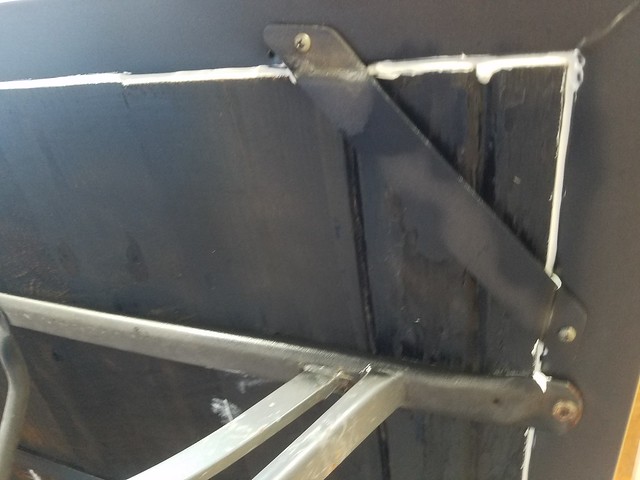
We removed the fake slate and measured the barn wood to fit in the section of the table. Since it was tongue and groove the boards fit nicely together. Steve did have to add an extra piece of metal across underneath since we were now using several different boards instead of one slab.

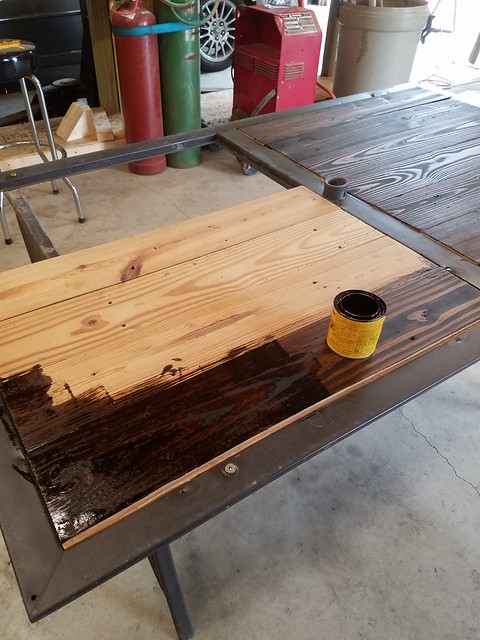
With a nice coat of stain, we were pretty happy with the results.
Then we started talking about the two-part epoxy that we see on home improvement shows. I did a little research online and made a quick Amazon purchase. Two days later this arrived.
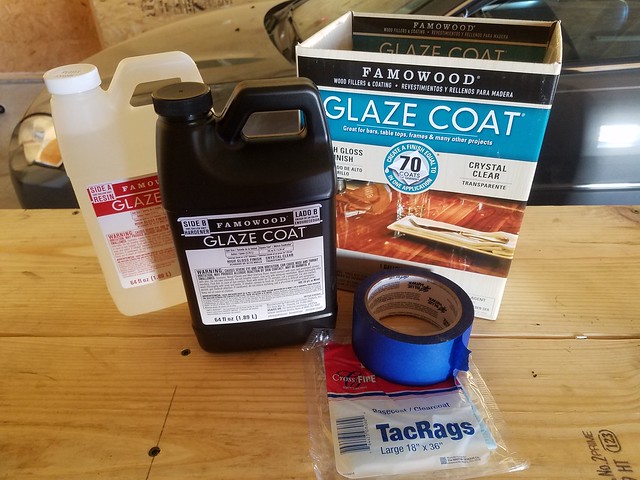
This is where I should tell you, this post is not sponsored. I paid full price for this kit. Famowood does not know that I exist. I chose this brand because of reviews I have read. I have not tried any other brands to compare.
We had to do a little prep to the table to pour the epoxy over it. There were small gaps and cracks and holes that we had to fill in so that the epoxy did not run out. We weren’t worried about anything staying in place permanently. Basically it just had to stay in place until the epoxy dried. So we just used some of the already opened tubes of caulk that we had sitting around and filled all of the gaps underneath. So it’s not pretty, but it won’t be seen.
The reviews that I read stressed to follow the directions exactly. So we did exactly what they said. We added equal amounts of part A and part B and stirred for six minutes, then put it in a new container and stirred for another six minutes.
My biggest concern was trapping bubbles in the epoxy. No matter how careful we were when we stirred, there were lots of bubbles in it. What I read online suggested using a heat gun to draw the bubbles to the surface.
Steve and I worked together at a quick pace because we didn’t know how much time we would have before it started setting up. So I didn’t get any pictures of this stage. I definitely recommend two people working a project of this size, especially if you do it in warmer weather. The day we chose to pour was cool so we had a little more time, but we still worked quickly. We used a squeegee to move the epoxy around and the heat gun to remove the air bubbles.
We had put newspaper down thankfully, because even with the caulk we had several drips. The instructions suggested pouring a thin coat first if you were pouring over wood. The wood was likely to release more bubbles into your epoxy. So we poured a first coat, waited the recommended hours then poured a second coat.
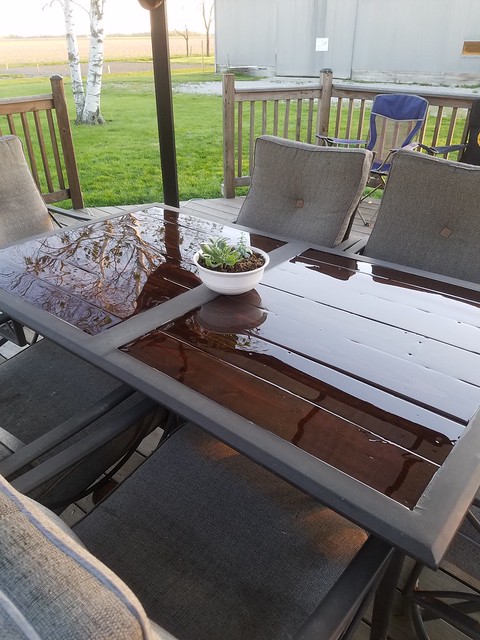
I think the final result speaks for itself.
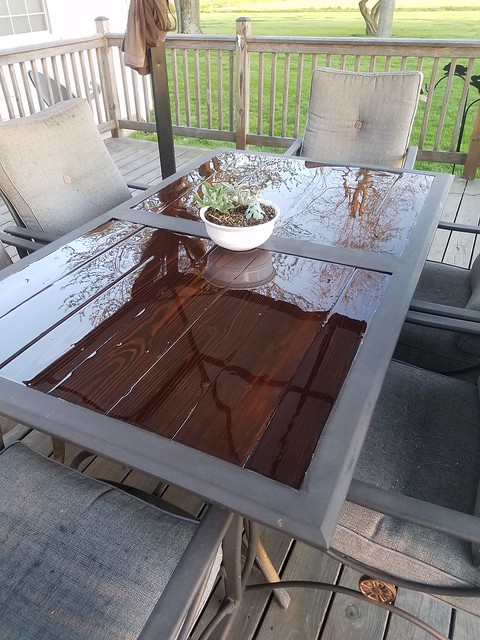
We could not be happier with our table. I am so proud of the job we did and I can’t wait to come home each day and sit and admire it.
I want to call a few points to your attention.
1. We chose to stop adding epoxy at the point we did, and it did not fill all of the grooves between the boards. We liked this look, but I am sure if you wanted it to be completely smooth, a third coat would have filled everything in.
2. The epoxy kit we chose said NOT for exterior use. We know this. There is an awning over the patio that will shield most sun and rain and like I said, we take the table inside every fall. If you are looking to do a similar project keep this in mind and maybe look for a kit for exterior use if you are concerned with that.
3. Also, read the directions completely and have all of your tools (mixing cups, stir sticks, tape, squeegee, heat gun, etc.) ready when you start. There is a time limit to this product and you don’t want to waste time running around trying to remember where you put the heat gun.
Holy moly. What a transformation, Sarah. I’ve heard so much about epoxy, but I’ve never used it. Your results are really impressive. I like the addition of the barn wood. It’s great you were able to use material that you had already and extend the life of your table. I’m sure you’re enjoying your evenings on the deck even more now.

Great job!I am anxious to see the real thing!
Thanks mom!
That’s amazing, Sarah! What a great way to give some new life to your table. I really like it. I used epoxy in a project with my craft student. We made a raised edge around the top of her night table with molding, then put glass gems inside (she designed the patterns), then poured the epoxy over top. It was quite an exciting project, and looked great. Epoxy is picky, like you say, but fun and exciting to work with!
Thank you Jan!
There was extra epoxy left over so I am constantly wondering what else I can do with it. Your project sounds great! Steve thought about putting pennies or other types of coins down on the wood before we poured the epoxy, but we decided against it on this project.
I bet if you go on Pinterest and type in “epoxy projects”, there will be no shortage of inspiration!
Great idea!
Beautiful makeover!