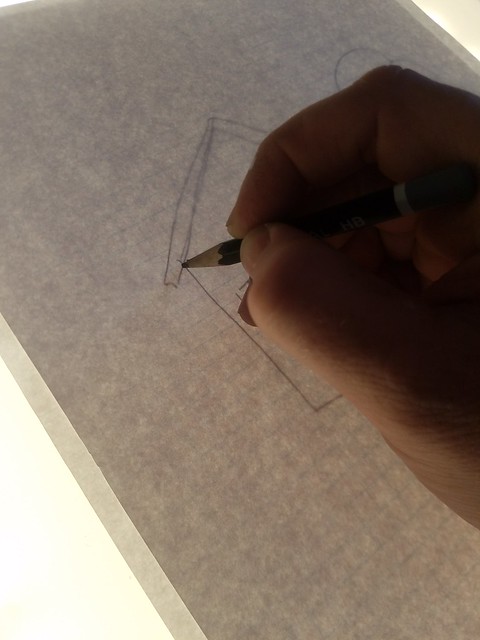
Hand up if you’ve ever found yourself standing at a window, trying to hold two pieces of paper steady while you traced a pattern. My hand’s definitely up. It’s awkward, right? For crafters, tracing is an important part of a lot of projects.
A light box is a handy tool that makes tracing much, much easier. Sarah in Illinois is sharing how she made a light box for her quilting mother.
I hinted a few posts back that I was not making good progress on my “one project a month.” If you remember, my three projects for the second quarter of the year were
- Light box for my mom
- Grill lighting
- The garden
Starting from the bottom, the garden is doing well. Very well. Plants are growing, we’ve picked some veggies, had some setbacks, but overall it’s doing very well. I decided to write a separate post on the garden, so I will just say I am very happy with the progress so far.
The grill lighting is on hold. When we hung the decorative string lights on our awning this year we decided that they give off enough light to make sure our hamburgers aren’t burnt. And since we are not sure what we want in permanent lighting we decided to do more research before we make the money and time commitment. So not done, but on hold.
As for the light box, I can say it is done.
So what is a light box? Basically, it is box with a transparent top and a light source inside.
When you put a print and a blank piece of paper on top of the box, the light shines through and makes it easy to trace the original print. This is great for crafters wanting to copy patterns. In this case, my mom wanted one for making quilts.
I started by cutting 45 degree angles for the 4 sides of the box.

Then I got to play around with the router. Honestly, I had not used our router before. It is kind of Steve’s toy, but using some practice boards it was fairly easy to get the hang of. The reason for the router was to cut a groove in the sides of the box for the transparent top to sit in.

I also used the router to curve the edges of the boards to give it a nicer look.

So this was the point where I would have started assembling the pieces. Except I came home and found that Blitz had put his mark on two of the pieces, quite literally.

It aggravated me of course, but who could I blame but the person who left them where a 10 month old pup could reach them? In case that wasn’t clear, that person is me.
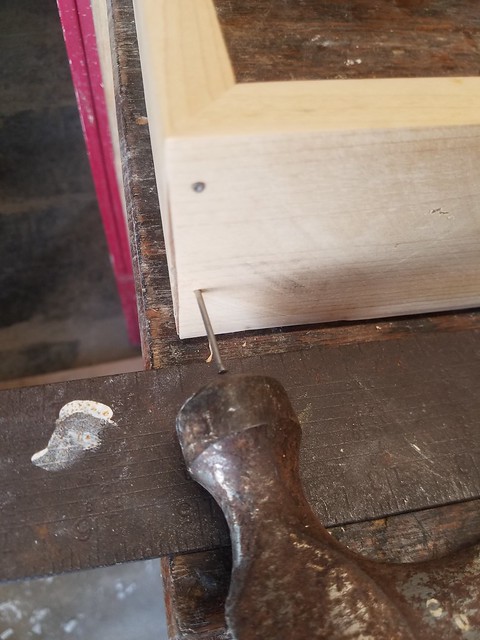
So after redoing half of my work I began putting the sides together. Simply put, it is like building a frame for a picture.
The finished dimensions are 13 inches by 15.25 inches with the “window” area being 12.5 inches by almost 14.75 inches. Obviously I didn’t work by any plans, I just wanted to make sure it was large enough to use a standard 8.5 by 11 piece of paper for tracing.
I pre-drilled my nail holes and put three sides together.
It was at this point that I put the first coat of white paint on all of the pieces. It has been extremely humid here which is not the best weather for paint to dry. I got several scratches and finger prints on the pieces that had to be touched up once I was done handling everything.
I slid the “window” into the channels that I routed and attached the fourth side.

For the window I used a piece of plexiglass that I cut with a razor blade and snapped to break. To hide the inside of the box and to dull the brightness of the intense lights that I chose, I sprayed the plexiglass with a frosted paint.
It was at this point that I turned the box over and installed the light source. I chose this LED tape at our local home improvement store. I wanted LED so that heat did not build up inside the box.

This tape is 6.5 feet long but came with instructions on how to cut it to the correct fit. I used both the adhesive back and the small mounting brackets that came with the tape. I cut a small hole near the bottom to run the cord out of.

I was pleasantly surprised that the light tape came with a switch so that it will be easy for Mom to turn on and off as needed.

And finally I screwed the back to the box. I chose to use screws so that I can remove the back if I ever need to make any adjustments or repairs.
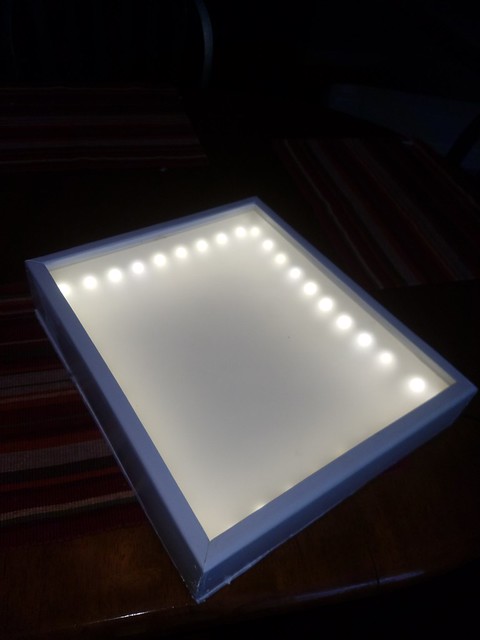
I am happy with the results and can’t wait to give it to Mom for her to try out.

That light box looks great, Sarah. It’s super professional with the routed channel for the plexiglass and the LED strip. I’m sure your Mom will appreciate it. Maybe you’ll get a new quilt out of it. 🙂

I received my light box yesterday and plan to try it out this afternoon. Thanks to my favorite daughter!
You two seem to be a very good team.
I agree, Julia!
You’re welcome, mom!
That’s awesome! You did a fantastic job, Sarah! I think your mom will love it.
Thank you!