My elementary school had an epic playground. In my memories, it is huge. There was a firepole, multiple monkey bars, an upper level, slide, swings and a tire ladder. As I was building Ellie’s treehouse, I knew I wanted to channel some of that history and build a tire ladder for her.
There are lots of tutorials online of different things you can build with tires and how to work with them. This post is not that detailed, but I wanted to share some of my tips for building a tire ladder.
Strong is beautiful
Make sure your structure is strong enough to support your ladder. Tires are heavy. Several tires connected together are really heavy.
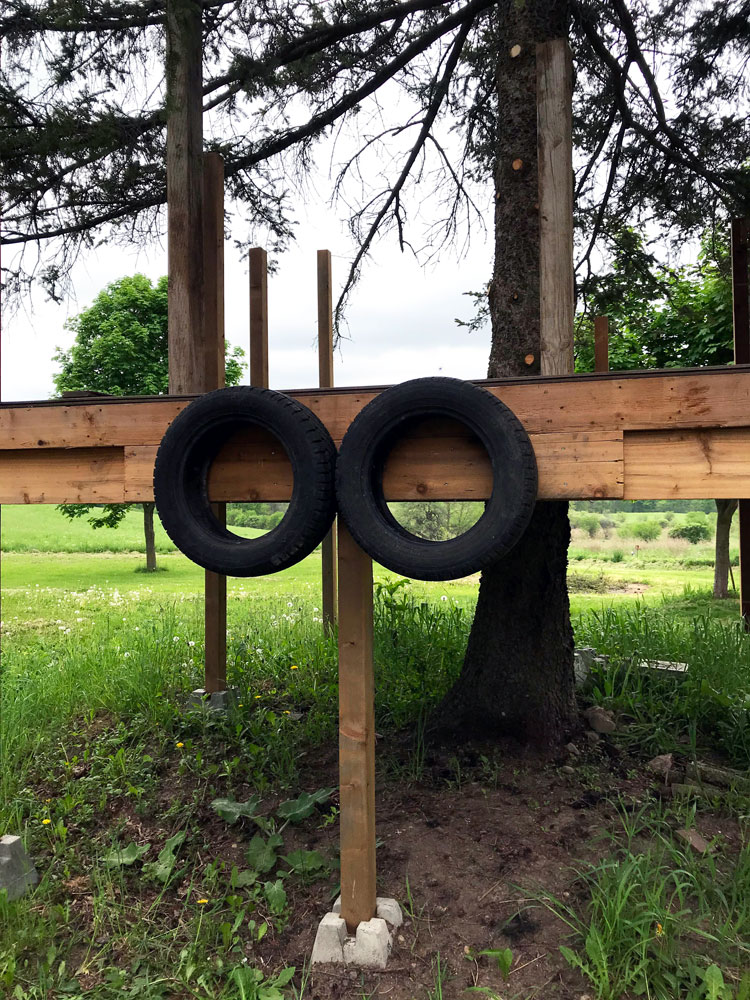
Our ladder is bolted through a beam that’s about 3 inches thick by 13 inches high (a combination of 2x6s and 2x8s stacked on top of each other and sandwiched together). The beam and the tires are all supported by three 4×4 posts, one at each end and another in the middle.
Size matters
Select tires that are (roughly) the same size. Smaller tires make the ladder easier for little legs to climb.
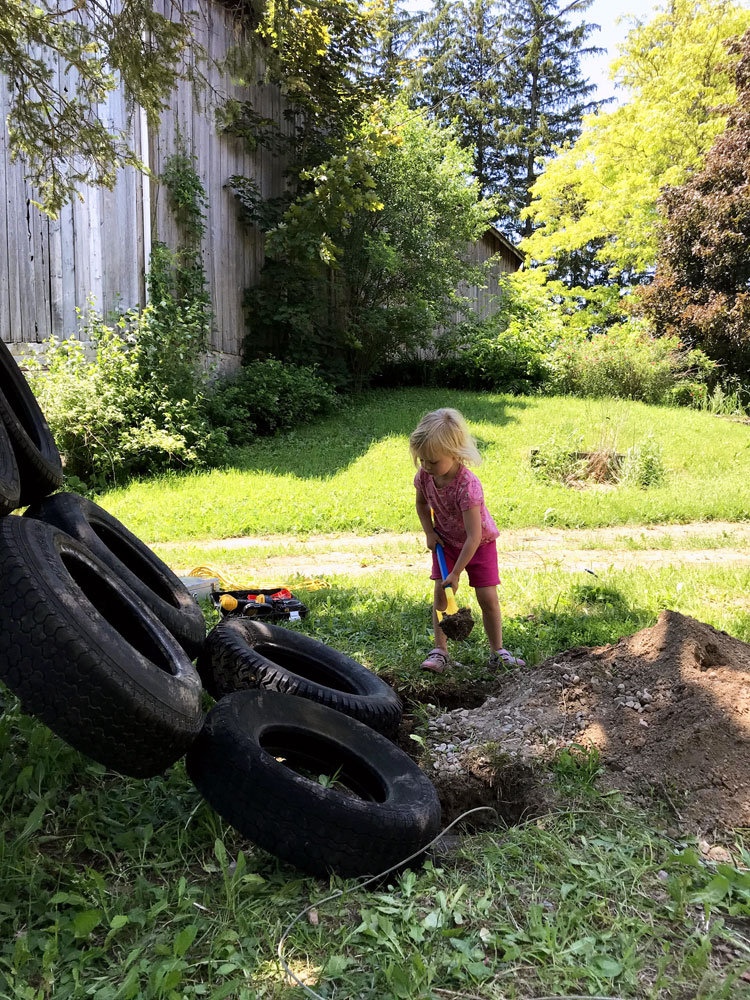
Thanks to previous owners, we have a big stash of old tires. They’re various sizes and are spread all around the farm (including at the edge of the back forest, which meant a post-bedtime trip with the tractor to dig them out by headlight).

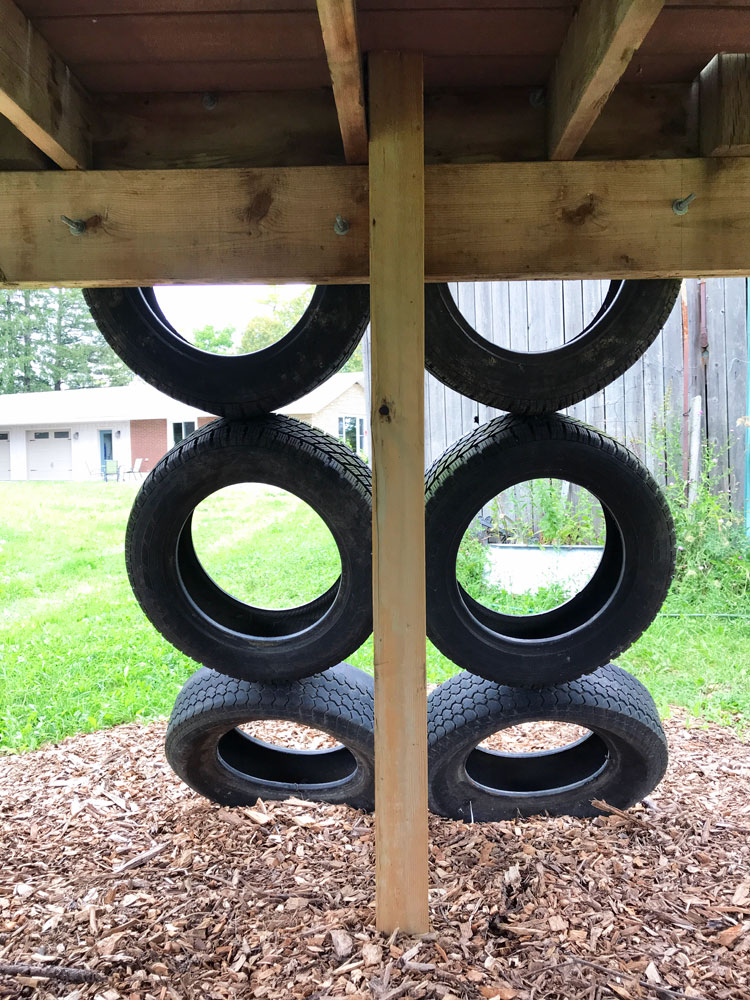
I chose ones that were roughly 21 inches in diameter, which seemed like a good fit for Ellie. I used eight tires–two columns of four. The treehouse deck is 5 feet off the ground at this end, so four tires high gives a gentle slope (more on this below).

Gravity is not your friend
As I mentioned above, tires are heavy. Therefore, the easiest option is to build your ladder on the ground. Lay your tires flat, bolt them all together while gravity is on your side and then hoist the finished ladder into place.
However, I was building the ladder by myself (the treehouse was my pandemic project), and I knew I wouldn’t be able to lift eight tires up to the deck and bolt them in place once my ladder was complete.
So I attached one tire at a time to the treehouse. I started at the top and worked my way down. It was a bit of a trick to hold a tire up and slip a bolt through the hole and screw on the nut, but hoisting one tire at a time was a lot easier than lifting eight.
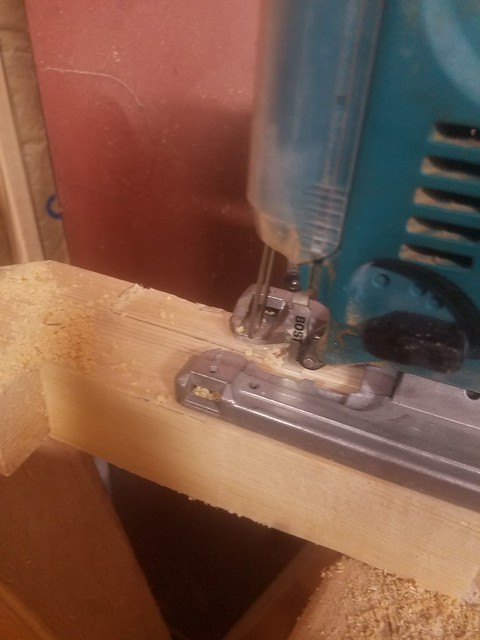
We’re gonna need a bigger drill
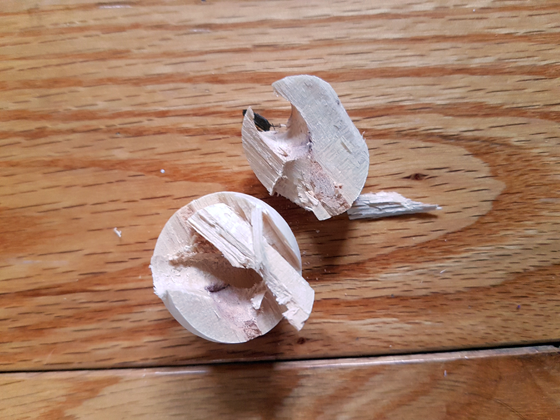
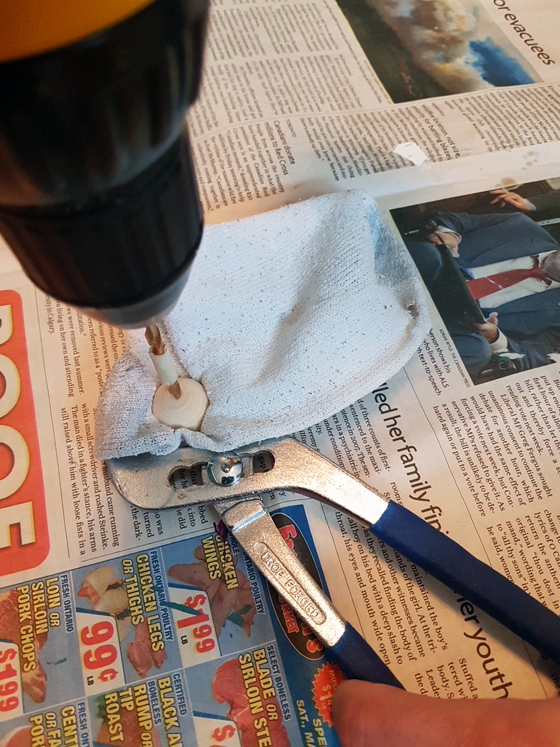
I drilled all the tires while they were on the ground. Drilling through tires was surprisingly difficult. The rubber was super thick and tough. And you’ll also run into steel mesh embedded in the rubber.
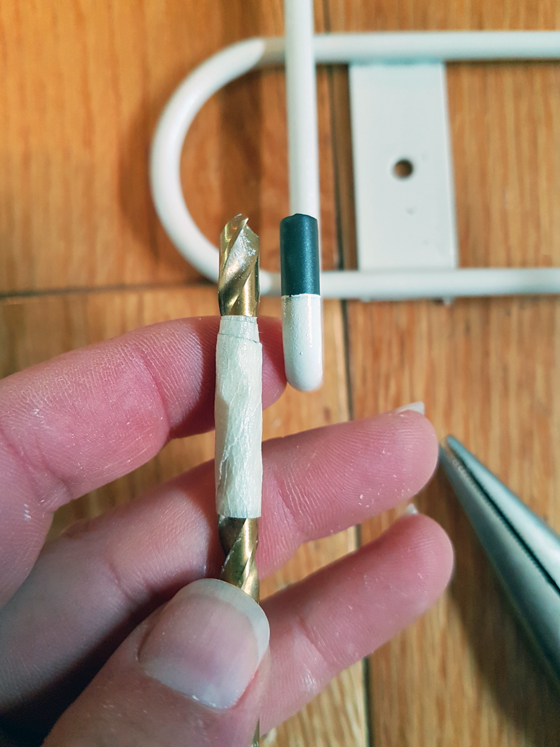
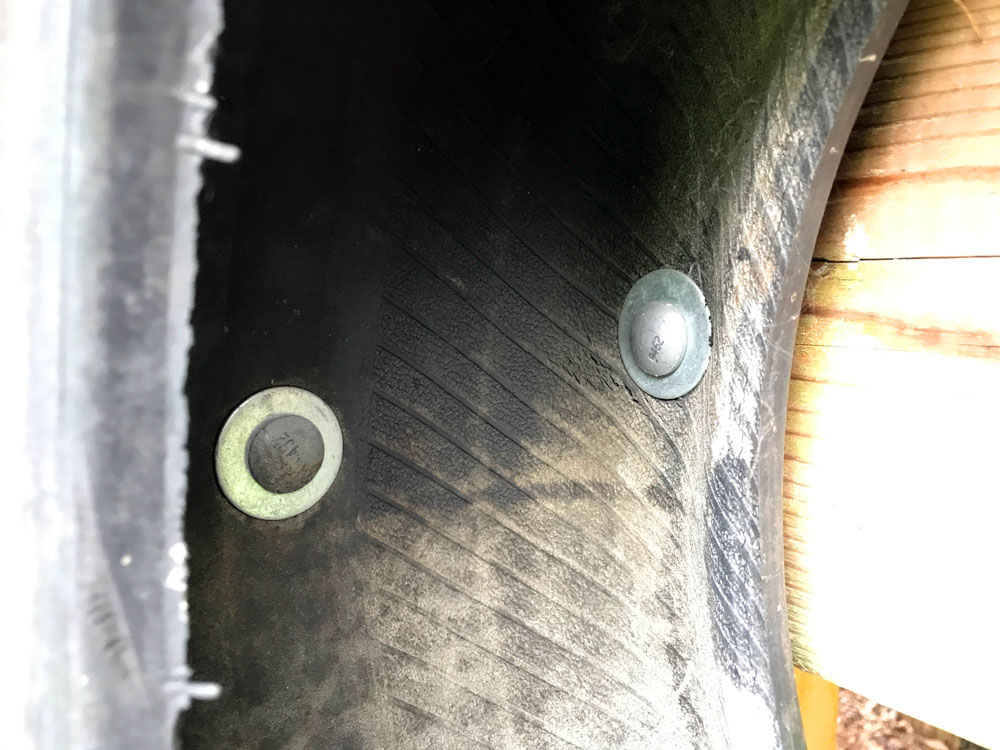
I ended up using my Dad’s hammer drill. I didn’t need the hammer feature, but I needed the power of the big heavy drill. I also needed a big bit. I had bought 3/8 bolts, but even a 1/2 inch hole was too small. Go big. I think I ended up drilling 1 inch holes. Washers will be your friend.
Each of the top tires is attached to the treehouse in three spots. All of the other tires are attached to one other at 12, 6 and either 3 or 9 o’clock (depending on what side of the ladder the tire is on).

The nuts and bolts of it
I used 3/8 galvanized carriage bolts for all of my fasteners. I put washers on the head and nut end of each bolt to ensure they didn’t get pulled through the tires.
A nut bit for your drill will make fastening your bolts much easier. I don’t have one, so I used my socket wrench.
Also, gloves are a good idea. The rubber is not soft and reaching into the tires can be rough on your hands.
Another hill to climb
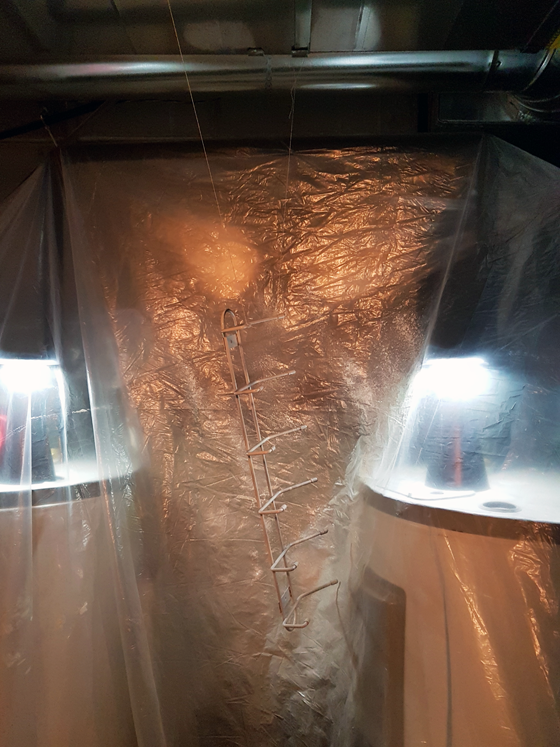
Once all the tires were together hanging on the treehouse, I was thrilled. Then Ellie and I each tried to go up the ladder and I was less thrilled. The tires were hanging straight down and they were so hard to climb.
I had to get the ladder to slope so that we were climbing a steep hill rather than a vertical cliff.
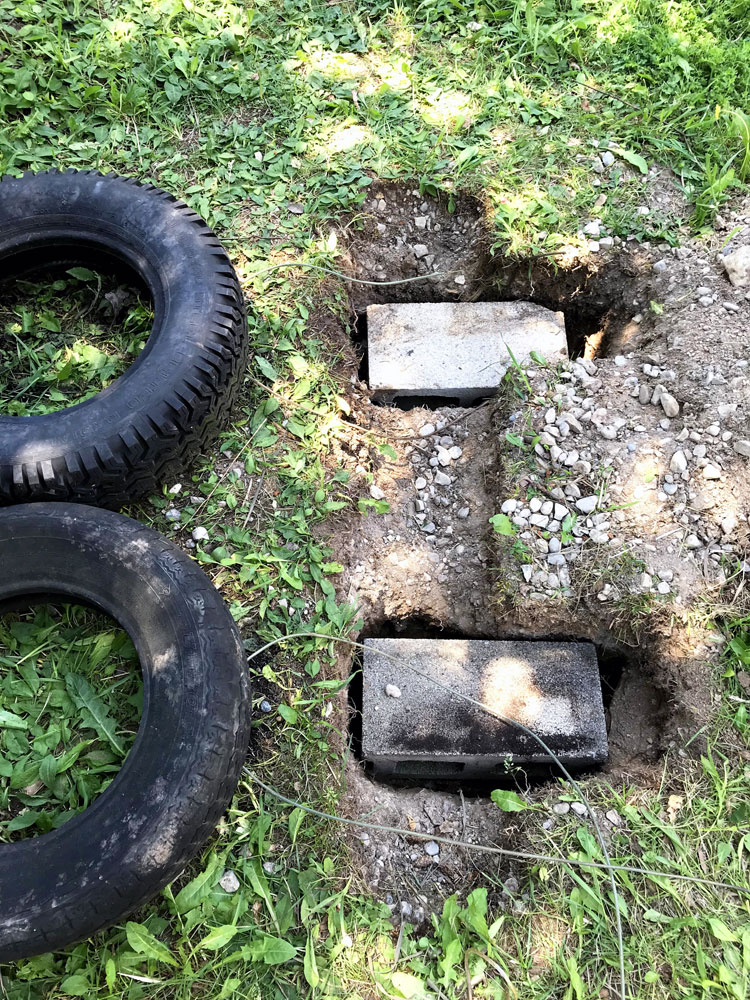
The solution that I came up with was to dig a hole where I wanted the bottom of the ladder to be. I set two cement blocks in the hole and wired the bottom tires to the blocks. Then we buried the blocks and the edge of the tires with dirt (and now with mulch).
That slight slope made all the difference. Three-year-old Ellie mastered the tire ladder quickly.
Drip, drip, drip
Tires are very good at holding water. Drilling some drainage holes at the lowest point on each tire will ensure your ladder doesn’t become a mosquito nursery and a mucky, splashy hazard.

I’m really glad that I chose a tire ladder for Ellie’s treehouse. I like that I was able to use up some of the tires we have lying around. I also like that it’s somewhat challenging for kids and different from what they see at most playgrounds.
I hope it is part of her memories when she’s an adult, as my elementary school playground is part of mine.