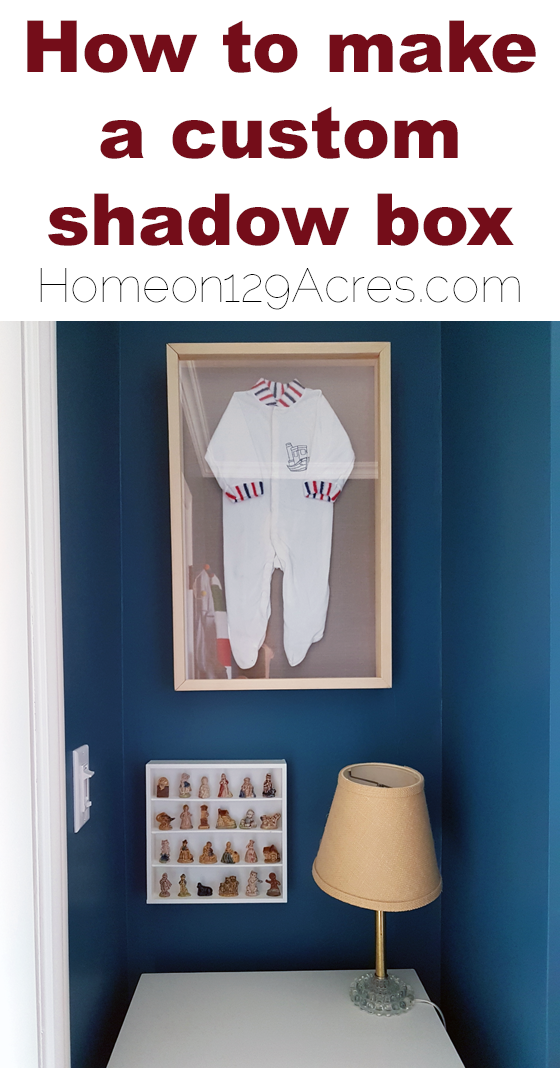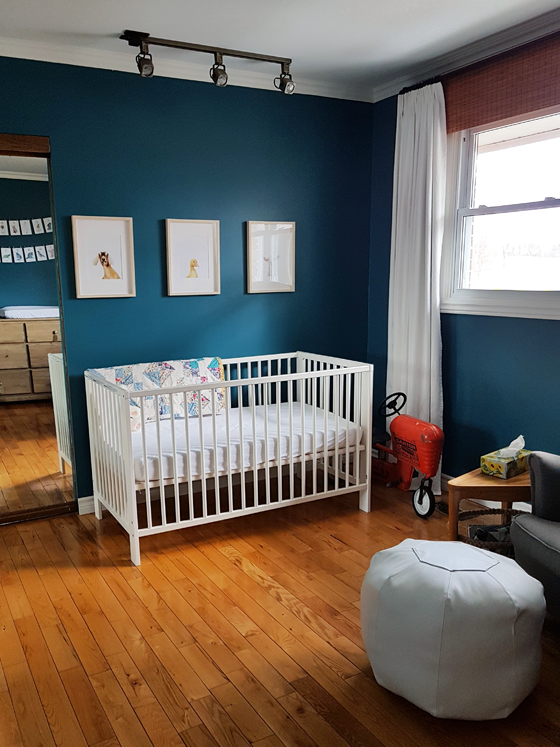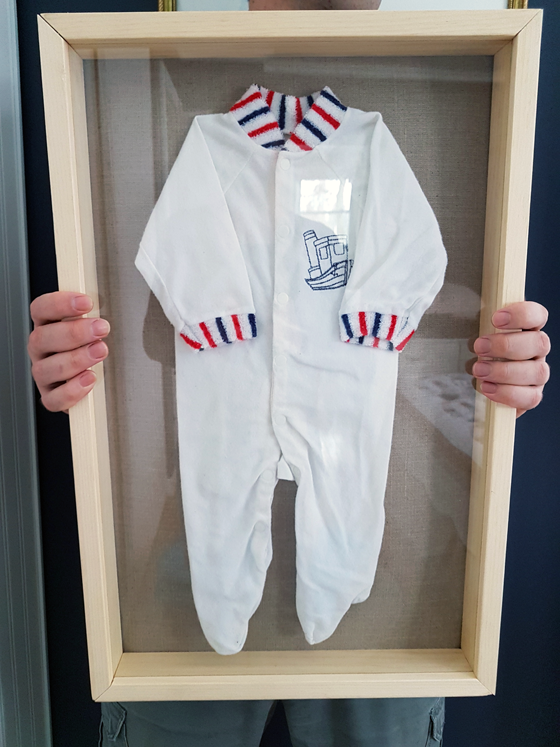
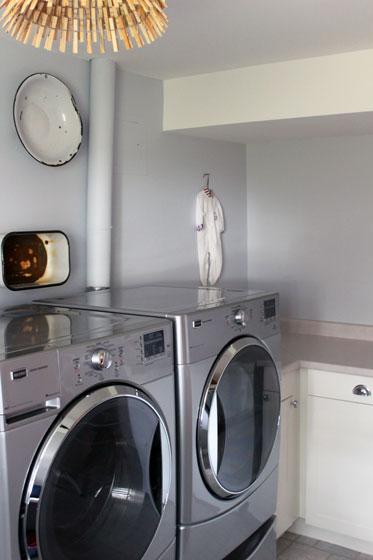
Years ago Matt’s Mom gave us the teeny tiny sleepers Matt wore home from the hospital when he was first born. If you recall our laundry room makeover, I had hung the sleepers on the wall and mentioned that I’d someday like to make a shadow box for them.
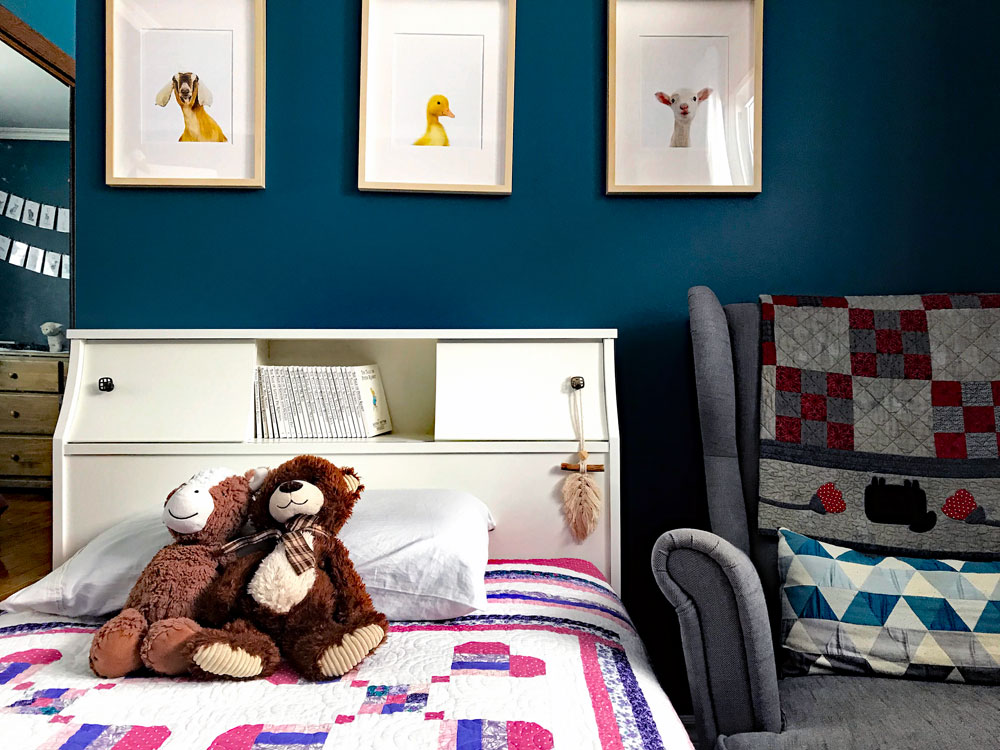
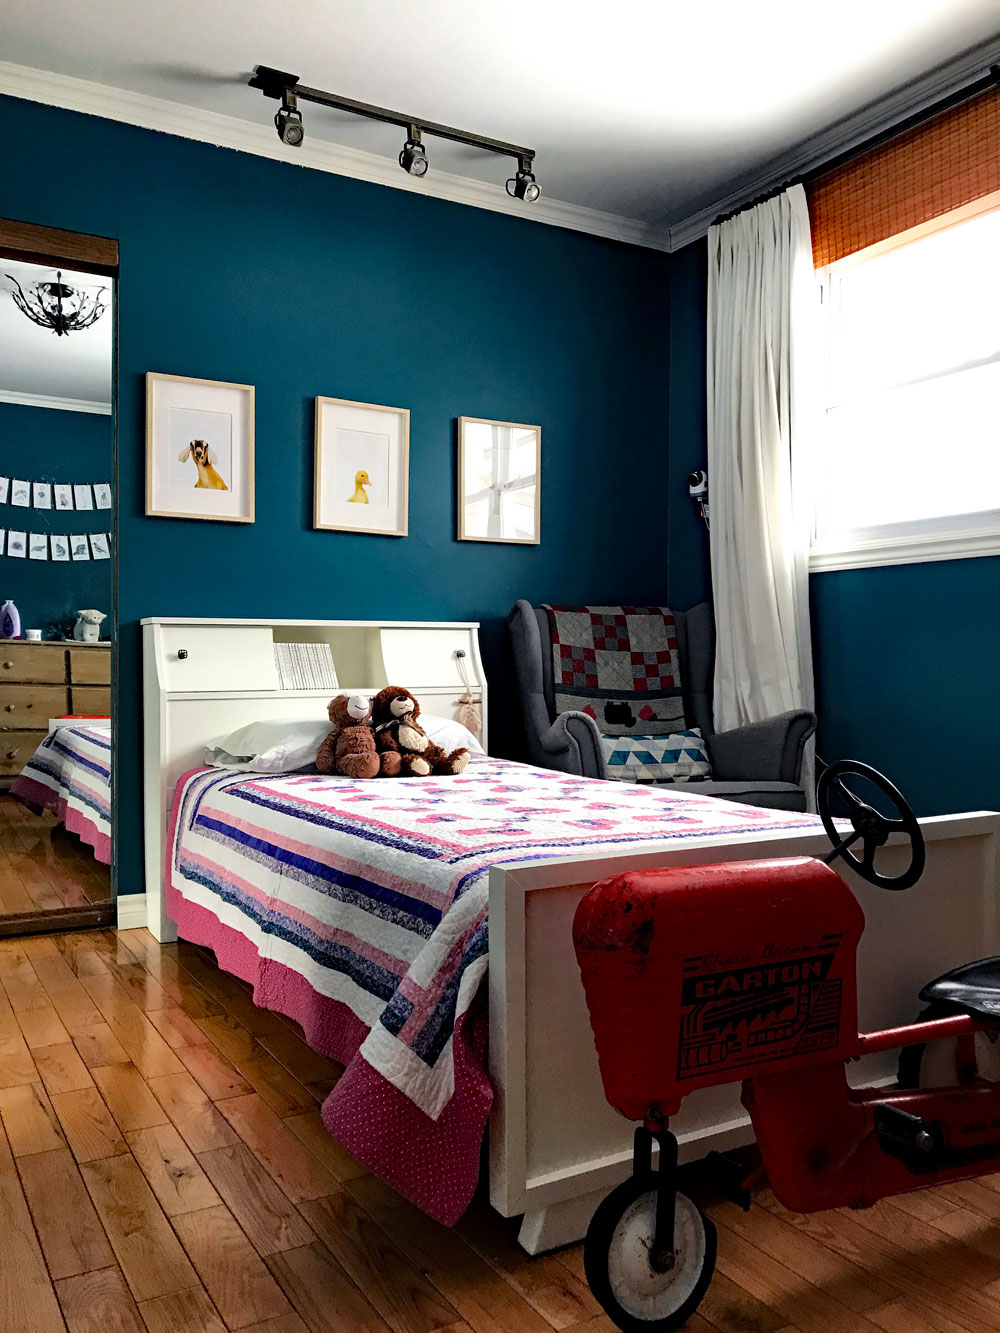
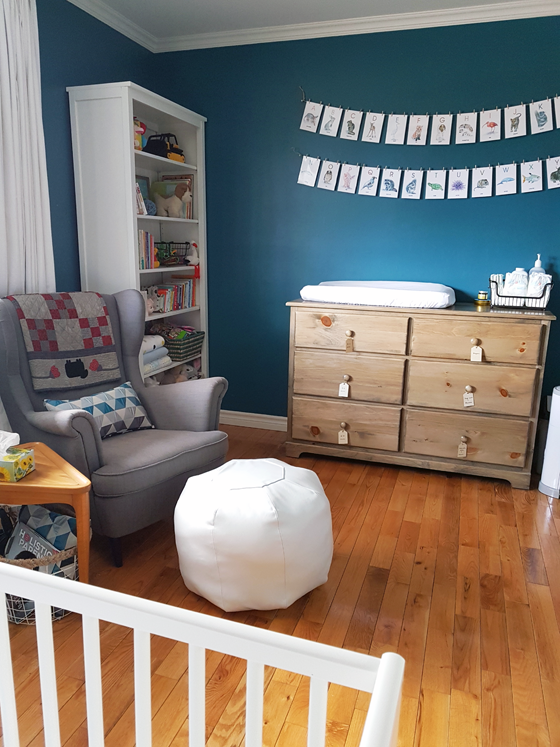
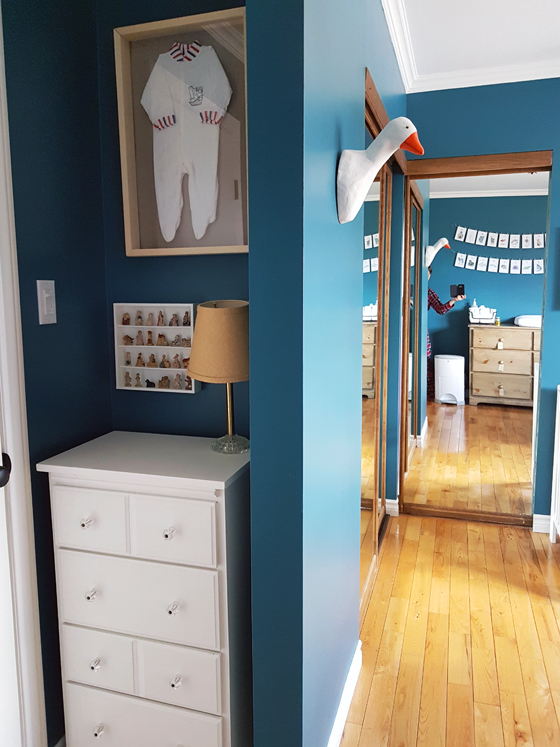
I decided the sleepers would be super cute in Ellie’s room, and it was officially time to display them properly in a shadow box.
Custom shadow boxes tend to be very expen$ive, so I knew this was something I was going to make myself. It ended up being very simple and cost much, much, much less than I expected.
Materials
- 1×3 (choose lumber that is an appropriate width for the items that you want to frame)
- Glass
- Hardboard or thin plywood for backing
- Cork sheet (optional)
- Fabric, wall paper or paint (for backing–optional)
- Construction adhesive (optional)
- Finishing nails
- Staples
- Wood glue
- Wire
Tools
- Nail gun
- Tablesaw
- Mitre saw
- Staple gun
- Hammer
Method
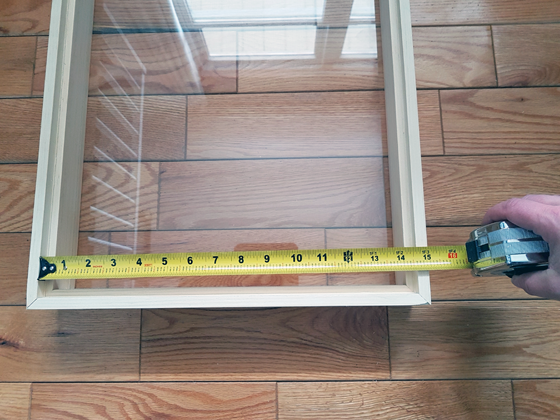
1. Measure the item that you want to frame to determine the dimensions for your shadow box.
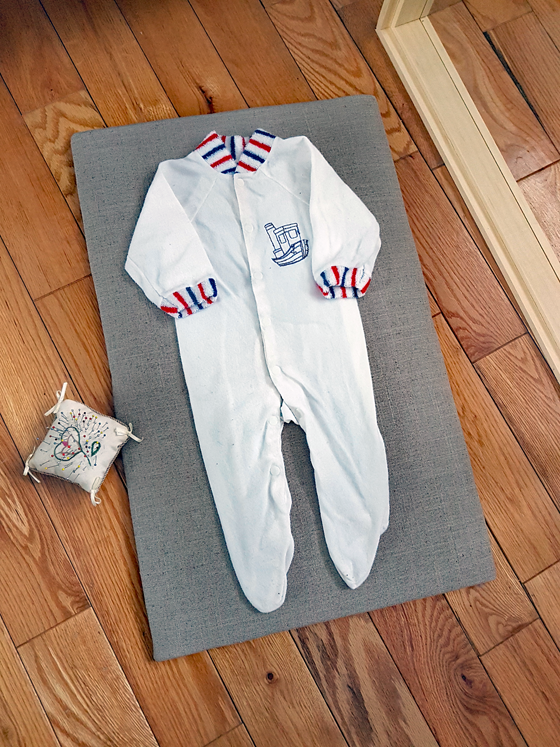
I figured out how I wanted the sleepers to look in the frame and then measured them, giving approximately an inch and a half of breathing space around the edge.
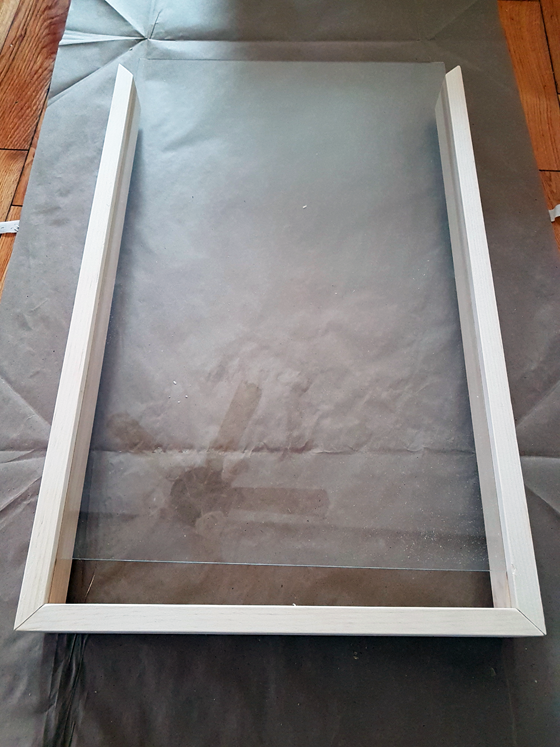
2. Have a piece of glass cut to your dimensions.
Our local hardware store cut the glass for me. Total cost for my 14 by 22 1/2 inch piece was an extremely reasonable $9.96. I had never bought glass before and was surprised that it was so cheap.
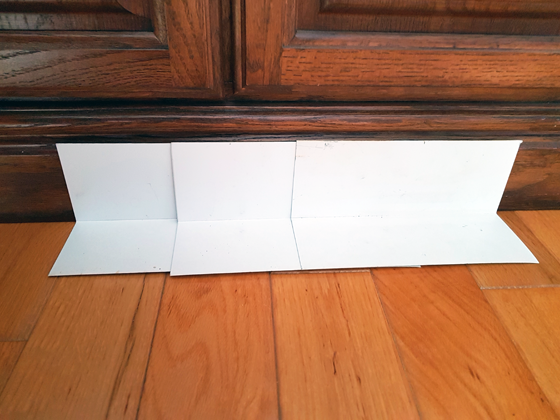
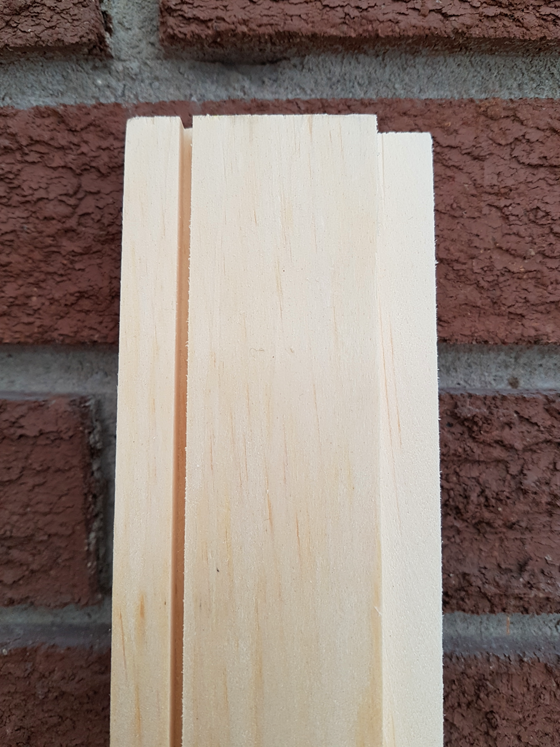
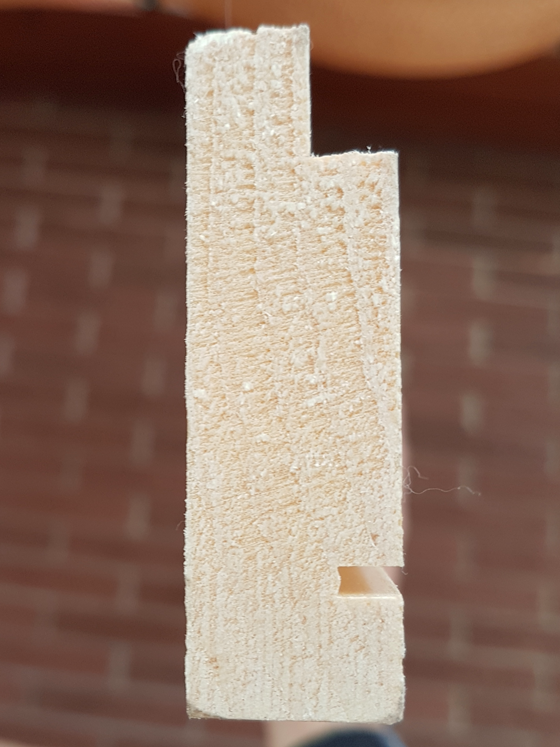
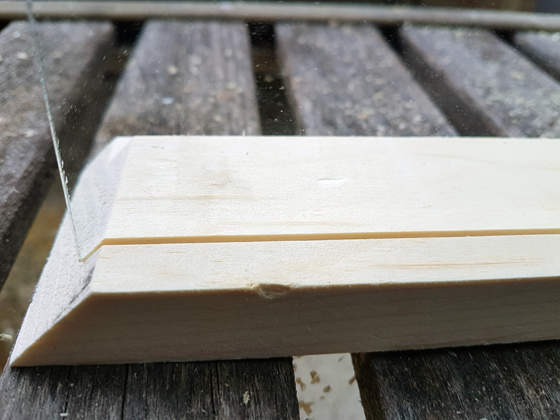
3. Cut grooves in 1×3 for glass and backing.
I like the depth 1x3s gave me for the sleepers. If you’re framing something bulkier, you may want to choose a wider stock.
I used my Dad’s tablesaw to cut two separate grooves in my 1×3. First was a channel for the glass. A single pass through the tablesaw was the exact width I needed for the glass. Depending on your glass, you may have to do a couple of passes. The groove is about 1/8 inch deep and about 1/4 inch from the edge of the wood.
For the backing, I cut a slightly different type of groove. I made a recess about a 1/4 inch into the depth and width of the 1×3.
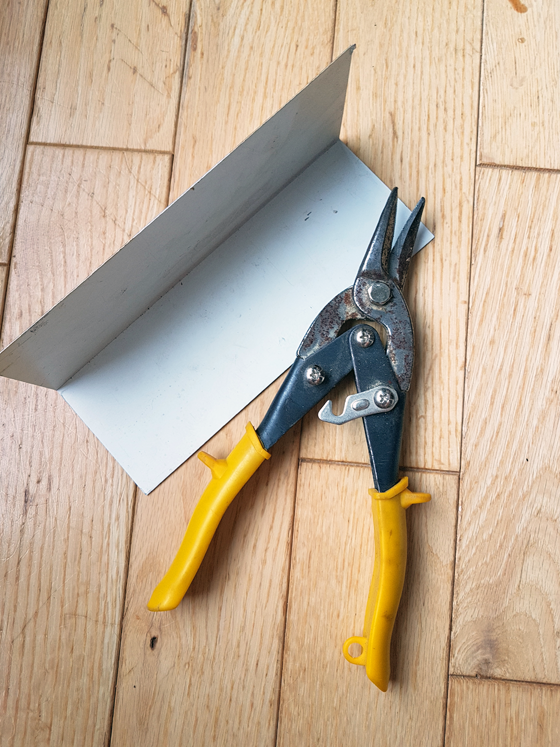
4. Cut the 1×3 to length.
Use your mitre saw to cut each piece to length with 45 degree angles.
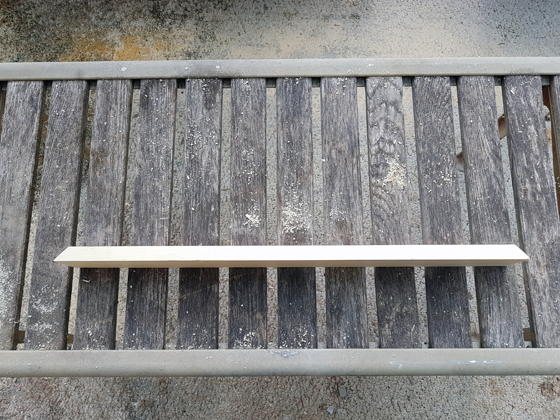
You want your wood to be ever so slightly shorter than your glass, so that the glass slides into the channels all the way around. Don’t make your frame too tight.
Take your time at this stage and dryfit, dryfit, dryfit as you go to make sure your wood and glass are fitting together perfectly. I purposely cut my pieces a bit long and then trimmed off little tiny slices to ensure a perfect length.
4. Glue and nail your 1x3s together.
Run a thin line of glue over all of your corners and nail together.
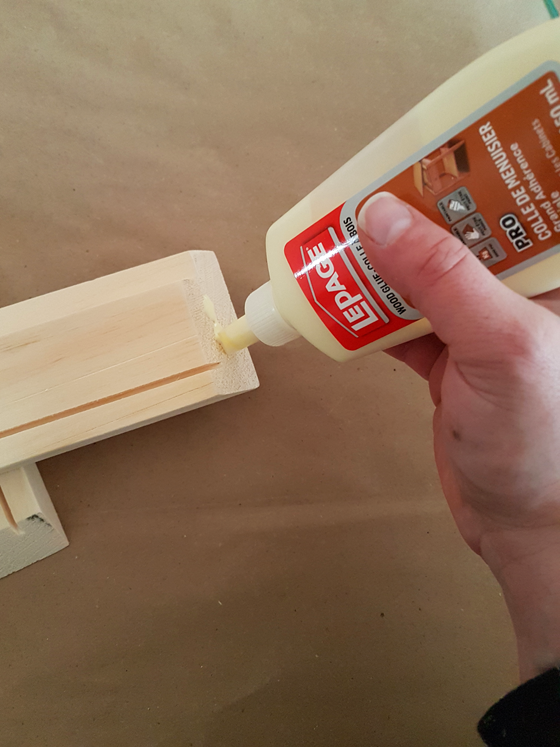
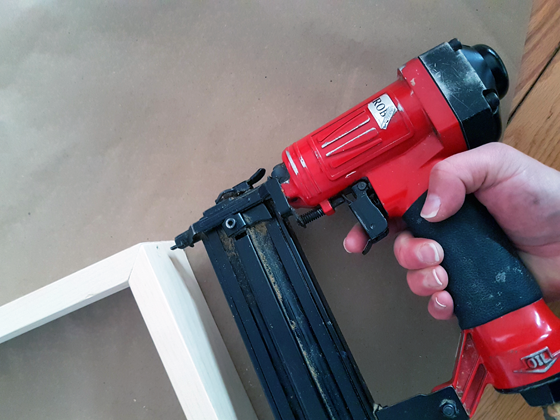
A nail gun is absolutely the best way to do this. Once you get three sides together, slide your glass into the frame before adding the fourth side.
If you don’t have a nail gun and are instead using a hammer, there’s a larger possibility of cracking the glass.
5. Cut backing for the frame.
Measure the size of panel that will fit in the recessed area on the back of your frame. Cut your backing just a little bit narrower and shorter than the opening (about an 1/8 inch all the way around). If your backing is too tight, it can loosen the joints of your frame.
6. Adhere cork to backing (optional)
I decided that the best way to attach the sleepers to the backing was going to be with pins, so I put a couple of layers of cork on the backing to give me something soft to pin to. Depending on how you’re mounting your item, this step may not be necessary.
I took a few pieces of leftover cork flooring underlay that we had and cut them to the size of the backing. Then I adhered them with construction adhesive.
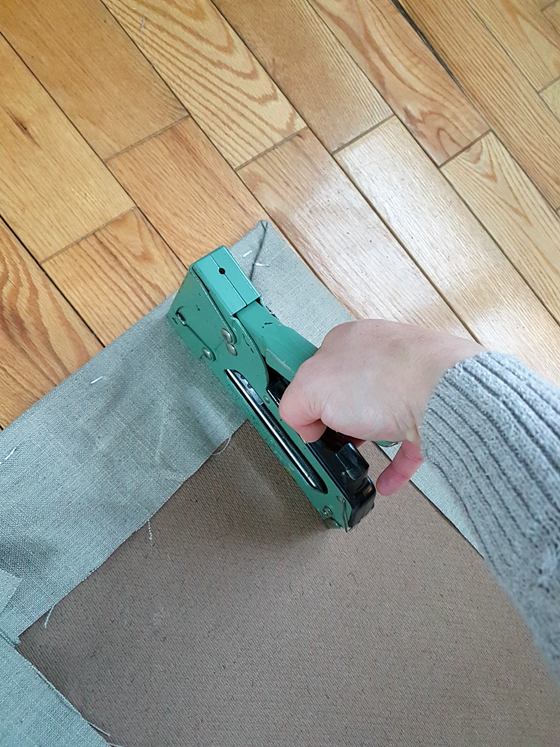
7. Wrap the backing in fabric (optional)
The raw wood (or cork) of the backing may not be the most attractive. I found a piece of fabric and wrapped the backing in that for a more attractive base. You could also paint or use a scrap of fancy paper to cover your backing.
8. Mount the item.
For the sleepers, I chose to use little tiny pins to attach it to the backing. I hid the pins inside the sleeves, neck and folds of the fabric.
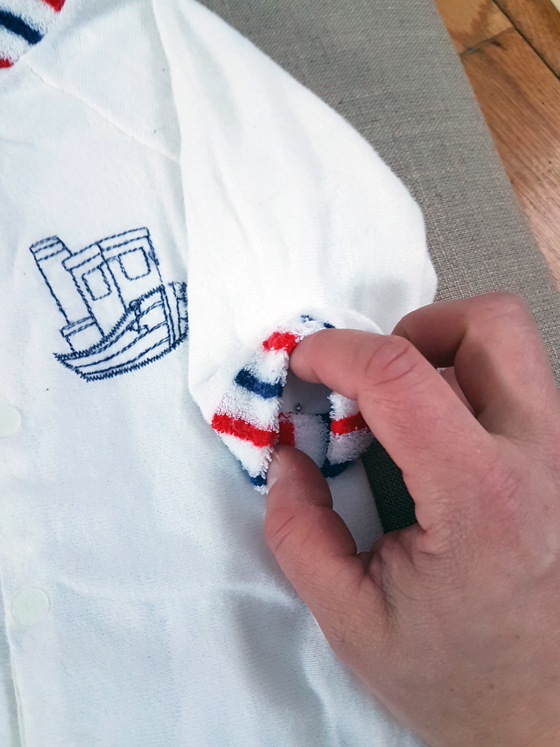
Depending on what item you’re framing, you could also use glue, tape or other tricks to mount it in your frame. Be careful whatever you use because it may damage the item. For example, I didn’t love the idea of tape or glue residue on the sleepers.
The weight of your item will also affect how you mount it.
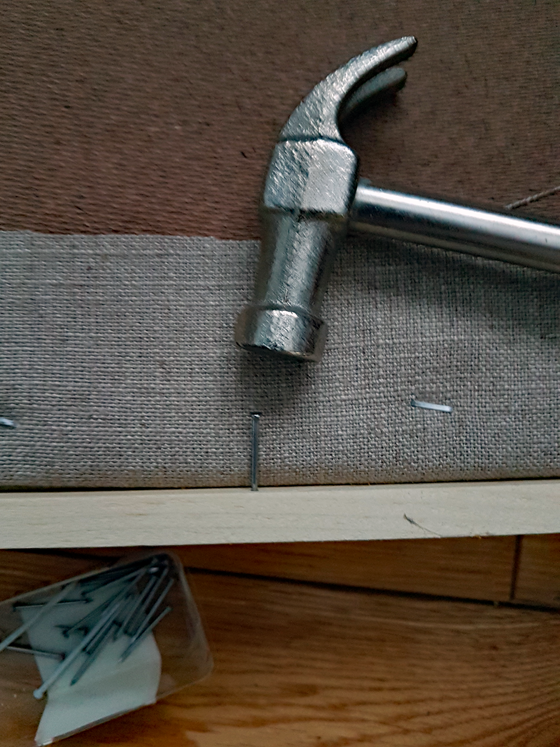
9. Insert the item and backing into the frame.
Carefully set the backing into the recess of the frame. Tap little finishing nails around the edge to hold the backing in place. I did this by hand very, very gently. Don’t set the nails all the way flush. You want them to stick out so they serve as a barrier to keep the backing in place.
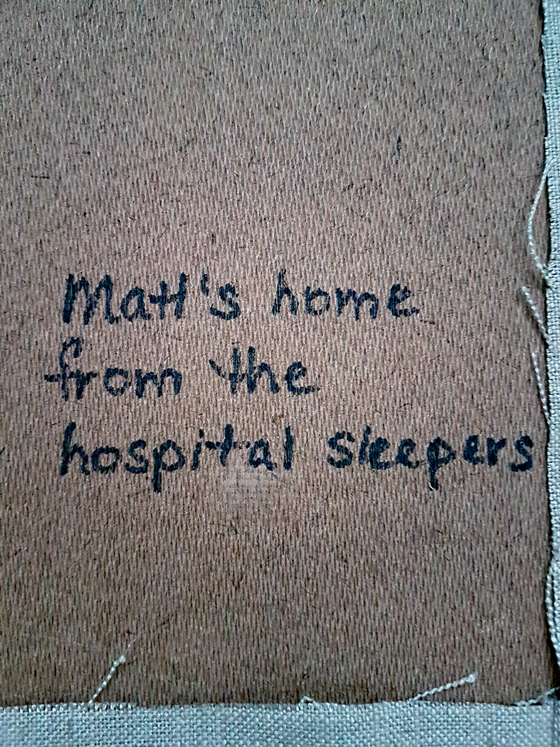
For an extra tidy finish, you can cover the entire back side of the frame with a piece of paper. Professional frames often come with simple brown paper glued to the back of the frame. I didn’t bother doing this because I wasn’t worried about what the back looks like.
I did add a note with a marker on the back about what was in the frame.
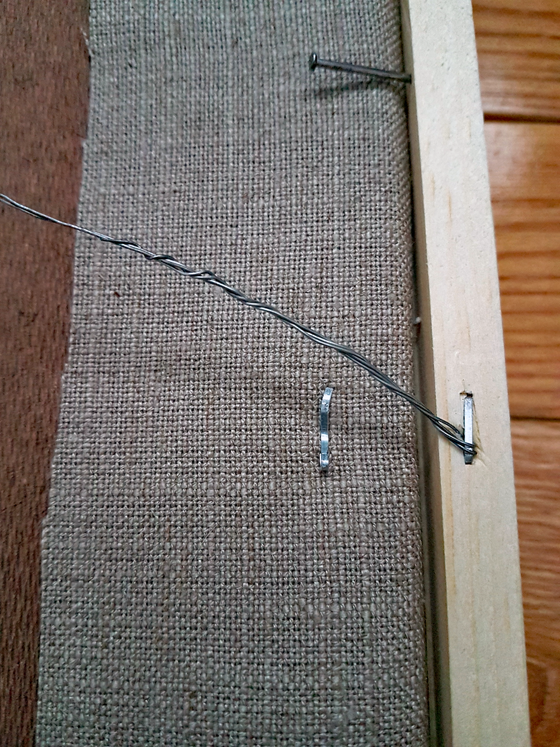
10. String a wire across your frame for hanging.
I attached a piece of wire to the frame with two staples, one on either side. This gave me a secure line to set over my hook on the wall.
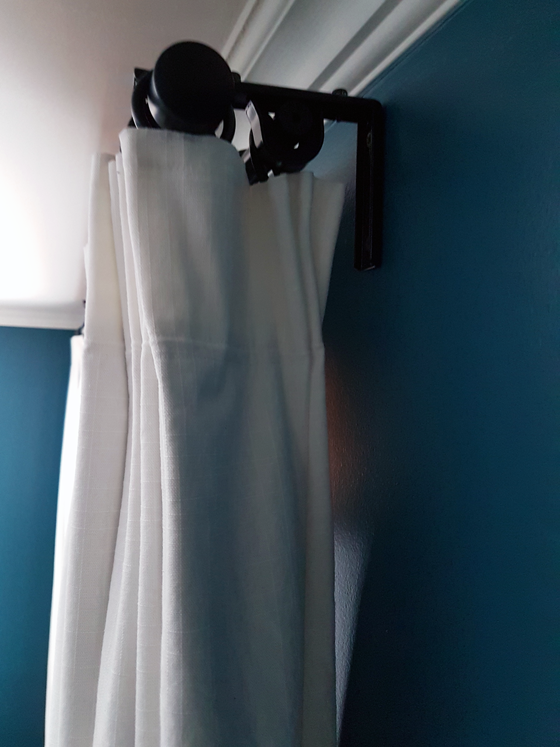
11. Hang your shadow box and admire your handiwork.
The paint stick and screw trick makes hanging anything (but particularly a shadow box) so much easier. Give yourself a break and whip one of these up.
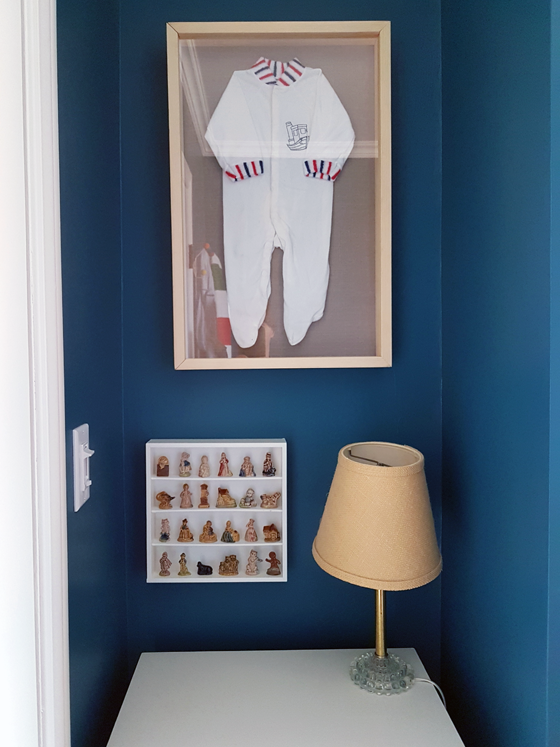
I’m very happy that I finally completed this project after thinking about it for so long. A shadow box is a great way to protect these little sleepers, and it’s very special to see them everyday in Ellie’s room.
Do you have any items displayed in shadow boxes at your house? What would you like to frame in a shadow box? Have you ever built a custom frame?