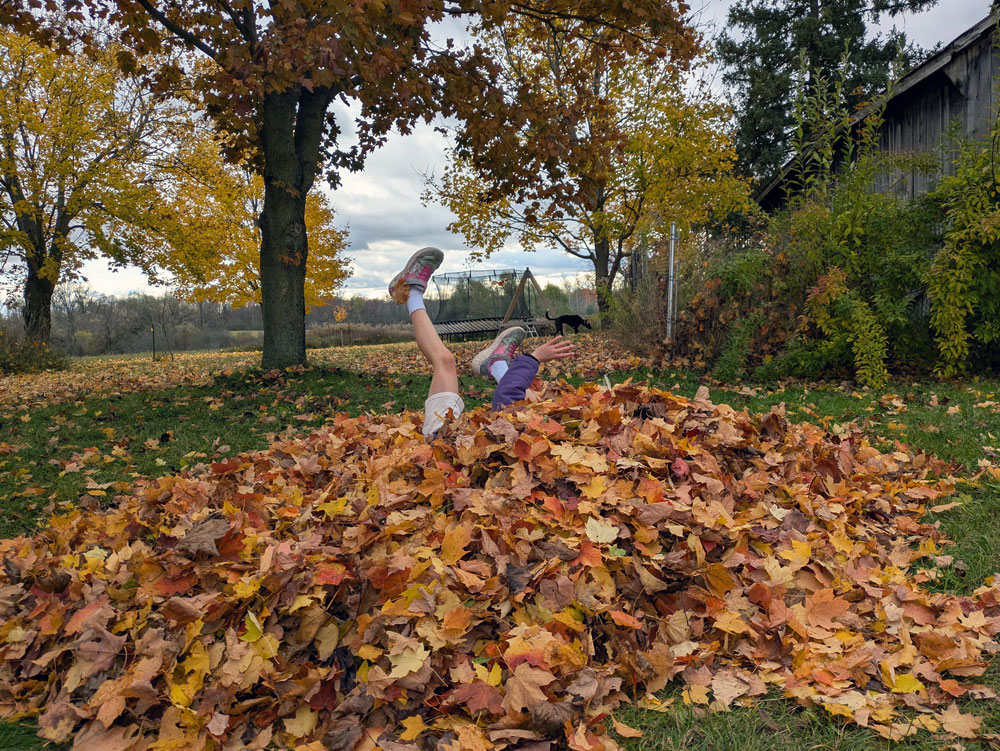
December has arrived–and with it our first significant snowfall. That means time is up on my fall to-do list.
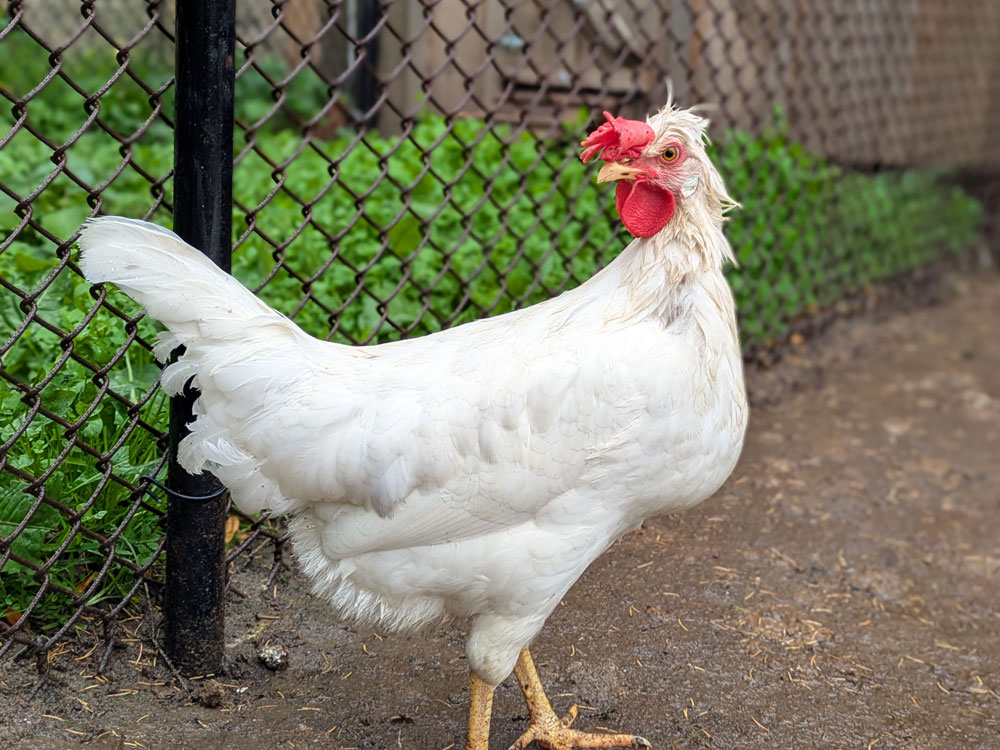
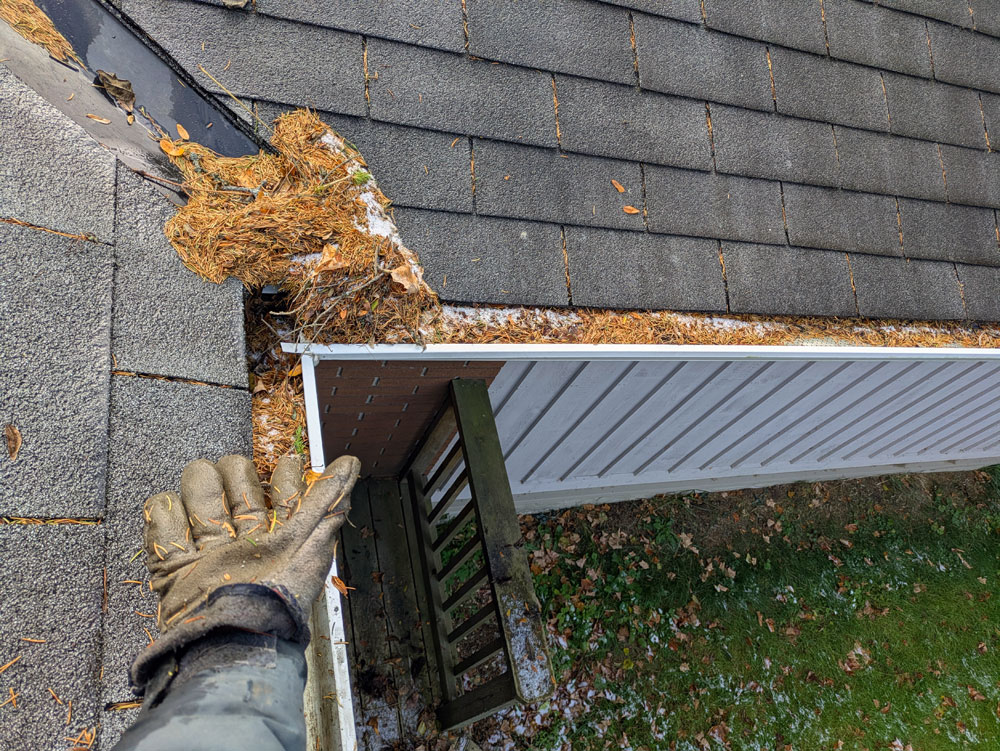
Winter came on fast this fall. I was waiting for all the leaves to fall from the trees before I cleaned the eavestroughs. Then temperatures turned cold. Weather got rainy (causing unfortunate hair-dos for Hair-Do) and then snow.

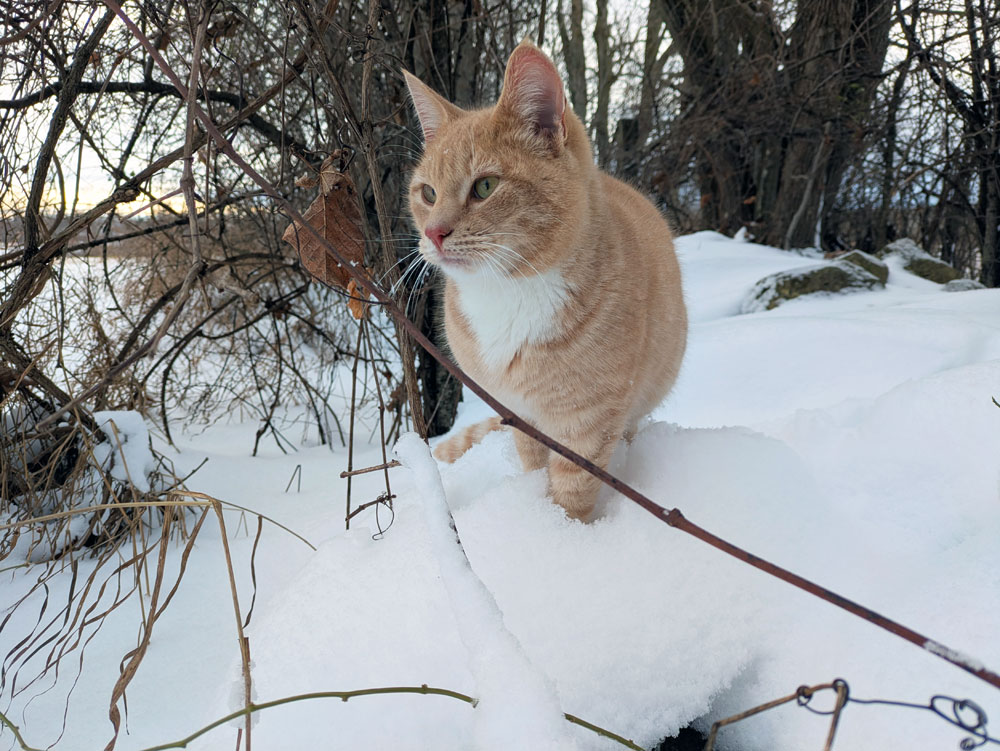
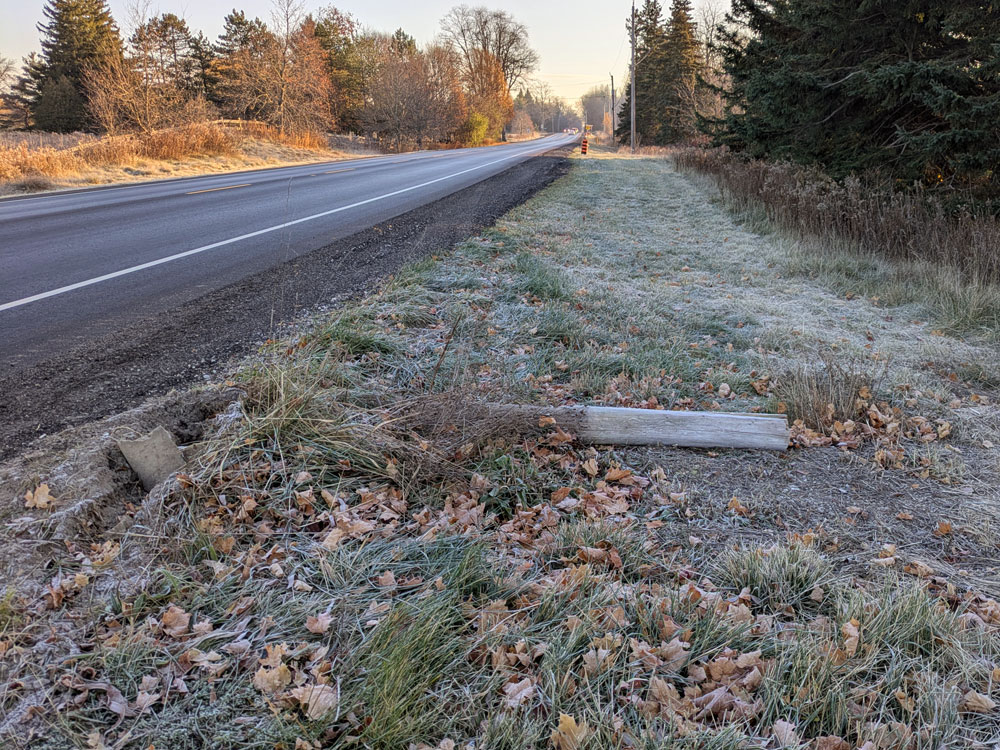
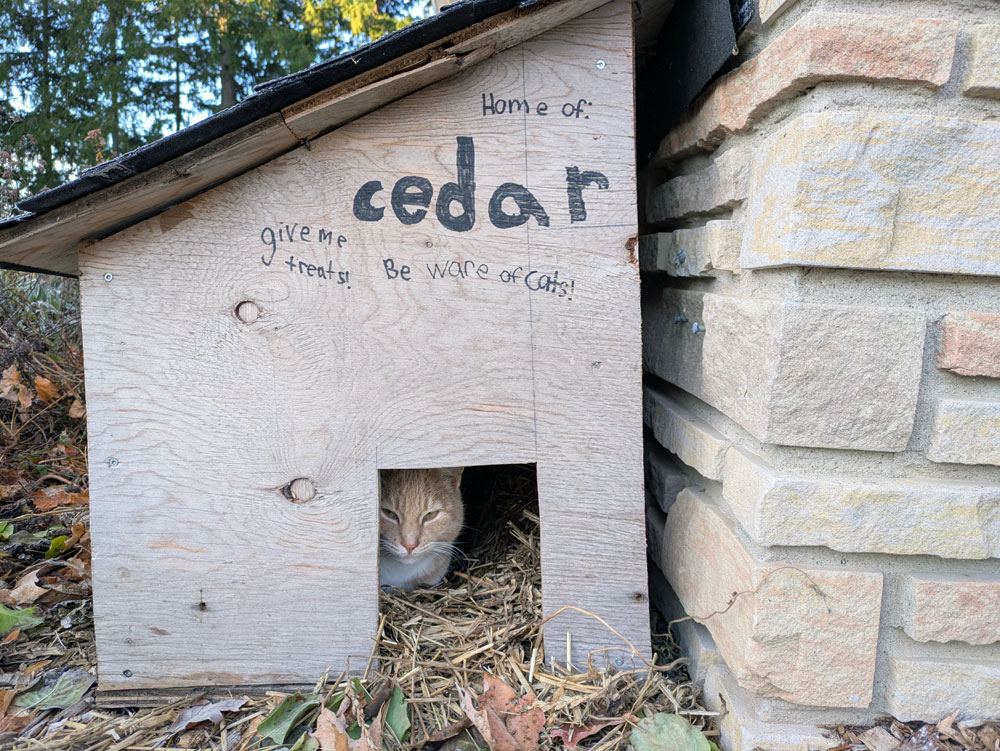
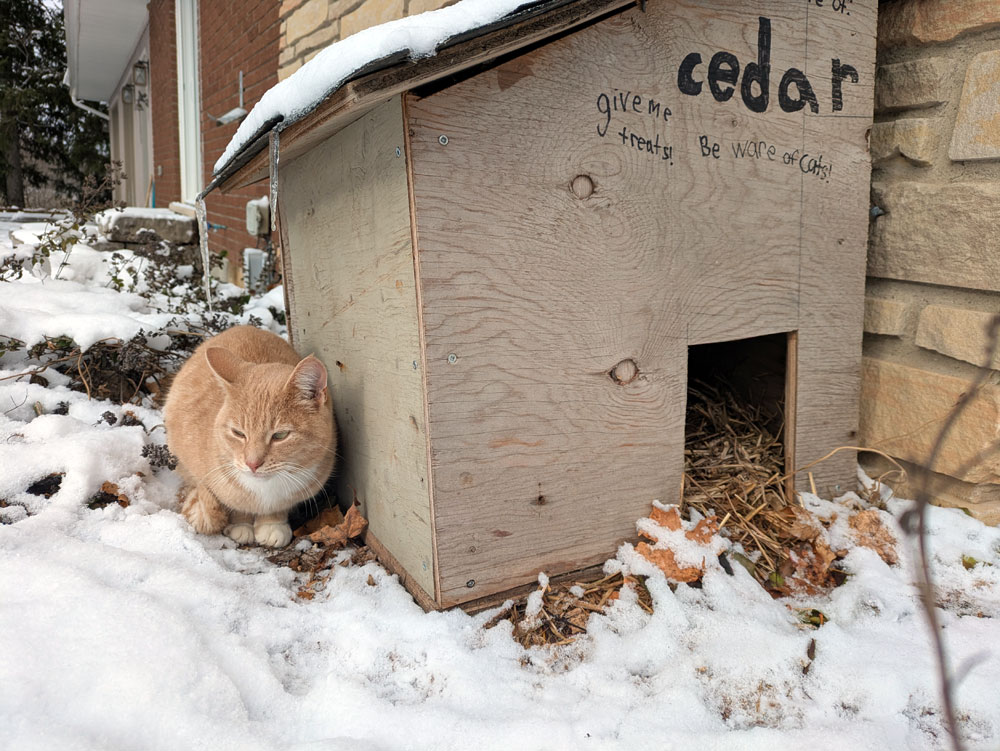
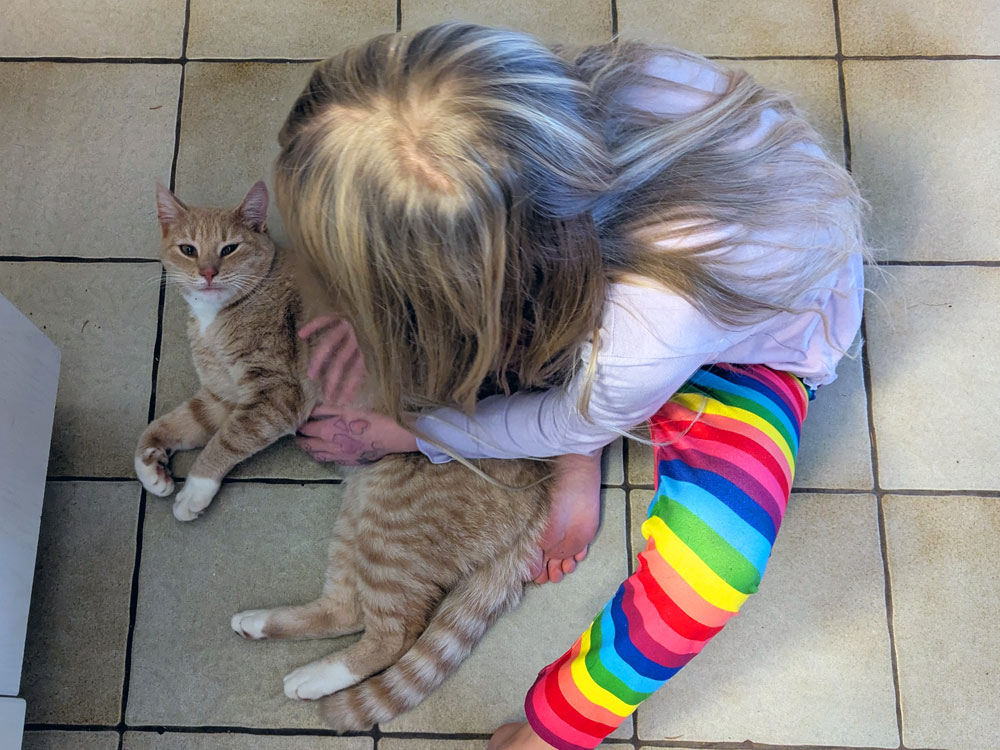
I cleaned the eavestroughs, but it involved a jug of hot water and a chisel. I turned off the last outside tap when temperatures were already below freezing. I dealt with some new to-dos, like resetting our mailbox post after it was knocked over by a street racer and setting up a cat house for Cedar who persists in hanging out under the lilac in the front flowerbed rather than in the barn.
“Inside is for wimps.”
“Never mind. This inside is perfect. I’ll stay here. Thanks.”
I also checked a bunch of smaller tasks off the list and tackled some (not all) of the tasks on my main fall to-do list. Here’s how I did.
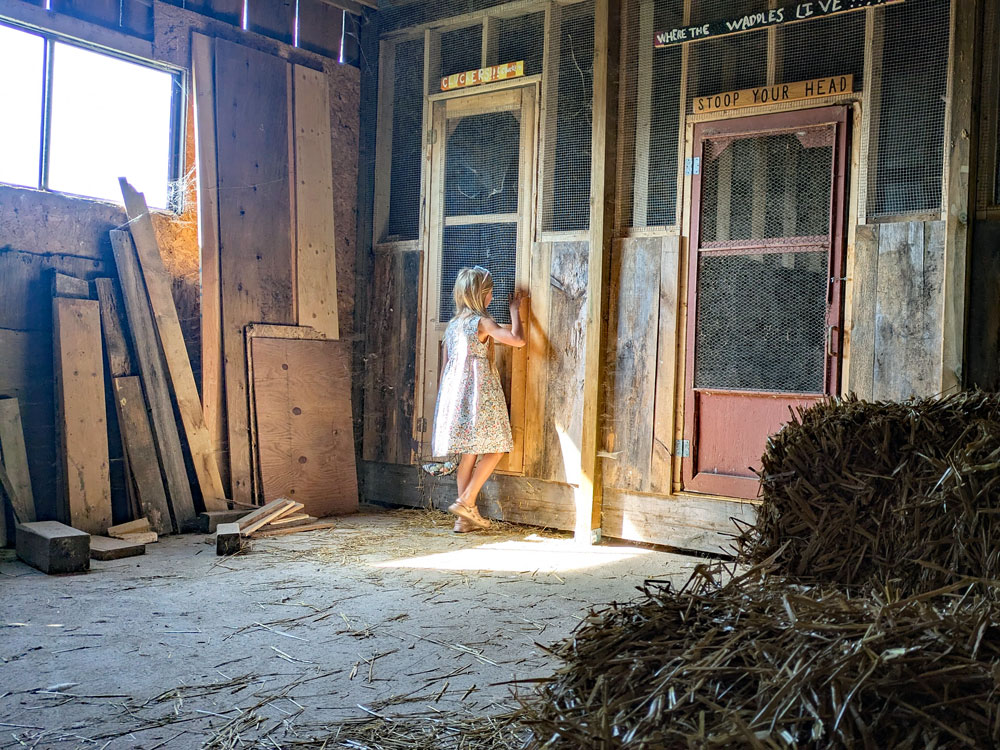
Coop
The coop felt like the biggest task–and the most critical. I did pretty well here.
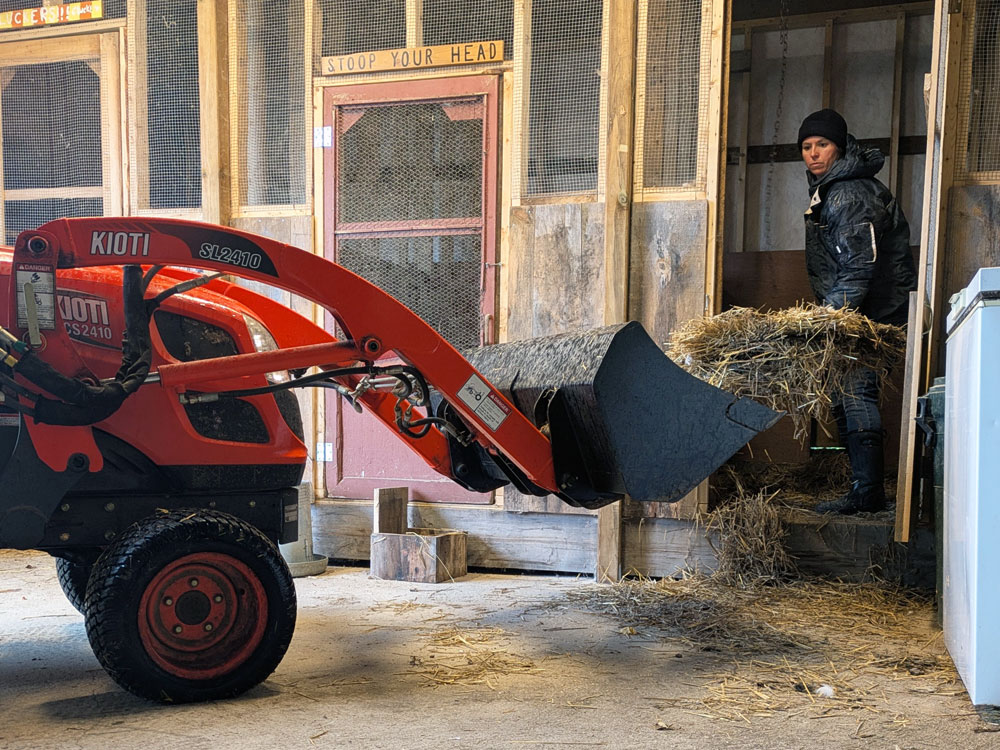
Clean out the pens – Done.
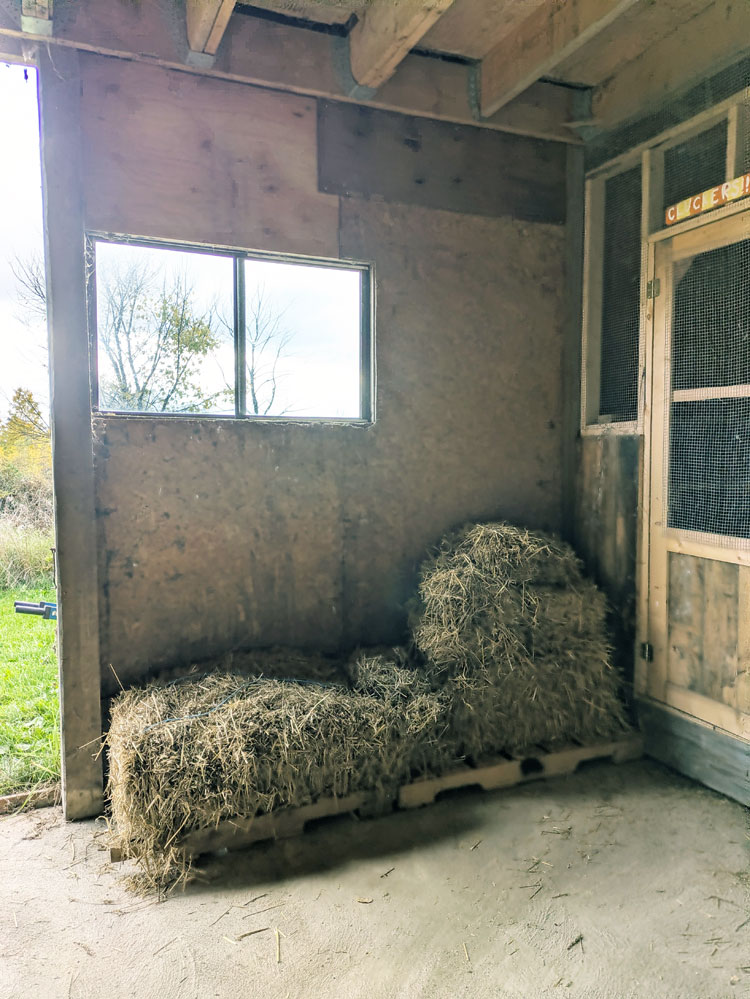
Put in fresh straw – Done. The chickens will keep getting new layers of fresh straw throughout the winter.
Patch drafts in the walls – Done.
Patch leaks in the roof – Not done. We had some big rains in the fall and the coop stayed dry, so I’m crossing my fingers that will hold for the winter. I’m hoping to revisit the roof in the spring.
Clean up scrap wood – Half done. (The smaller pile, of course.)
Set up a designated straw area – Done
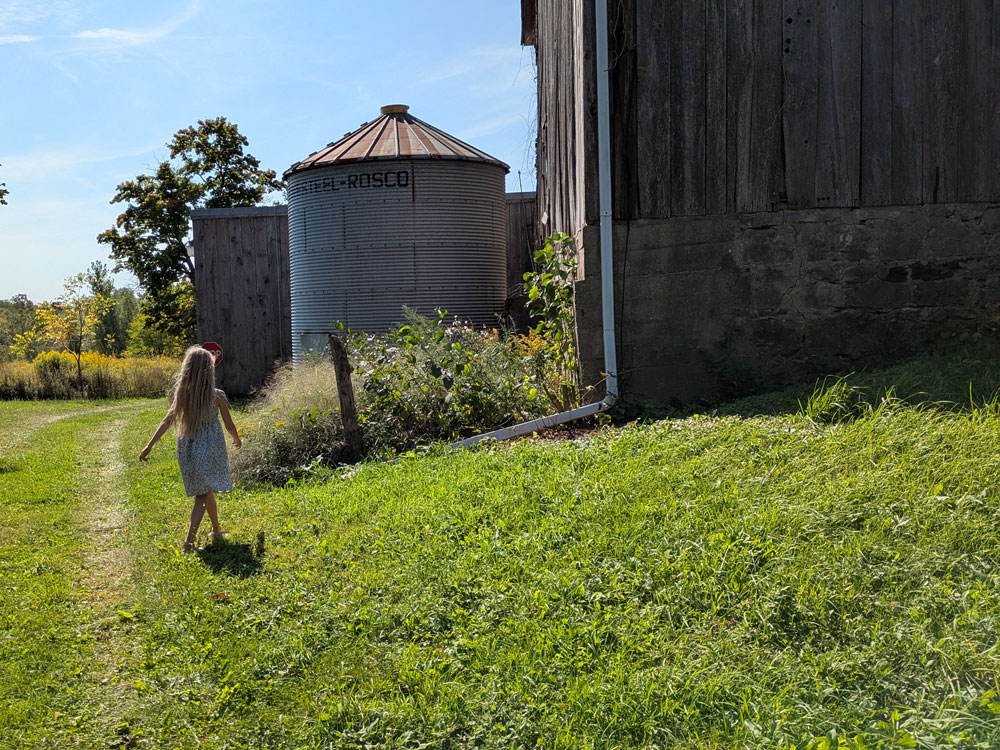
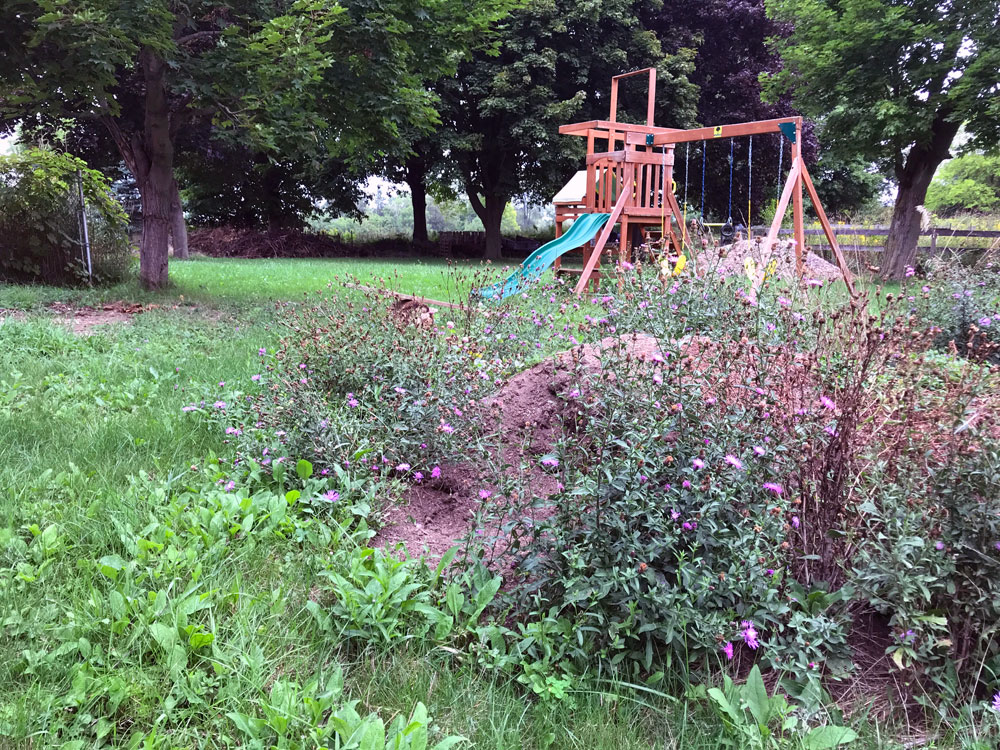
Barn grading
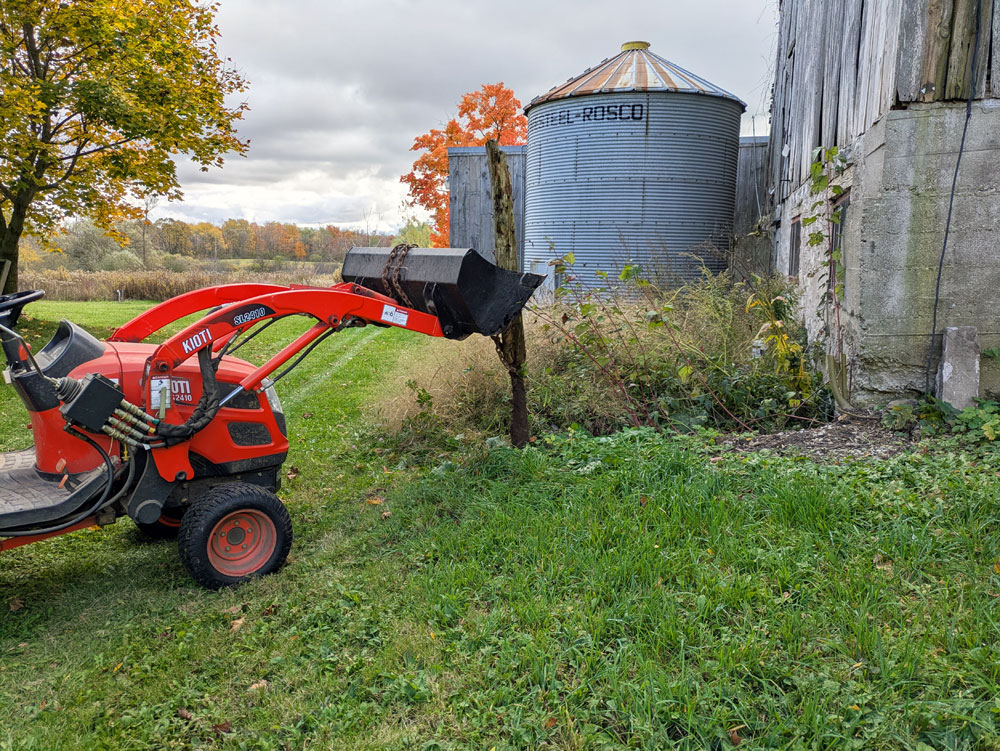
This task was my biggest fail. Fortunately, it’s not a critical pre-winter task, so it’s moving over to the spring to-do list.
Remove old fence post – Done.
Remove bush – Half done.
Spread dirt – Not done.
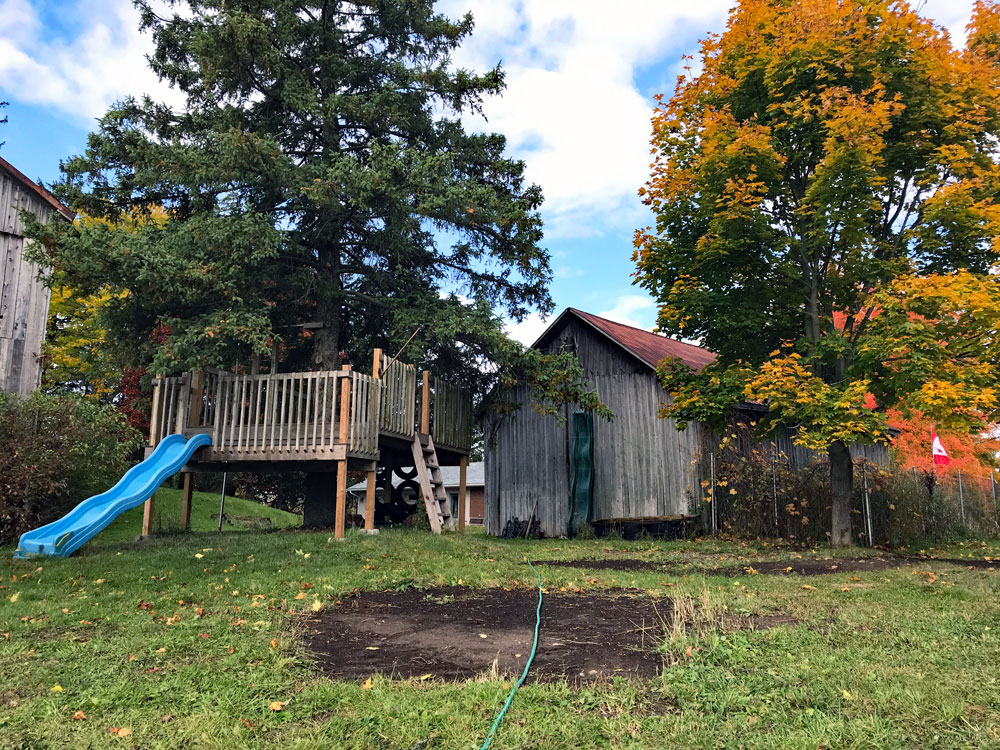
Driveshed siding
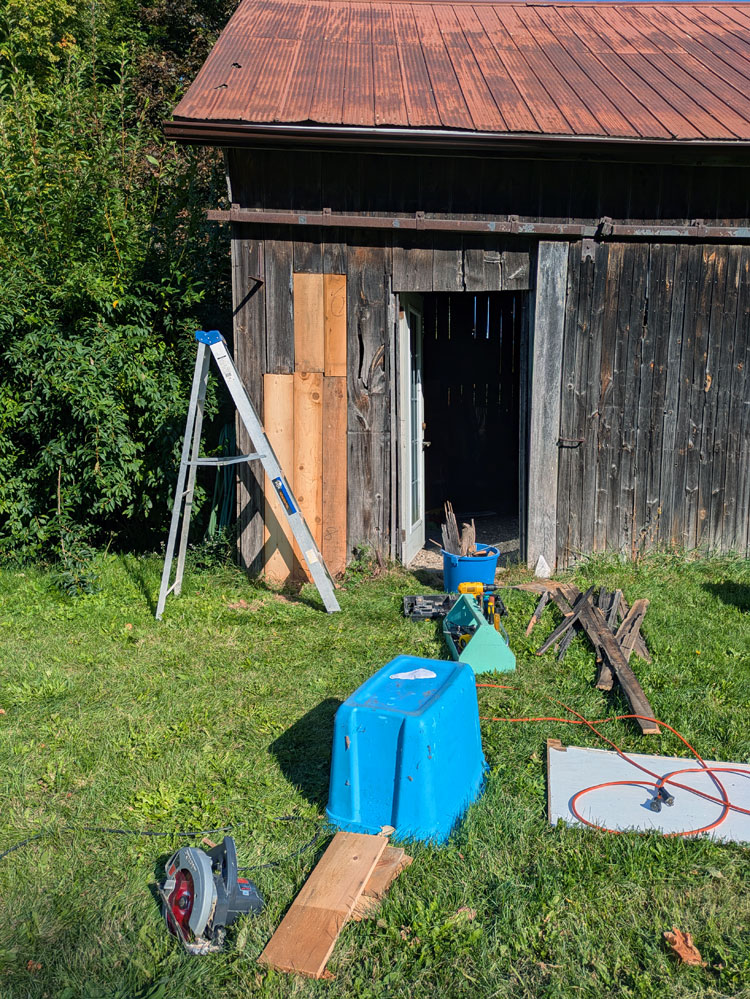
Done.
Mowing
No photo evidence. Done.
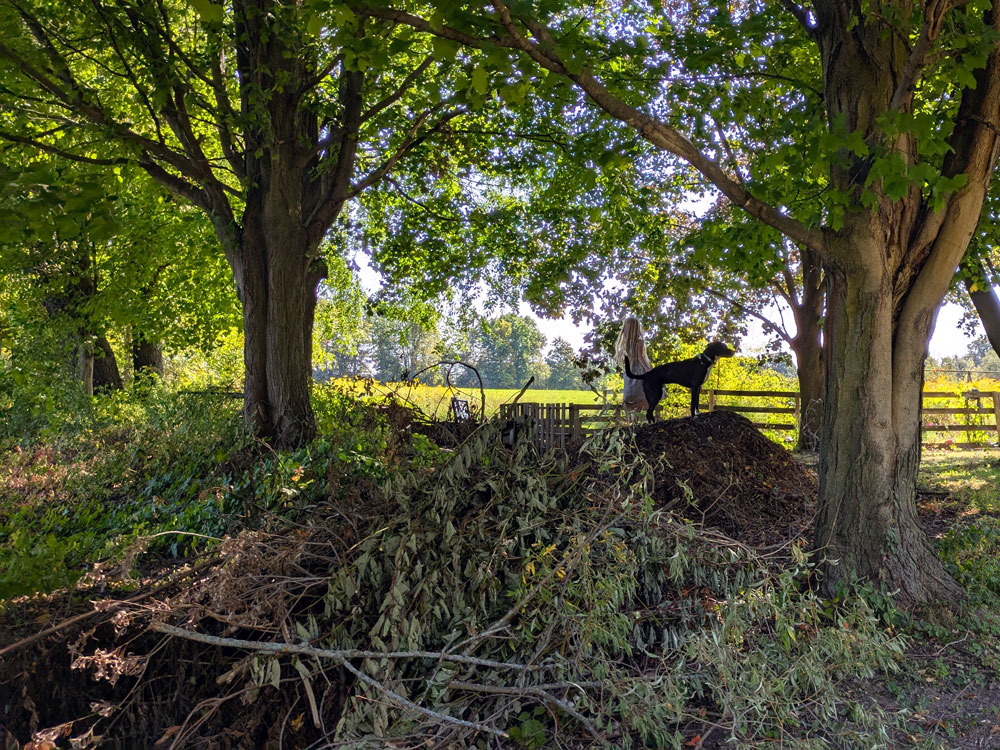
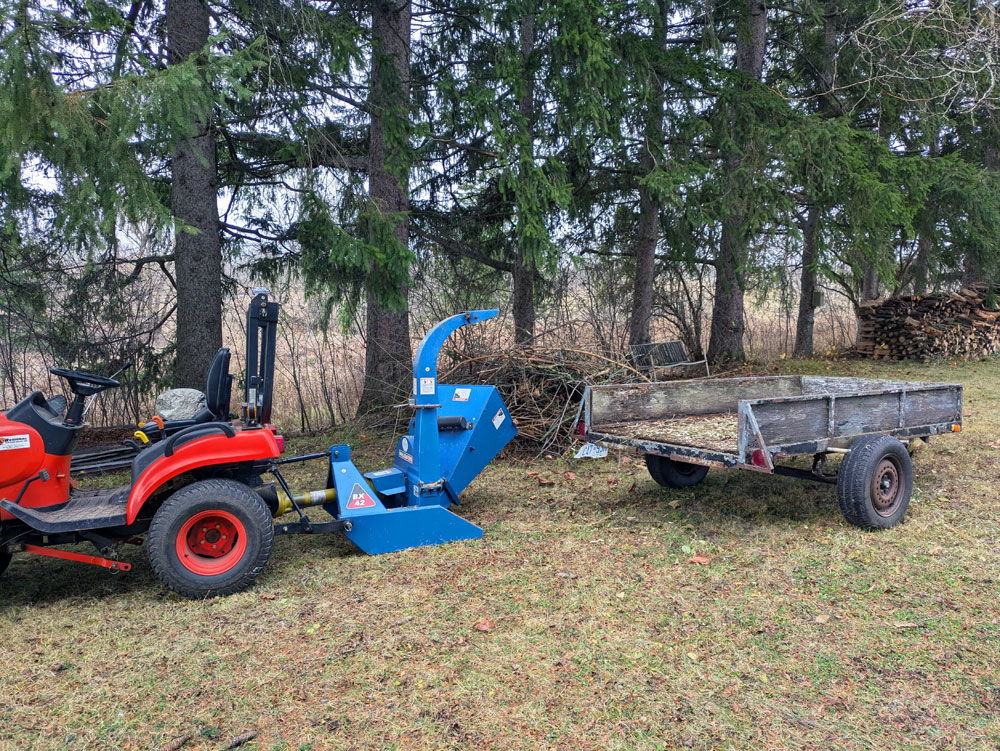
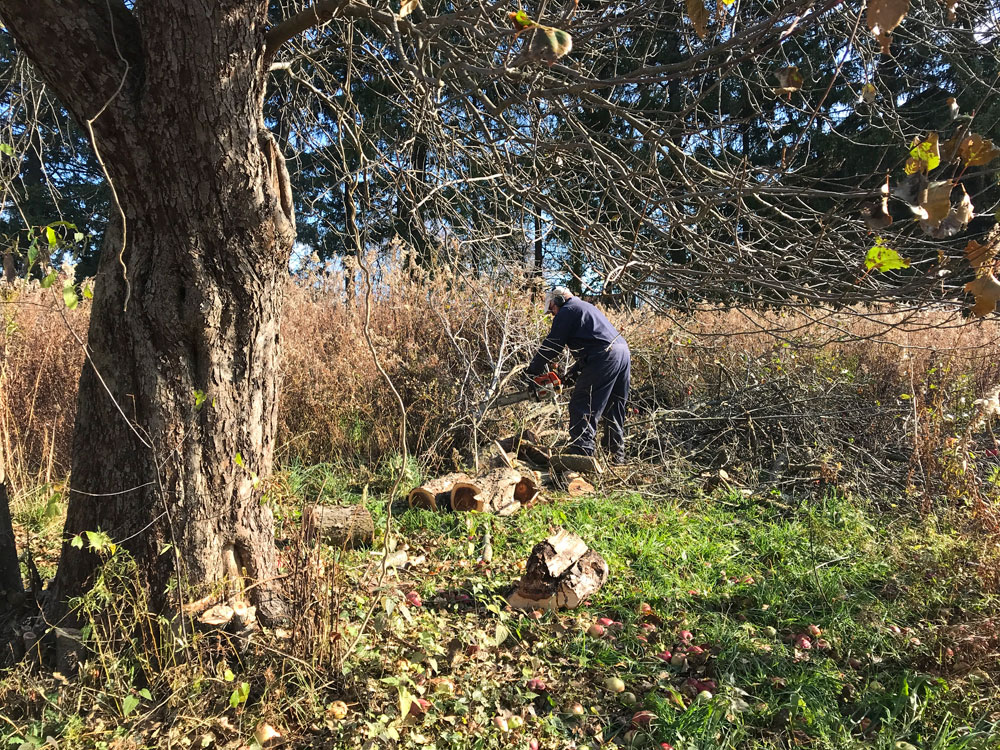
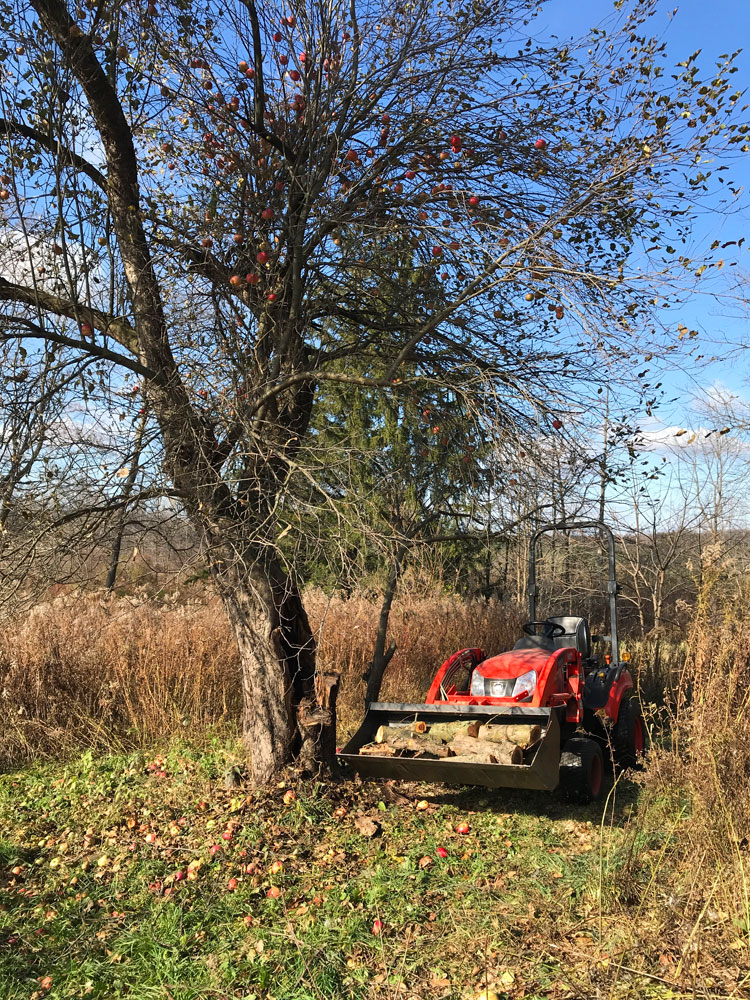
Brush chipping
No photo evidence. Done. I’ve already started rebuilding the brush pile.
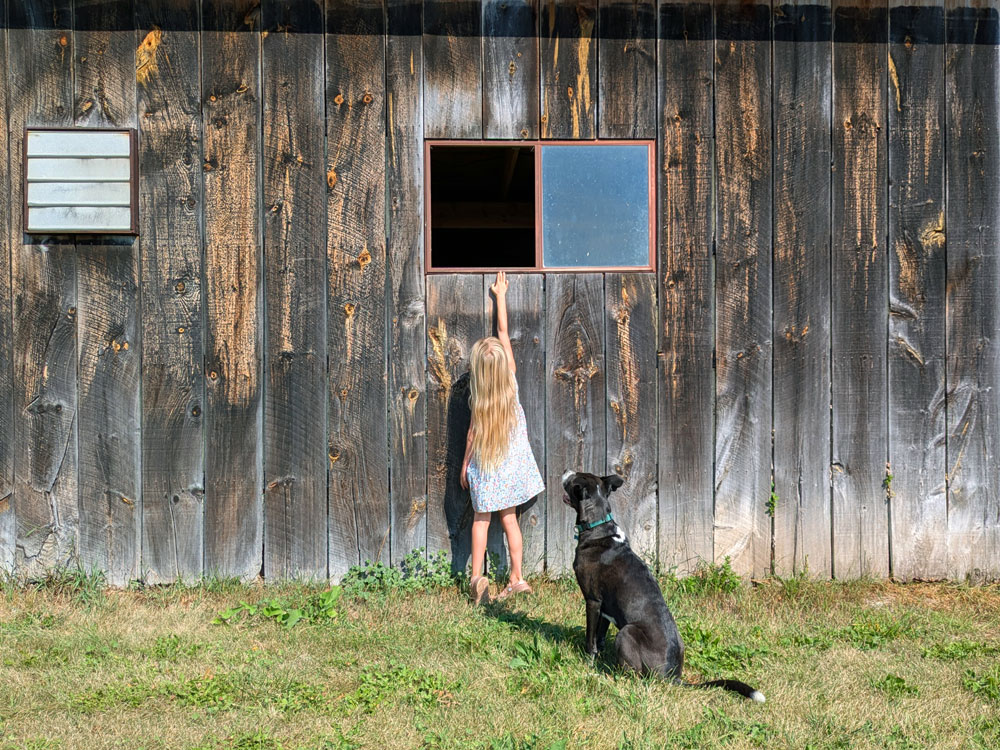
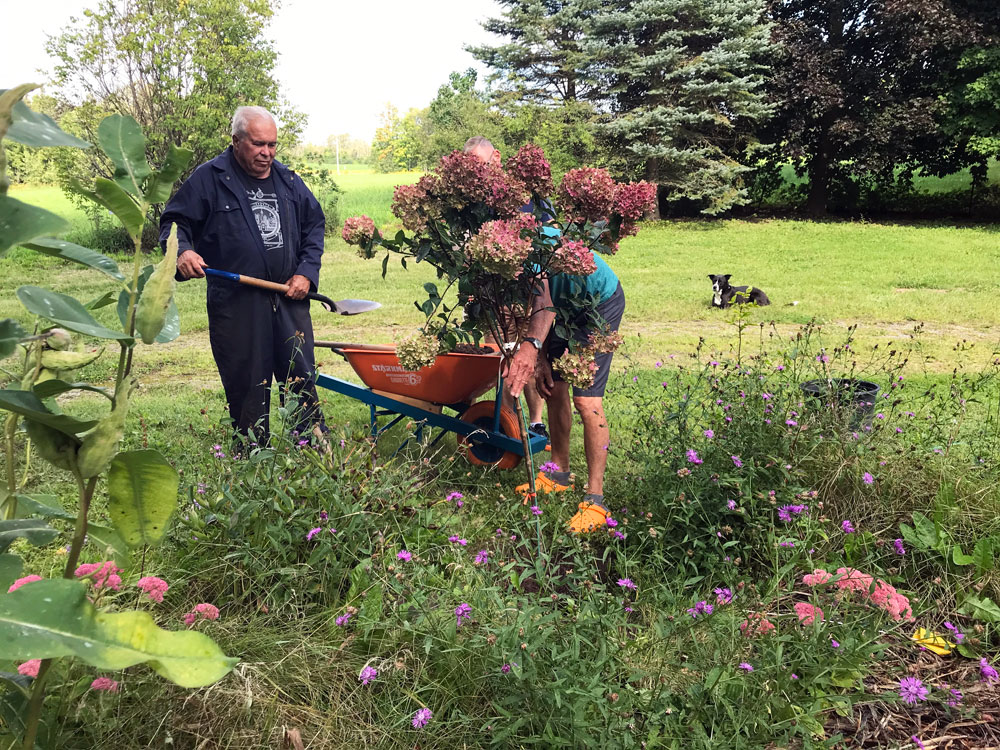
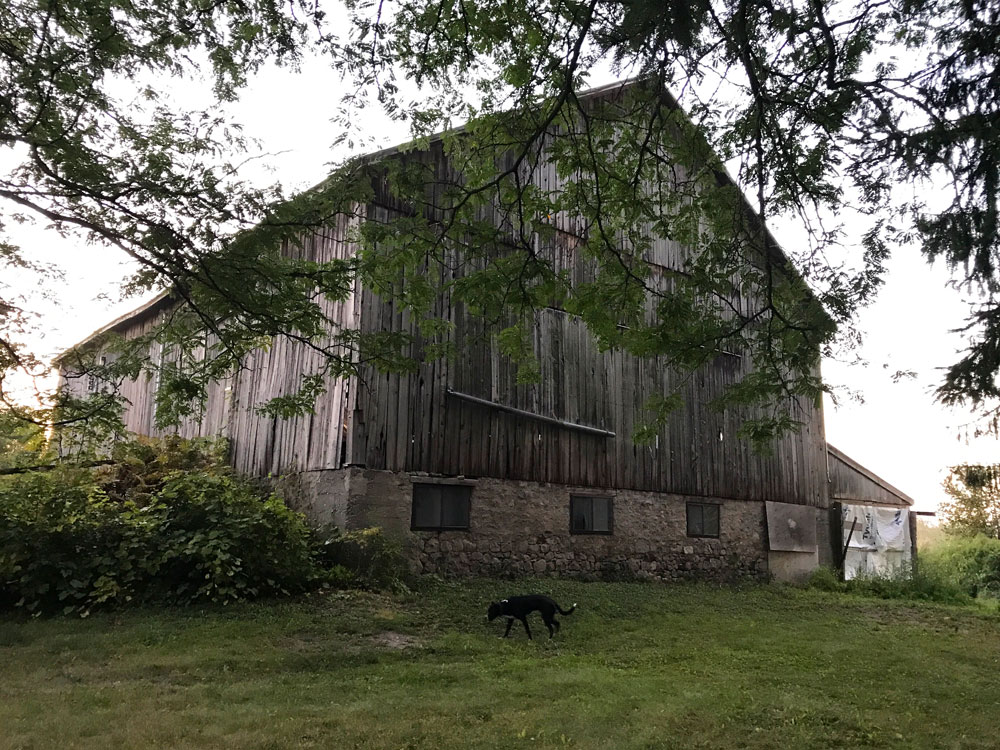
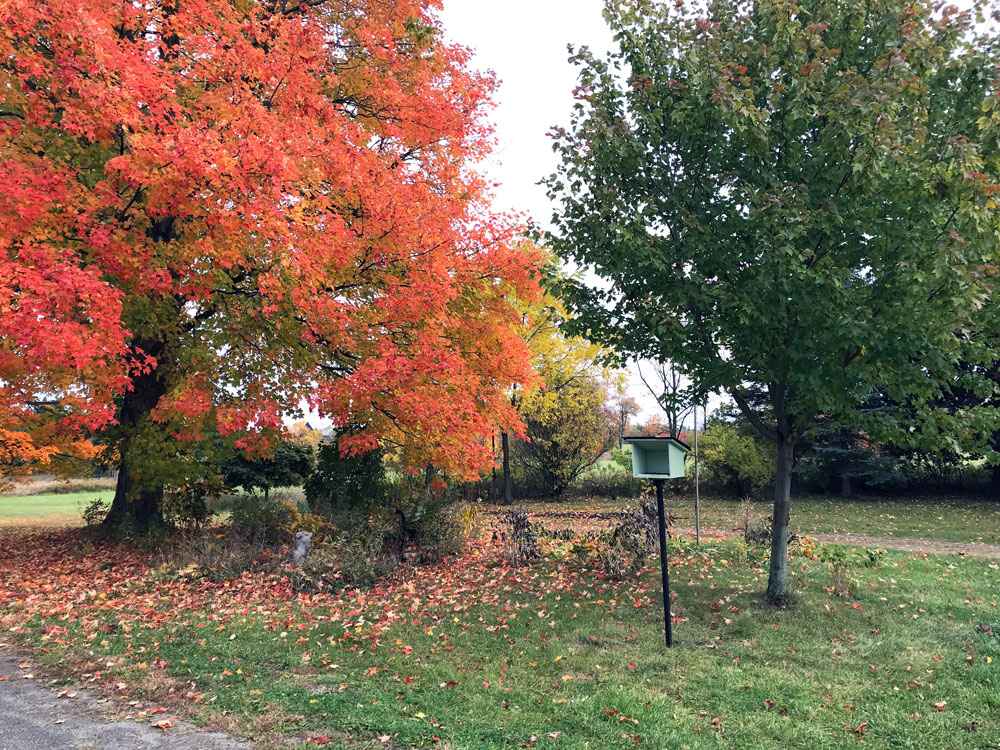
Swallow shutter
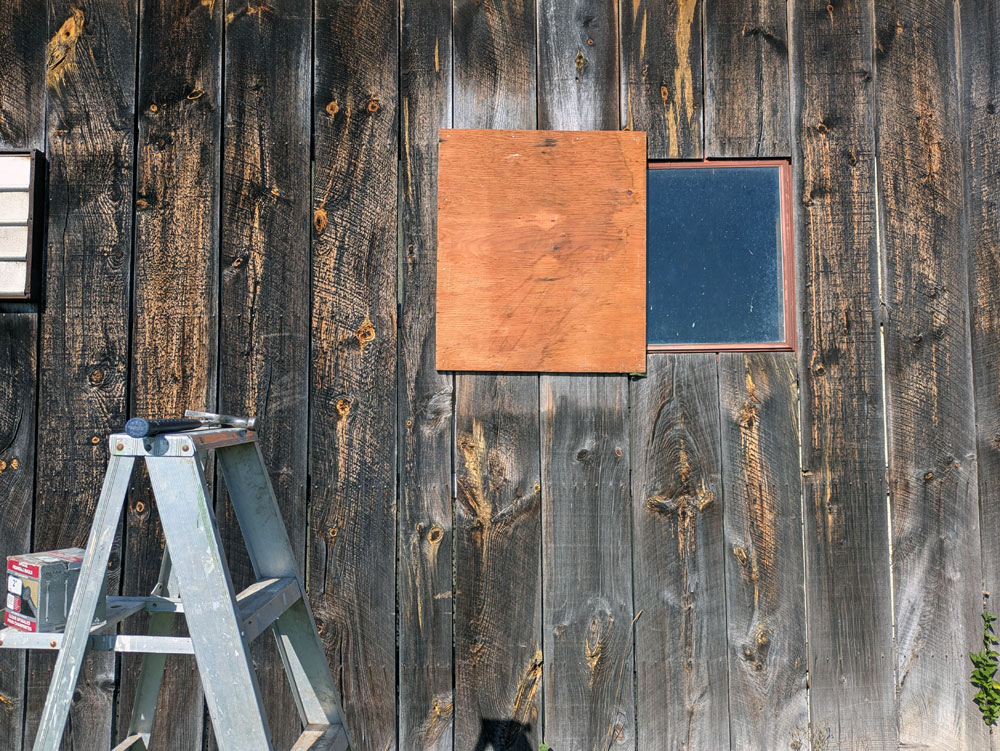
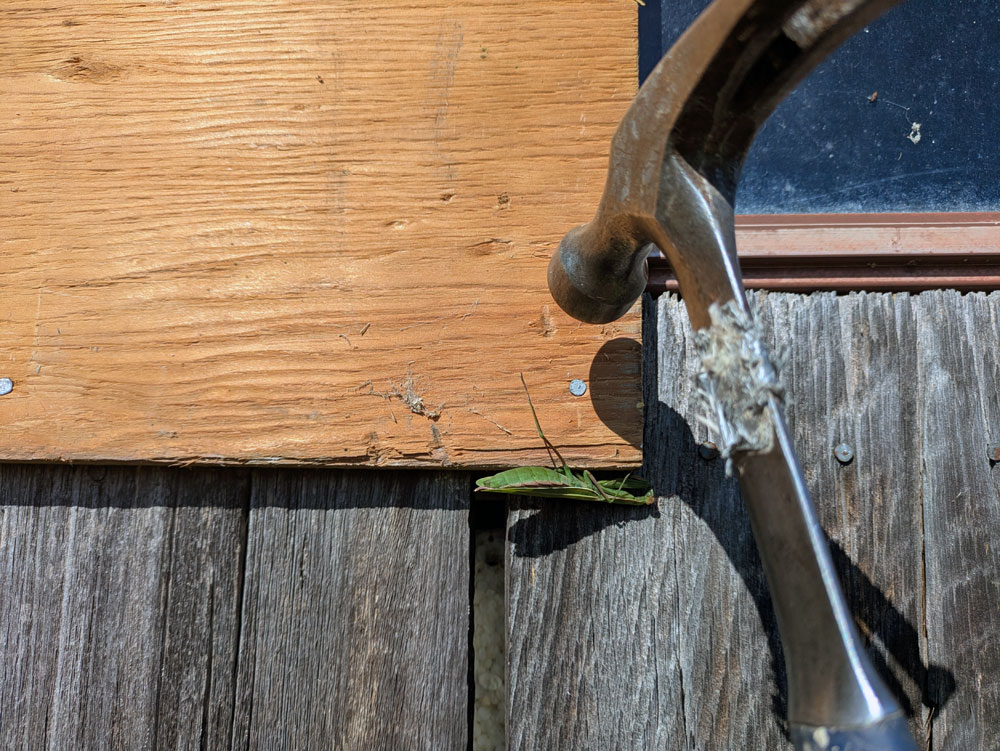
Spot the assistant.
Swallow shutter – Done. (It’s definitely not a shutter, but the broken window is covered.)
I feel pretty good about what I accomplished this fall. The birds, cat, barns, tractor, house, property have all had attention and hopefully we are all ready for winter.