Thanks everyone for your good wishes on my last post. Matt seems to be recovering well from his surgeries. We’re hopeful that our follow-up appointments over the next few months give us more positive news.
The guest room has become Matt’s treatment room where we can lay out all his drops and ointments, and the patient can receive them. You may recall that back when I shared the finished guest room nearly, oh, a year and a half ago, the room was missing a key component–a bed frame.
Well, we’ve finally managed to remedy that.

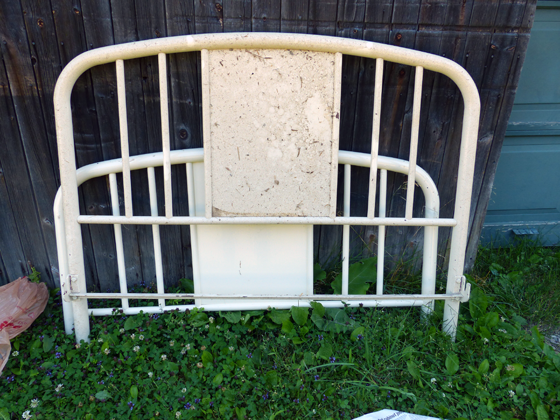
We had an old metal bed frame that was in my cottage bedroom growing up and then Matt and I used it in our first house. This style of frame has become pretty trendy, and I’m seeing various versions all over the web, so I wanted to keep it. Plus it was free.
However, the finish was in rough shape. During the cottage days, it was a greyish, pinkish flesh tone. Matt and I repainted it cream, but it was our first foray into spray paint and the finish was drippy and chipped (and dusty after living in the barn for several years).
One of my home goals from 2016 was to strip the frame. I had hoped that the metal was in good enough shape that it wouldn’t need to be painted and it could just go right into the guest room.
Stripping paint off metal is very similar to stripping paint off wood. I used my usual chemical stripper, scrapers and wire brushes. It was a fiddly process because of all of the spindles and layers of paint (and as usual my sidekick was no help).

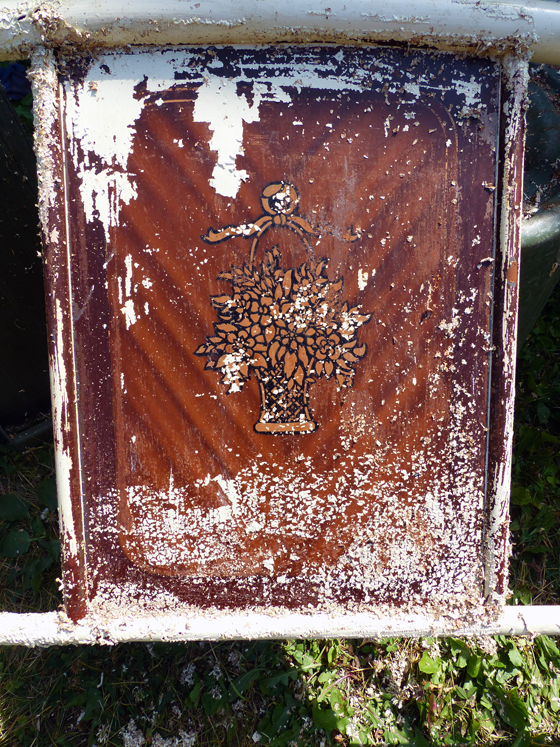
The original finish on the bed was a faux wood treatment. It was not what I expected to find at all. I had seen glimpses of this stenciled basket through the subsequent layers of paint and thought it might be embossed into the metal. That was not the case, and it was a feature of the original finish.
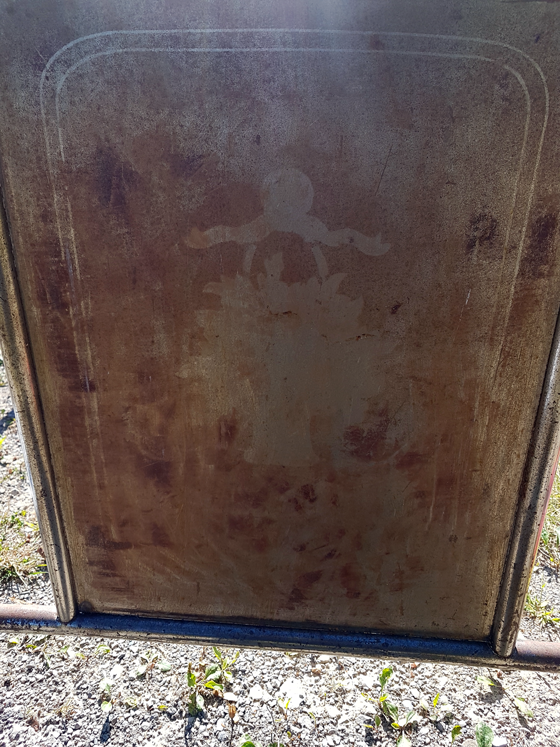
Unfortunately, the metal was not in great shape once I got the paint off. There were scratches and pits and rust and the welds were obviously different colours. I knew I would have to repaint the whole bed. Faced with that reality, I stopped stripping. I had removed the paint from the headboard and two siderails, but I had visions of simply adding another layer of paint to the footboard.
But I knew that wasn’t what I really wanted. If I’m going to do the job, I might was well do it right and take the footboard back to the original metal. Plus the footboard is the most visible part of the bed, and I was worried that the chips and goopy layers of paint would show through my new finish.
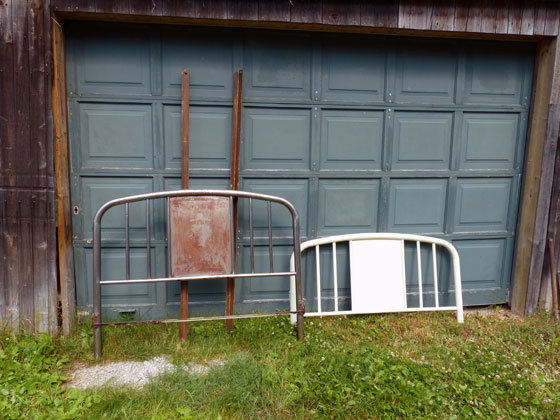
So this summer I returned to the bed frame and finally stripped the footboard. Then I waited for the weather to cool off enough to paint–and to figure out what colour I wanted to paint.
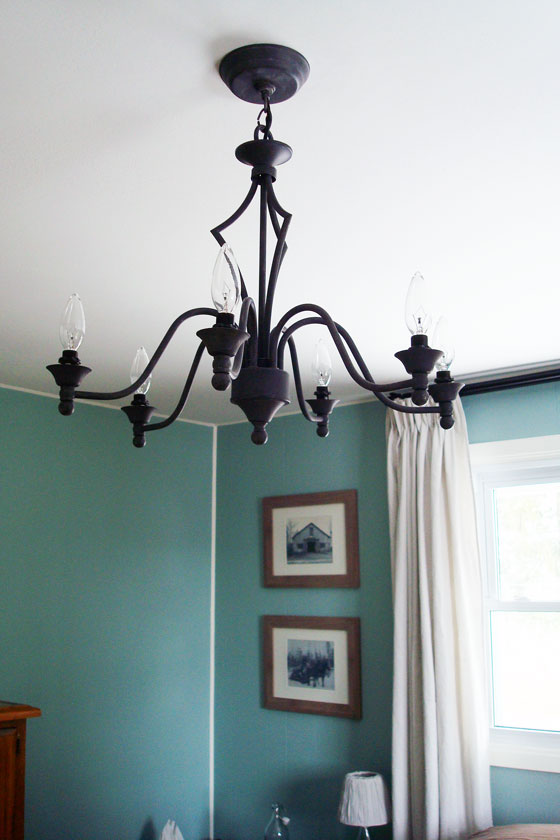
So many of the metal bed frames I see are black. I love the look. But between the trunk that’s already in the room, the chandelier and the curtain rods, I already have my pops of black. I didn’t feel like I needed more.
The second place colour seems to be white, but there’s also a few white pieces in the room, we’d kind of already done this with the cream paint and honestly I wanted something more interesting than white.
I sampled a bunch of colours, but that didn’t help. Finally, I went to the store and just picked a colour. I chose Antique Brass by Rustoleum. I liked the idea of echoing traditional brass beds. Plus some of the hardware in the room on the desk and the chest of drawers is brassy.

I figured, if I didn’t like it, I could always repaint. At least I now have a smooth surface to do so, and I wouldn’t need to strip again.
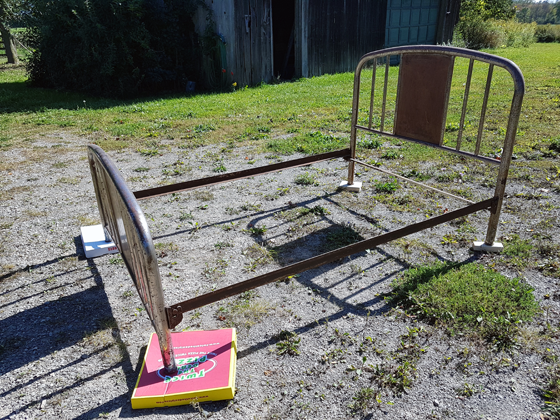
We set up the bed on the driveway, and I went to town. Given the state of the metal, I think I could have used a primer, but after a brief sanding I went straight to paint–and ended up having to run to the store to get more cans. In the end, all of the scratches were covered and the finish looks good–much better than any of the previous finishes.
After a week of airing out in the driveshed, we brought the bed in and set it up.
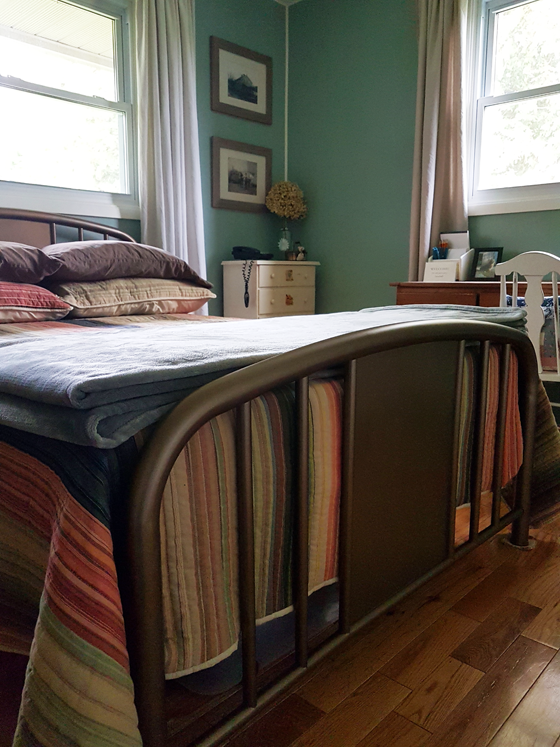
And now, I can finally say the guest room is done. Ready for our next patient guest.

What a lot of work. But you didn’t have to buy a new frame and you saved if from the landfill, both of which are excellent. Good work! The finish looks very smooth now.
It’s good to hear that Matt is recovering from his surgery. He has a beautiful place to have his medical treatments in at least!
The stripping was tedious more than anything. Like most projects, it’s a matter of getting started rather than a whole lot of effort.
Looks like a lot of work but the bed frame looks great!
Thanks for your patience while I finished the painting before dinner.
Stripping paint is so tedious! I would have felt the same about the footboard. It would have been easier to just paint over, but your thoroughness paid off I am sure on the completed project. I like the color you chose!
It’s even more tedious on spindles. I’m not sure I’ll want to do this again… although the result was worth it.
So glad Matt is feeling better!
Thank you! We are too.
Beautiful result! About how long do you estimate this took you? From stripping the paint to bringing the finished product inside? I’m looking to do exactly the same thing this summer. My bed frame looks very similar to yours.
Thanks!
Hmmm. I procrastinated a bit on this one so it’s hard for me to estimate. I feel like it could be done in a week of concentrated effort. Honestly the stripping was pretty tedious. Those spindles took time. It also depends on how particular you are. If you can get the surface smooth enough to repaint, things might go faster. I’d also recommend getting some sawhorses or a workbench at a good height. My back was not happy spending so much time bent over the bed frame. Good luck with your project.
I have the same idea, an old metal frame bed and removed the squeaky metal bed-springs. I wonder if the weight of a person can cause sag in the middle. It’s lasted a couple of years without problems but I am reading online that I have to add some kind of support, even if it’s a cheap board. The frames are a beautiful wood colour that matches the furniture. I would hate to have to buy another mattress again because I am a fussy customer. Does your bed have any support other than the metal edges, I don’t see any photo showing middle support.
I think extra support is a good idea. I have about 4 strips of wood (1×4) running side to side between the metal frame. The box spring sits on top of the wood.
Thanks for the reply, I did not see the boards you mention in the photographs or write-up. I think like the other sites suggest, ONE piece of board/wood because what you suggest, might be felt by a fussy-sleeper like; The Princess & the Pea, fairy-tale.
The boards are the bottom level, supporting the box spring, so they are not noticeable (either visually or when you’re laying on the mattress).