Last year was a different kind of year. I started a new job as a college instructor. We took a big trip to Ireland and had other getaways and day trips. This meant that there wasn’t as much time for working on the farm.
As we start 2024, I feel like I left a lot undone last year. But as I look back at the goals I set for 2023, I feel like maybe I didn’t do too bad.
Here’s a review of some of what we did and last year’s home goals.
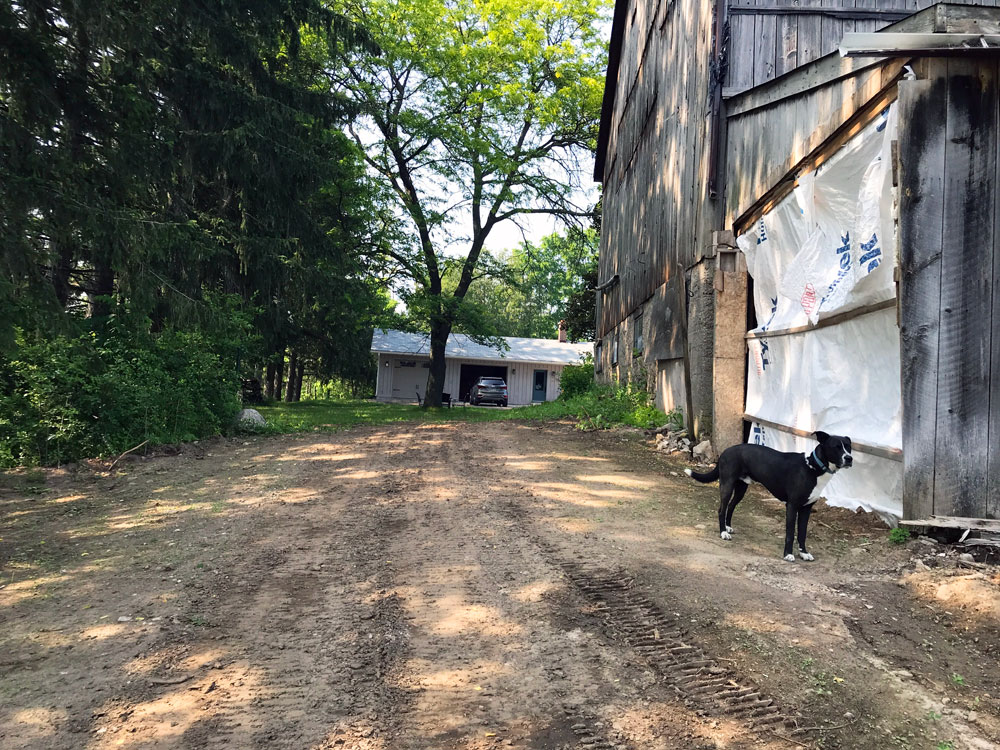
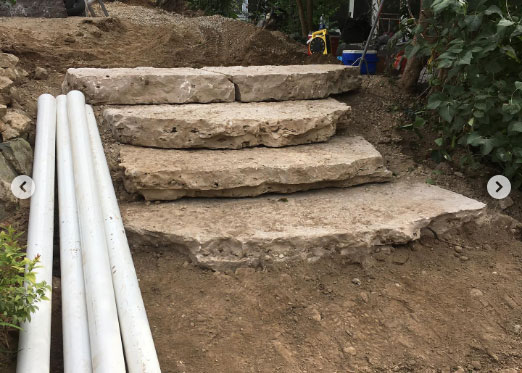
Coop
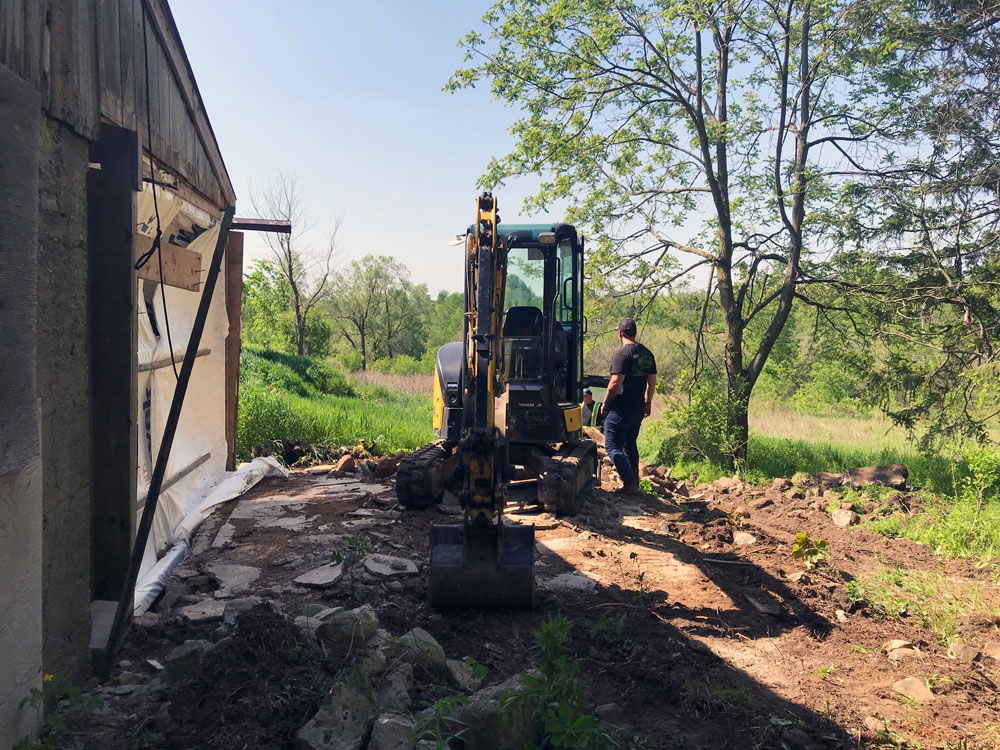
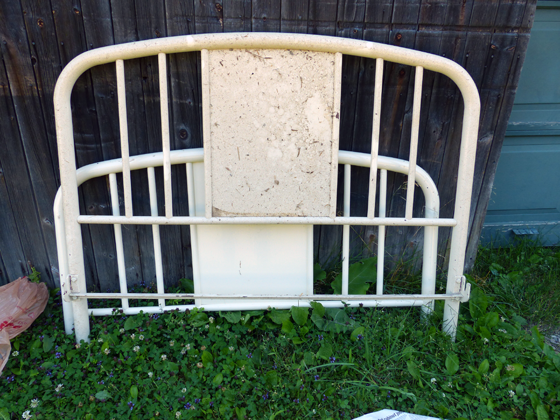
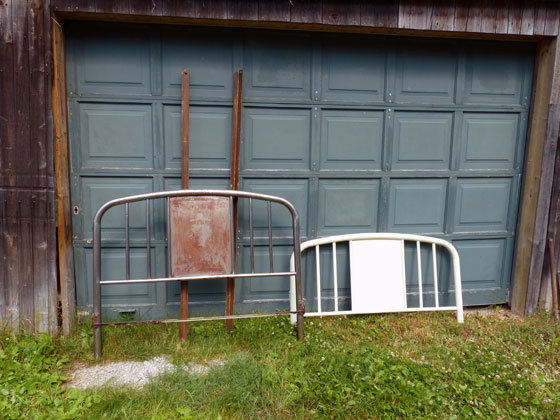
My plan was to have the coop completely finished by the end of the year so that we’re ready to bring home some chicks this spring. That did not happen. Our landscapers cleared the old foundation, Matt’s Dad helped tear apart the roof sections and burned a lot of the old wood. I piled more lumber that I hope to reuse and cleaned up the area inside the barn where I want to build. But we still have a big hole in the side of the barn and no pens inside. I’m not giving up, though. The coop will return this year along with other barn upgrades, like eavestrough, exterior lighting and probably some more electrical.
Patio
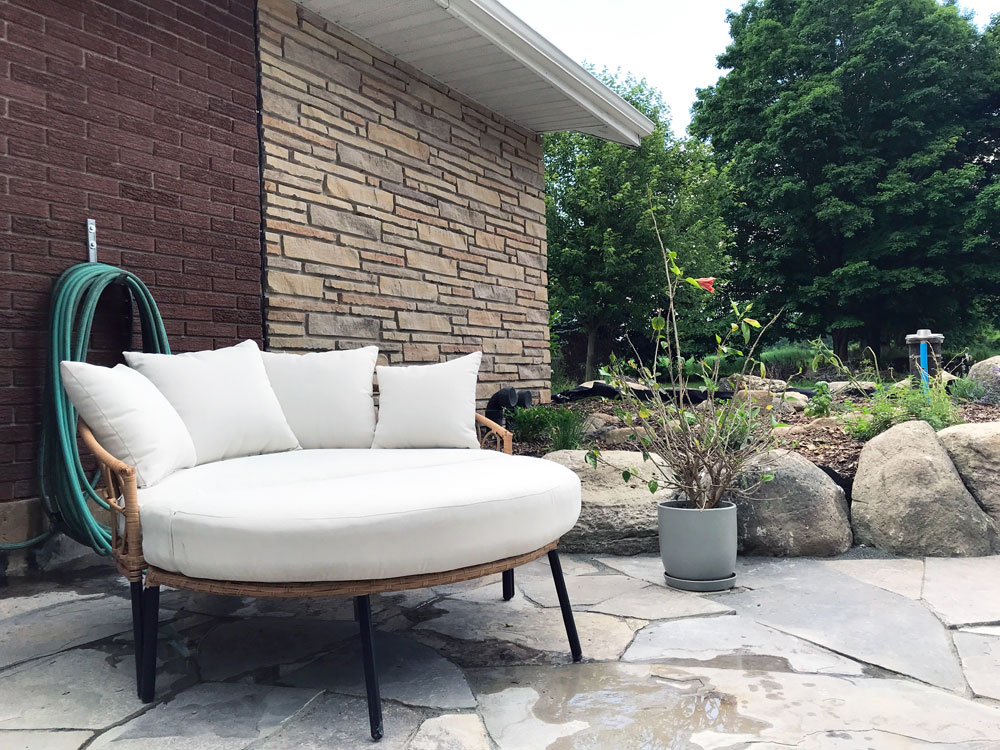
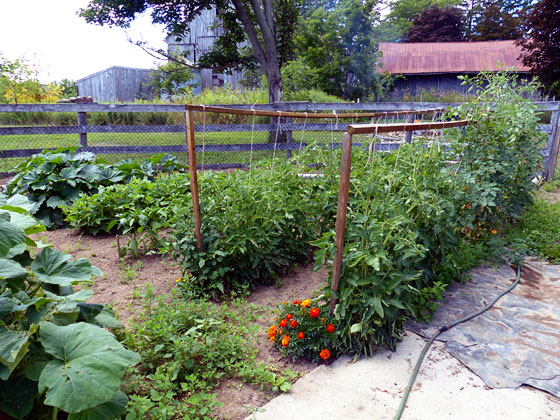
The driveway patio was the biggest success of last year. Our contractors were great and the result is fabulous. With a comfortable dedicated dining spot, we ate breakfast outside every day and many other meals as well. The herb garden surprised me with how well it did and we were still clipping herbs into December. The new border of rocks around the garden adds so much to the front of the house. The patio is a small area, but it’s added so much to the house and how we live. I am thrilled with how this project worked out.
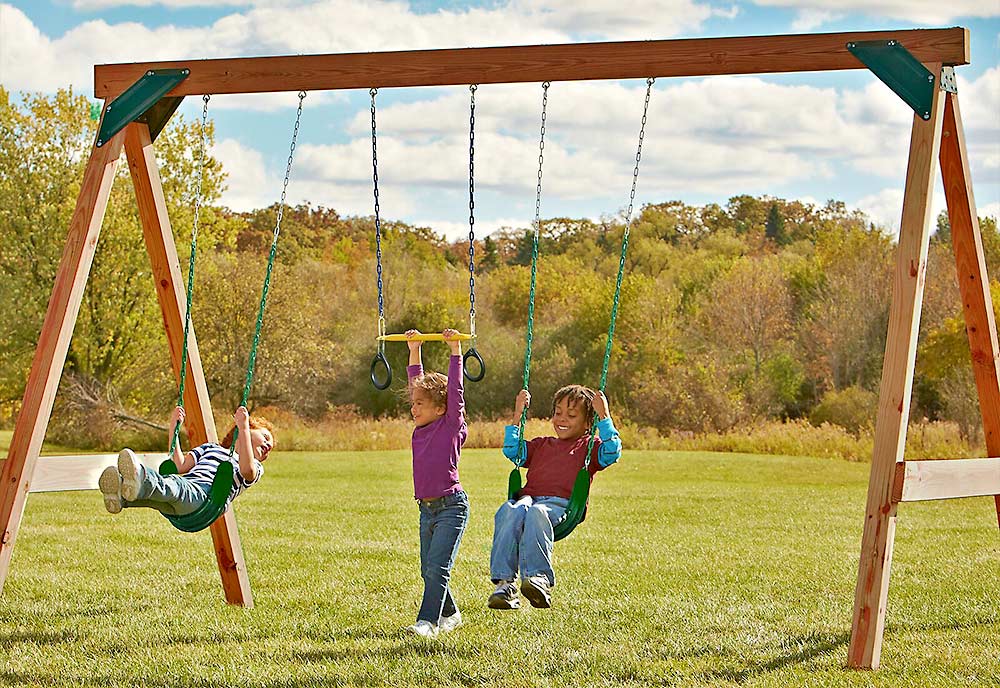
Swing set

The swing set was another success–and something I accomplished (mostly) on my own. The swing set is big enough for our girl and strong enough for underdoggies. I think it will also grow with her as she learns to swing more on her own and uses the hanging bar and rings more. I also made a few other playground upgrades at the same time, spreading mulch, attaching a ladder to Ellie’s climbing tree, and adding a flag to her treehouse. It’s become a great play zone for her that will last for years.
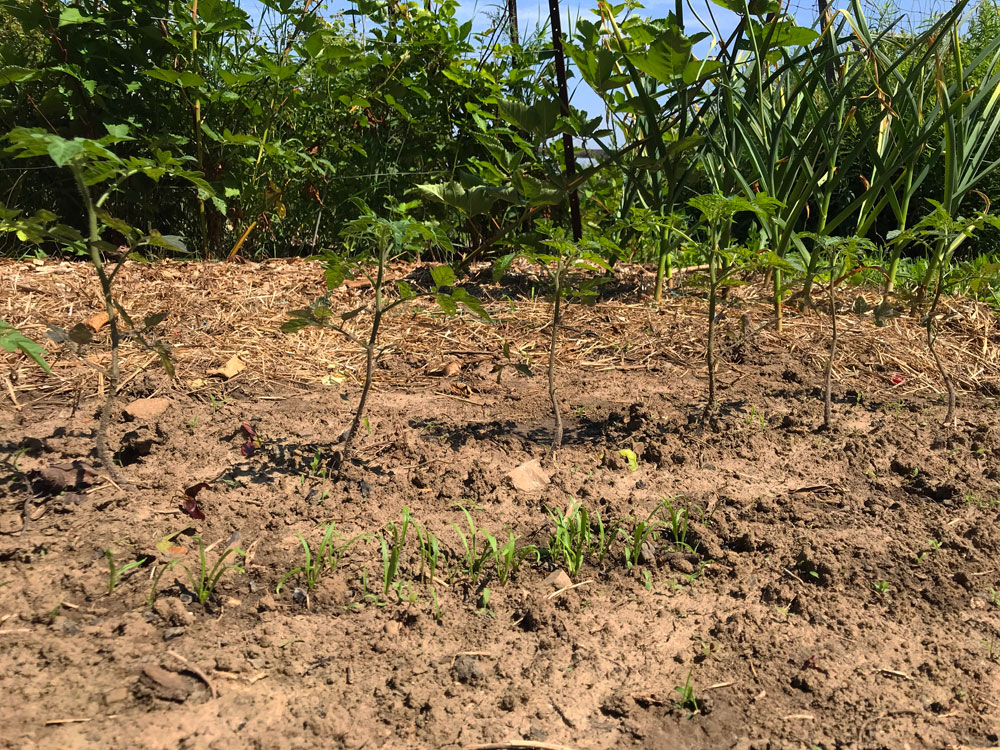
Vegetable garden
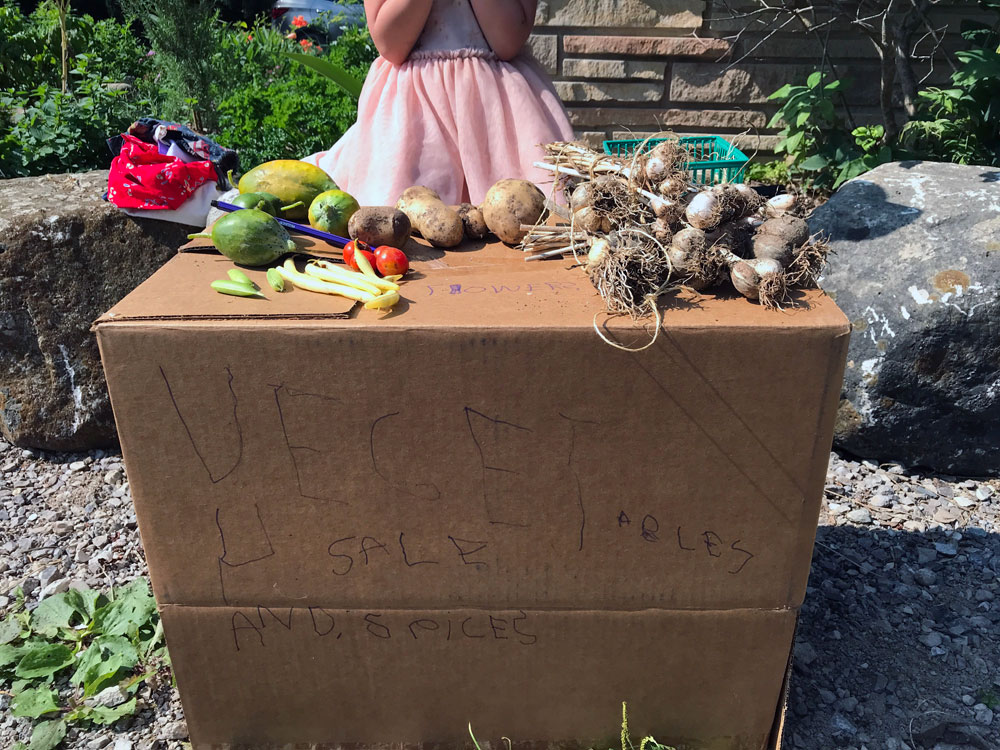
The vegetable garden ties with the coop for my biggest failure. I started 2023 feeling optimistic and even ambitious, so I think that makes it harder that by fall the garden just… fizzled. The timing of my new job and our trip coincided with clean-up season, and eventually I closed the gate and walked away. The raspberries have not been pruned and dead plants have not been pulled. Never mind new mulch, compost, pathways, or growing beds. The garden is another project that will return though.
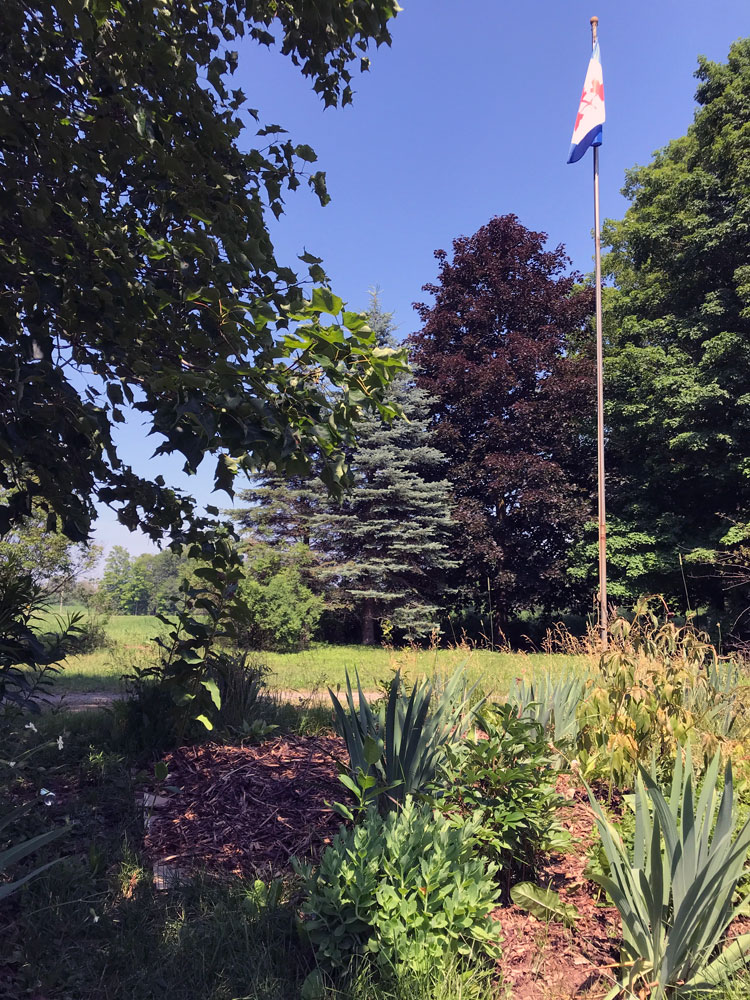
Turnaround garden

The turnaround garden saw some progress last year, though it’s still pretty haphazard. We added more transplants from a friend, some garden decor with my Dad’s bike and a memorial for Matt’s Mom with a strawberry hydrangea tree. Every garden is a work in progress and an ongoing project. The turnaround feels all that even more. We will keep working at it.
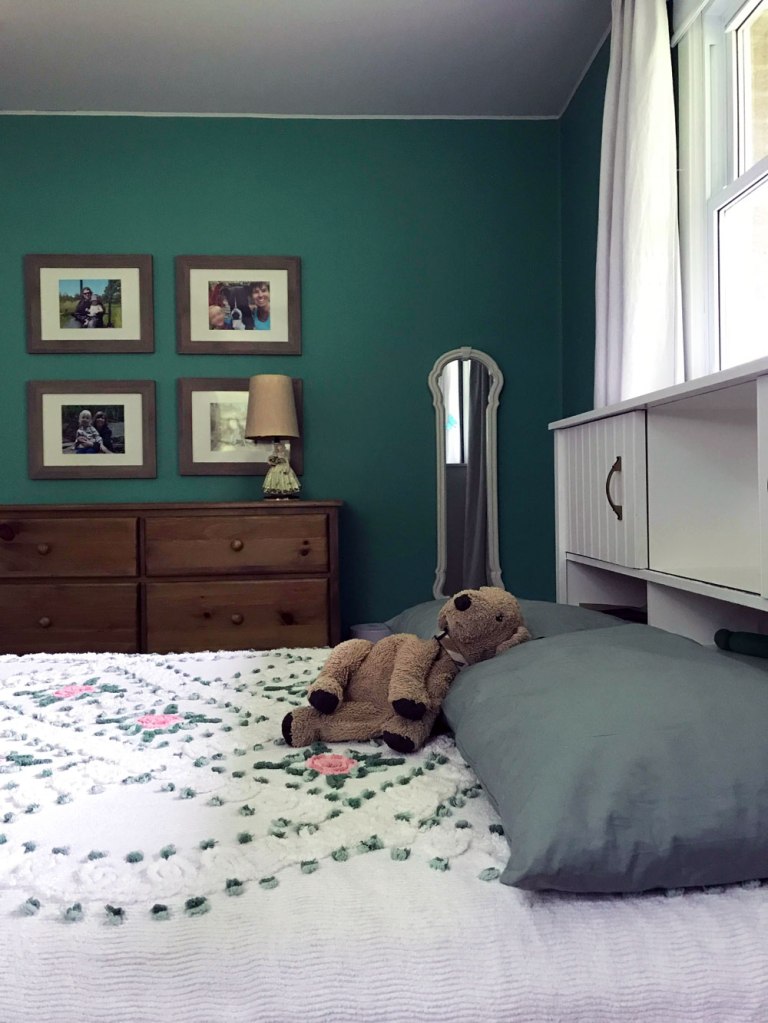
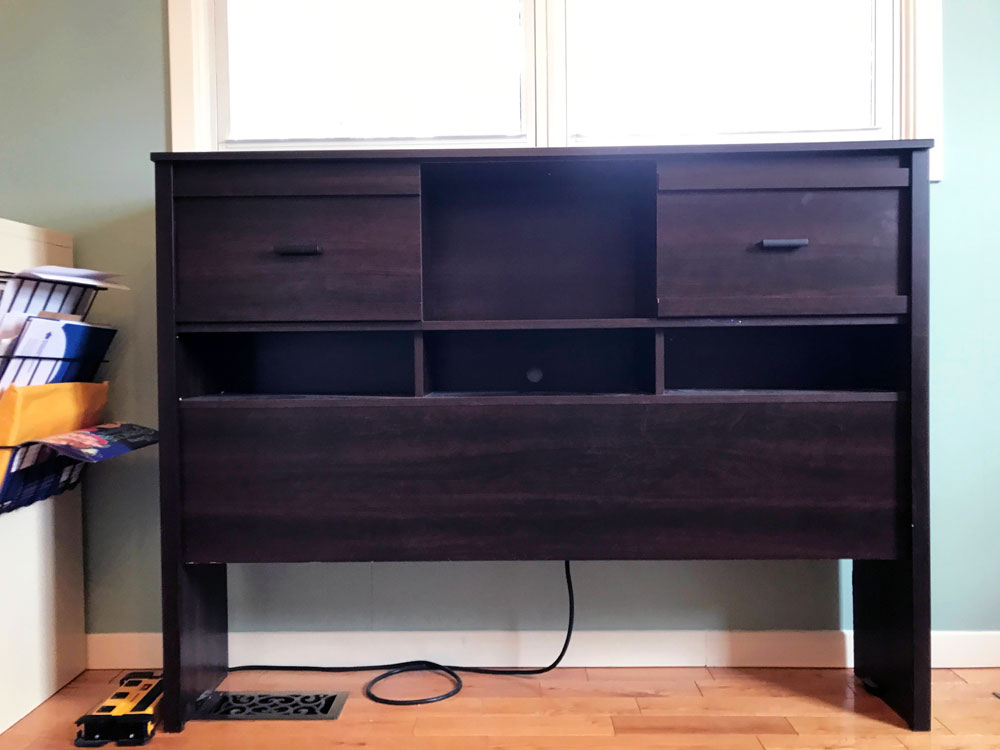
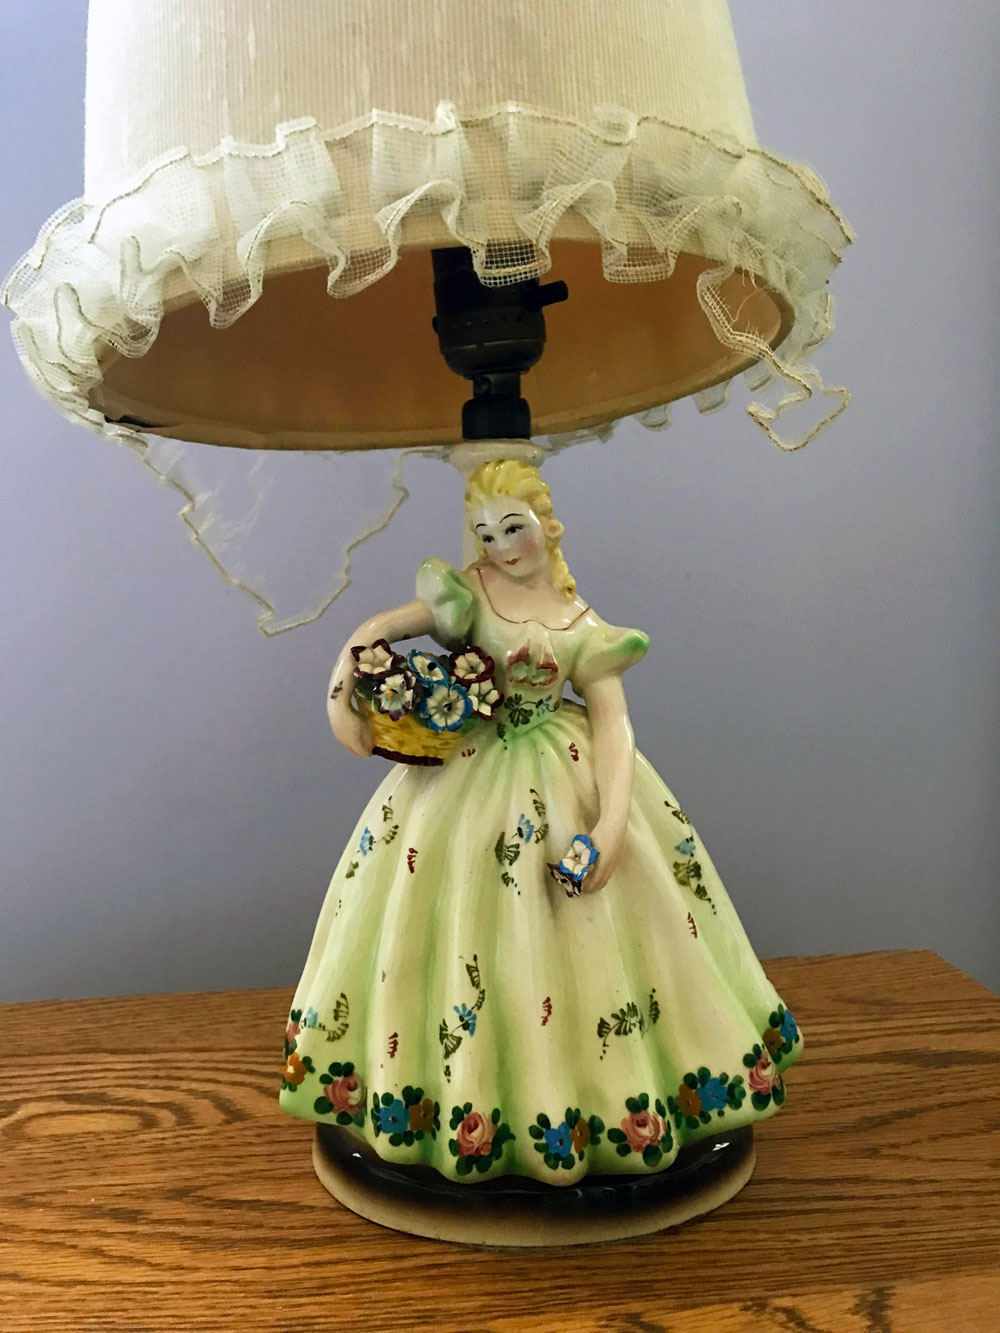
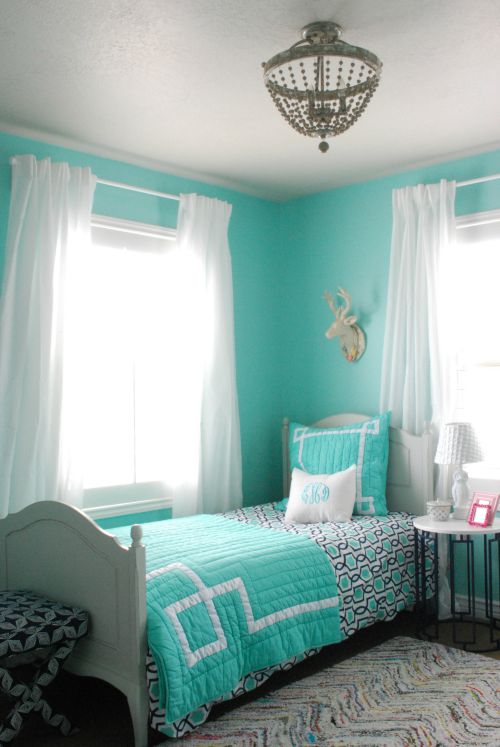
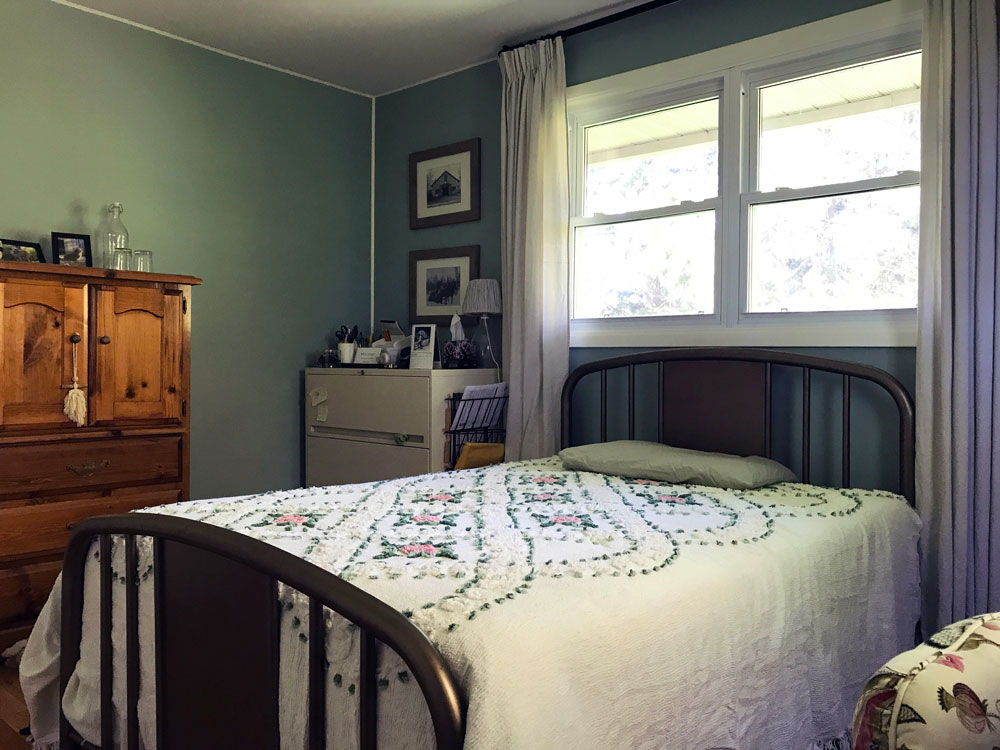
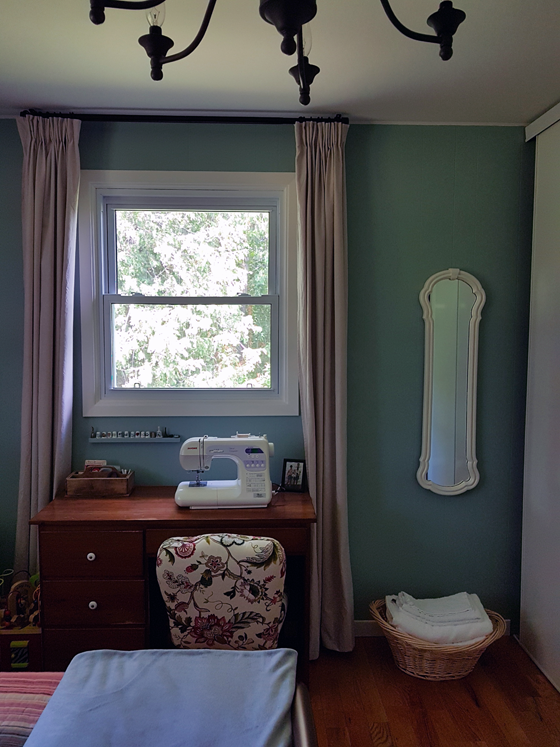
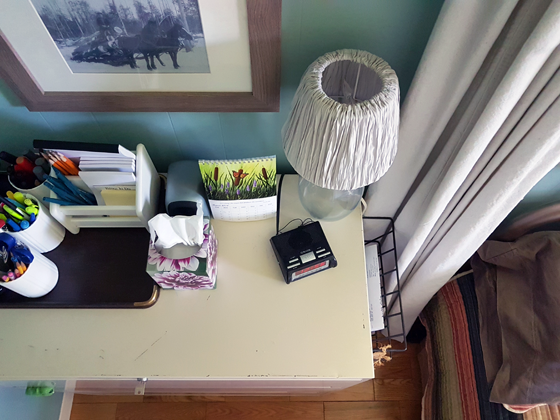
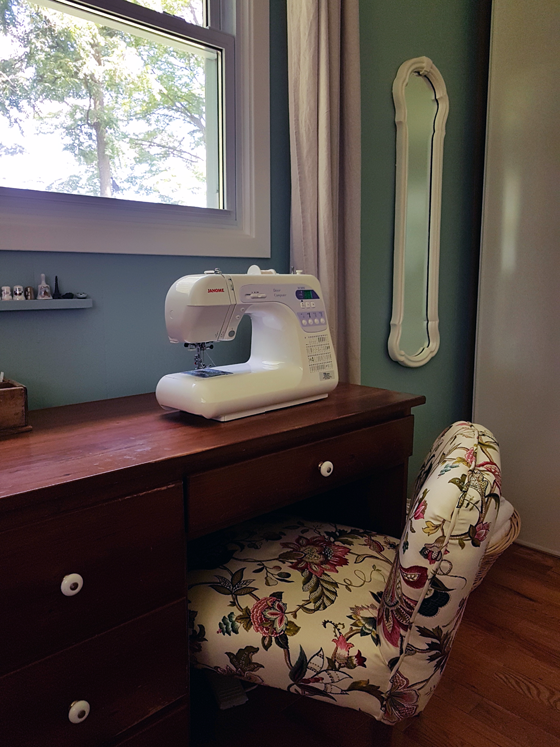
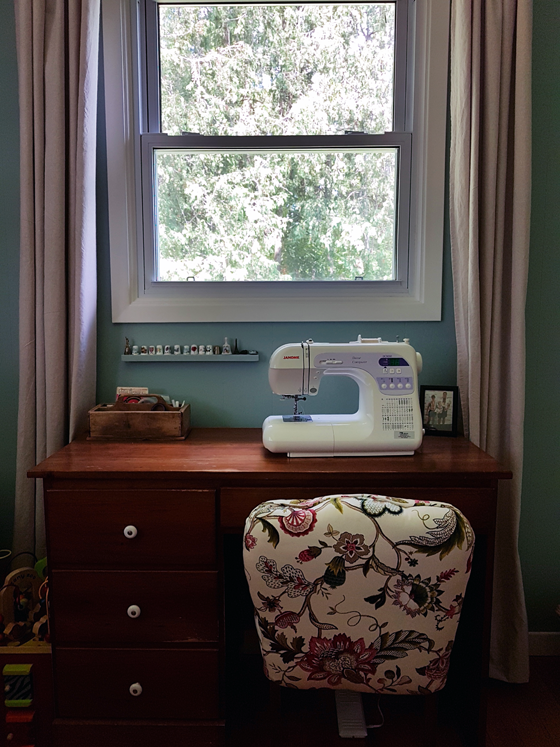
Ellie’s bedroom

A year ago, I wasn’t sure I could convince Ellie to switch rooms. But once we started the makeover, she was all in and eventually set a deadline for me to finish the project because she was so excited to move in. “Finish” is slightly conditional as there are a few details that I still want to do, but she is fully settled and has added lots of details to make it her own. And we’re both sleeping better with a little more space between us.
Like every year, 2023 was a mix. There is no shortage of work on a farm and a fixer-upper house. Just mowing the grass regularly felt like an accomplishment (and thank goodness my cousin came every other week to help me with that). But we did more than that too.
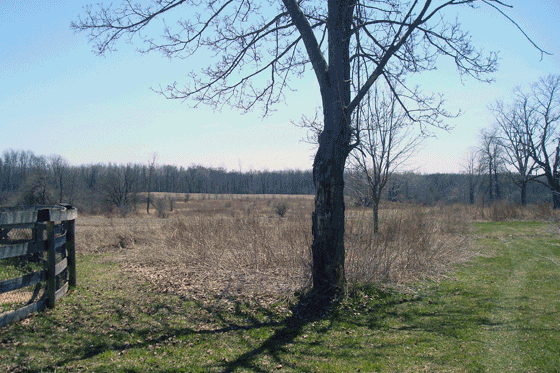
I used the rotary cutter more than I ever have before and did it on my own. Our septic bed and the upper edge of our front field are now in “maintenance mode,” which is big progress. We also did lots of clean-up: picking up litter, clearing overgrown areas, and cutting trees (Matt’s Dad gets credit for this).
Despite feeling a bit discouraged on the project front, I am proud of the balance we found last year. We did so many things, both on and off the farm, and the year was full of fun, love and joy. For us, that’s what life is about. It’s not what the house looks like or whether the property is perfectly groomed. What matters is the people who are here and the things we do together. Projects are part of that, but there’s a lot more too, and that guided our time in 2023.