After we’d set up the tree, after we’d strung the lights and hung all the ornaments, Ellie asked, “Where’s the cape?”
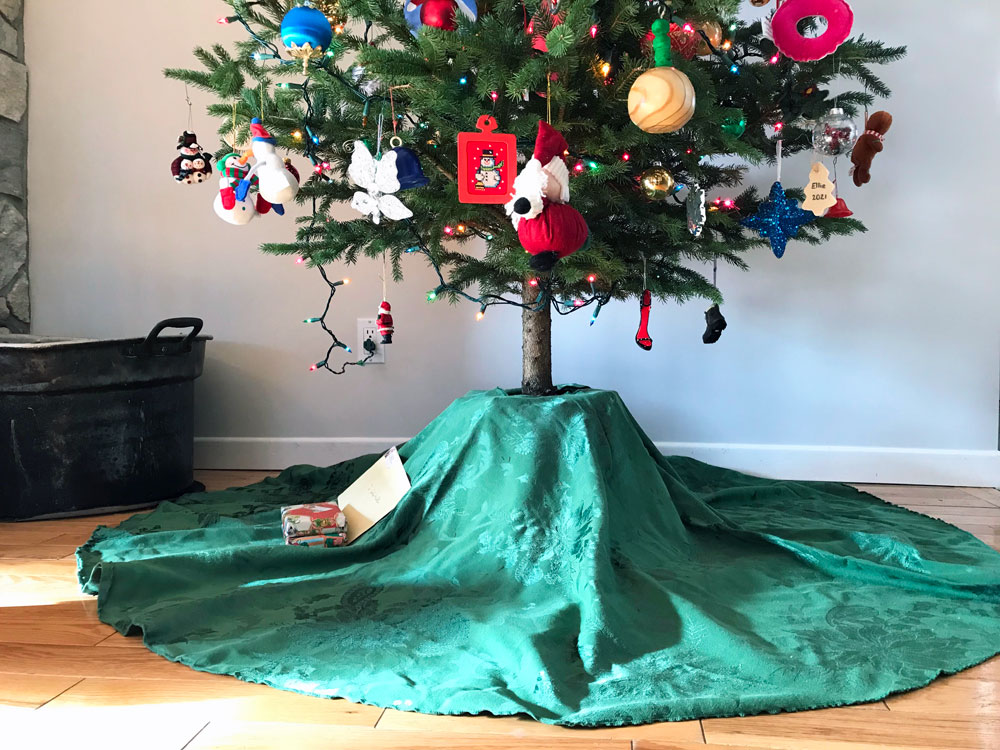
The “cape,” or the tree skirt, was the final touch to hide the stand and, most important, provide a spot to rest all of the presents.

These days, there are lots of options for the base of your Christmas tree. However, I still like our simple skirt. And simple is the best word for this DIY.
I made our tree skirt from a Christmas tablecloth.
Here’s how:
Find a round tablecloth in a pattern you like. Ours is about 6 feet in diameter.
Slit the tablecloth along the radius. (In other words, cut halfway across your table cloth from the edge to the centre. You can find the centre by folding the tablecloth in half and then in quarters. You’ll have a generous slice of pie. The point of the pie is the centre of your tablecloth.)
Cut a 6 inch diameter circle out of the middle of your tablecloth. This will be where the tree trunk goes. Use a plate or another round object as your pattern.
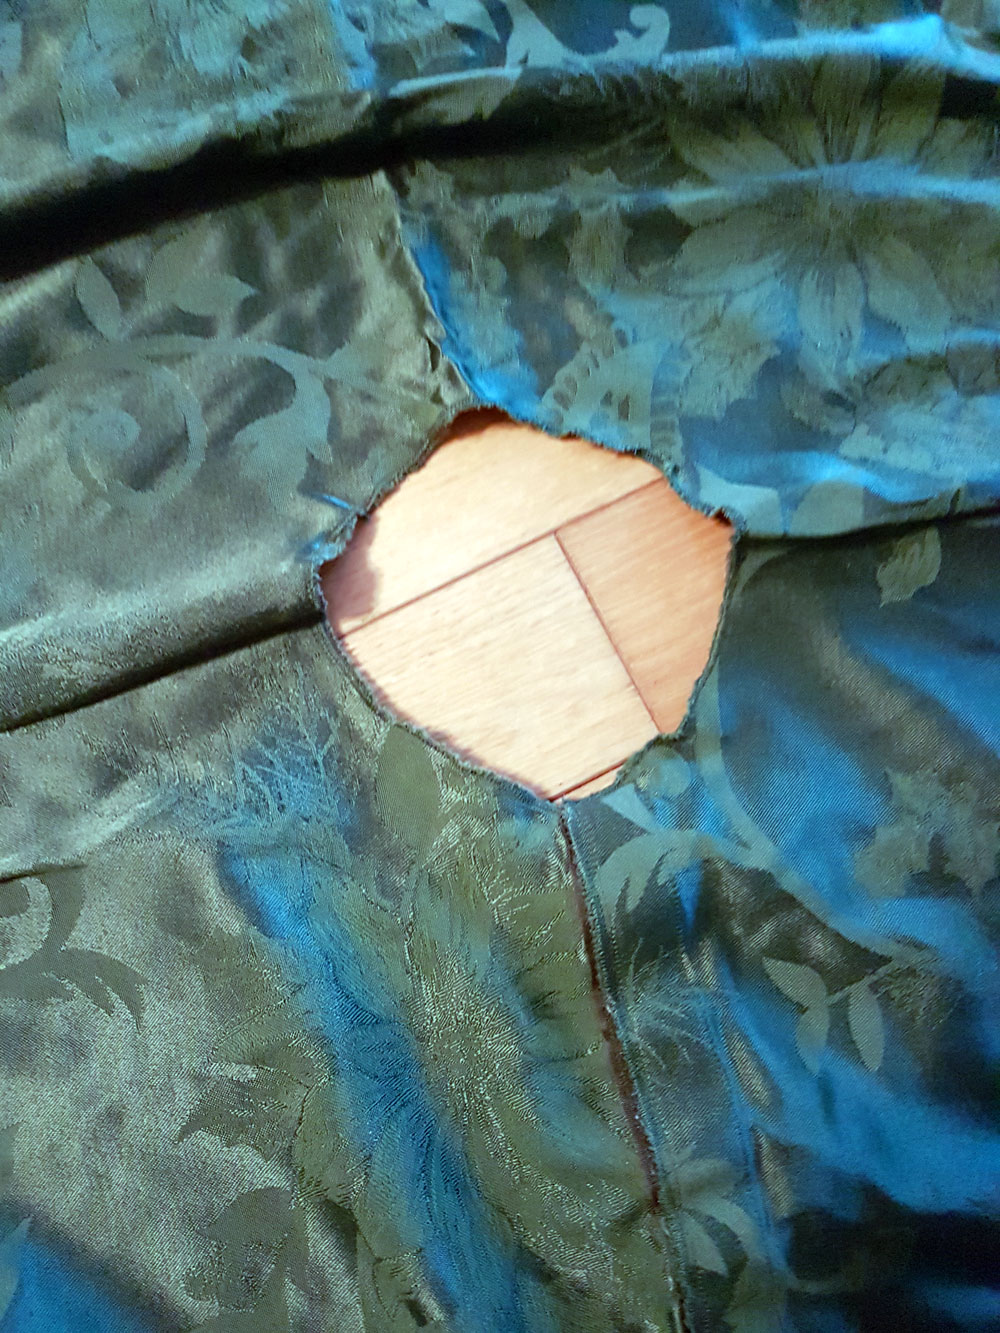
Sew a zigzag stitch around the edge of the trunk cutout and the slit to prevent your fabric from fraying.
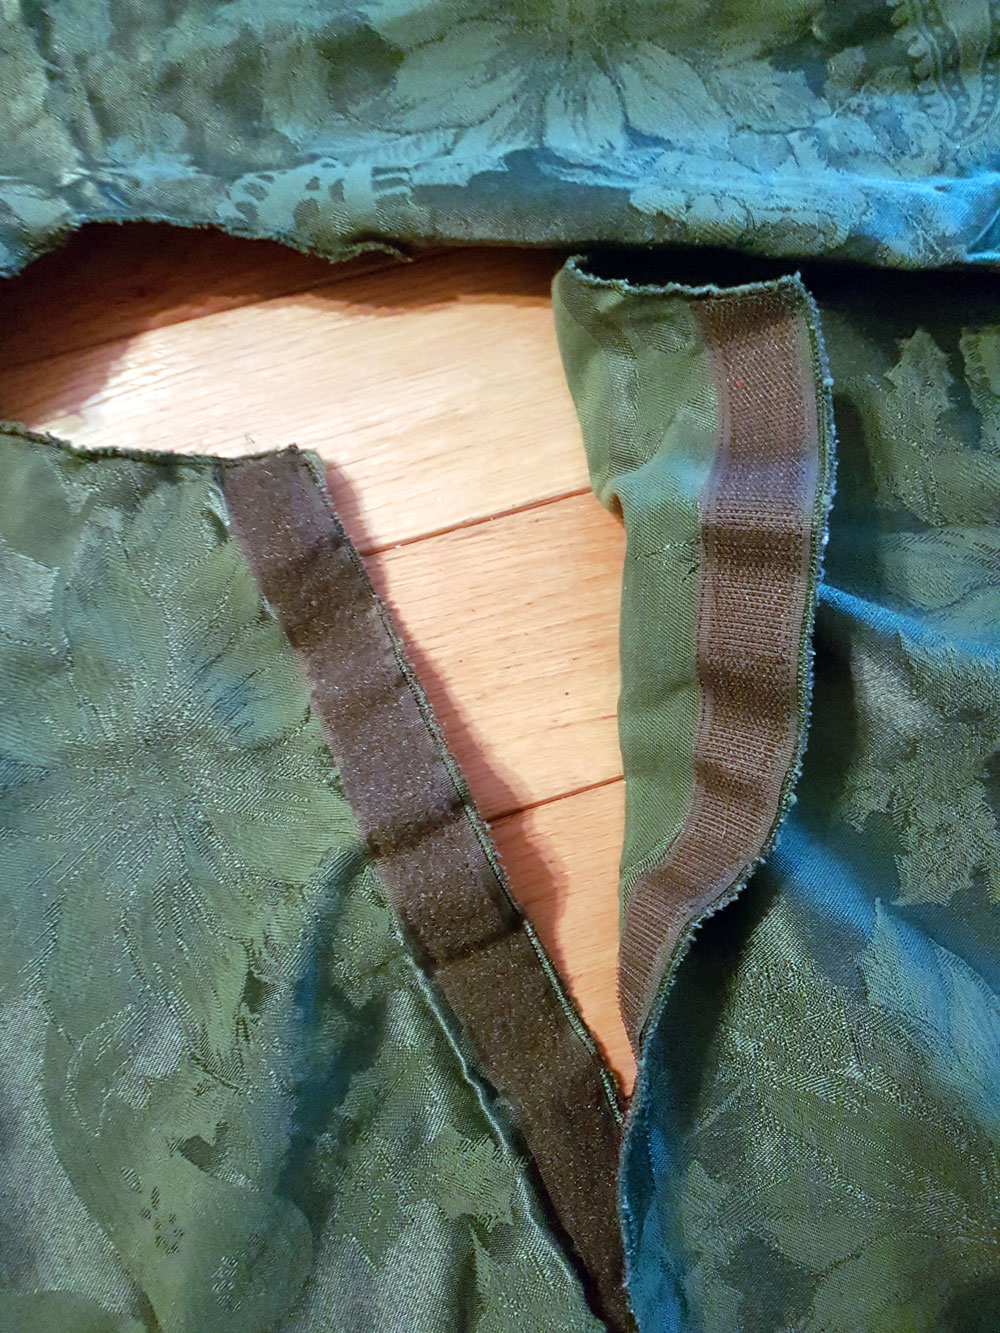
Attach velcro along either side of the slit.
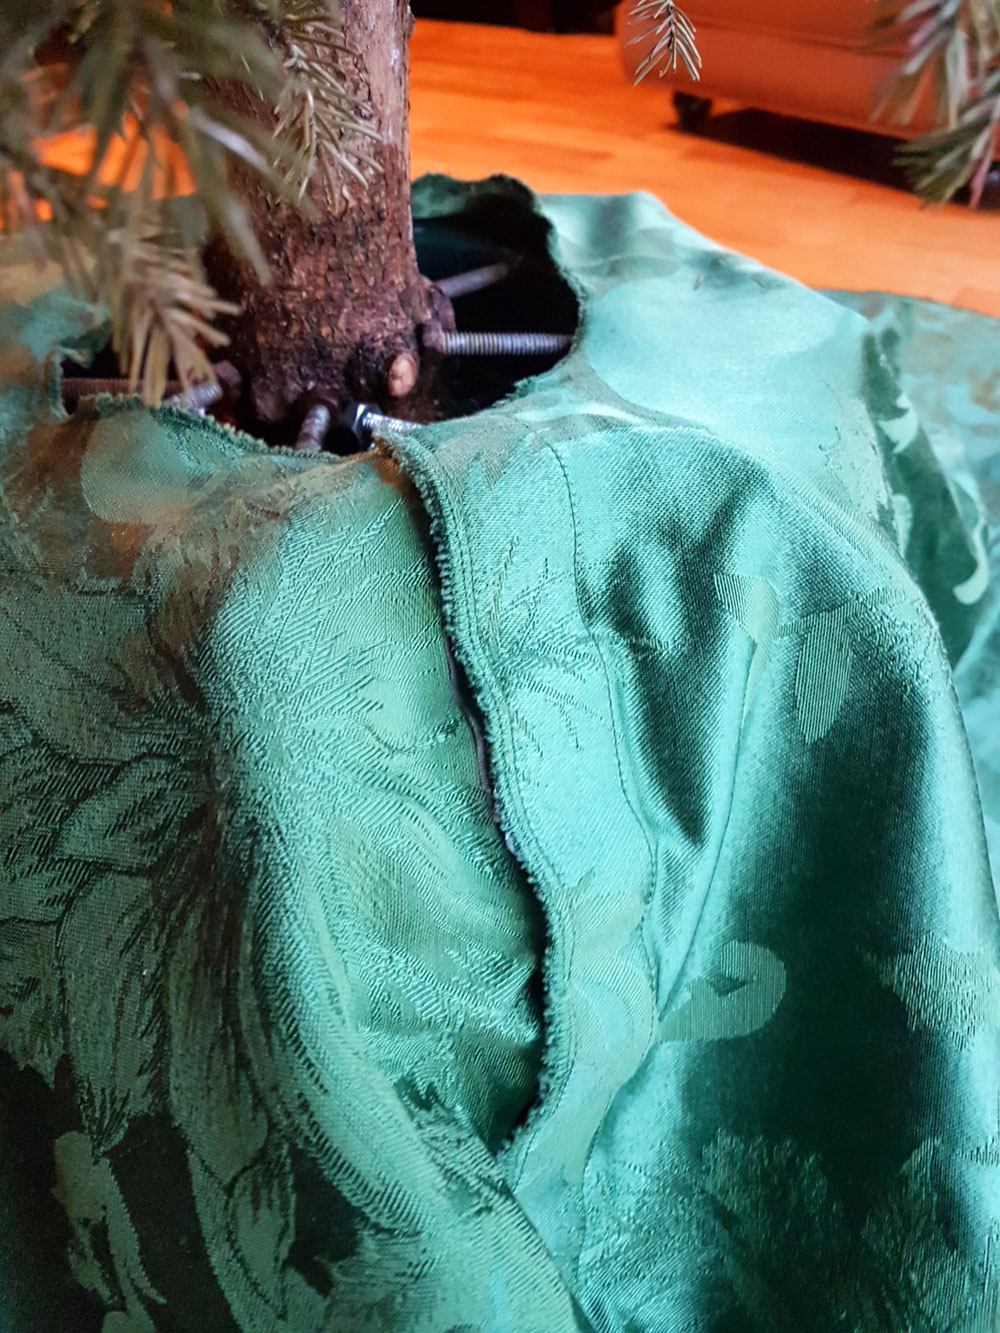
Drape your tablecloth around the bottom of the tree. Use the velcro to close the skirt. Put the velcro at the back of the tree so it isn’t visible.
And voila. Your Christmas tree now has a beautiful cape.

Haha, a cape. Love it! I picture it as the last touch on the superhero tree.
We got our tree yesterday but it’s standing outside in the rain until I can get some help to get it up the stairs. Perhaps if I put the cape on it first, it could fly up 😉
Capes are very versatile for people, aliens and trees!
This is the first year I did not put our “cape” on our tree. It did look kind of bare until there were presents underneath! I am going to have to be on the lookout for a tablecloth to make one for next year.
Presents make all the difference!