Anyone want to go to the bathroom? (I realize that may be an odd question, but I really hope you say yes, because I have things to show you.)
Our main bathroom is looking so good. We are still under renovation, but I’m making progress (one of the realities of DIY is that things usually take a while).
My last update took you through demo, plumbing and electrical rough-in, tile and the start of the wall panelling.
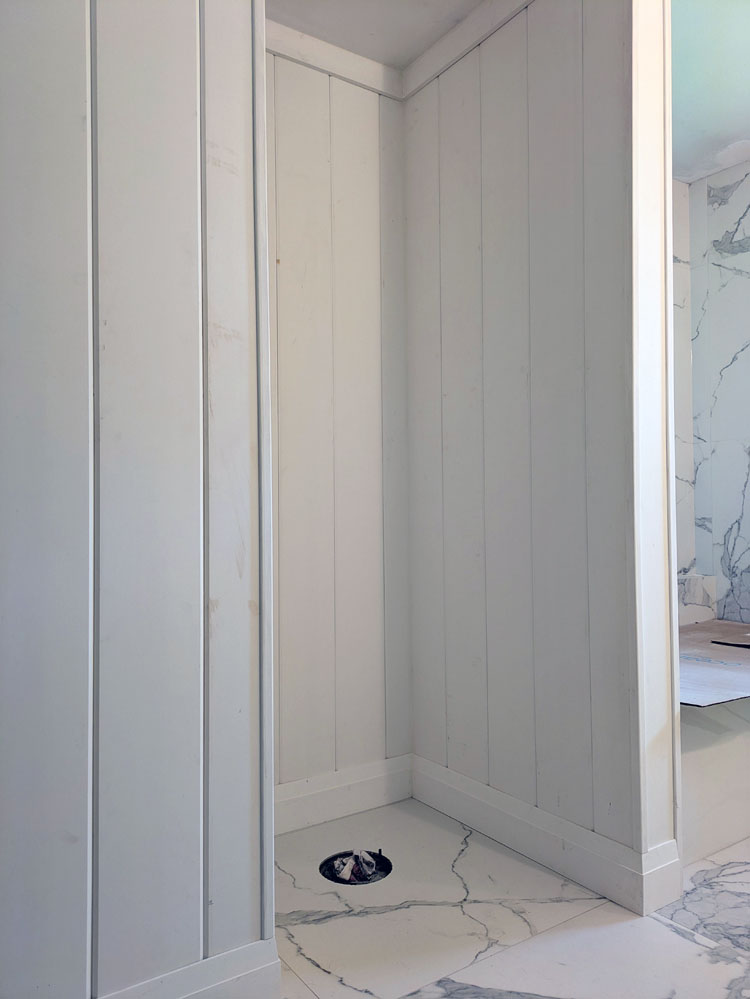
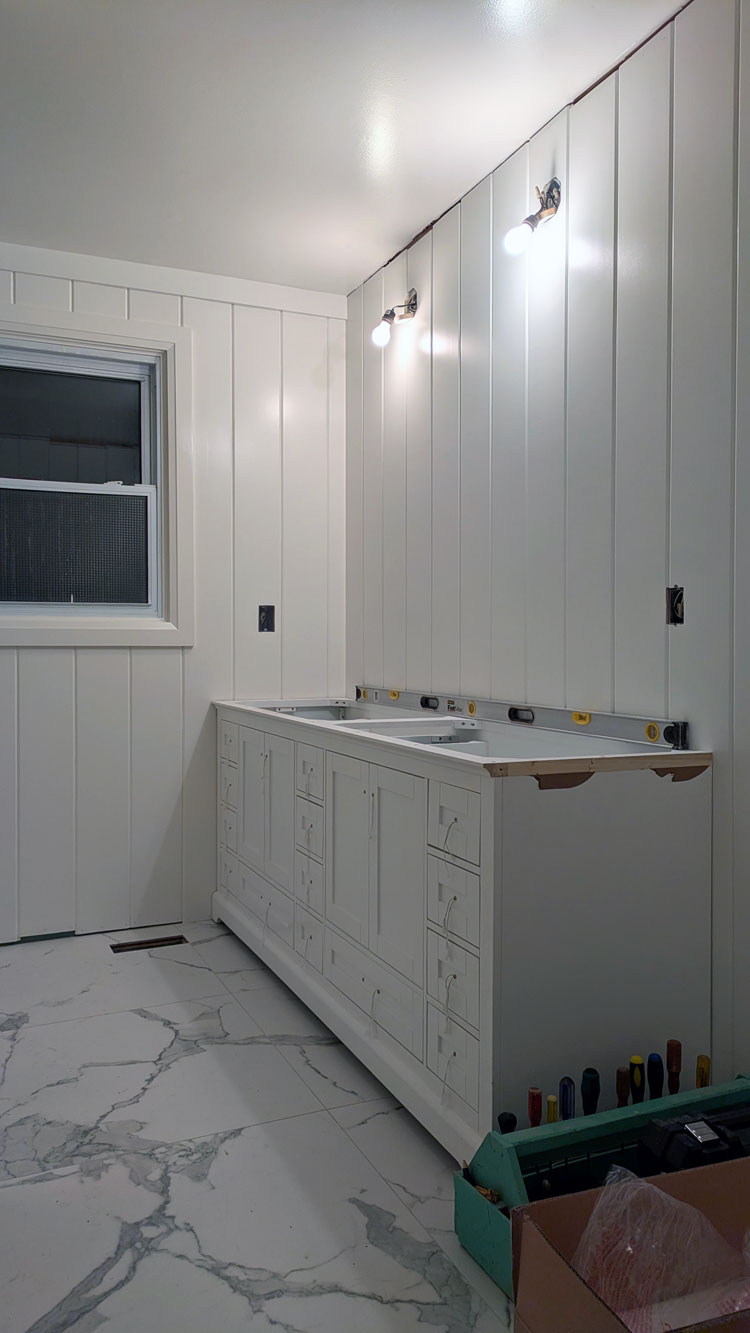
Now, the panelling is up and painted. The vanity is in place. And the electrical is complete. Today I’m going to share the details of how it all went.
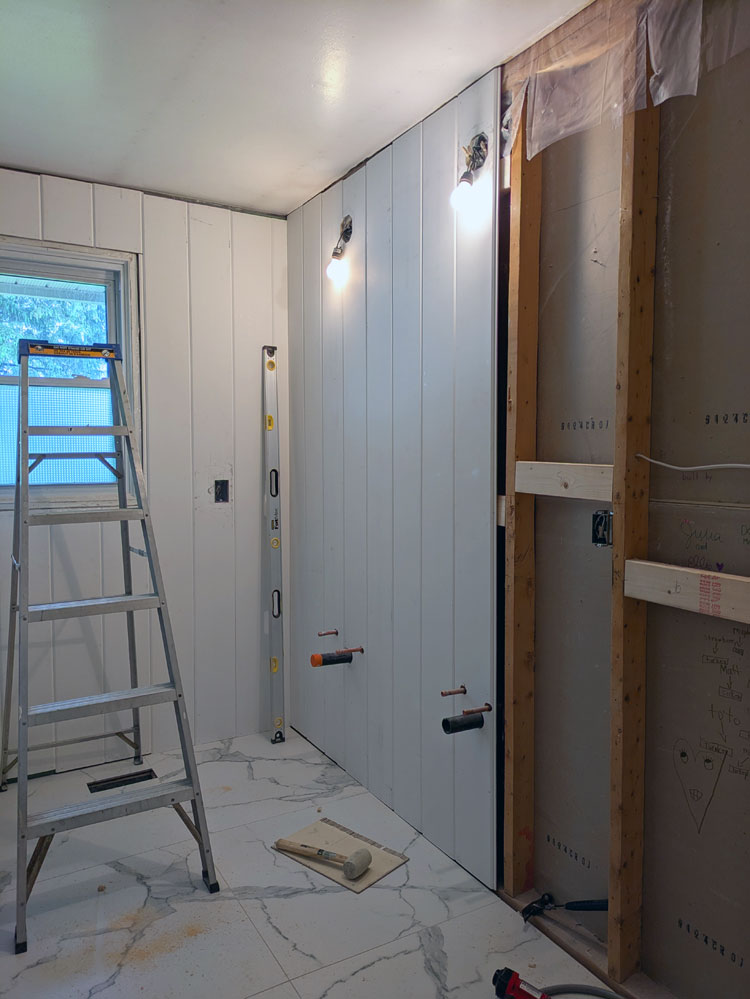
This bathroom has been a stretch for me in terms of my skills, and panelling was something I’ve not done before. I chose a pre-primed, tongue and groove, pine V-groove for all the walls. I started installing it behind the door so I could hide any mistakes, but everything worked out fine.
I prepped for the panelling by installing blocking between all the studs about halfway between the ceiling and the floor. This gave me an extra spot to nail the boards and ensure they were fastened securely. I used my Dad’s long level to make sure each board was straight and a rubber mallet to make sure the joints were tight. Then I face nailed each board top and bottom and one nail through the tongue into the blocking.
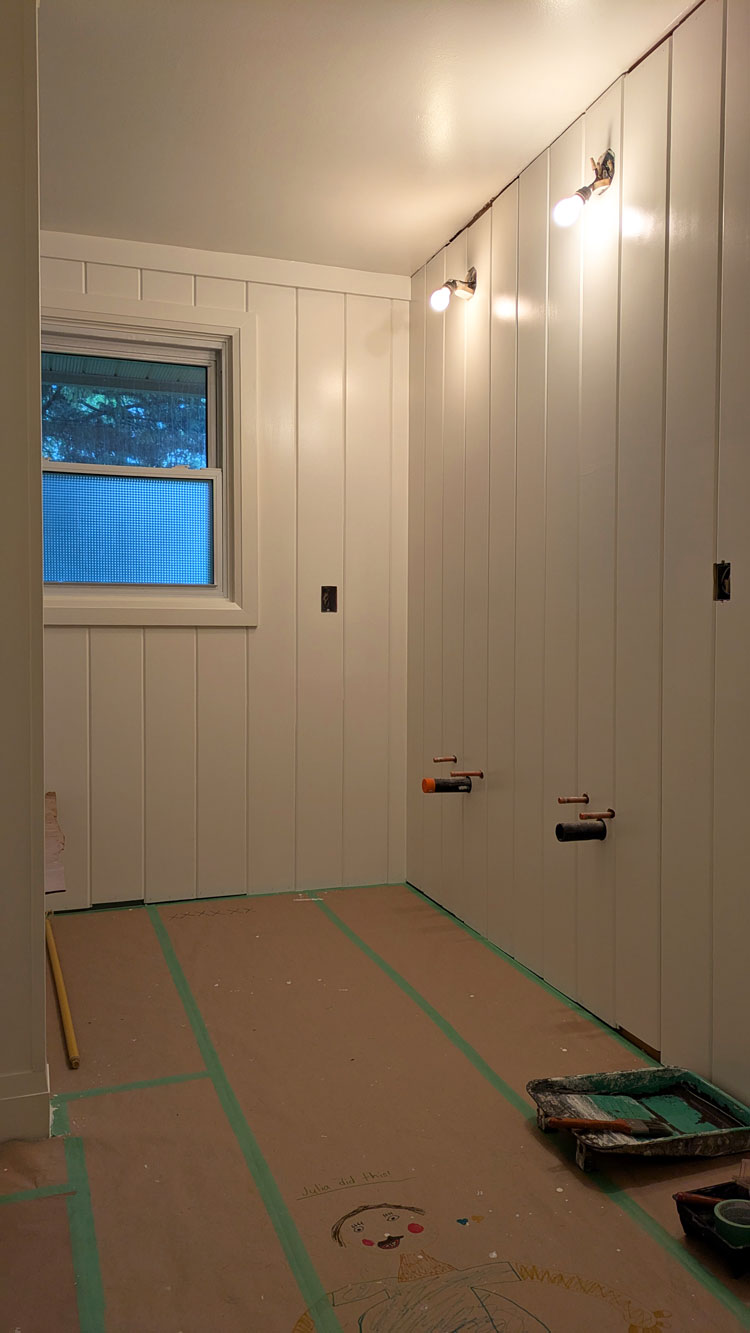
Once the panelling was up, I moved onto the trim. Trim was essential because it covered all of the gaps with the V-groove. I did window and door casing, baseboard, flatstock along the ceiling, and corner pieces over every outside corner. There are a few spots that still need trim, but I’m waiting until the vanity and hutch are complete before I install these finishing touches.
Trim is slow and challenging because I had to be super precise with every measurement, every cut and every install. But it turned out really well and finished off the panelling beautifully.

Then came paint. While I hadn’t installed panelling before, I had painted it in the mudroom. There, I rented a sprayer to ensure I got into every groove. I didn’t love the sprayer. The rental process was not straight forward, and my spraying technique wasn’t great. For the bathroom, I decided to try a roller and brush and hope I could get into the grooves and achieve a good finish.
It ended up working out really well. I cut in around the ceiling, floor, corners, door and window with my brush. It was tedious, but I covered everything well. Then, as I hoped, I was able to squish my roller into the V-grooves between each panel, so they were completely painted. Then I carefully went over the whole board with the roller to smooth out any excess paint.
I chose to paint the bathroom white. I’m not a white room person usually, but I really like the warm white we have on trim and furniture throughout the house (Benjamin Moore Cloud White). I thought it would look good for the bathroom. The V-groove adds a lot of texture to the walls, so there is good visual interest. Plus the white lets the other elements of the bathroom–the tile, counter and wood hutch–stand out.
I used Benjamin Moore’s Advance line. This is my go-to cabinetry paint, so I figured it would be extra durable for the bathroom.
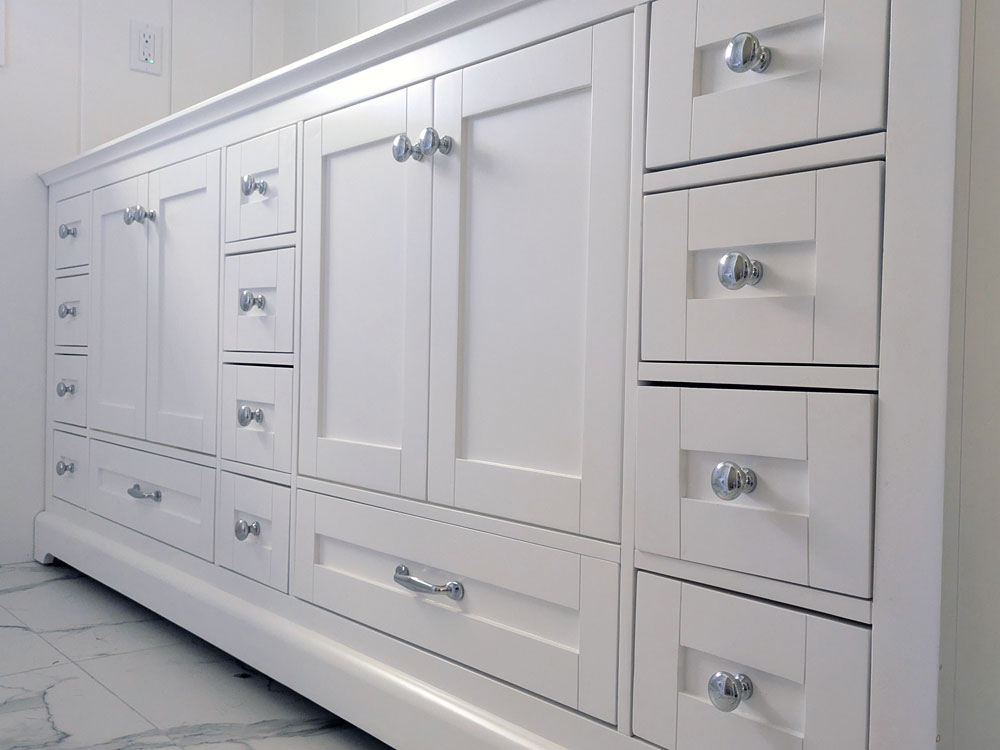
Next up was the vanity. I picked the vanity design a very long time ago (before Ellie was born). I had stumbled across an image of a vanity with cabinets under the sinks, but they were shorter than usual. Under the cabinets were drawers. I loved the idea of drawers for extra storage, rather than wasting space with a big cupboard.
I knew I wanted simple shaker doors and it was going to be white.
When I ordered all of the bathroom fixtures, the consultant I worked with looked at my plans and said, “You’ll need custom for the vanity.” So I called numerous cabinetry companies and tried to find someone to make my dream vanity. When I finally found one to give me a quote, the estimate came in at $9,000 and they couldn’t build it until the fall. Umm. No.
I hopped online and was amazed to discover a vanity very close to what I wanted at Home Depot. It was the size, colour, profile and even more important drawers I wanted. It was half the price of the custom vanity. And it could be here in a week. Sold.
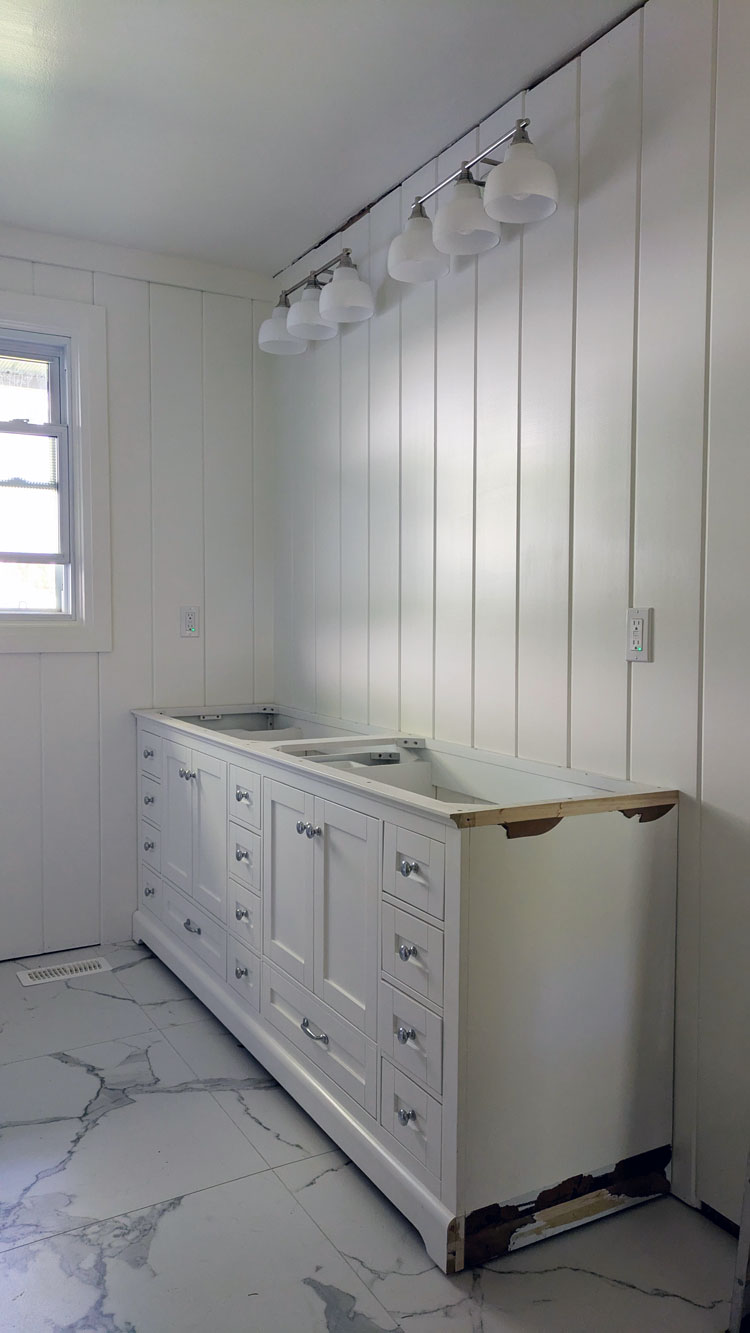
The vanity did need some adjustments. It’s meant to be free-standing, but I wanted it tight to the wall and the hutch I’m having built. To make that happen I had to cut off a bit of trim at the top and bottom on either end.
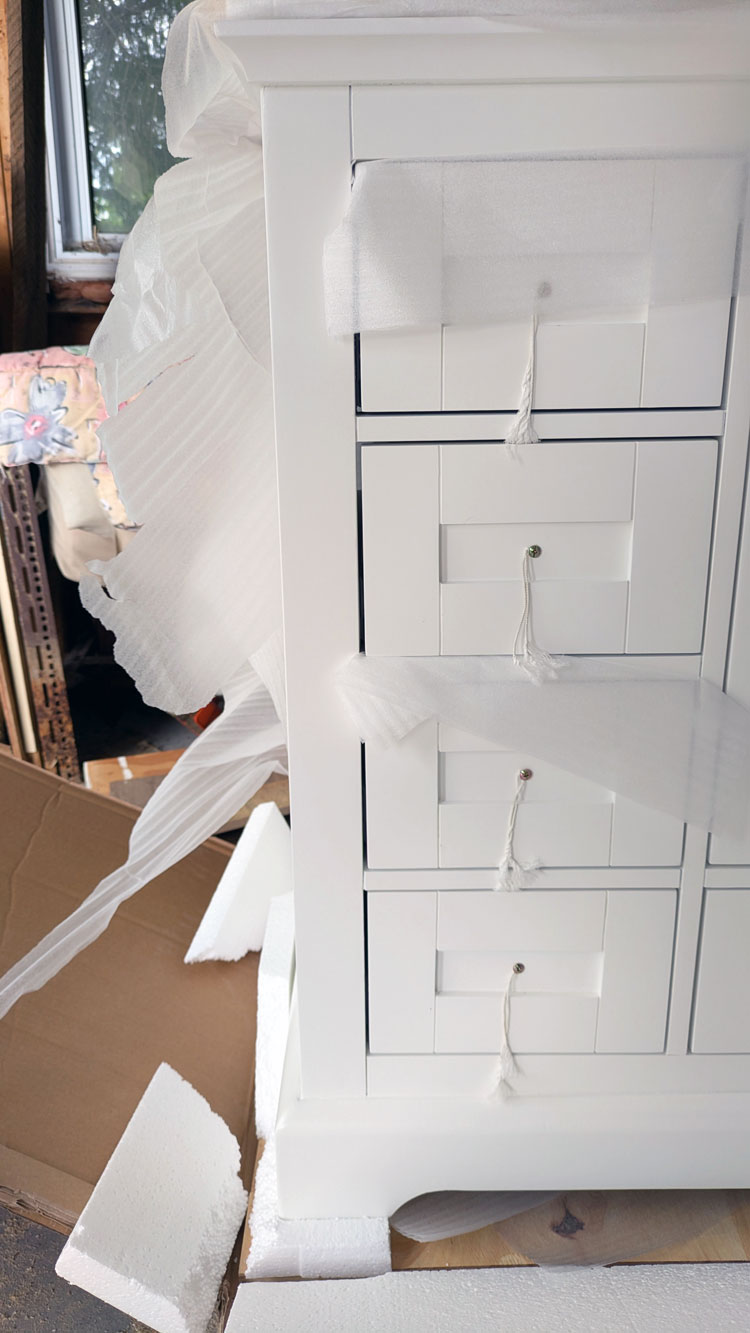
Cutting into a brand new vanity is a bit nerve wracking. The amputation also required turning the vanity upside down, which was too heavy for me to do on my own.
So I exercised my phone-a-friend option and that friend, her very precise engineer husband, and weight-lifting son came over to help. They removed the necessary pieces and then carried the vanity inside. It was a tight fit, but they made it into the bathroom, and I was so pleased once I saw it in place.
One of my concerns with the vanity was the colour. Would the white be too cool against my creamy walls? Would I have to paint the vanity? The white looks great. It’s not an exact match to the walls, but it is definitely on the warmer side. The surgery worked and the vanity fits tight to the wall. All of the nicks and cut marks will be hidden.
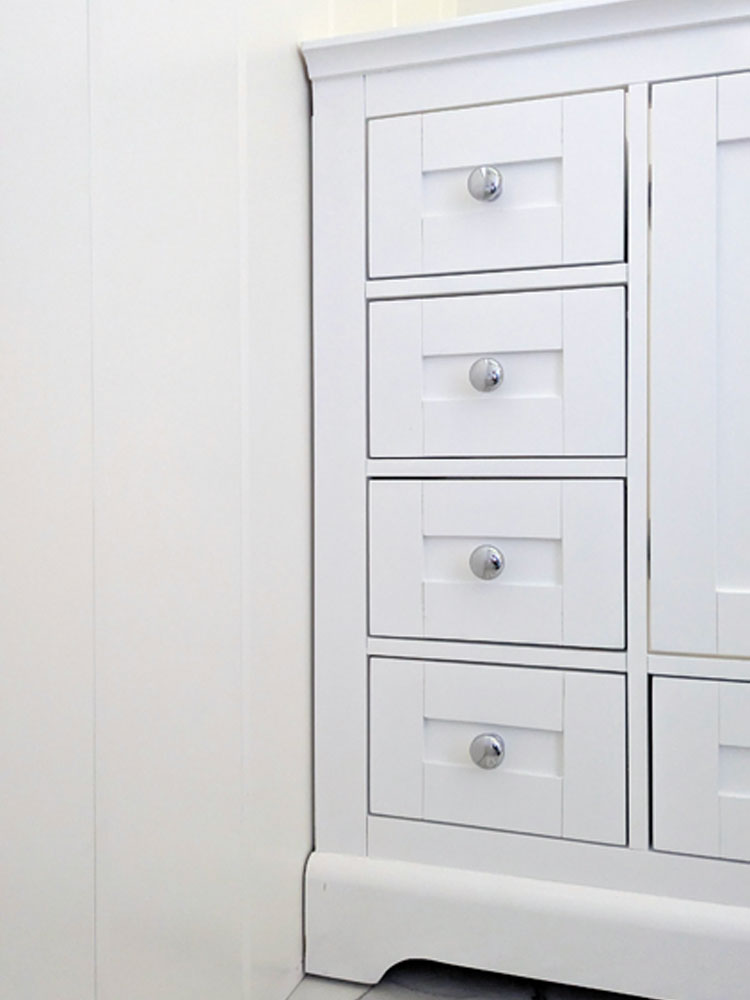
One of my other concerns with the vanity was the hardware. The online listing said it came with brushed nickel hardware, which was not the look I was going for. I planned to source hardware that fit the pre-drilled holes. But as I unscrewed the hardware (it was installed backwards for shipping), I discovered it was polished, so I decided to install it.
The decision to go with the polished hardware solved another dilemma–the lighting. In my original mood board for the bathroom, I had thrown in a light, but I really had no idea what kind of light I wanted.
I planned to mix metals. Chrome on the taps and maybe towel bars? Black on the hutch hardware and hooks? Brass on the lights and vanity hardware?
I searched through so many lights online and couldn’t find ones that seemed exactly right. I wandered lighting boutiques and big box stores. I added to my Pinterest board. I polled my family with various options.
I finally ordered a gold light that I liked. But when it arrived, it turned out I didn’t like it that much. The gold was very brown. Almost copper. It blended with the frame of the mirrors, when I wanted it to stand out. It was not the look I was going for.
The polished vanity hardware helped me decide to skip bringing brass or gold into the bathroom. I would still have the touches of black I was planning, but the lights were going to be shiny silver.
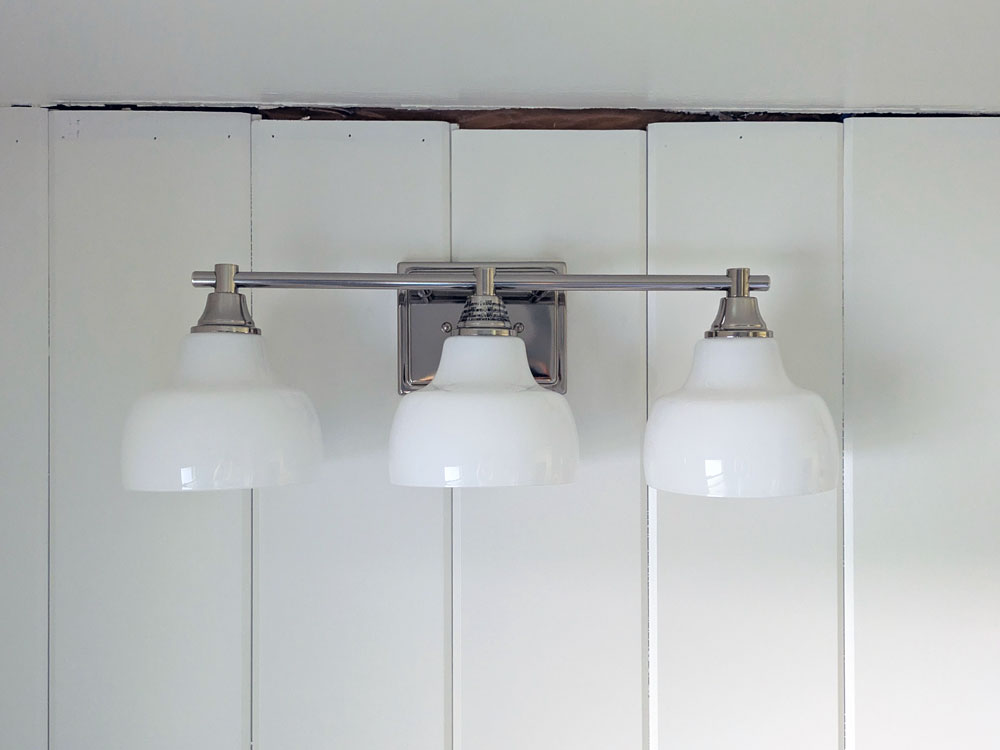
I went back to a light I’d seen at Home Depot. It had white milk glass-esque shades like the schoolhouse lights we have in the hall and kitchen. It had bright shiny polished metal. Even better, it was in stock at my local store–critical since the electricians were coming in 5 days.
So I bought the lights. When I unpacked them at home, I decided I still liked them.
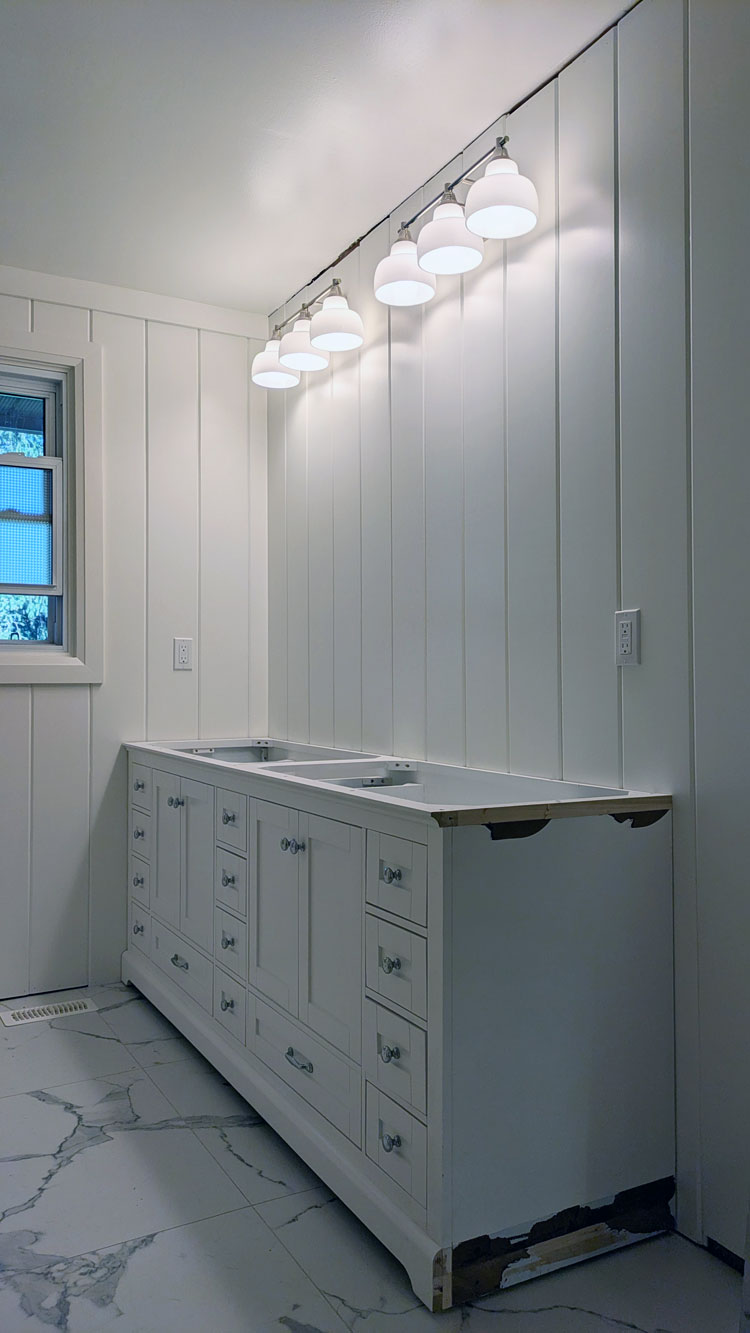
The electricians came and installed the lights, plugs, floor thermostat, timer for the fan and dimmer switch for the lights. So electrical is done.
The bathroom feels extremely bright with our new lights and white walls. We went from two bulbs to six, which is a big glow up. Fortunately, we have the dimmer switch. We also went from one plug to two. And of course there’s the heated floor. So many upgrades.
I’m really glad to have one trade completely finished. The biggest tasks that I had to tackle are also done. I managed to finish the painting before Ellie finished school for the summer. All of my jobs now are very manageable.
As more and more pieces come together, I’m thrilled with how everything looks together. I had a very clear idea of what I wanted in the bathroom and how I wanted it all to look. But when designing a bathroom, you pick these big, really hard to change things like a tub, tile, vanity, countertop mostly in isolation. Then you cross your fingers and hope they all look good in the room together. So far, they do, which makes me very happy.
I’m documenting the bathroom reno and sharing it in a series of videos on Instagram. Follow me at juliaon129acres, and catch up on all the construction in the bathroom highlights Part 1 and Part 2.

Congratulations on your renovated bathroom Julia. You did a fantastic job !
I like a lot of white in a bathroom too with accent colours (ours has streaks of salmon throughout the slate floor, peachy bath mat, towels) adding warmth. Ours has a white/black granite counter, white sink, toilet and tub with black cabinets. We had a plumber replace the waterfall faucet in the sink that the previous owners had put in. We chose mixed metal fixtures of polished and brushed that we like providing interest.
Enjoy your new loo !
Pam
Thanks for your enthusiasm, Pam. I like the idea of the salmon accents inspired by the floor.