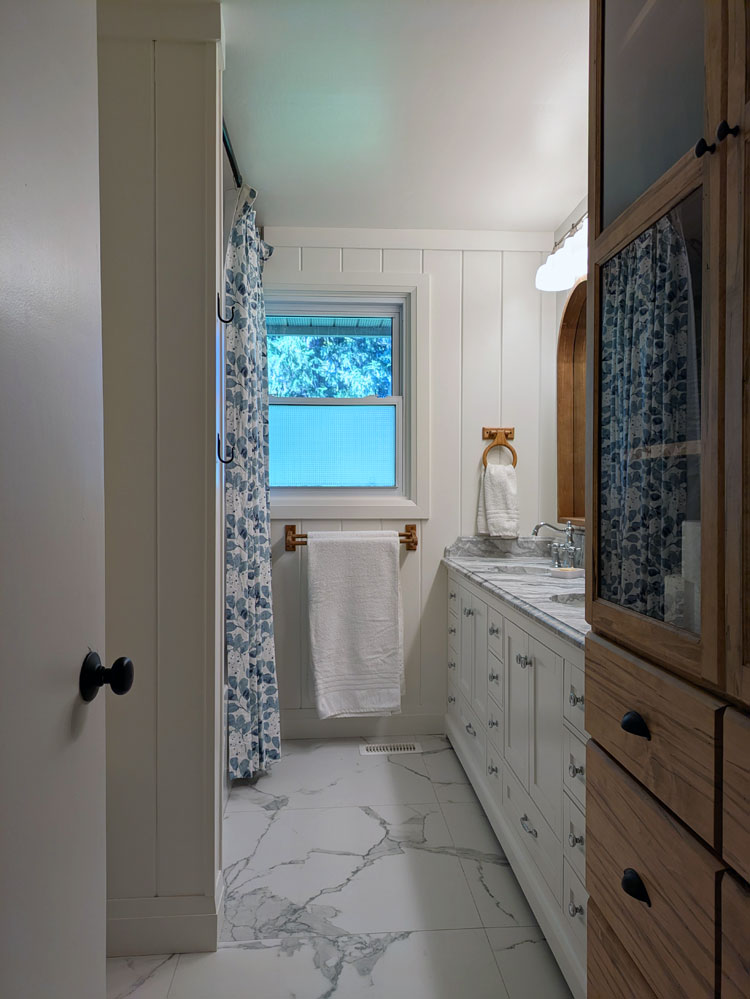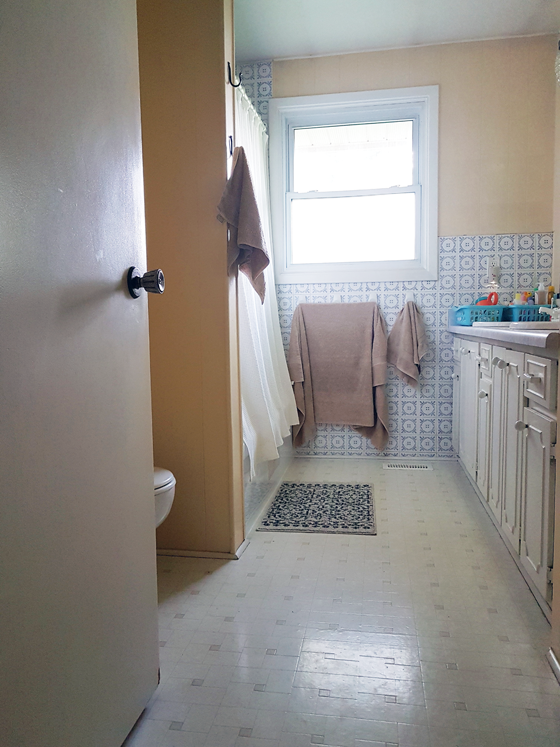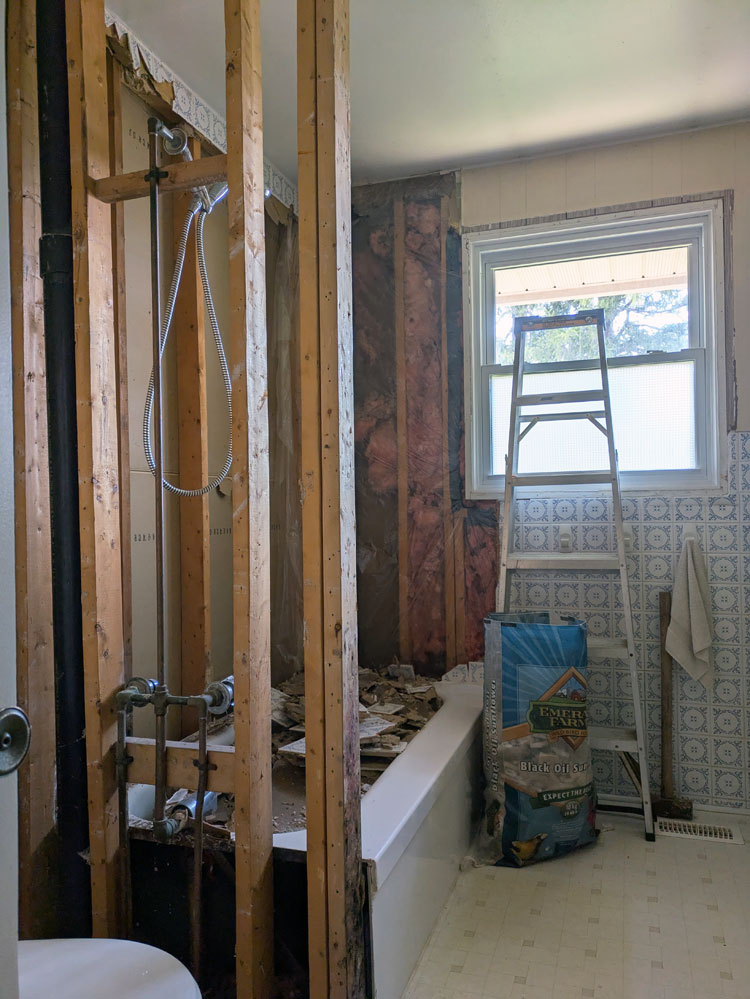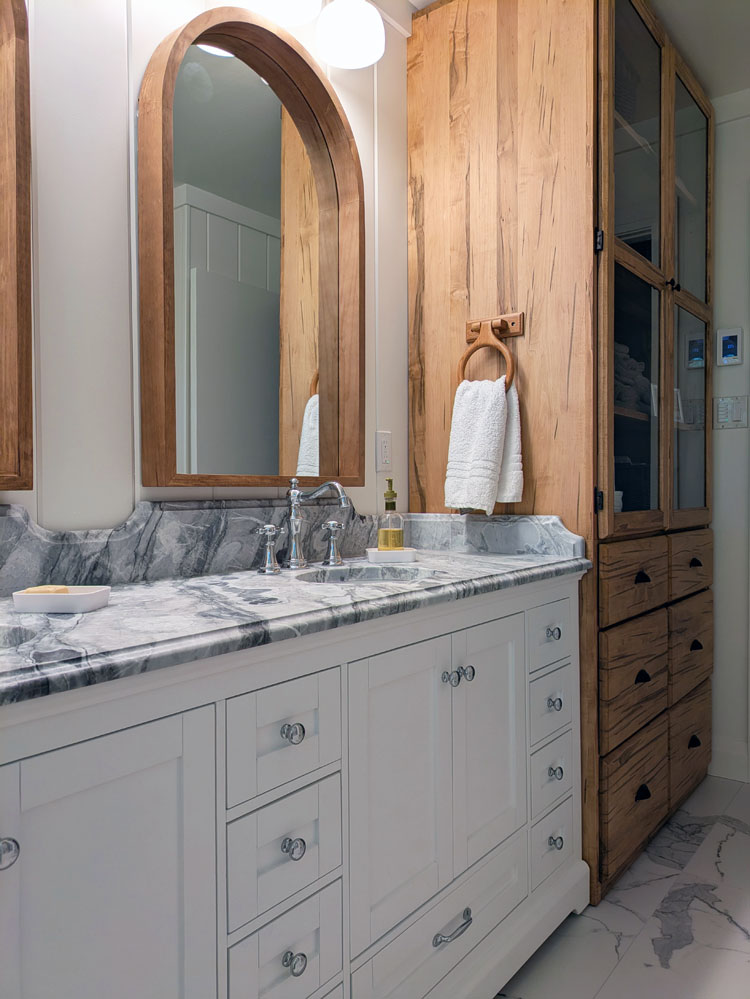
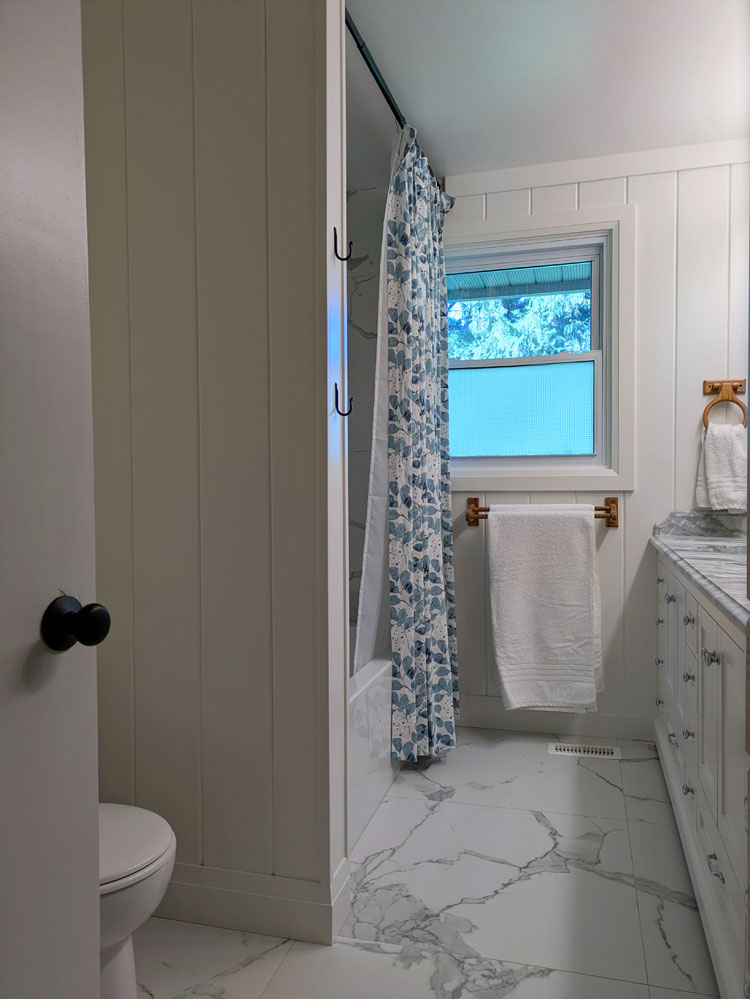
Renovating our main bathroom was the project of the year in 2025. I love how the bathroom turned out. I got the clean, traditional, farm look I wanted, and I did it pretty affordably. I feel like I found a good balance between high and low when it came to the budget.
Today, I thought I’d look at three splurges and three saves.
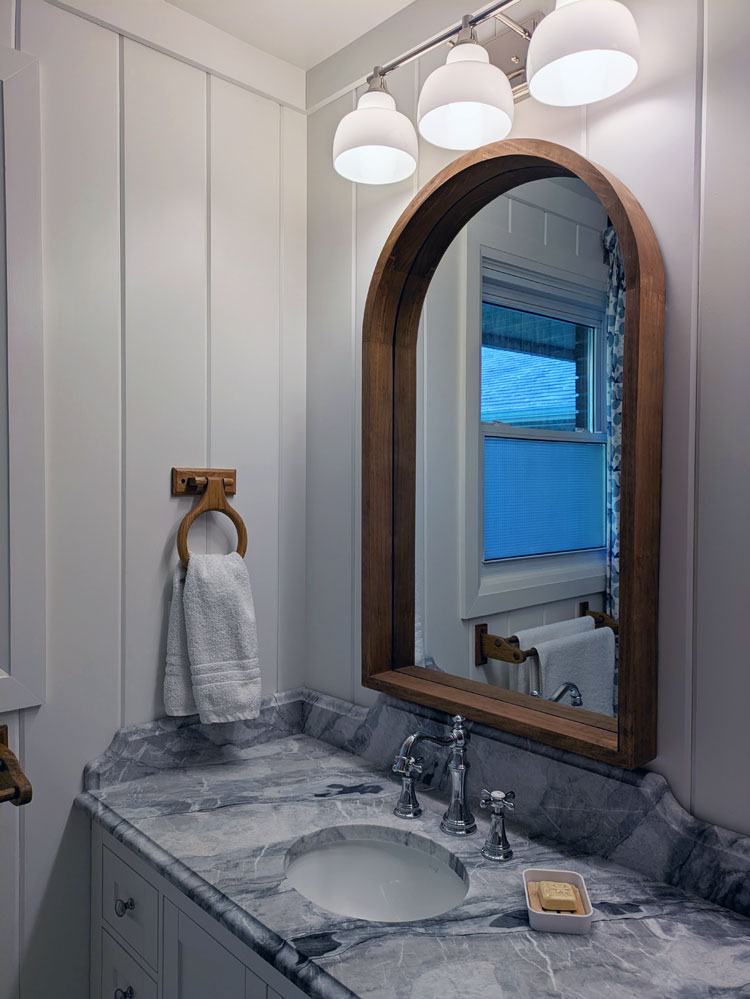
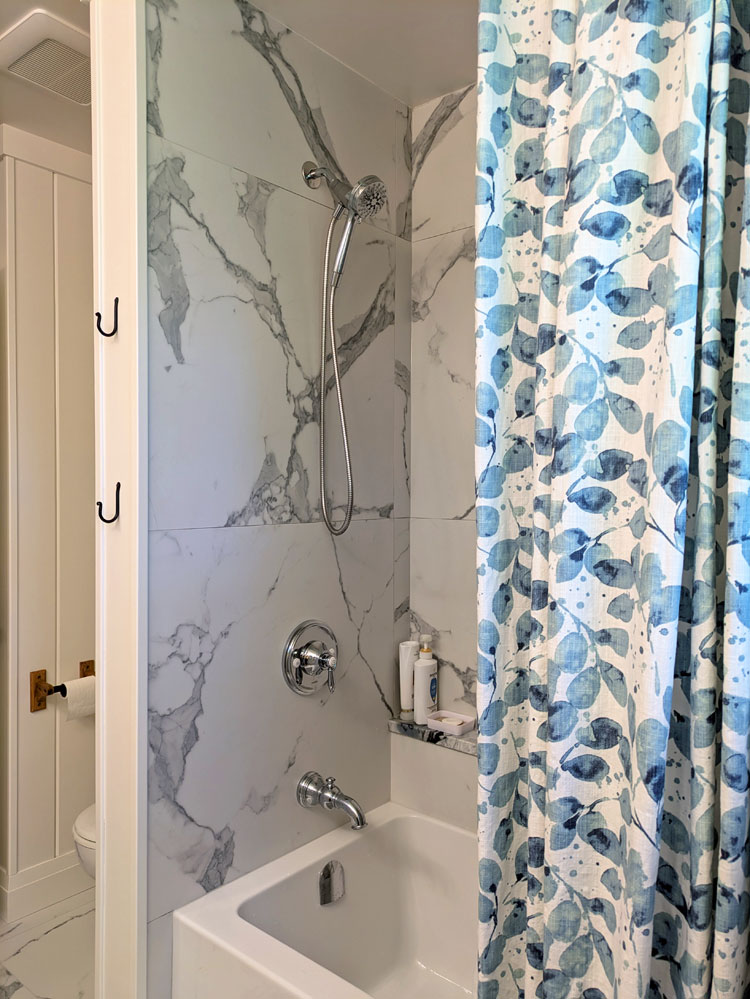
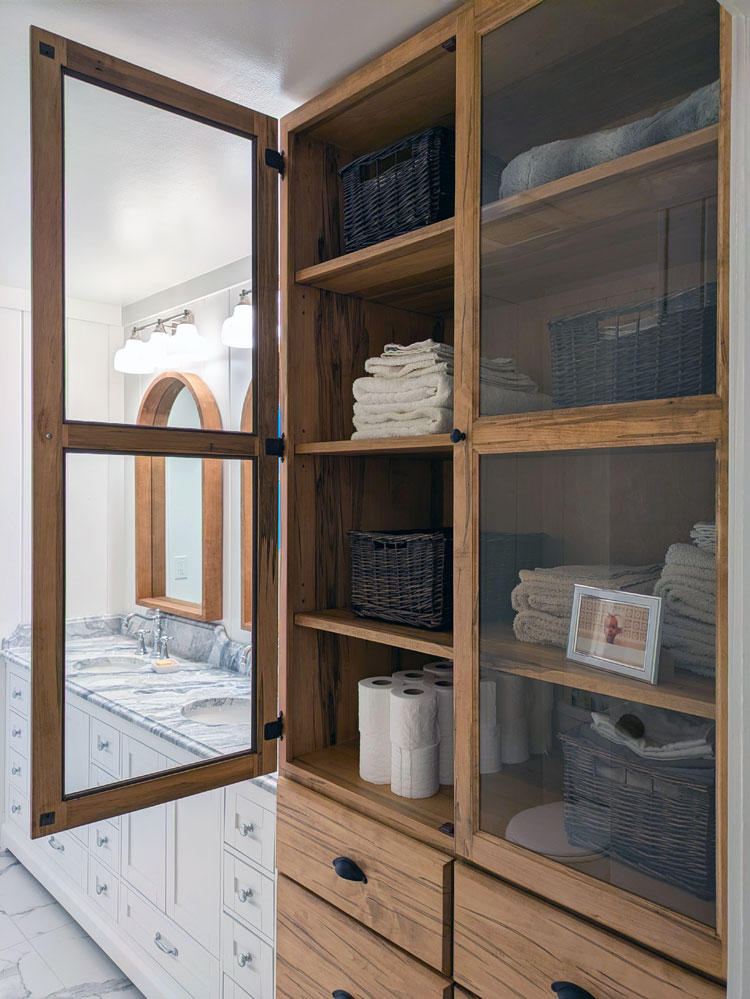
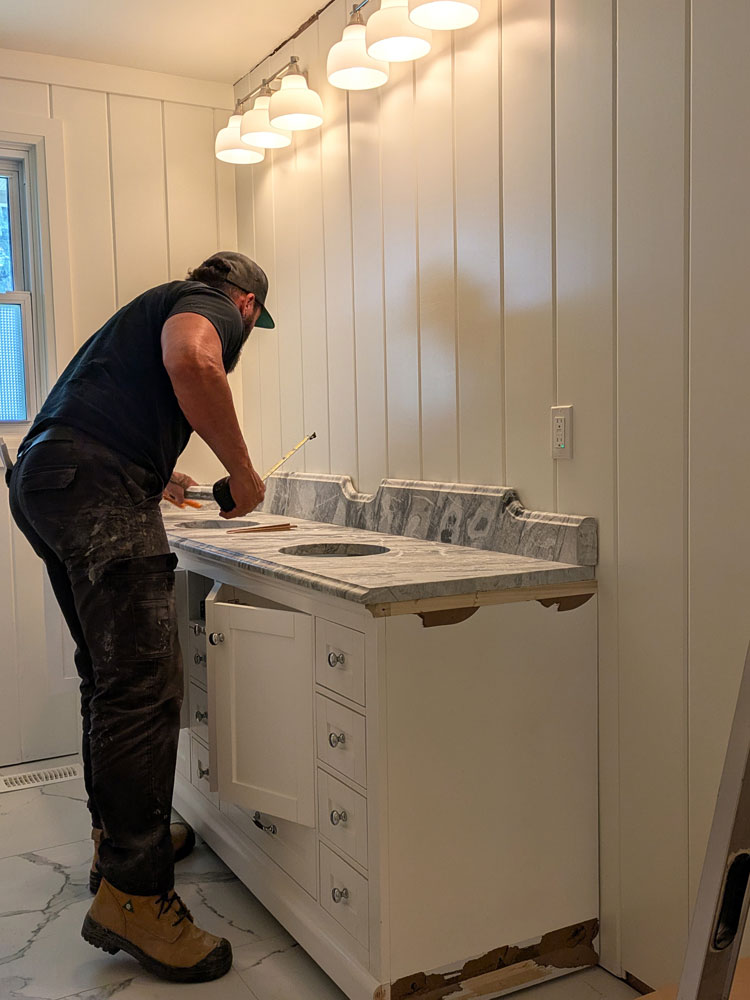
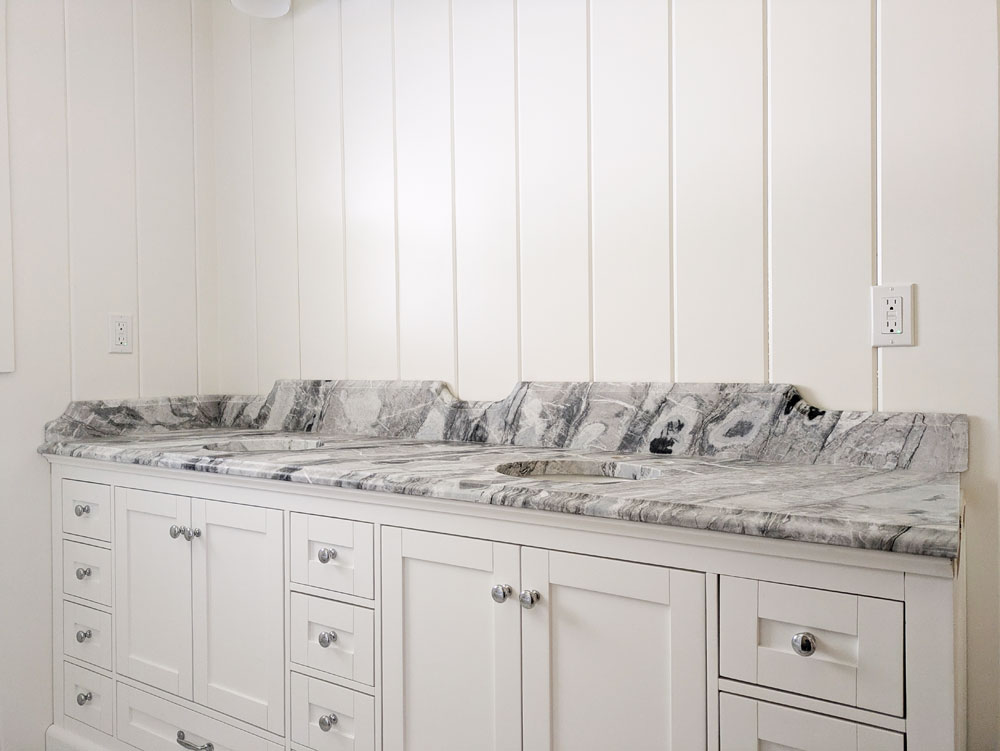
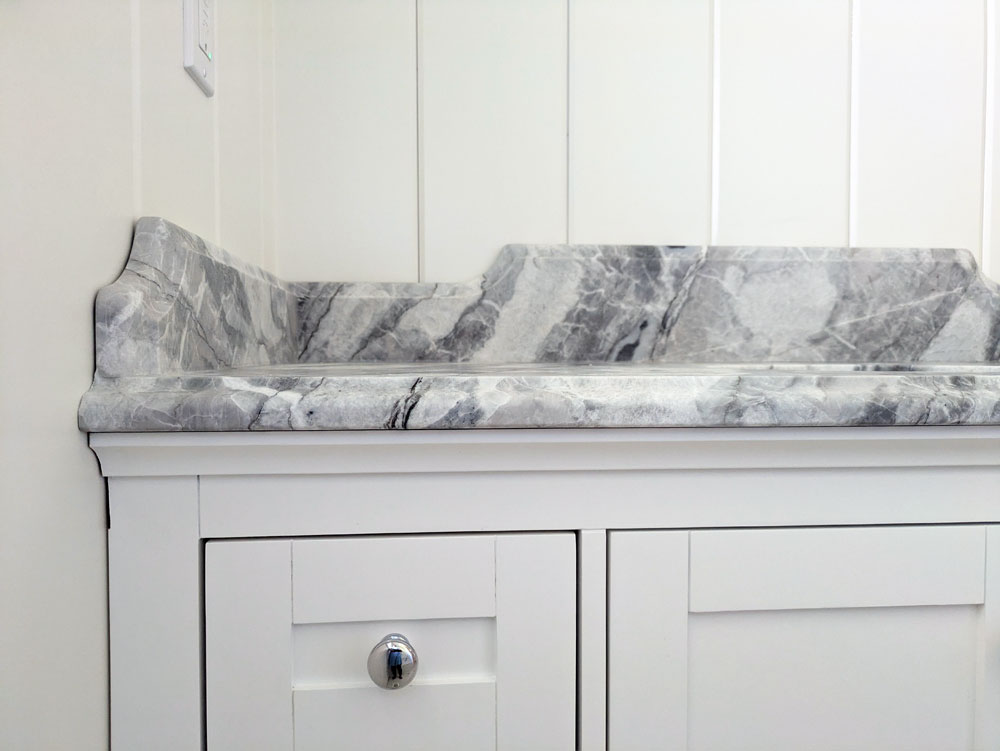
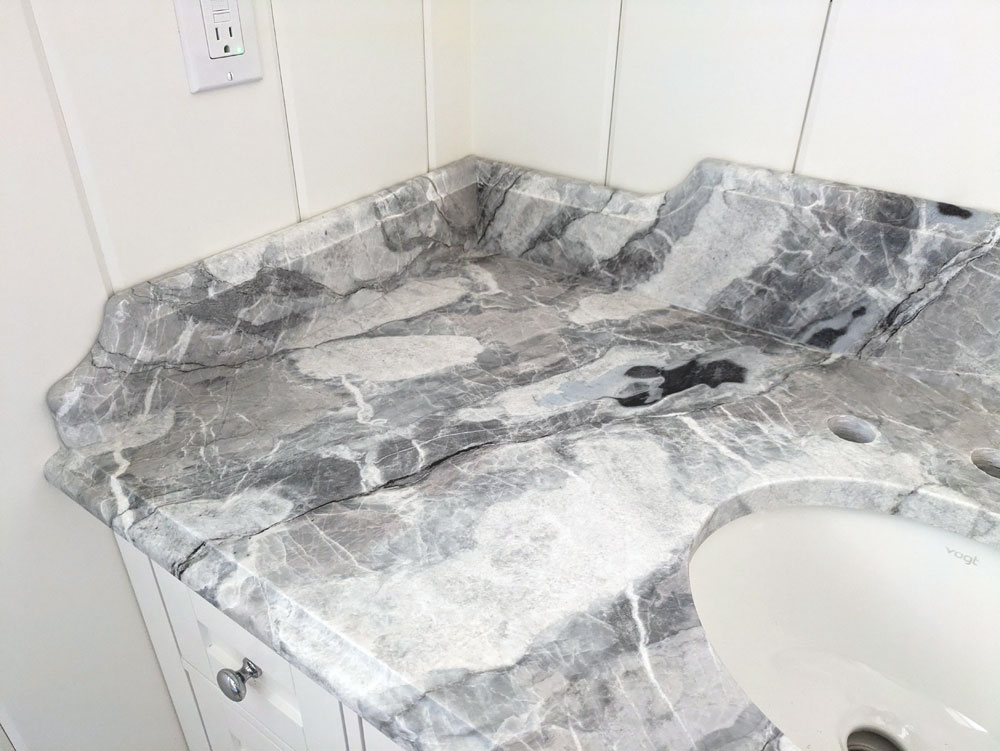
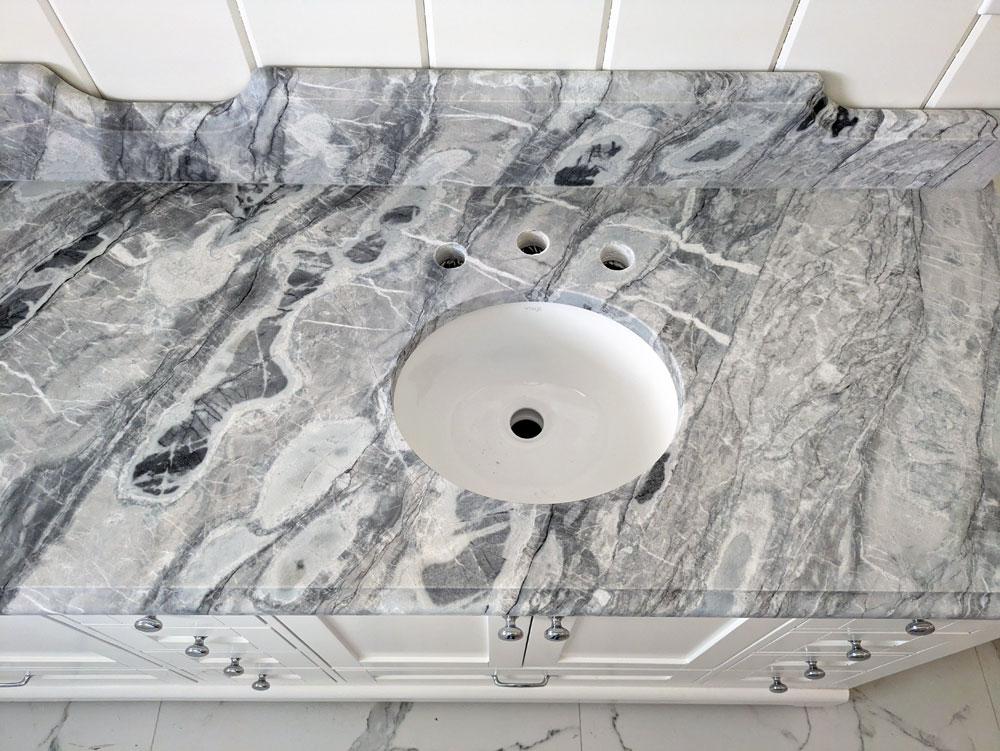
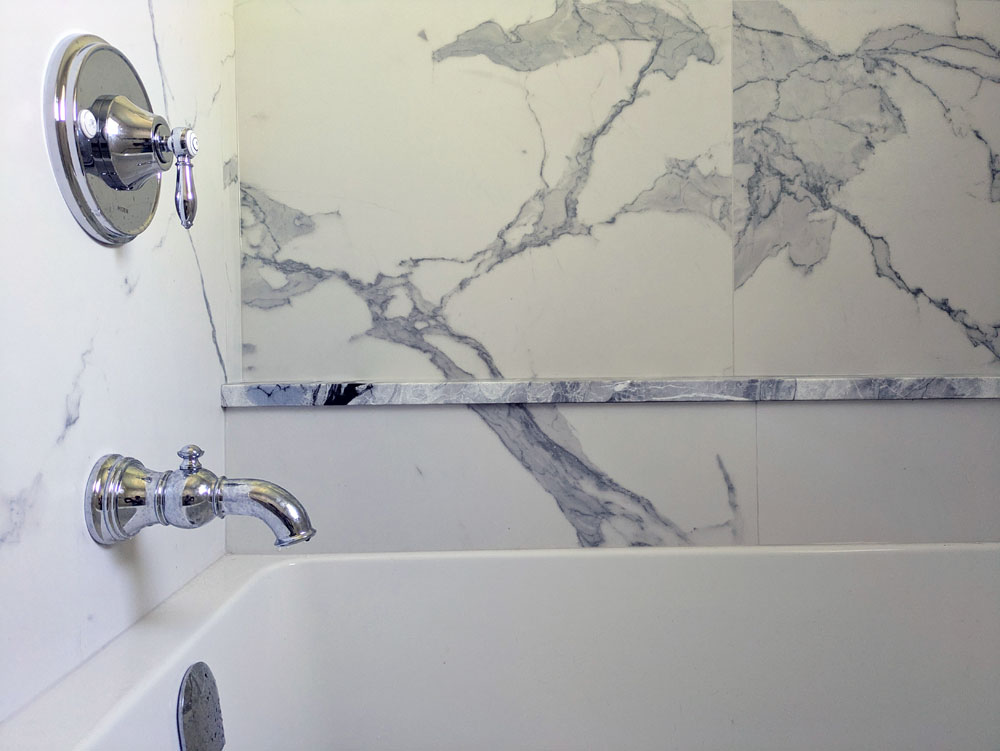
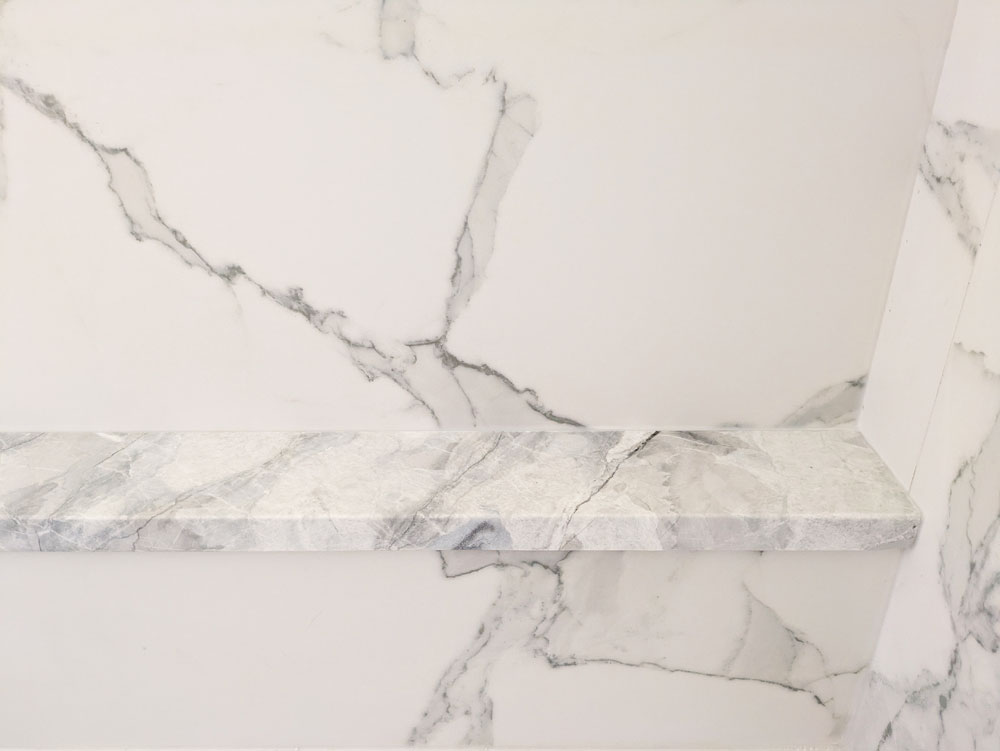
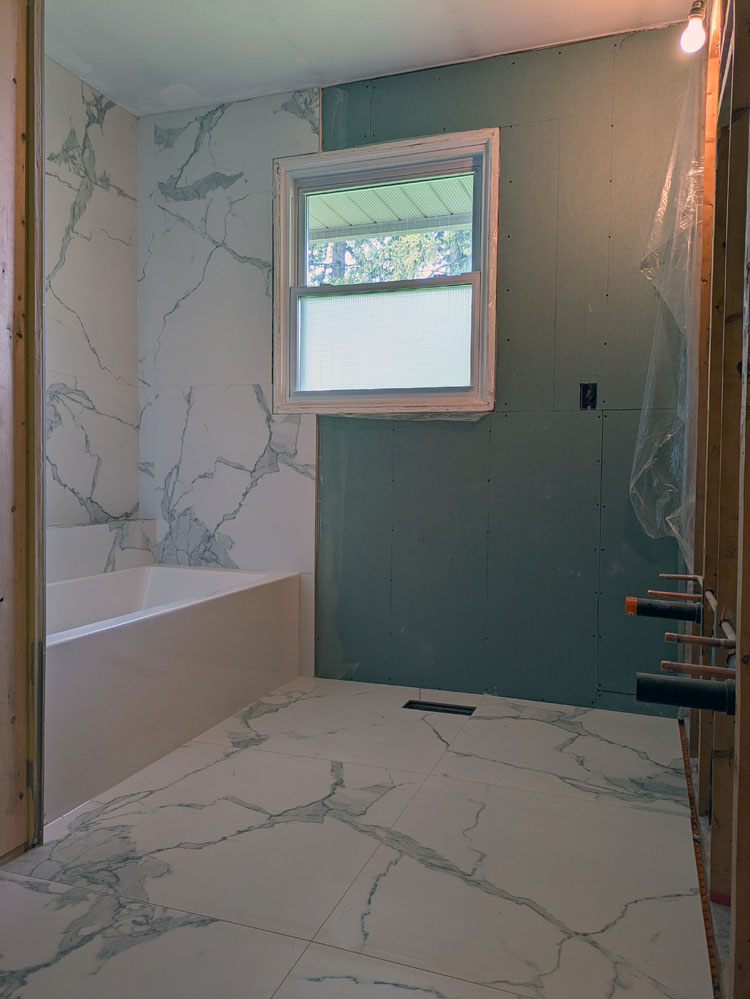
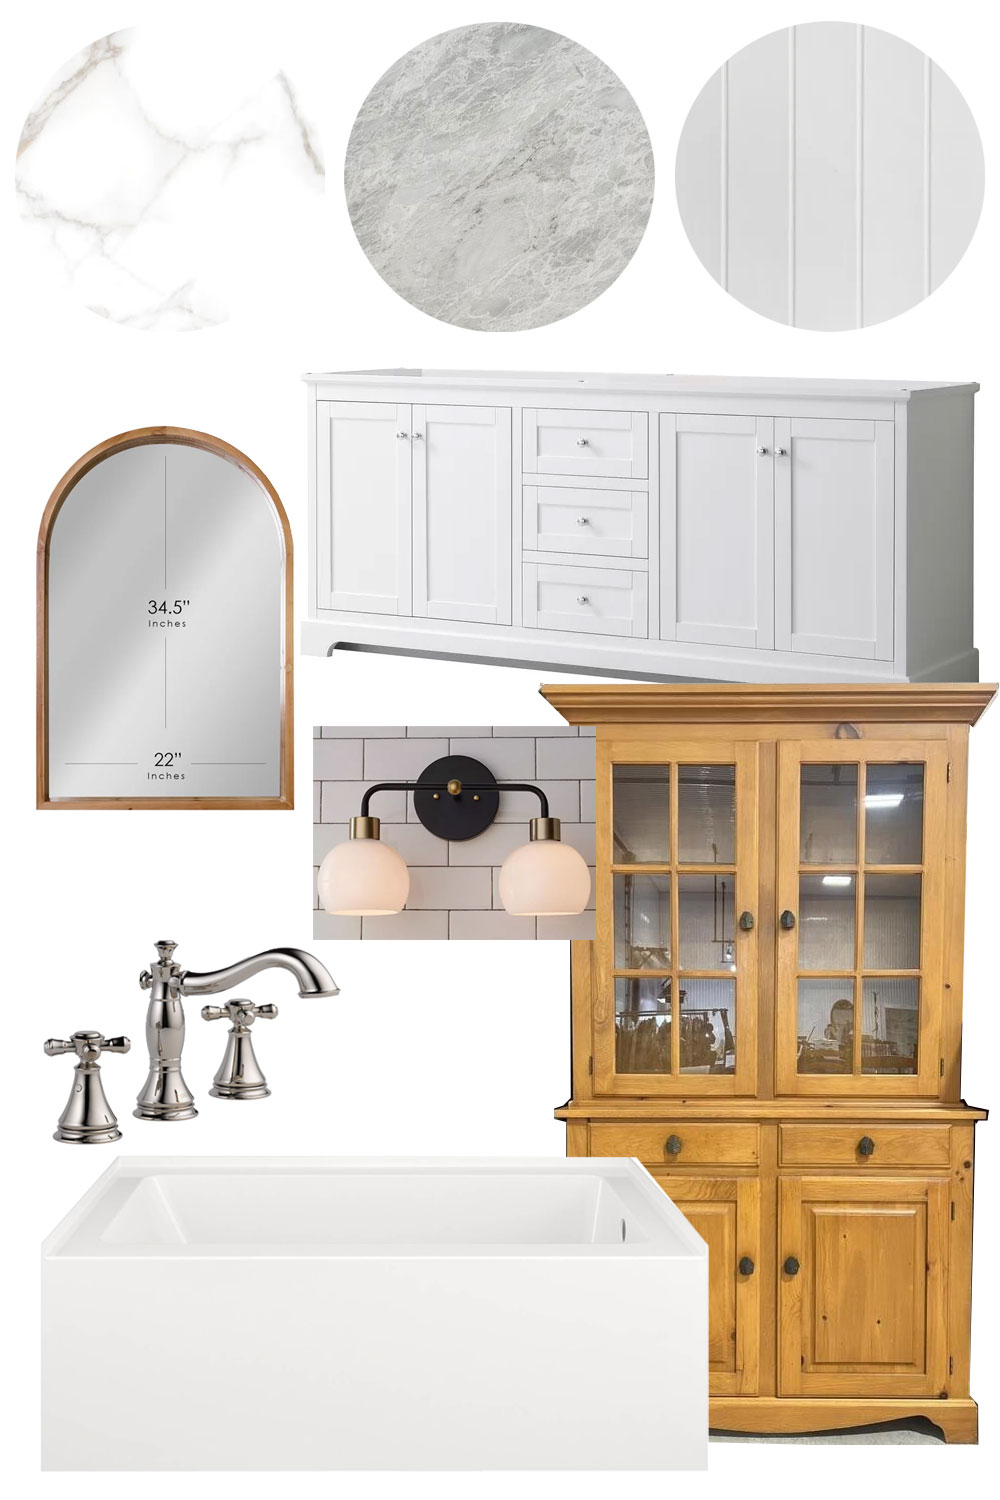
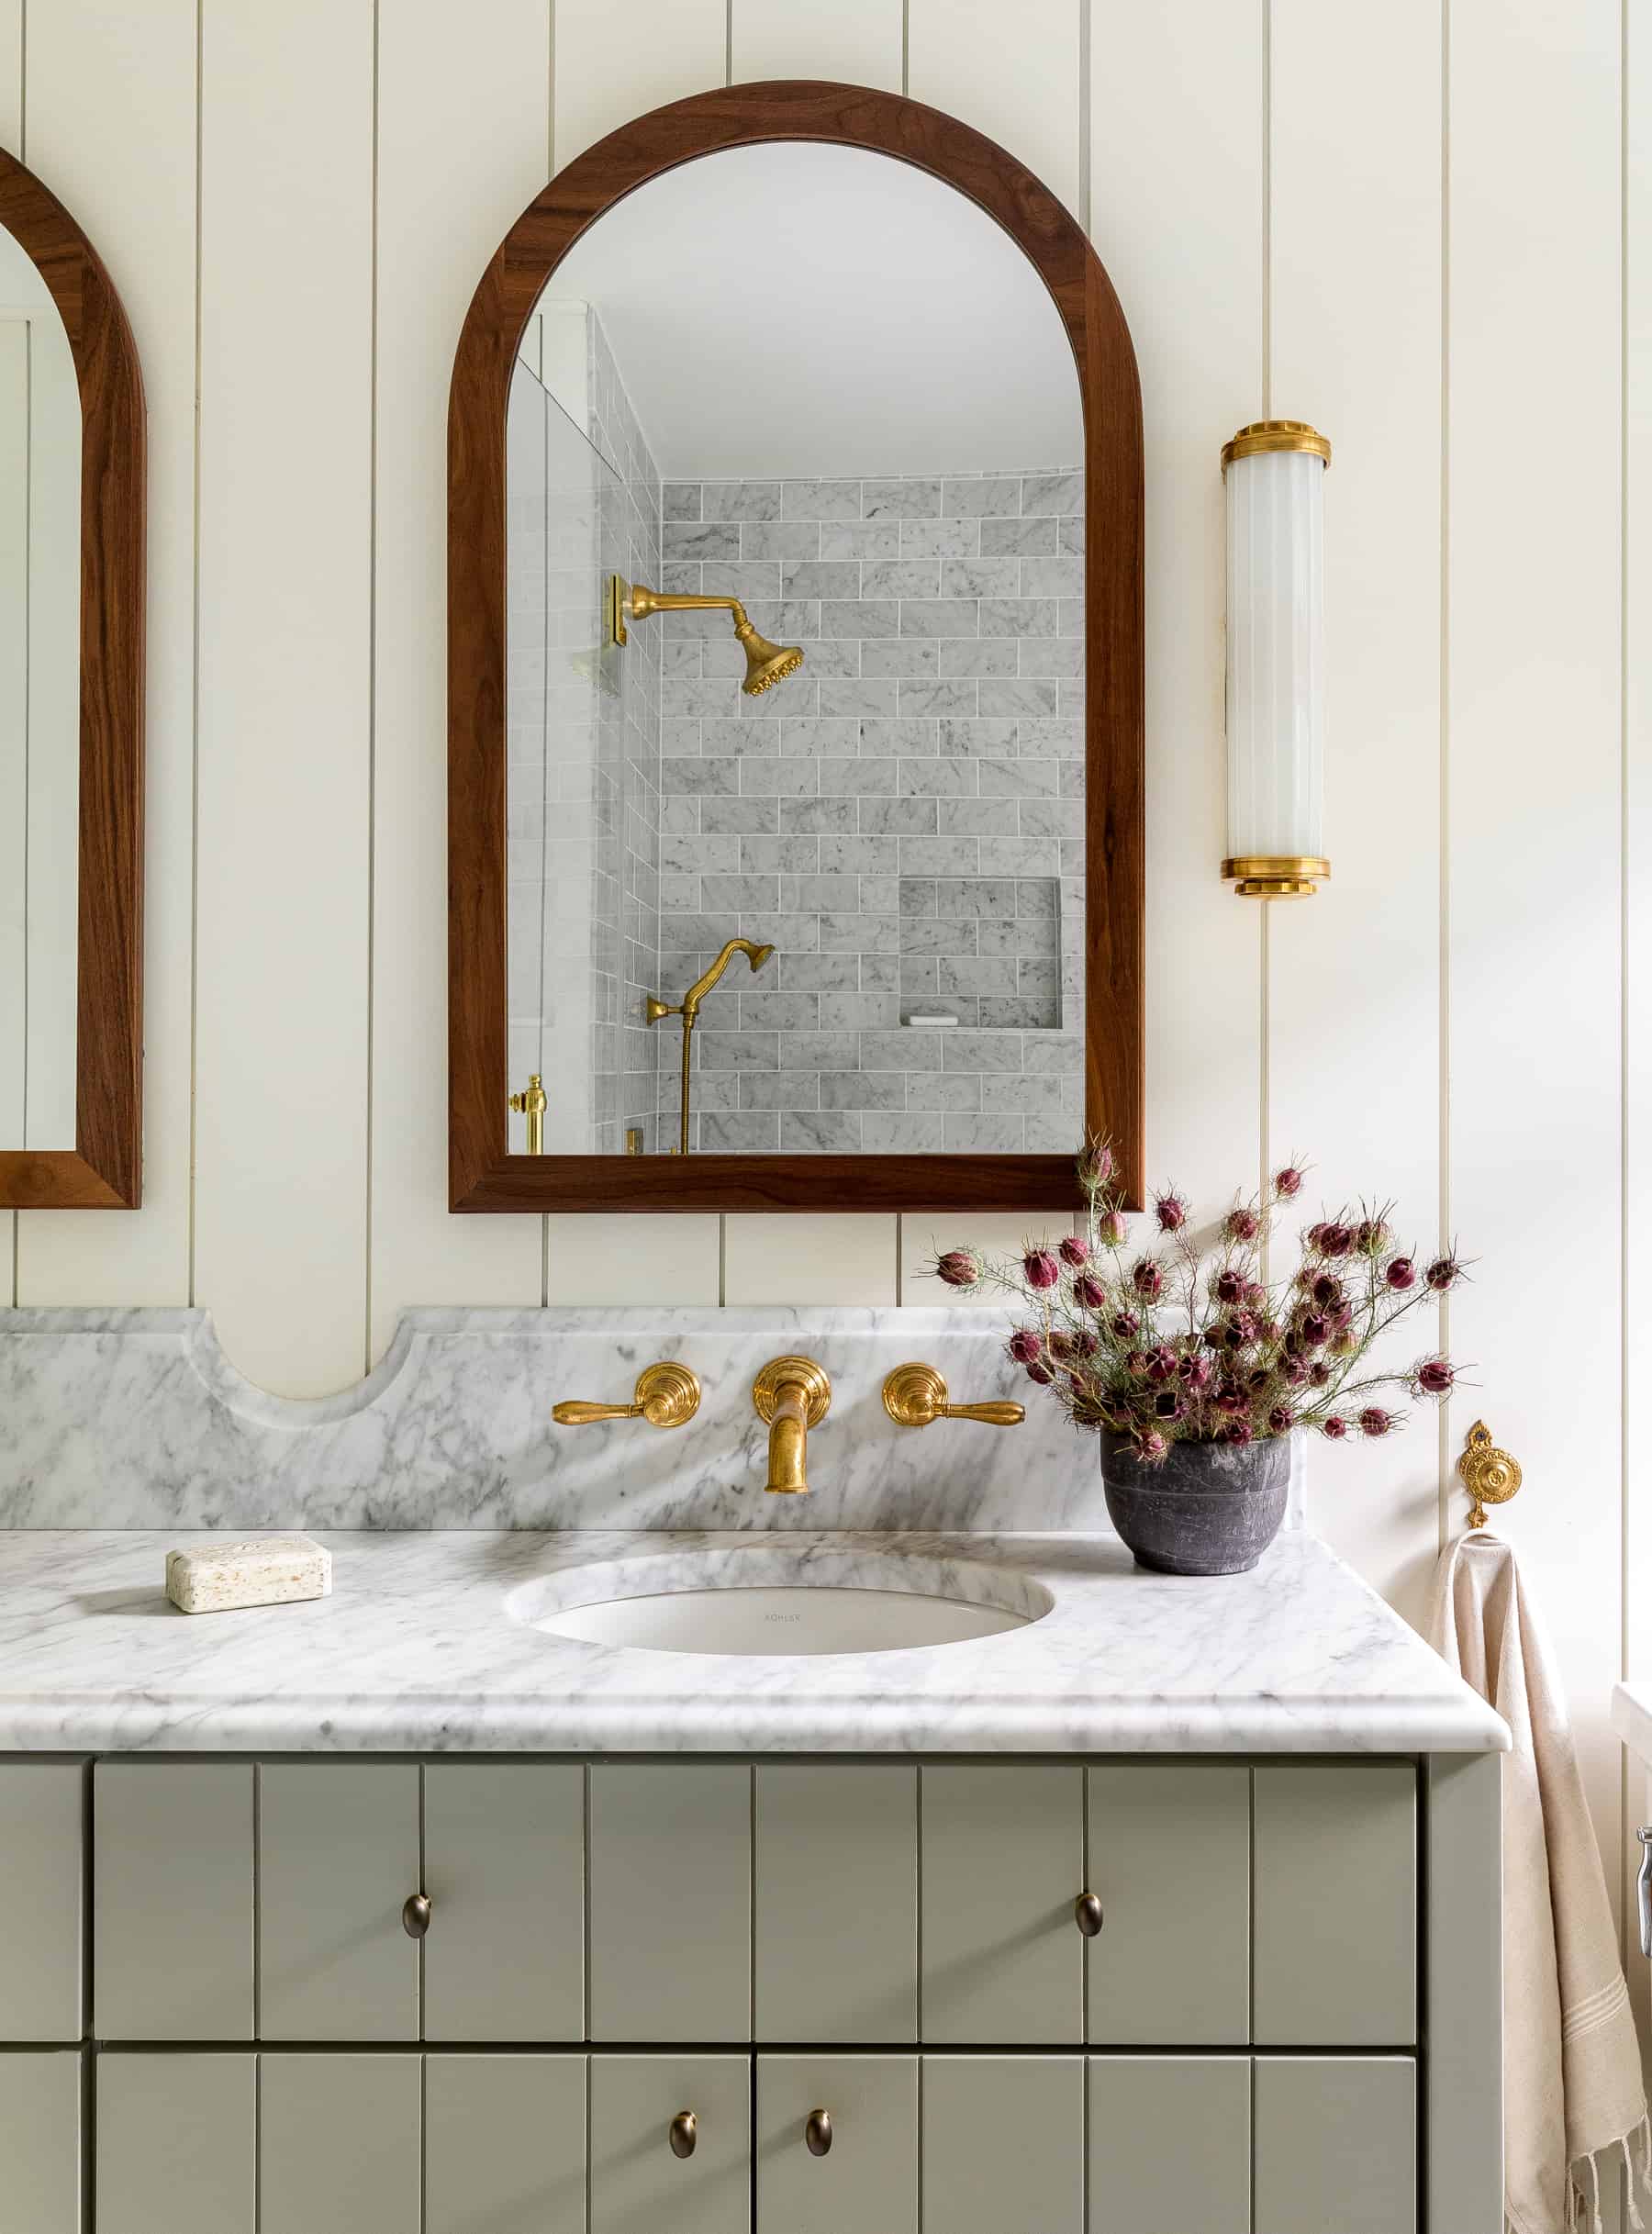
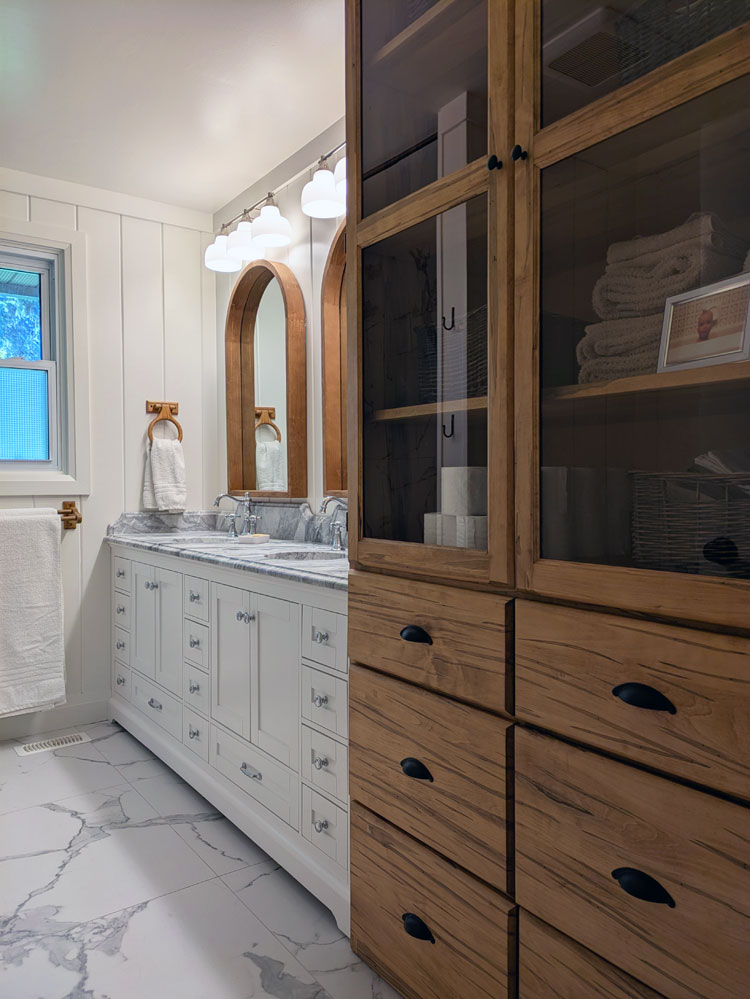
Splurge #1: Marble counters
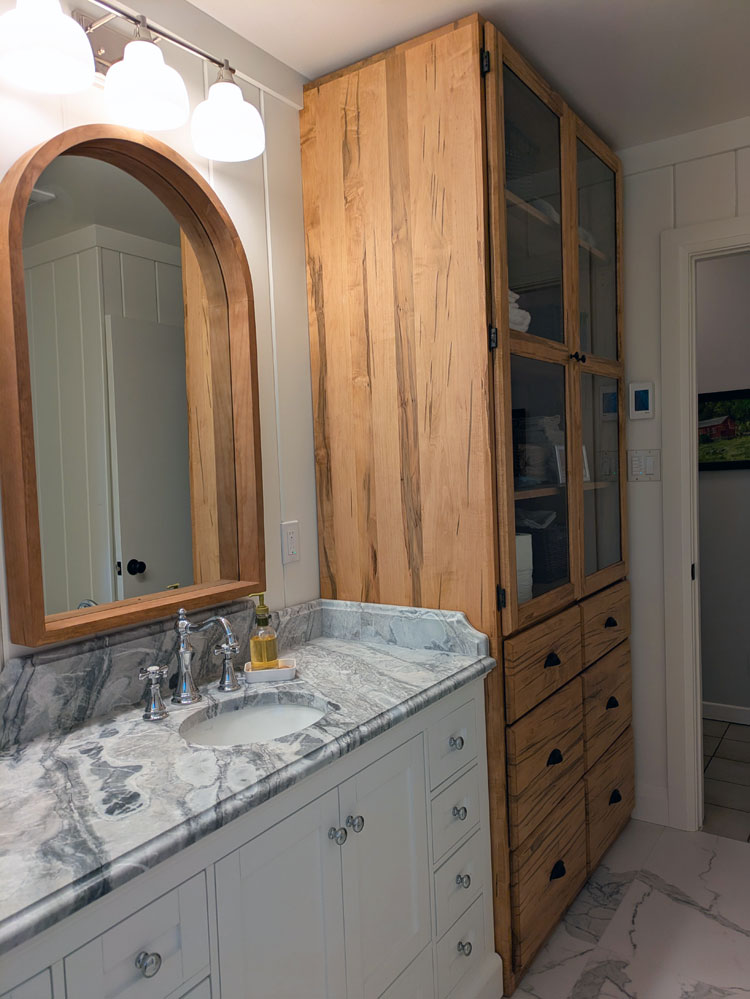
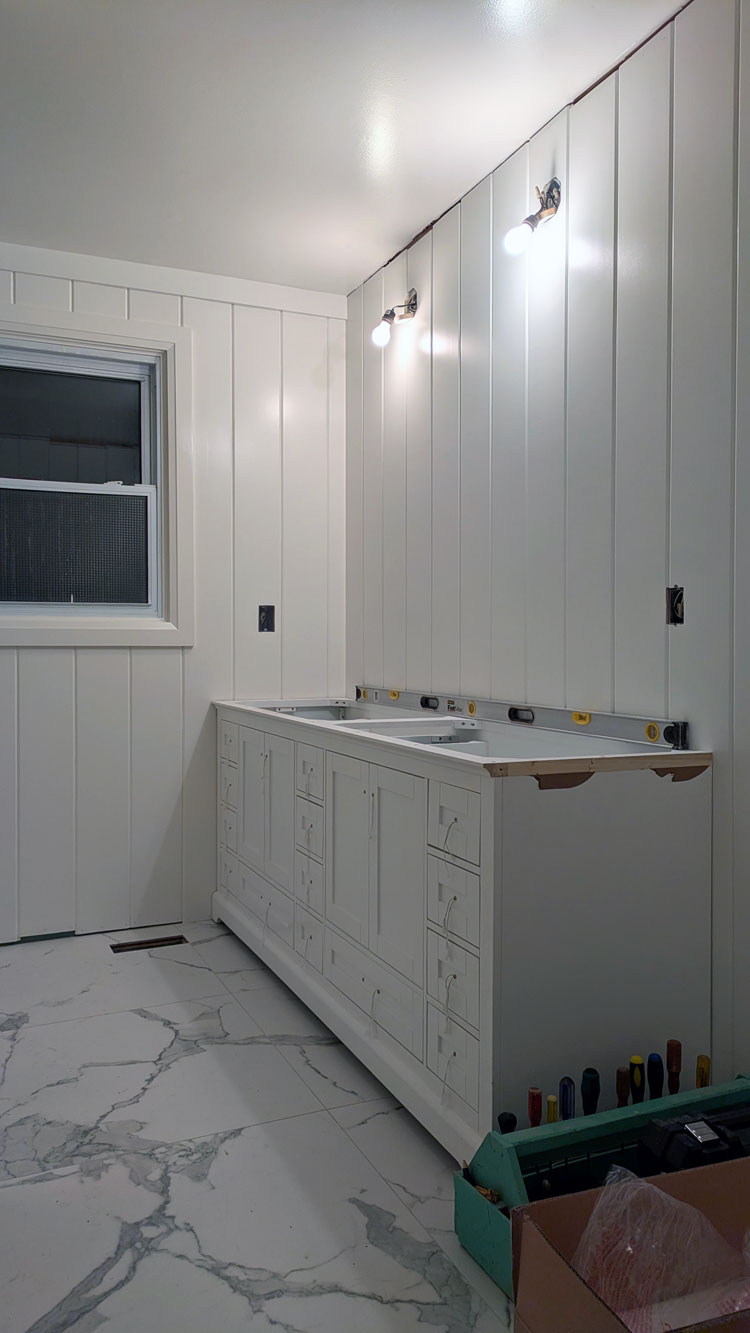
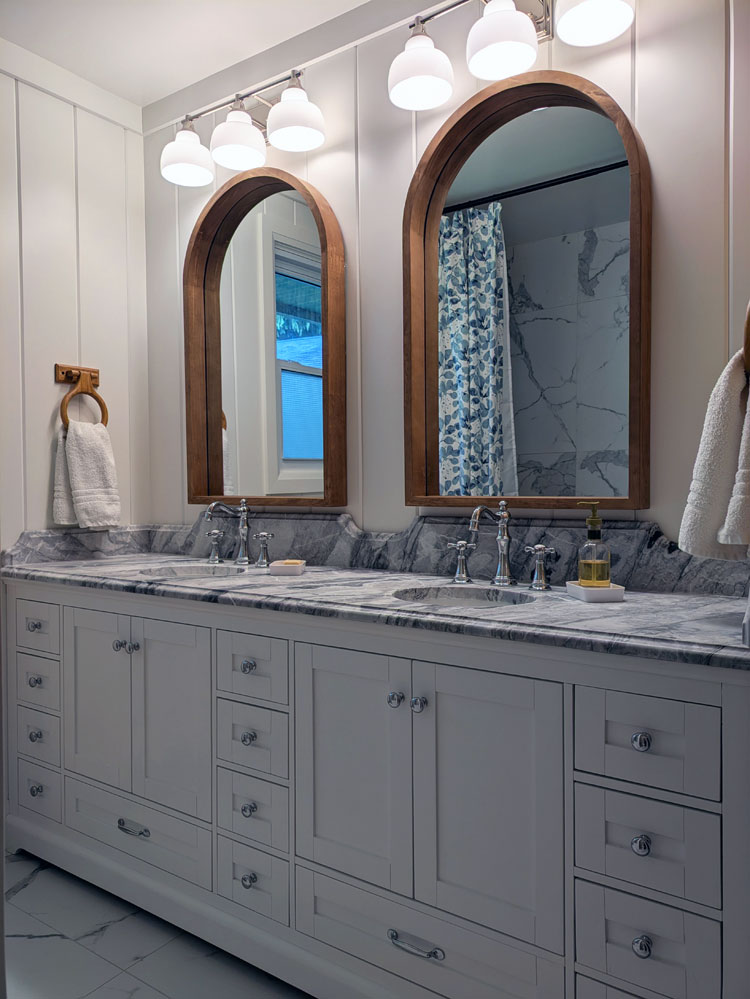
I love marble and I really wanted real stone for the bathroom. I knew I was doing undermount sinks. This meant I had to do a solid surface countertop. I chose a beautiful marble, then added a custom edge, sculpted backsplash and sidesplashes and a ledge in the tub. All of these details were not cheap, but for me they were totally worth it. The marble is a statement for the whole bathroom. The backsplash and edge profile add a lot of traditional character to the room.
Cost: $4,500
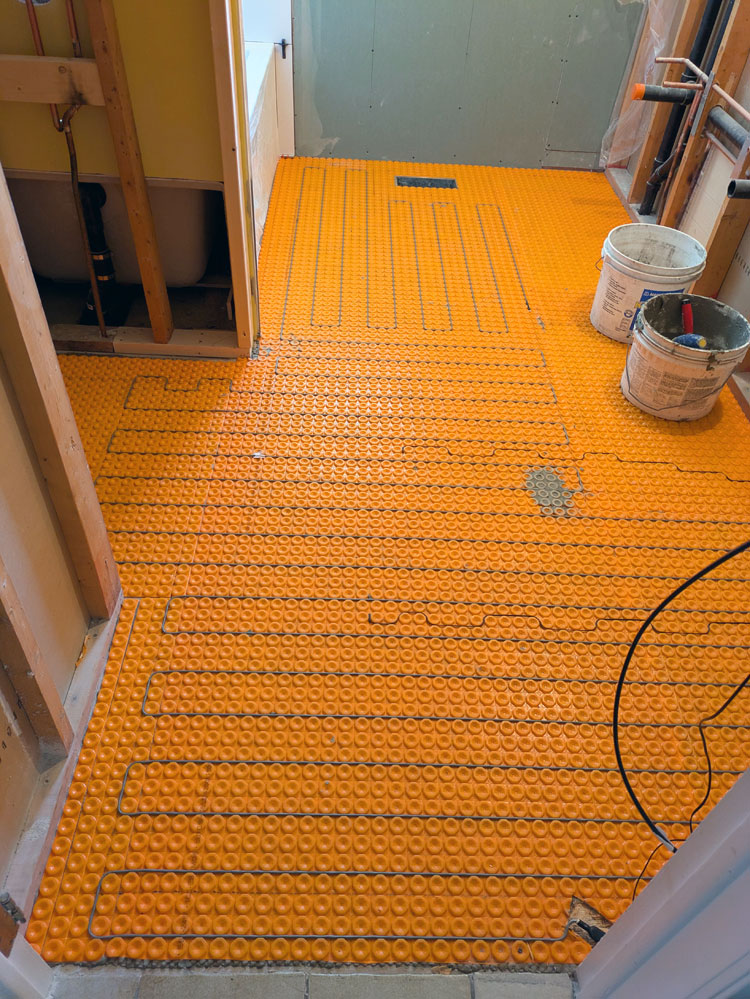
Splurge #2: Heated floors
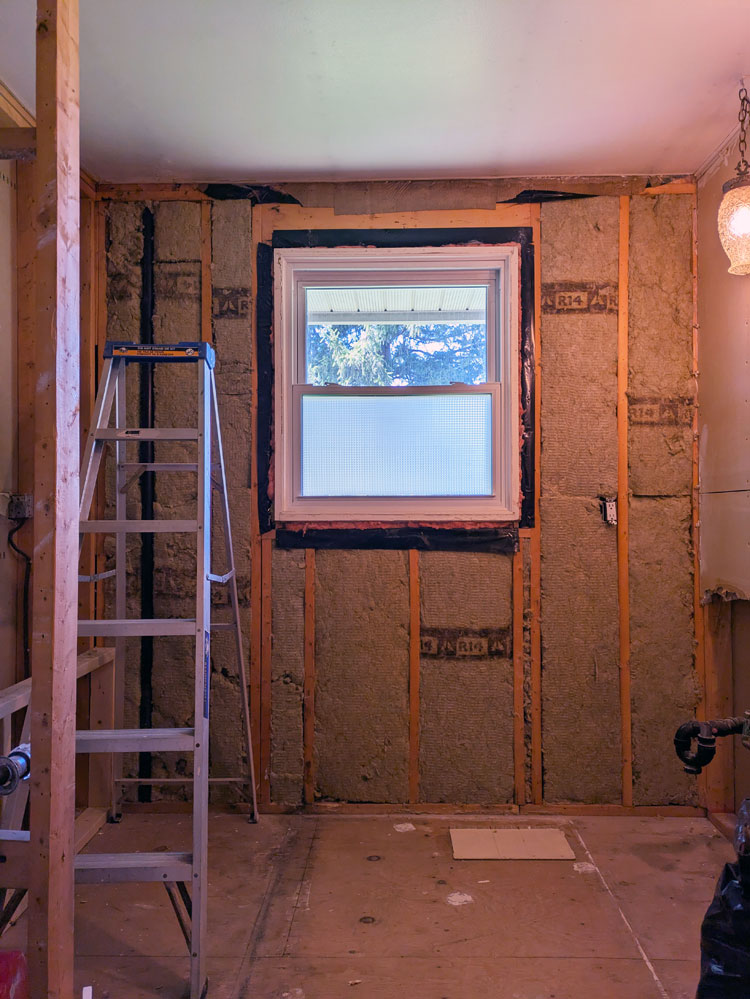
Our house does not have great insulation, so many winter days, the floor in the bathroom was cold. While I fixed the insulation in the walls, I wanted extra coziness with heated floors. It is such a nice feeling to step onto the floor and feel the heat under my feet. As someone who is usually cold, I will take any opportunity to be warm.
Cost: $1,245 (includes running a new circuit to the bathroom)
Splurge #3: Taps
I knew I wanted very traditional looking two handle taps. My plumber recommended Moen and looking through their inventory I found only one tap that I liked. When I saw the price, I questioned myself. Any taps I’ve bought in the past have been very inexpensive. $100 is usually my threshold. These were beyond that by more than a bit. I wasn’t willing to compromise on the look I wanted, so I decided to go for it. I have no regrets.
Cost: $1,220 (includes both sinks and the tub)
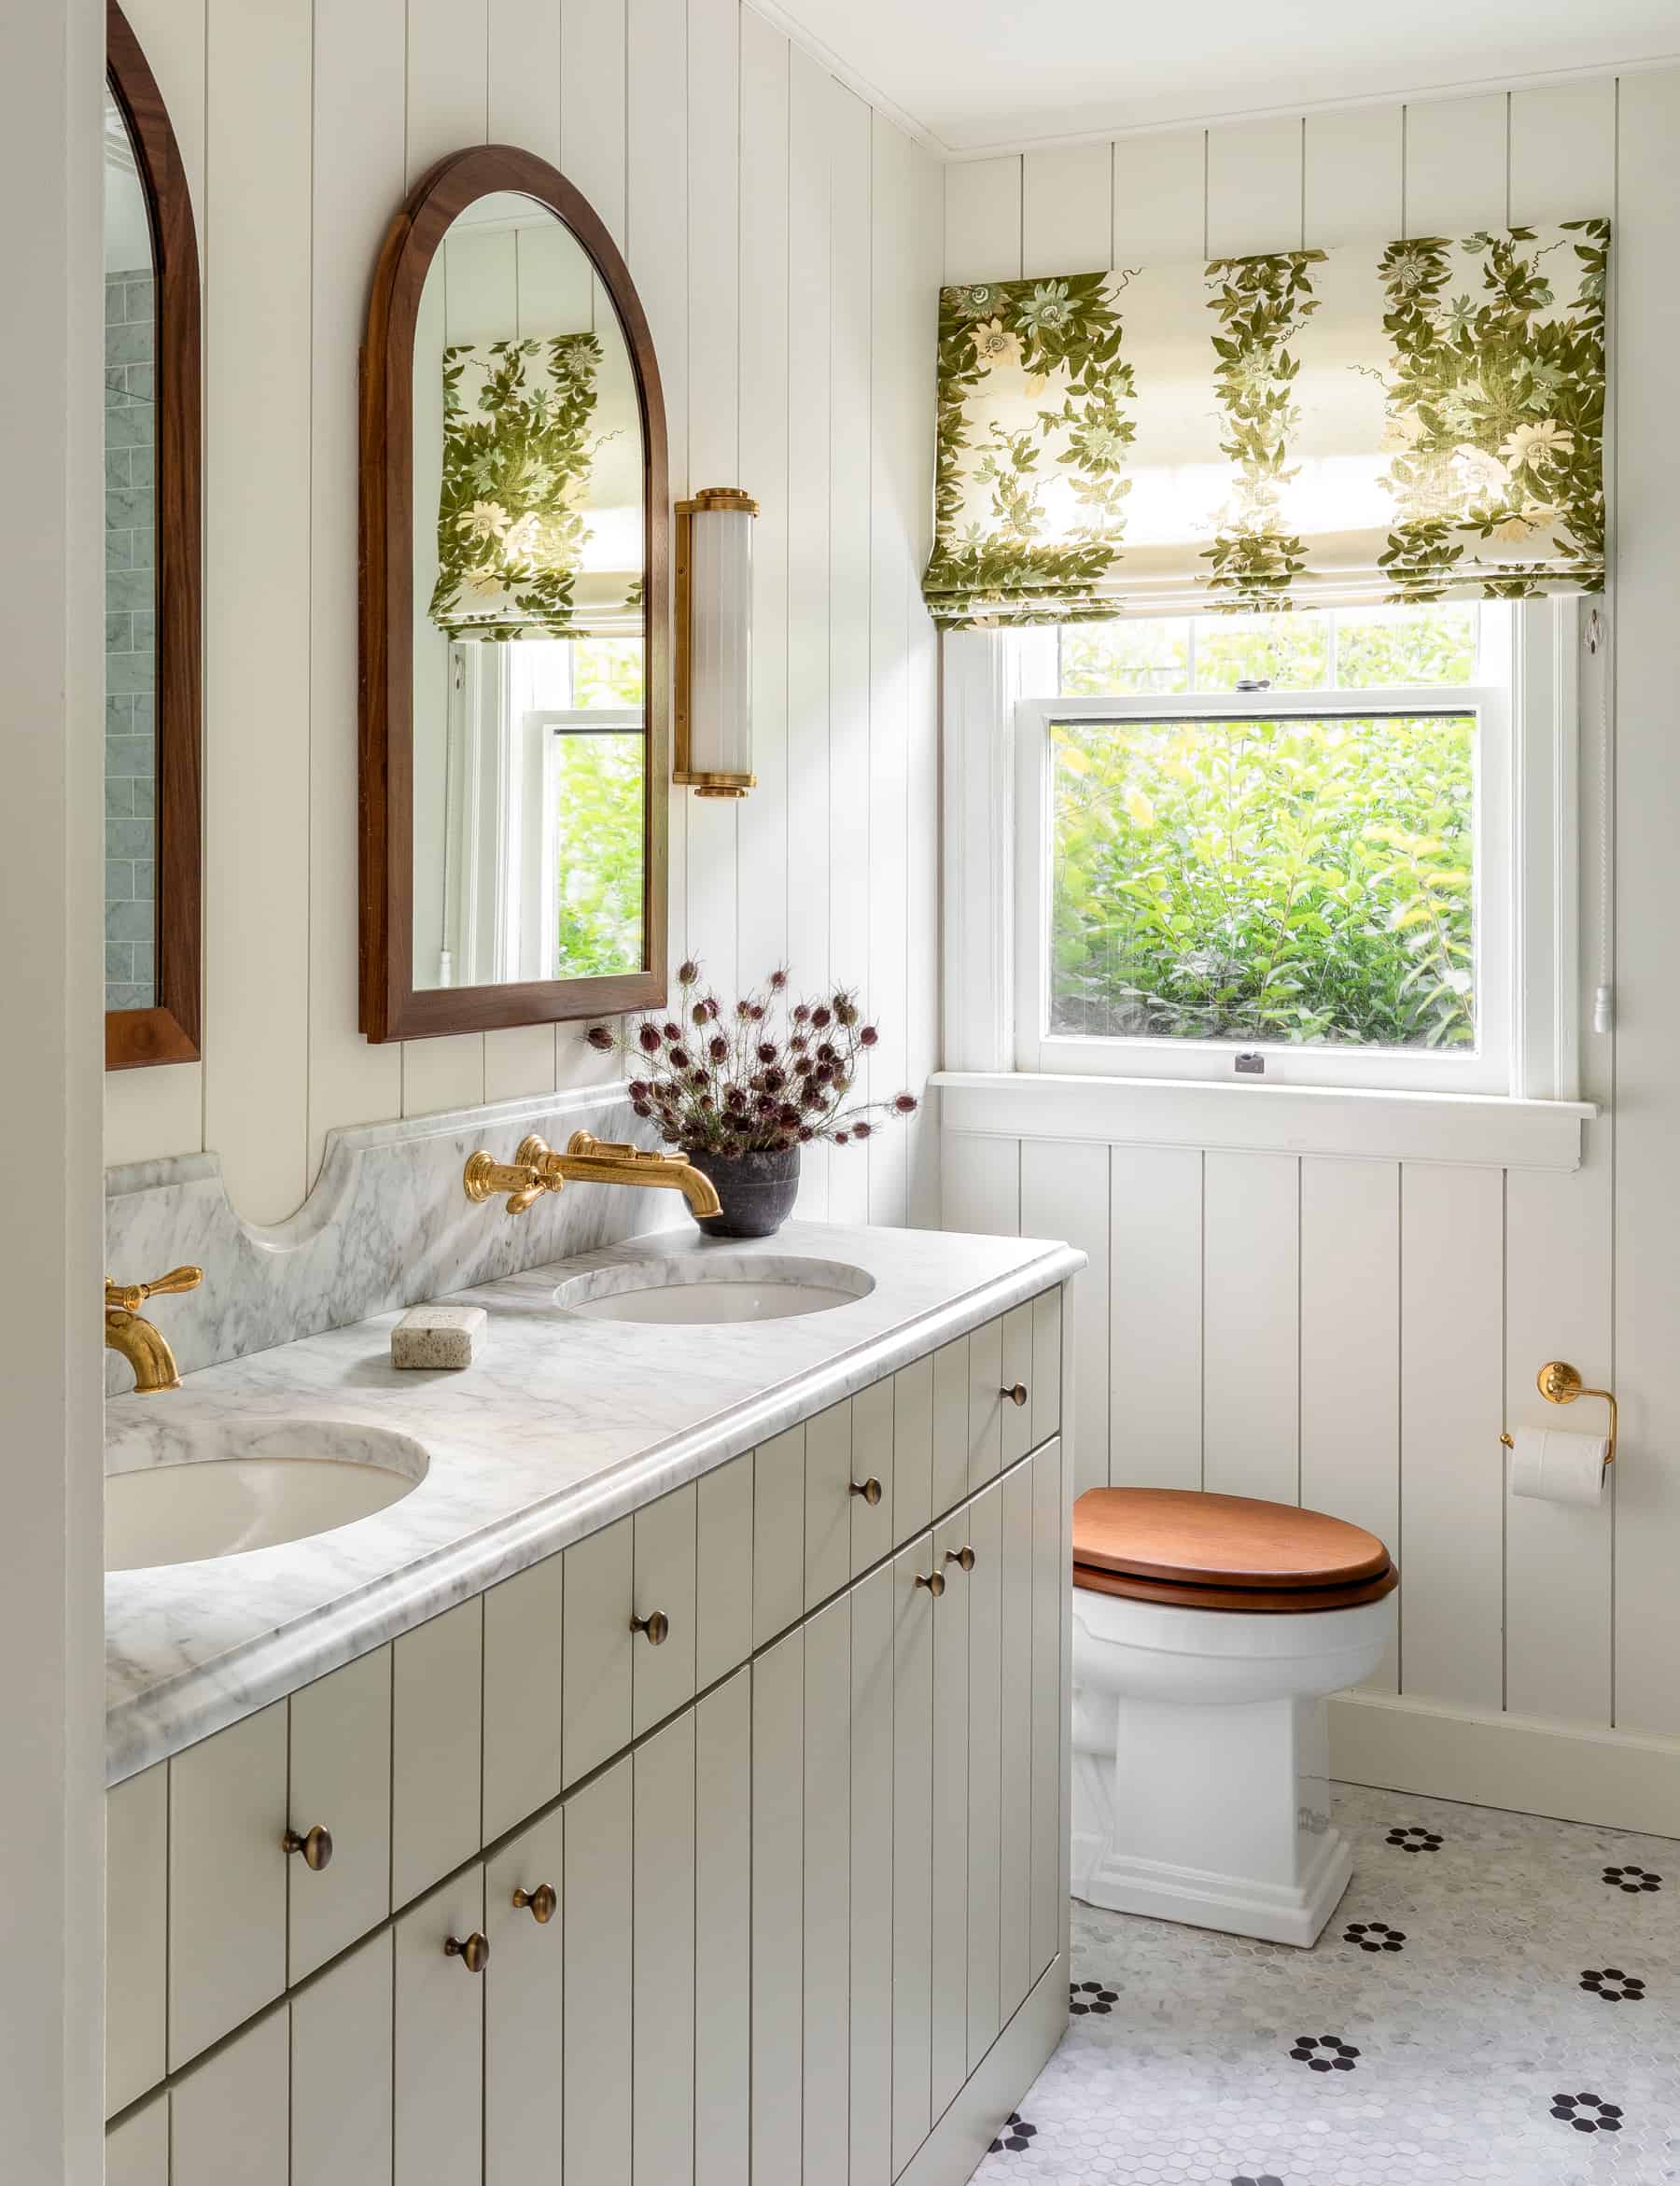
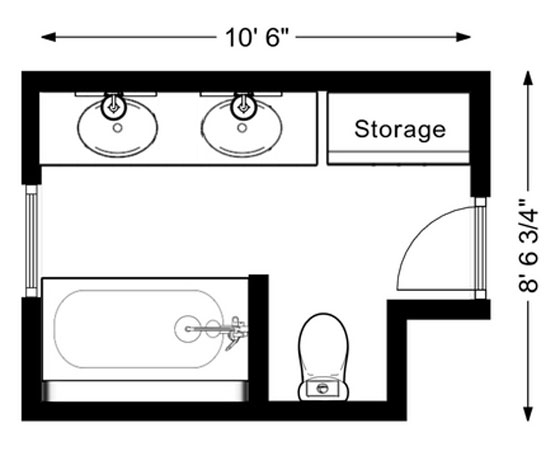
Save #1: Layout
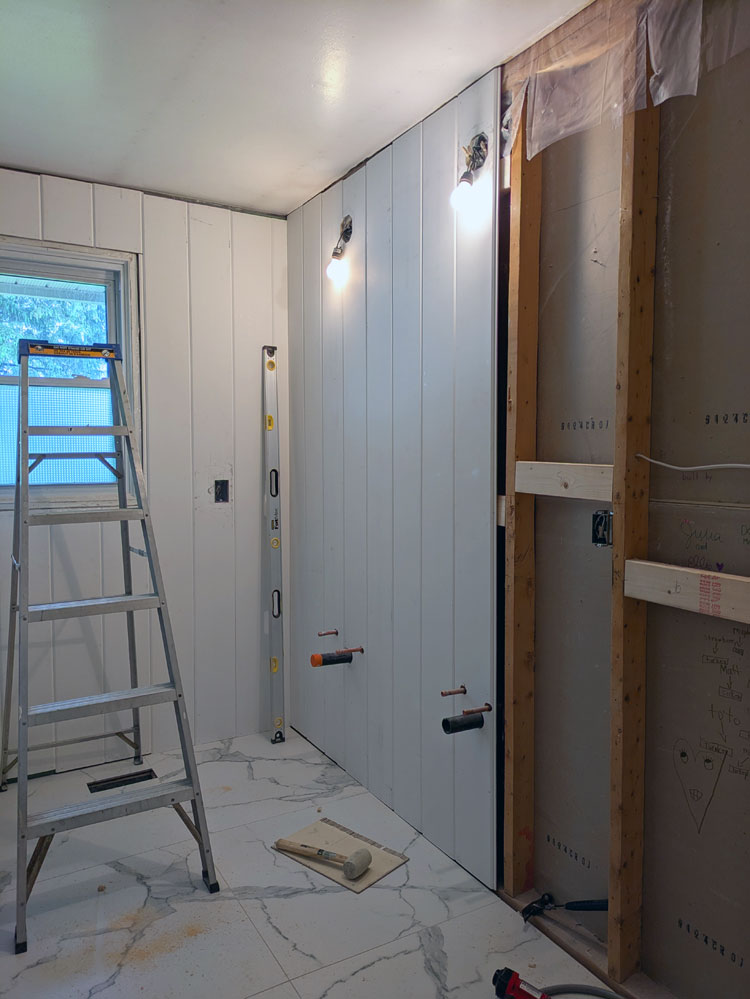
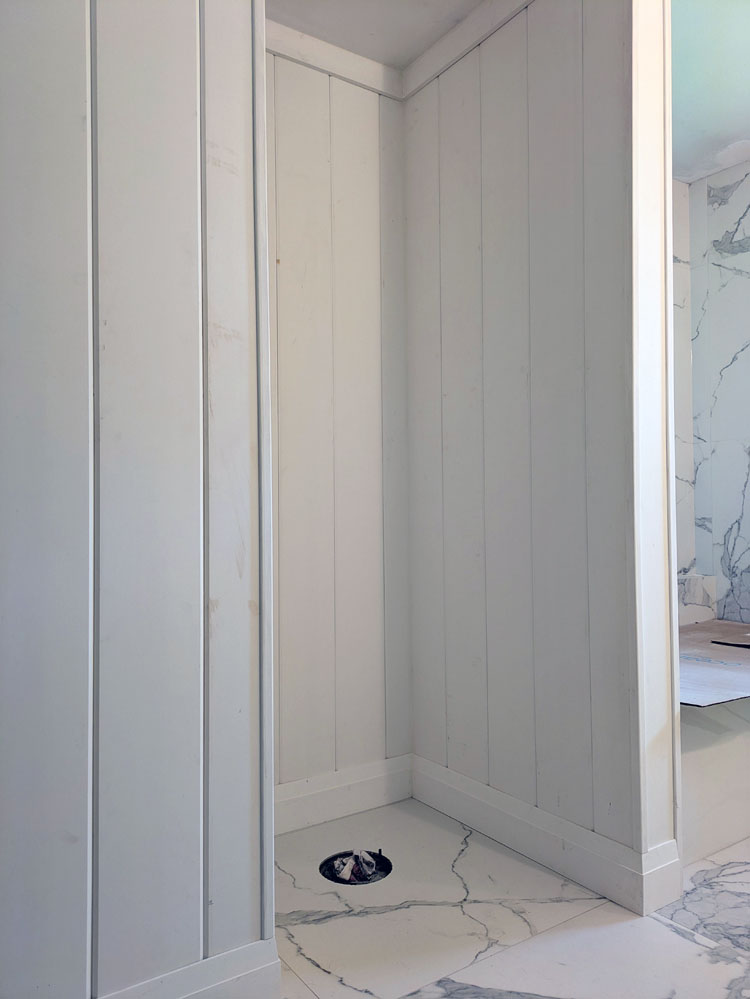
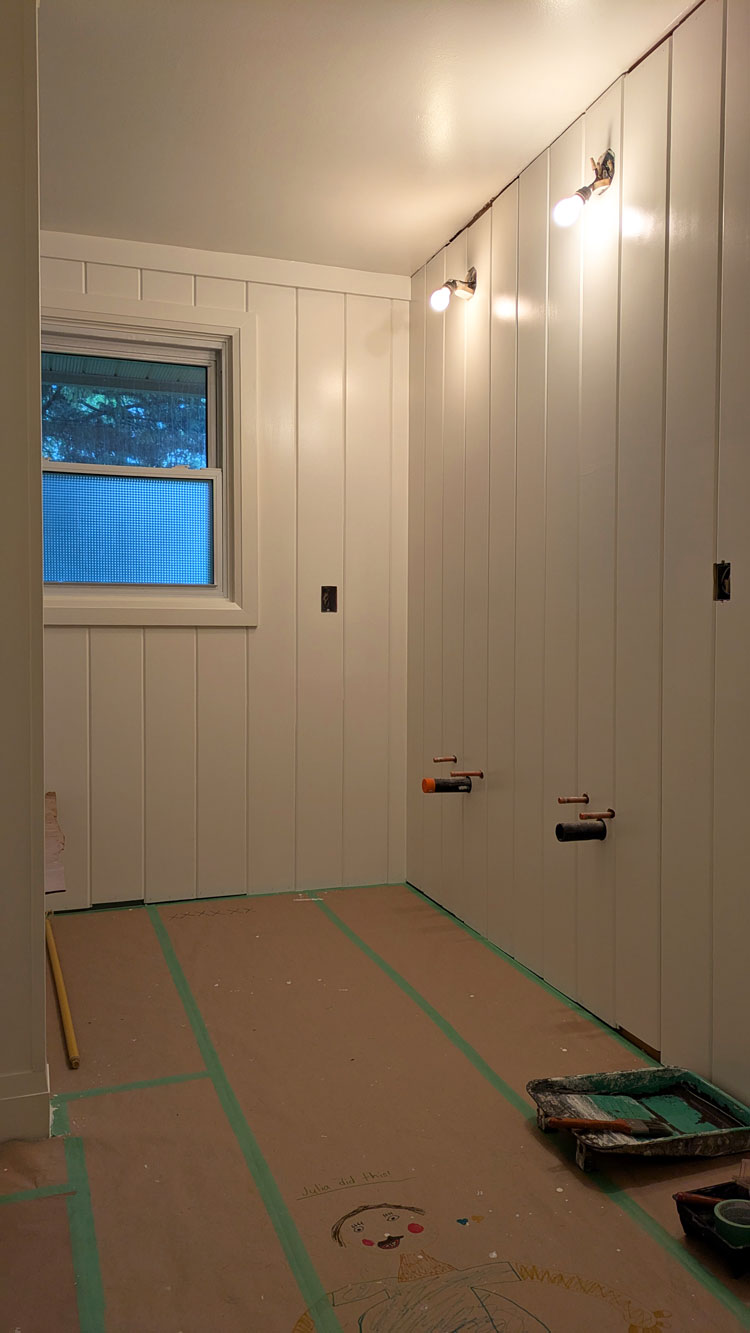
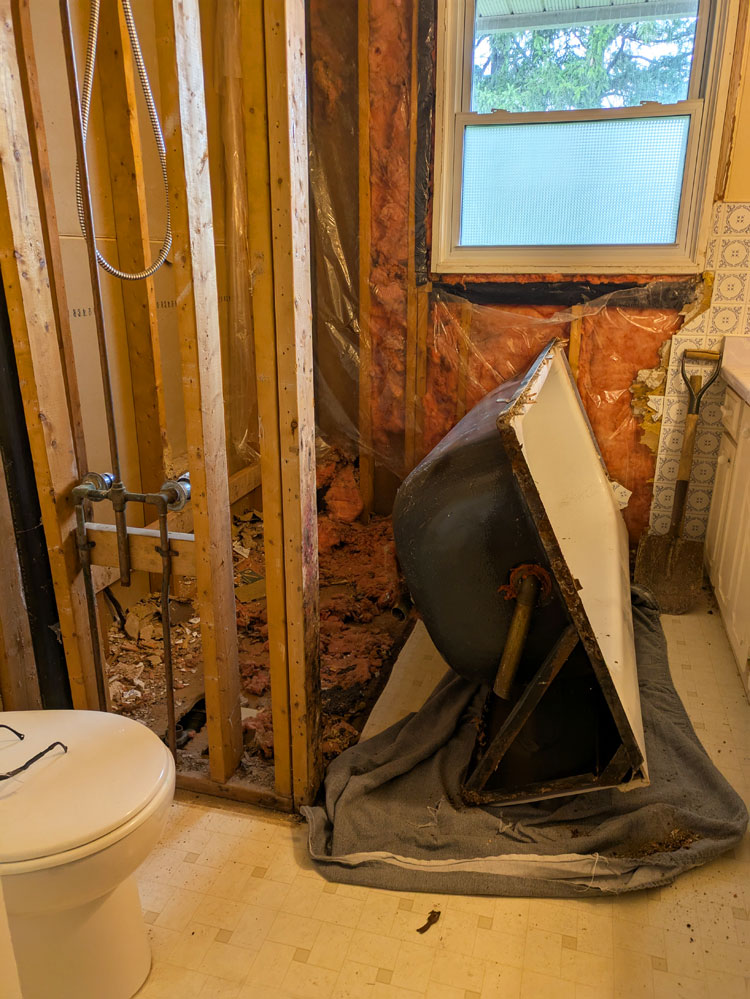
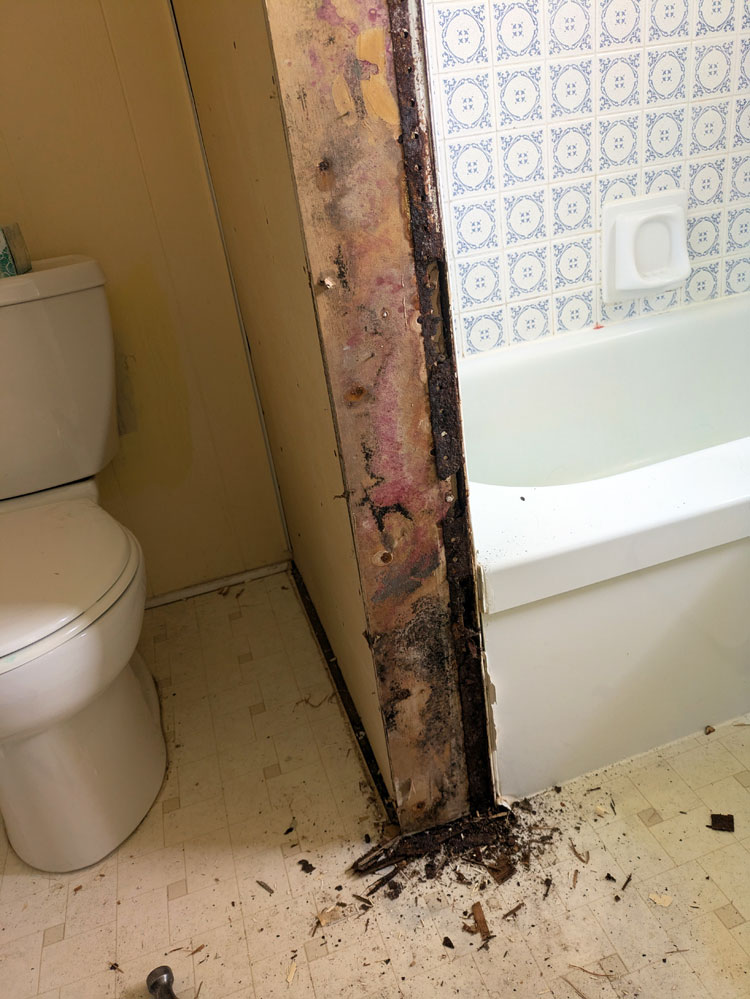
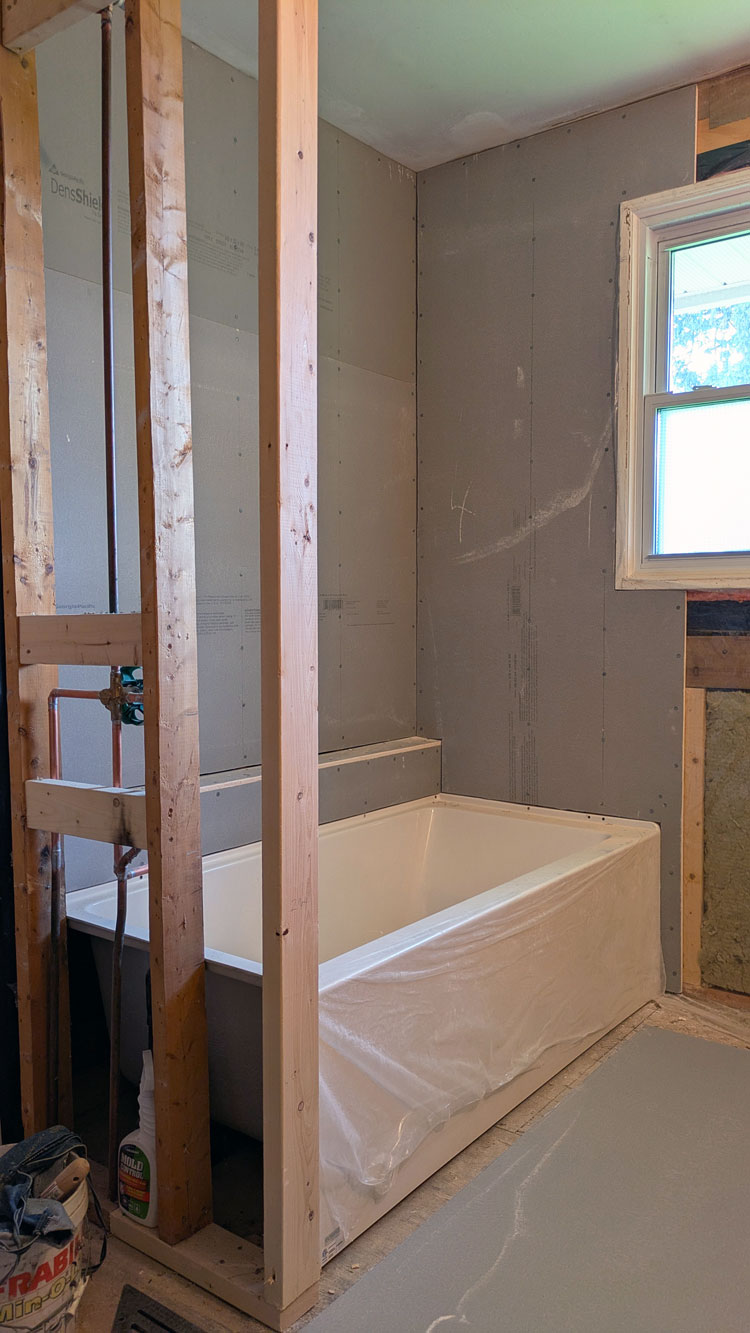
Aside from bumping the tub out slightly to accommodate a new storage ledge, I kept the layout of the bathroom the same, which helped to save money. Plumbing and electrical didn’t have to move dramatically. Walls didn’t move. The window stayed where it was. The renovation stayed within the walls of the bathroom.
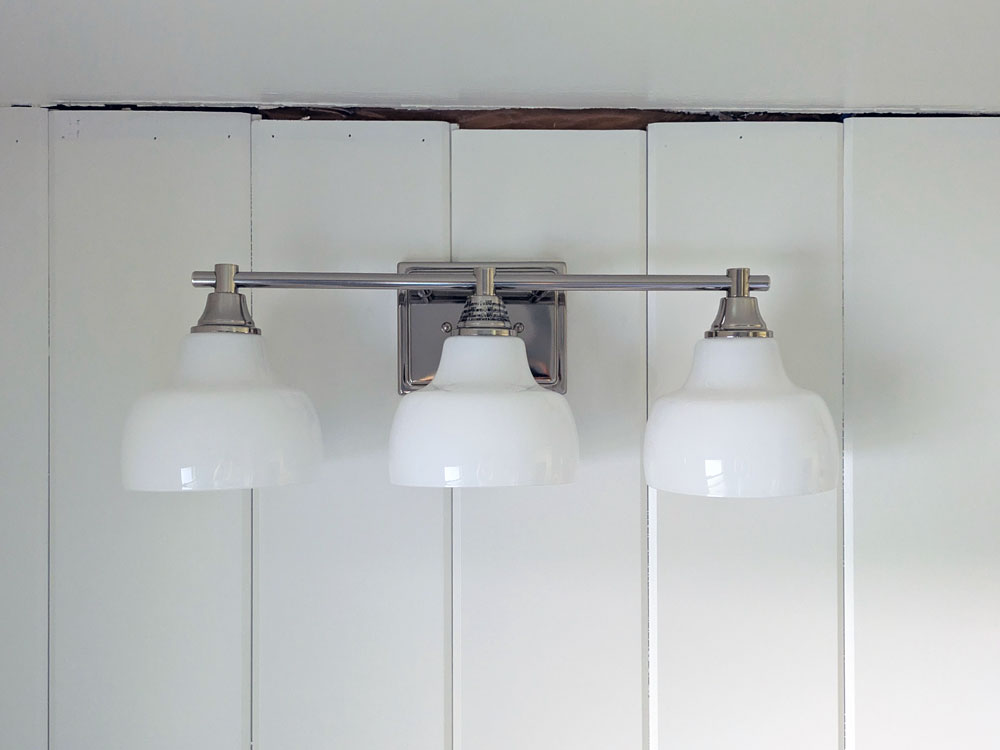
Save #2: Lighting
Lighting is very simple in our bathroom. There are two over the mirror vanity lights. That’s it. While layered lighting is popular in high-end design, the cost can quickly add up. We didn’t have wall space for sconces. I didn’t feel we needed potlights. I found two lights I liked and called it a day. The lights came from a big box store and were not expensive ($140 each).
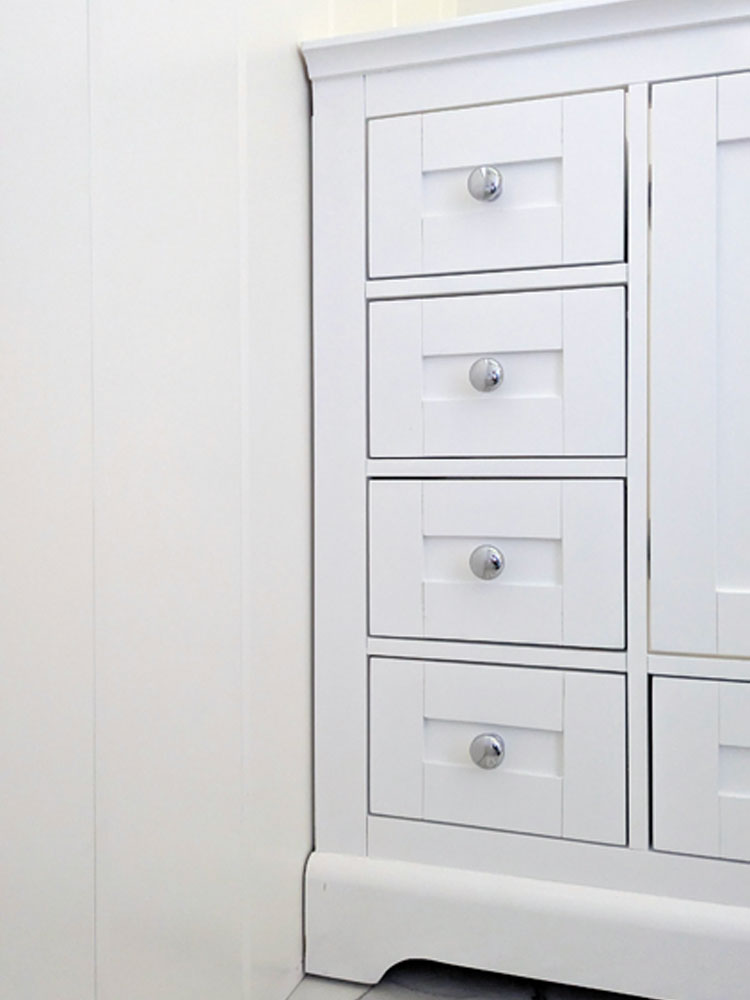
Save #3: Thrifting, reusing and DIY
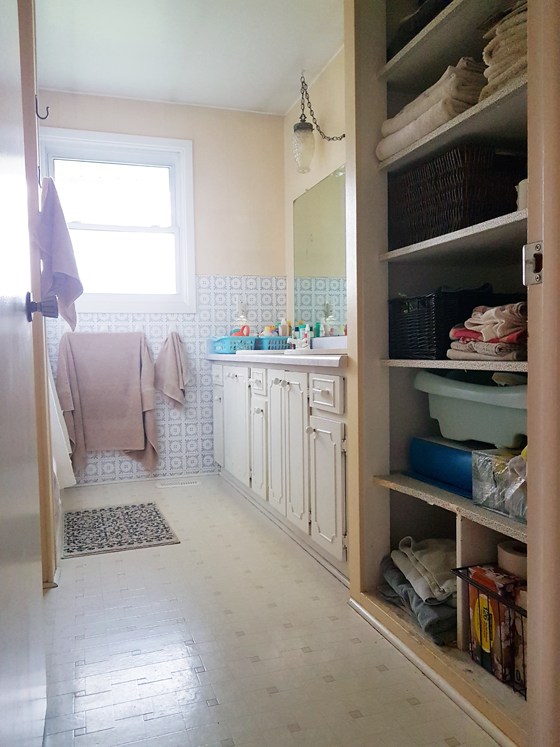
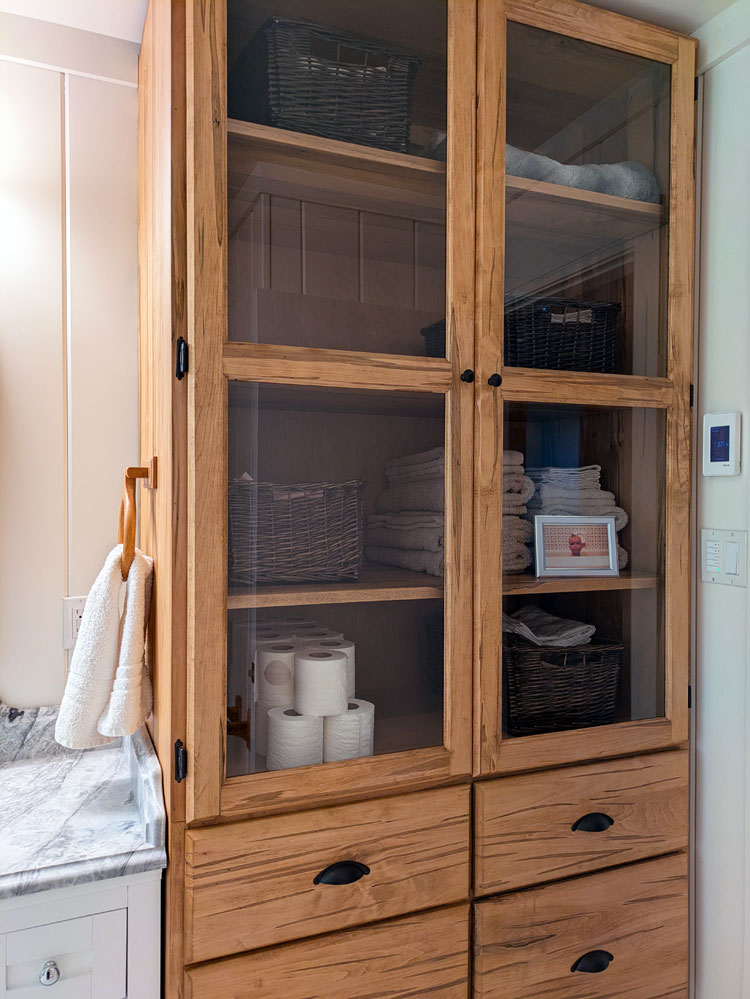
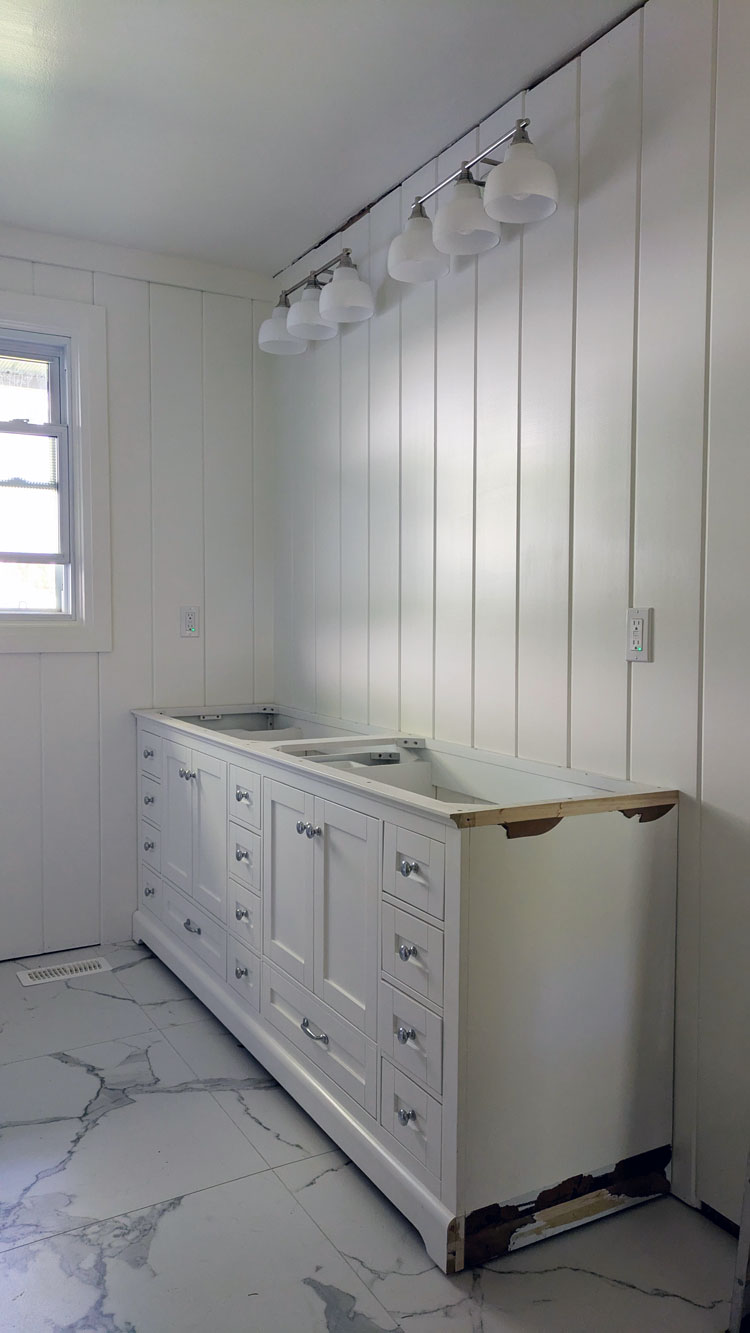
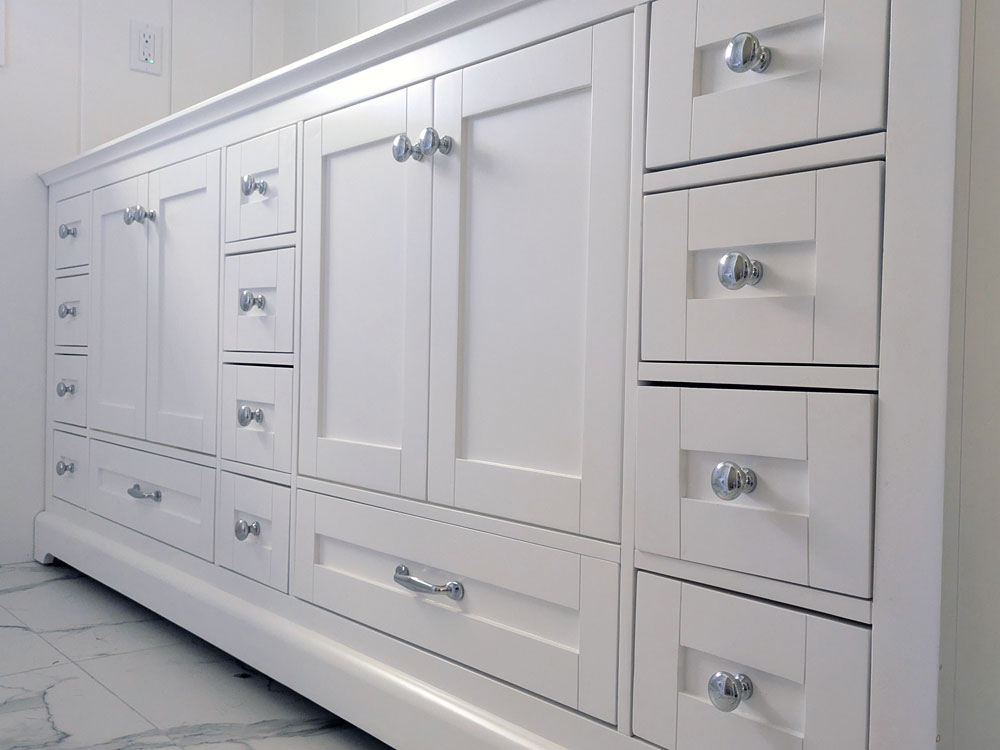
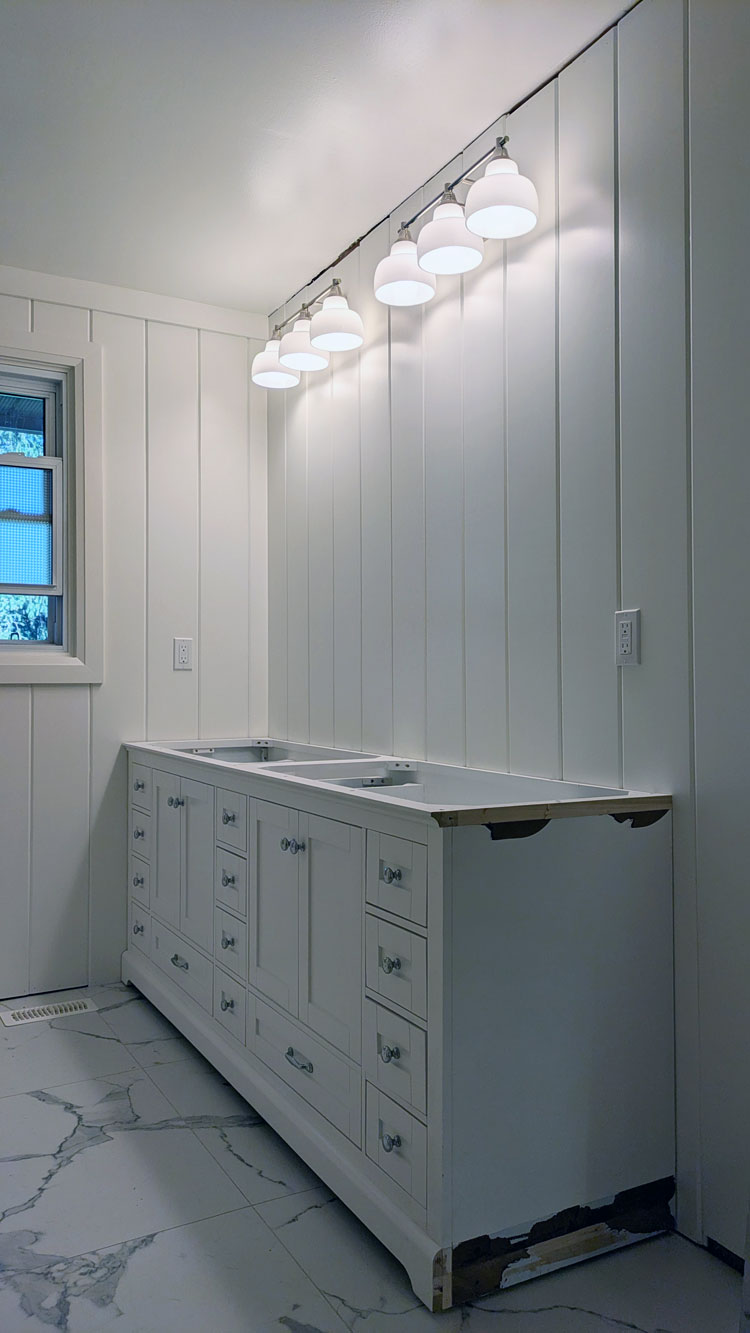
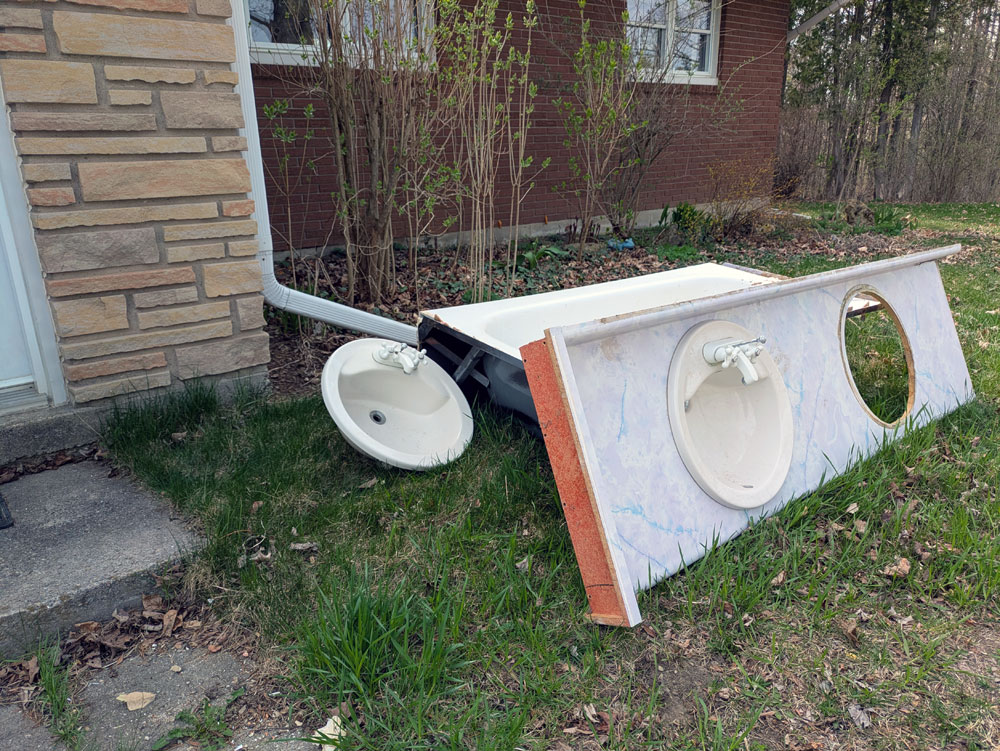
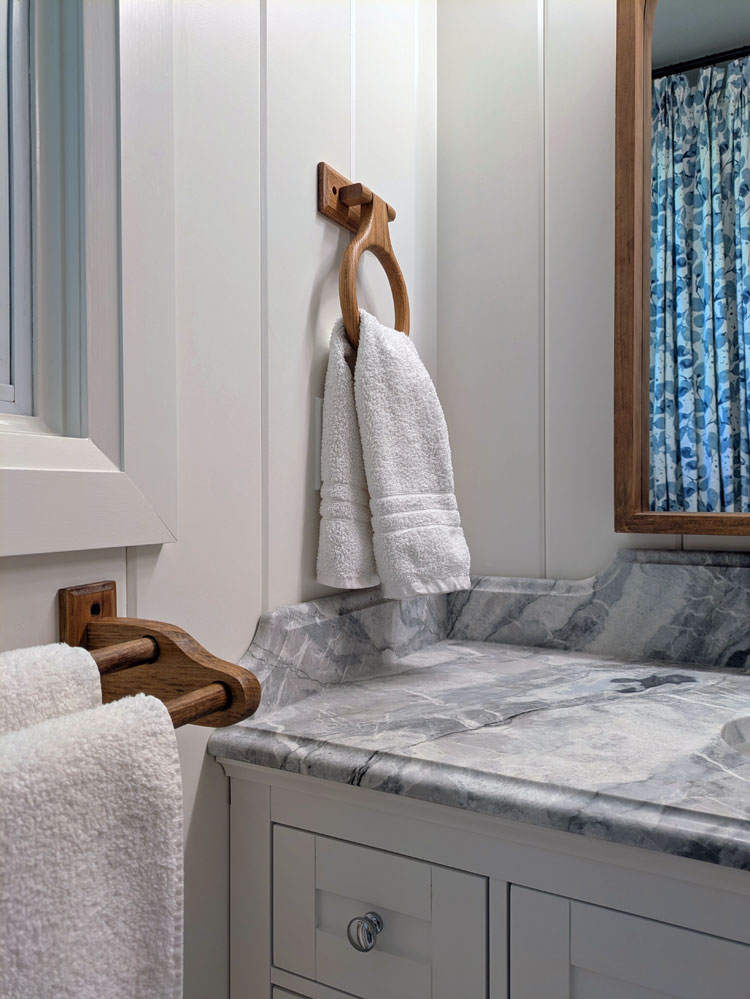
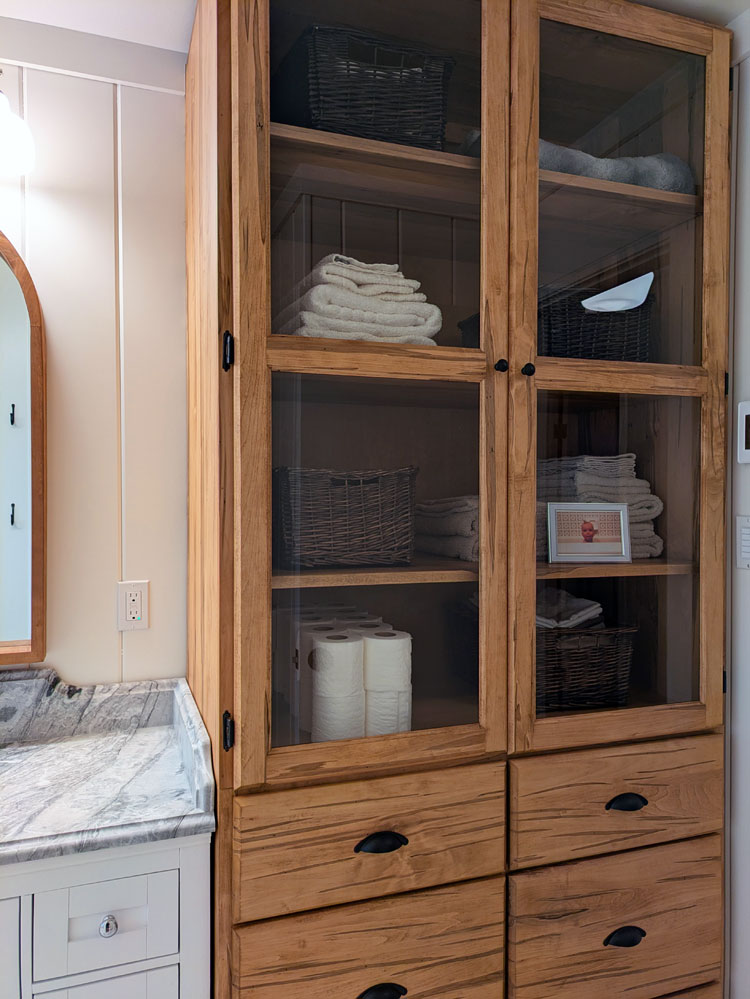
I felt like I was renovating two bathrooms in this project. The double sinks meant a bigger vanity, larger countertop, two sinks, two taps, two mirrors, two lights. Doubling the costs adds up quickly. So saving wherever I could was important. That meant the toilet that we installed 14 years ago went back in. It’s already low flow and still works well. The black metal hooks that hung in the old bathroom worked in our new design, so they went back up. The wooden towel rings, toilet paper holder, towel bar were a combination of thrifting and DIY. The shower curtain I sewed myself. The baskets in the hutch I’ve had since our first house. They fit and still look good, so I reused them.
Tip #1: Shop around
Sourcing everything for the bathroom took a while. I visited lots of shops, sent lots of emails, did lots of online searches to find exactly what I wanted.
The wood arched mirrors are a good example. I looked for years to find mirrors in the style and price I wanted to pay. When I finally found them, I knew they were a good deal and ordered them right away. When they arrived, I discovered they were on sale online. I called customer service and got a price adjustment.
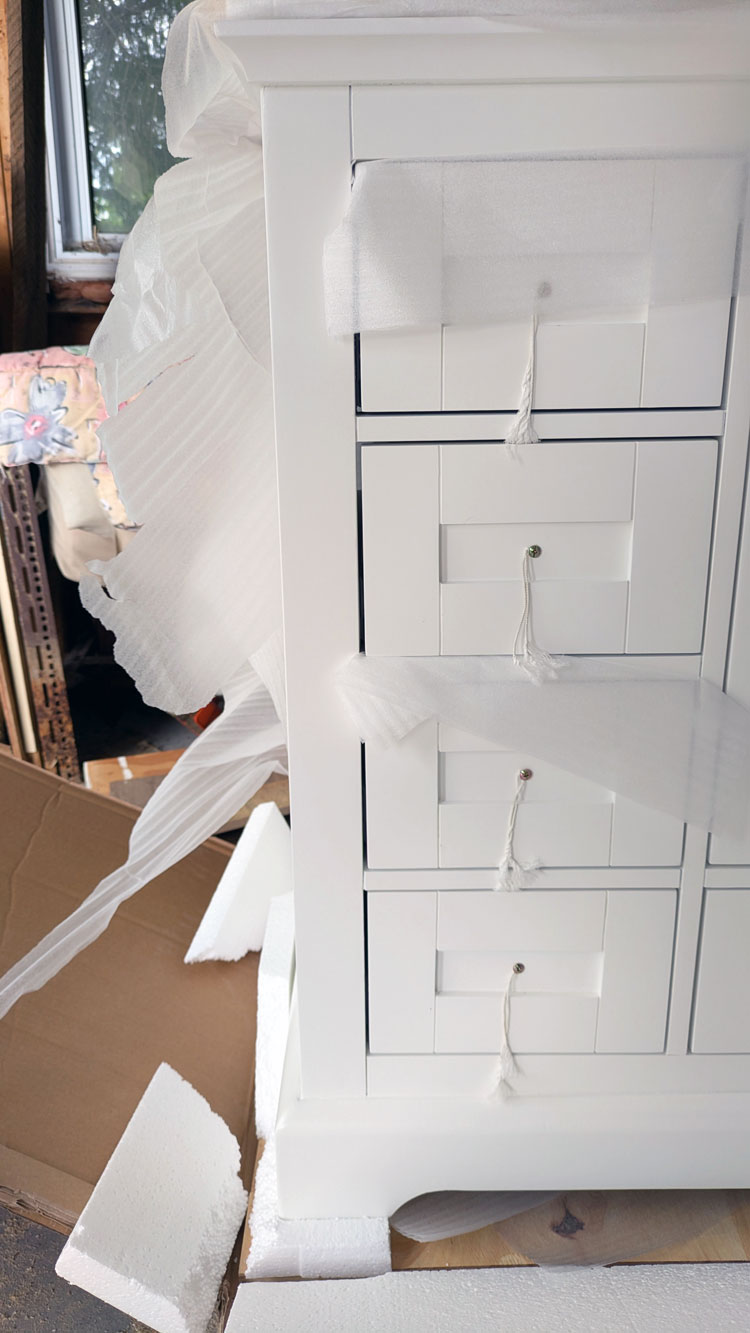
For the hutch and vanity, I met with a few custom cabinet makers and received some exorbitant quotes. I regrouped and found the vanity I liked at Home Depot. (I discovered its price also fluctuated, but HD was not as accommodating about a price adjustment–lesson learned: pay attention even after you’ve bought something).
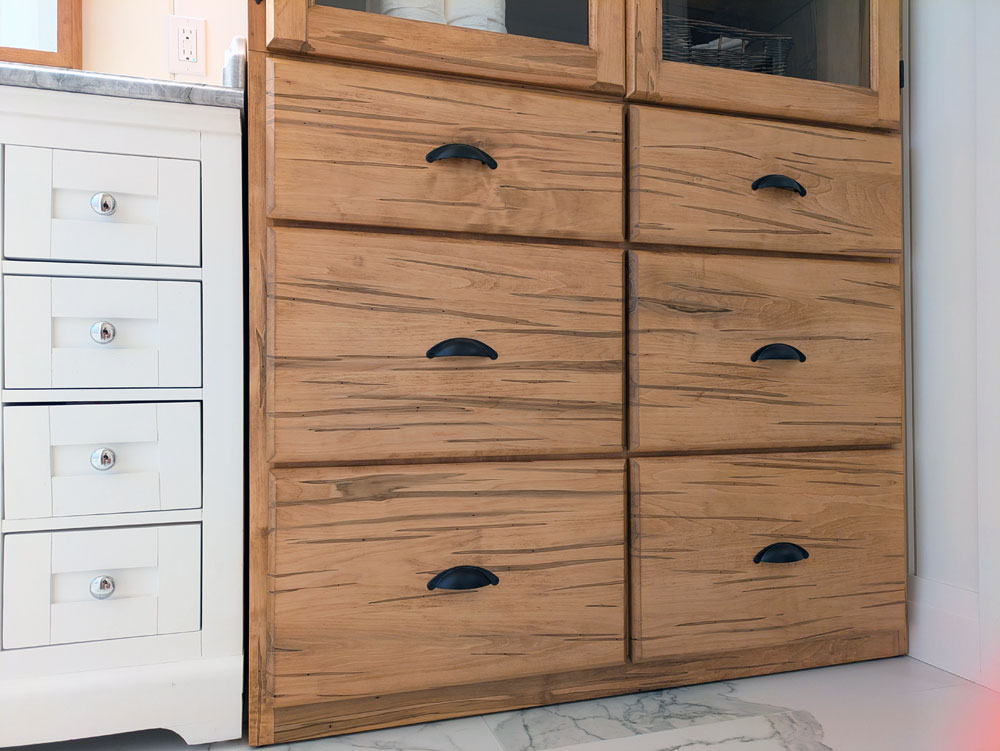
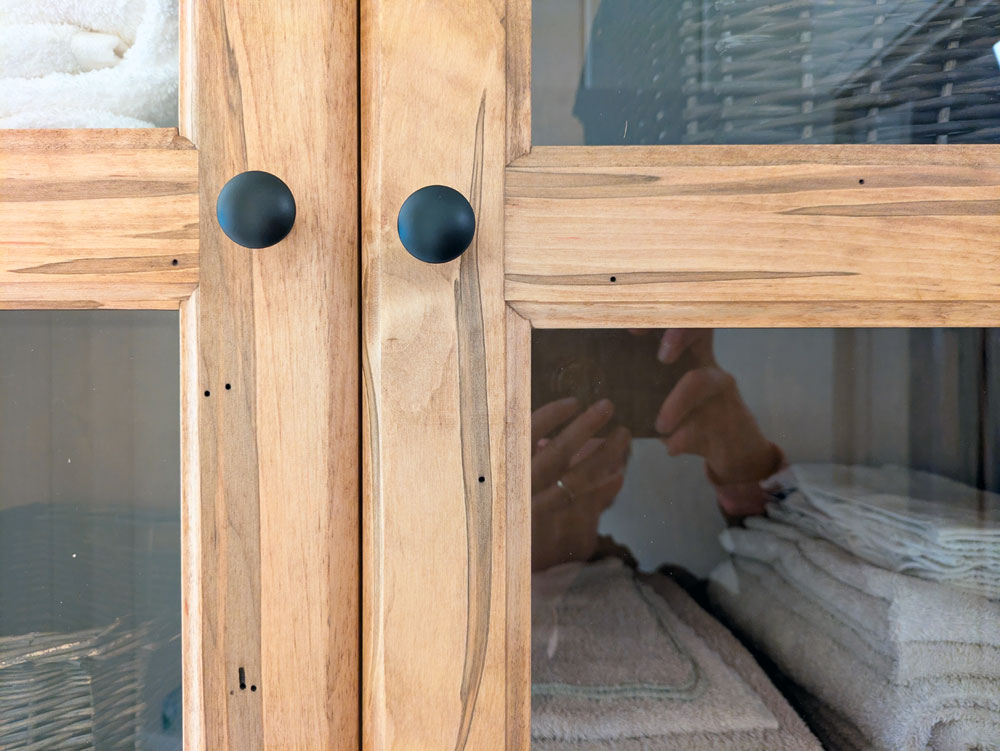
For the hutch, I found a local Mennonite builder that was pretty affordable. A large custom, solid wood cabinet designed to my exact specifications was $3,400.
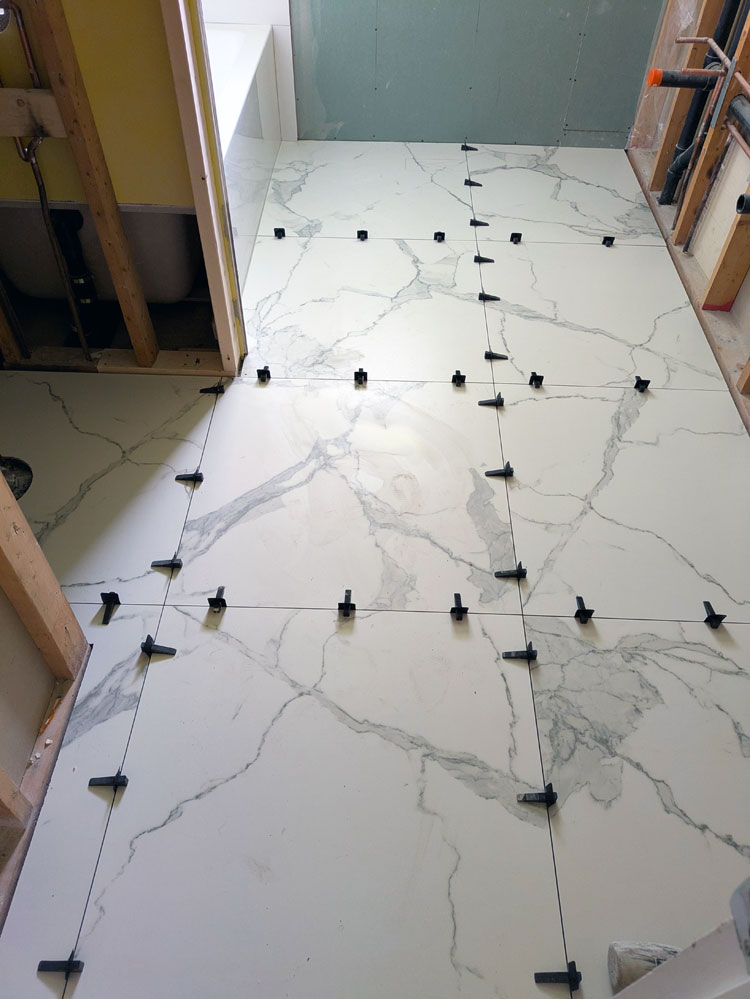
Other choices were affordable without a lot of effort. My tile–the only one I liked at the tile shop–was $6 a square foot.
Tip #2: DIY versus professional help
Obviously, the fact that I was able to do so much work in the bathroom was a big saving. I was general contractor, carpenter, painter, seamstress and designer on this project. While I love DIY, I didn’t hesitate to bring in professional help where I needed or wanted it. The plumbing, electrical, tile and counter were all outsourced. I also worked with a consultant at a bathroom supply store to order most of the elements for the room.
I first went to the store for research. I thought they would have a good sense of what was available, but I assumed they would be waaaaaay out of my budget. When the consultant sent my quote, it was at or below any big box price I could find. They gave me “contractor pricing” on taps, tub, sinks, drains–everything I needed–and they included all the parts I needed. I didn’t have to go searching for the right drains and fittings because they supplied them all. Also, there was no fee for the consultant herself.
While I’m not anti-big box stores, I highly recommend visiting a store that specializes in what you’re looking for. They know the options and materials that are available, have great advice and often good prices. Along with the bathroom store, my other go-to specialists are my local lumber yard, my favourite trim shop and now my cabinet maker.
Total cost
The final cost for the bathroom was about $35,000. This is not an insignificant amount of money, but I feel like I did pretty well managing my budget. I had saved for this renovation and had the money to cover everything I wanted to do.
I believe the point of budgeting is not to spend as little as possible. It’s to spend your money wisely. For me, that meant buying the expensive taps, but saving on the lights. Hiring the professional tiler, but saving on the tile.
I have two goals with renovations: get what I want and do it as affordably as possible. Affordable doesn’t always mean cheapest. I want to finish my renovations feeling like I haven’t compromised. That’s exactly the result I achieved in the bathroom.