Odds & sods

February has been a month of ups and downs.

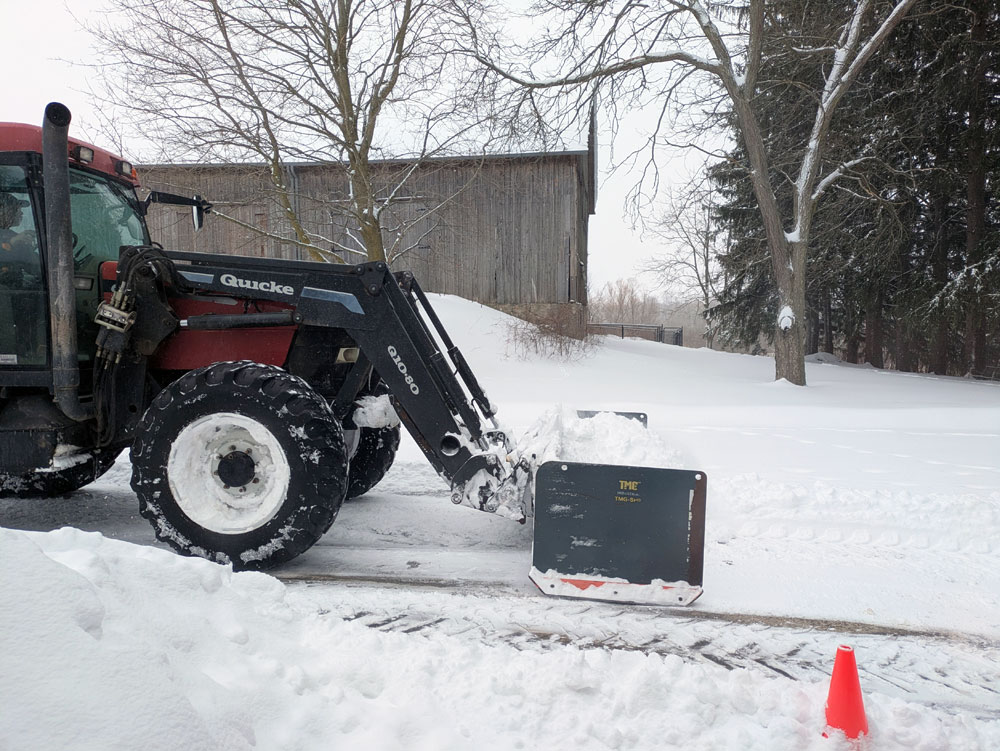
Ups: Snow like we haven’t had in years (thank goodness for our farmer and his big tractors). (A little) more project progress. Ellie’s birthday.

Downs: I got sick.

February took my word of the year–care–and gave me a hard reminder that I need to take more care. I was sicker than I’ve been in a long time. Five days of chills, aches, not sleeping, and generally feeling miserable. Projects halted, the couch and I spent a lot of time together, my focus became what was absolutely necessary and going to bed early.

I of course was extremely frustrated to be so unproductive.

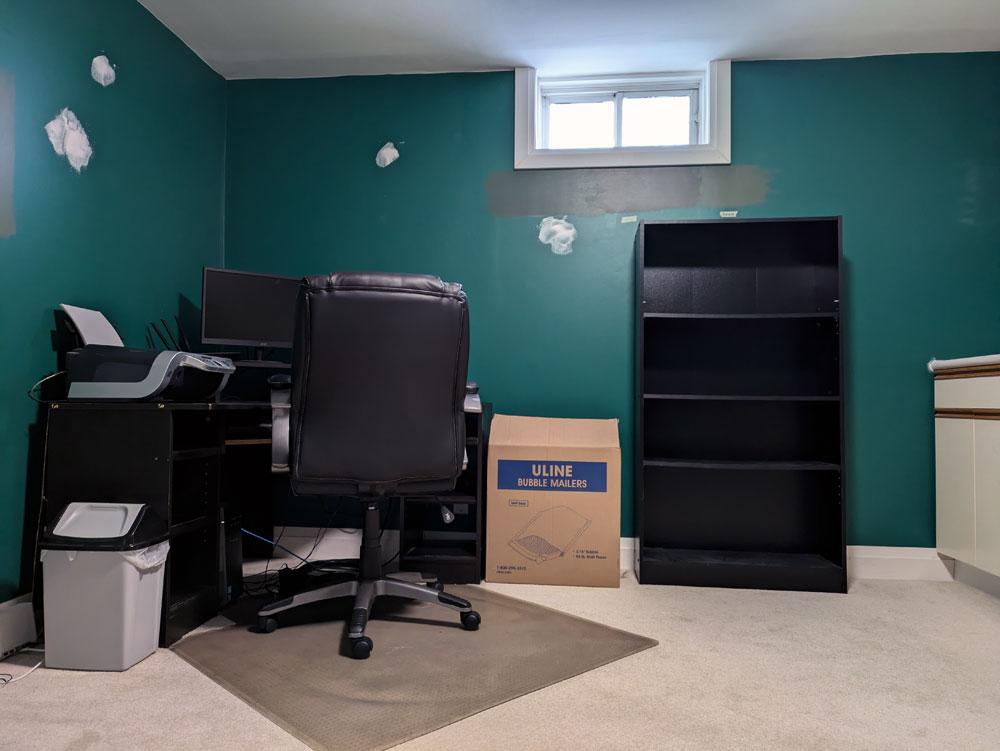
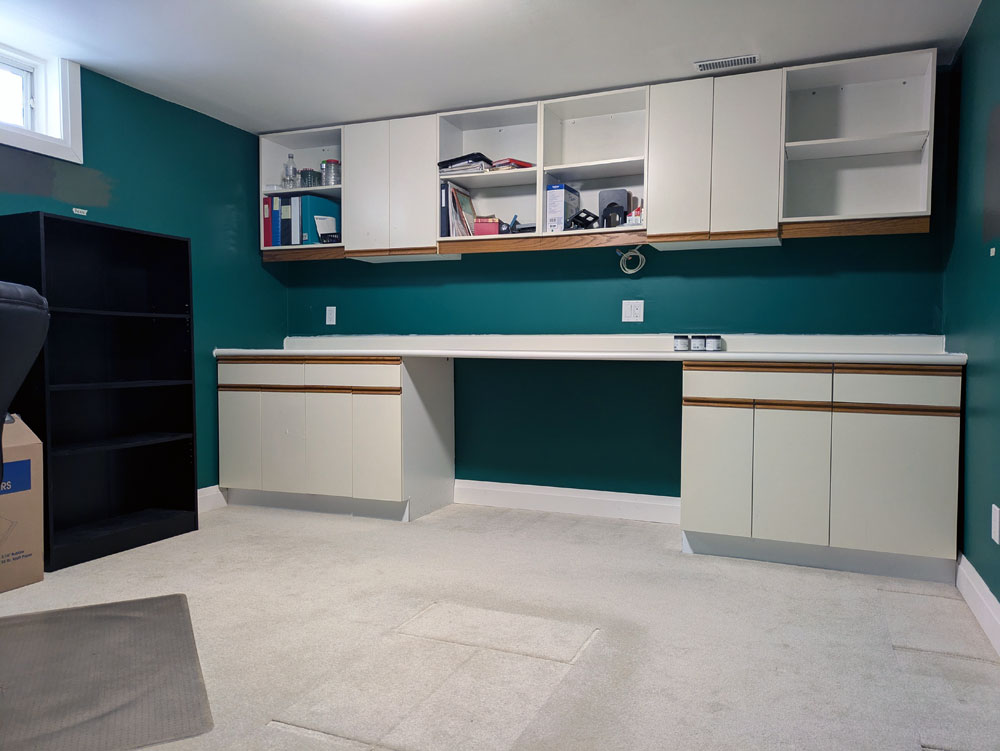
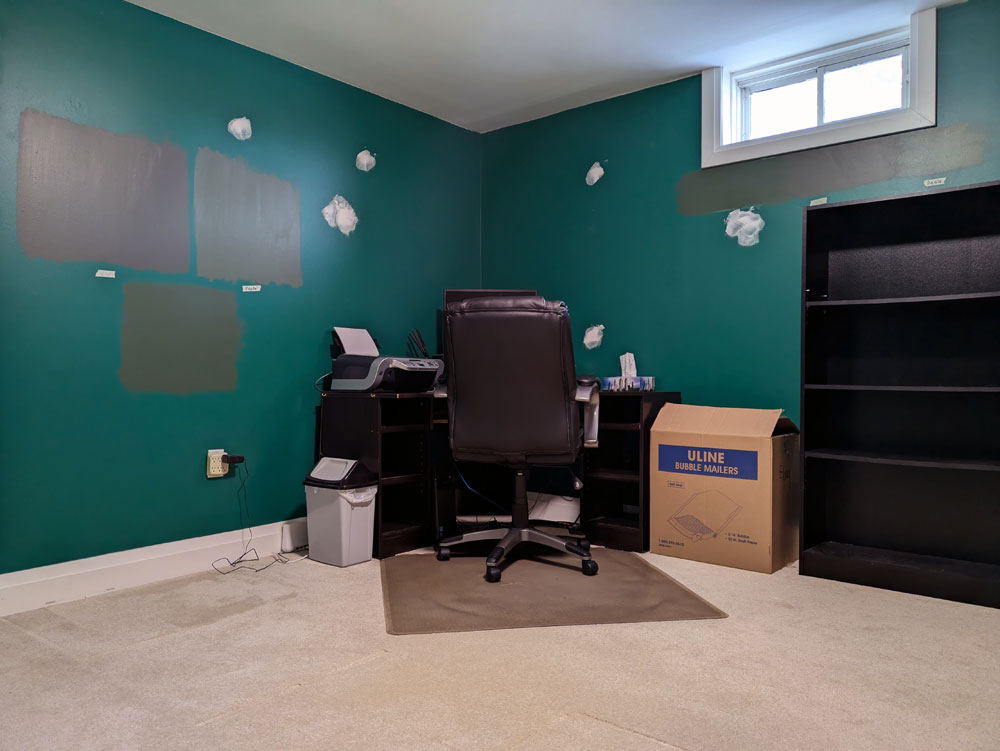
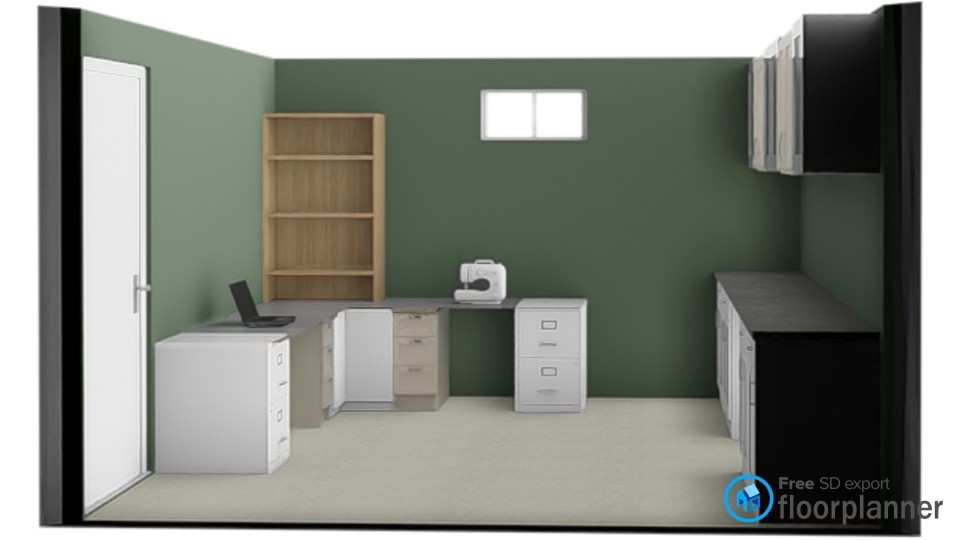
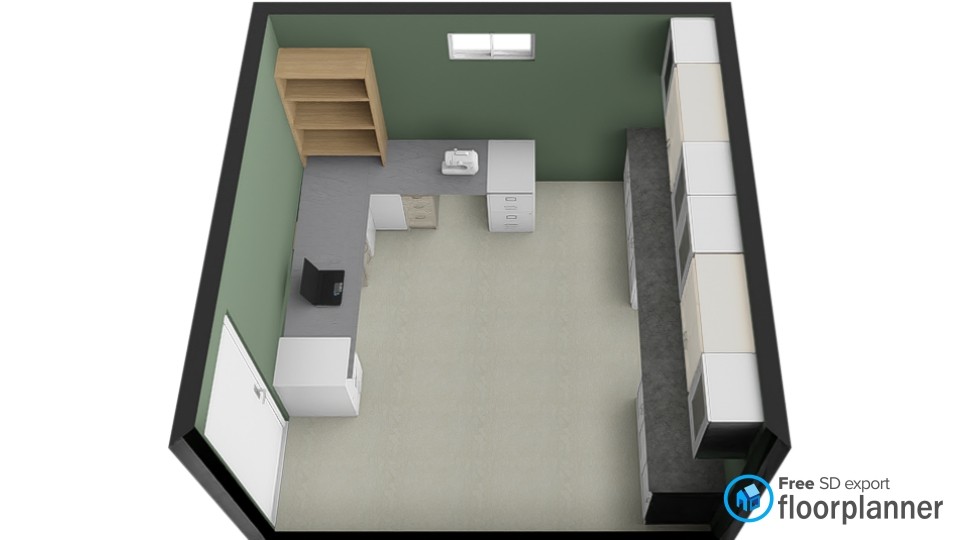
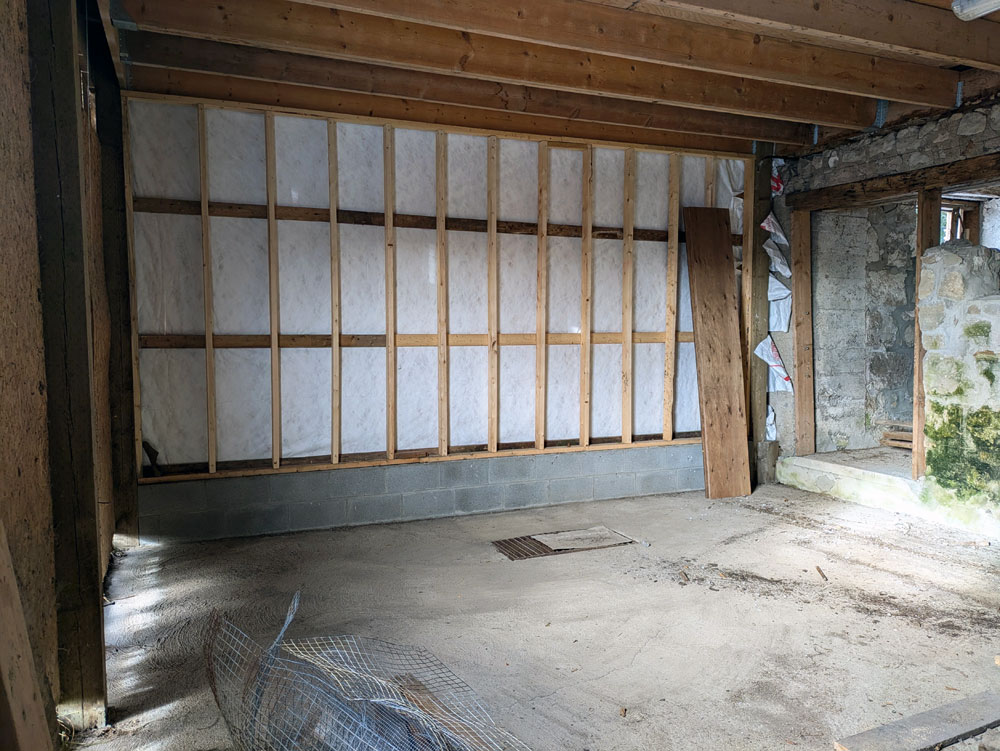
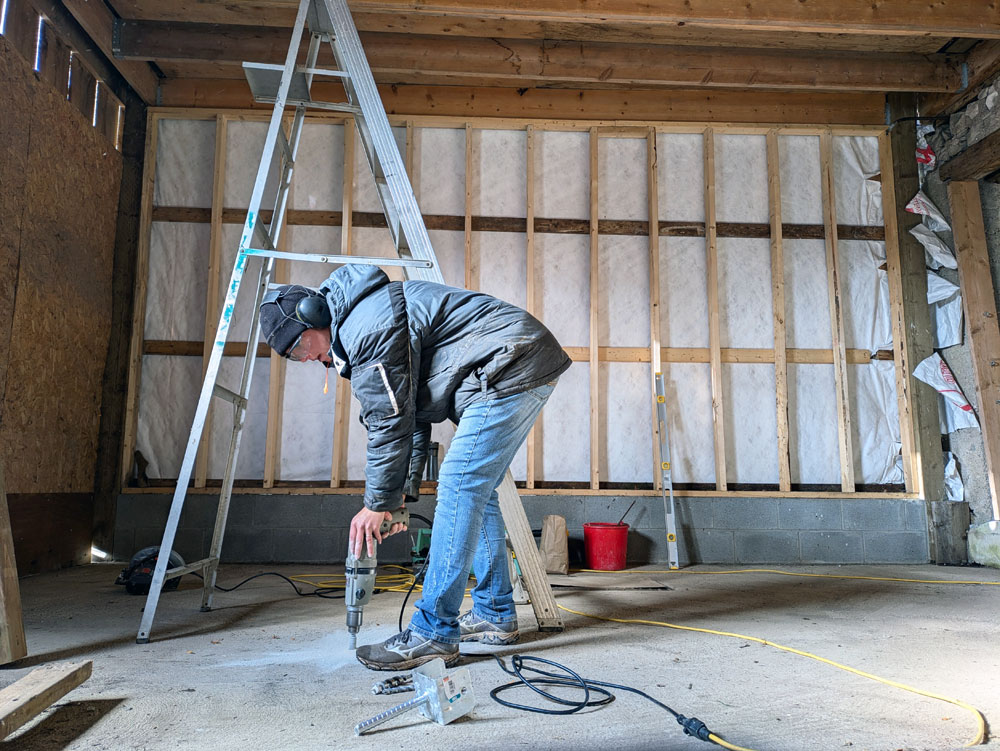
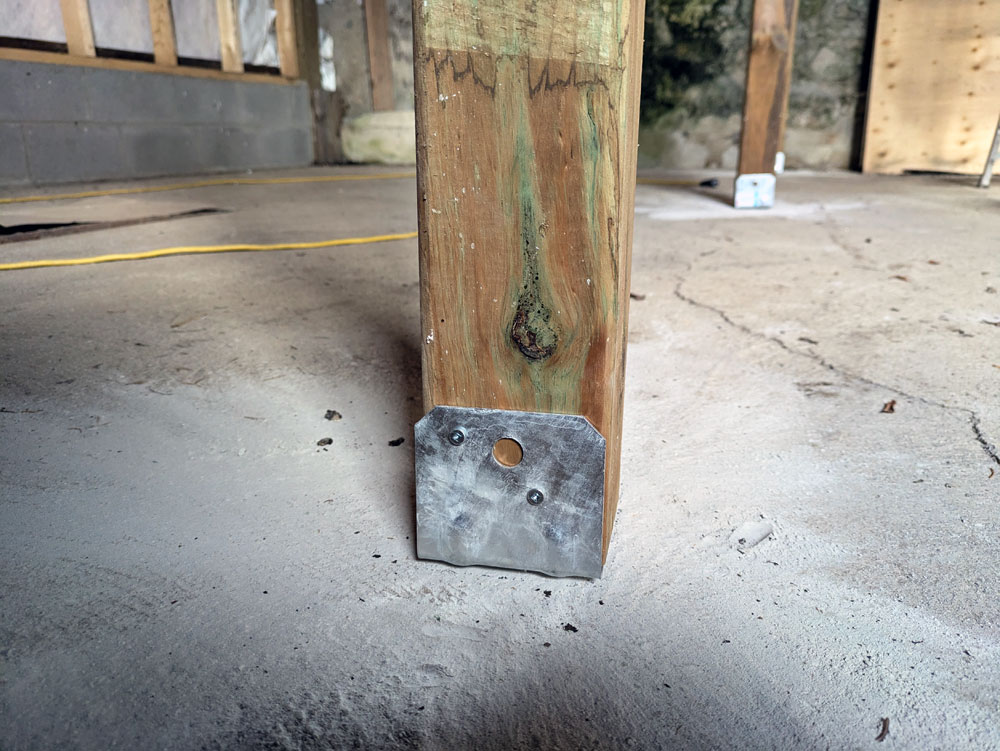
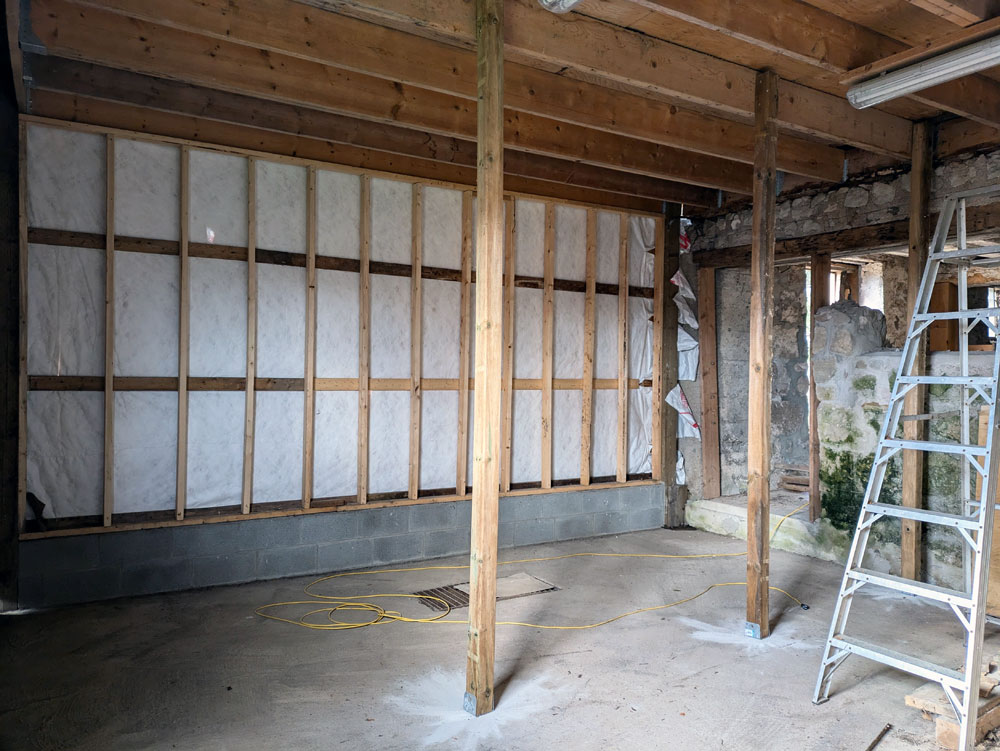
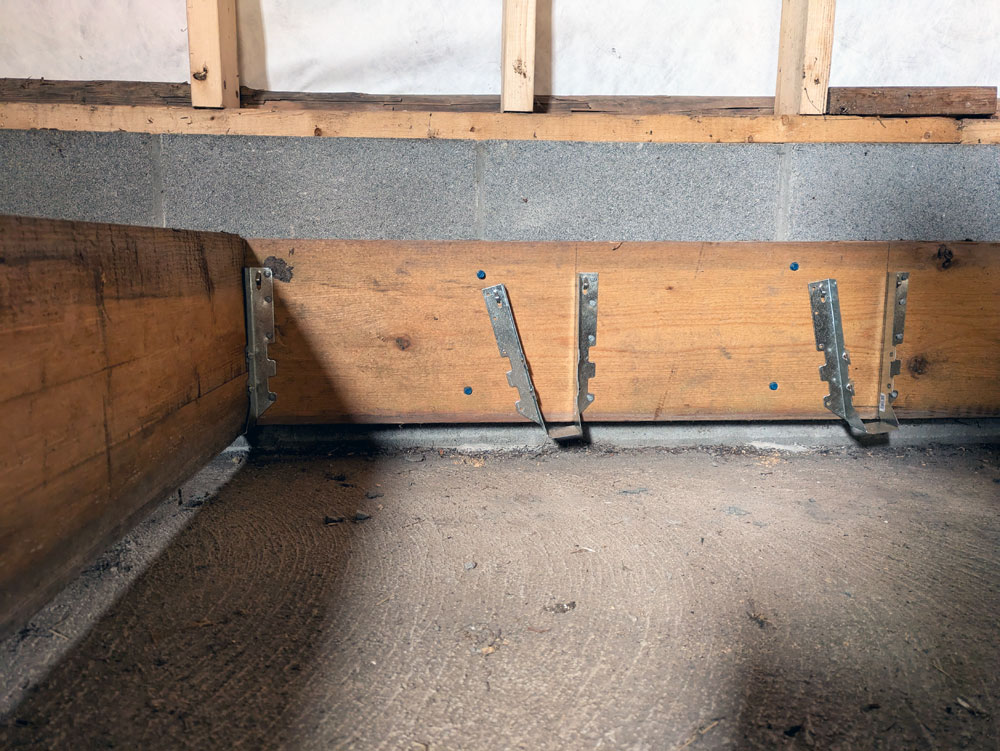
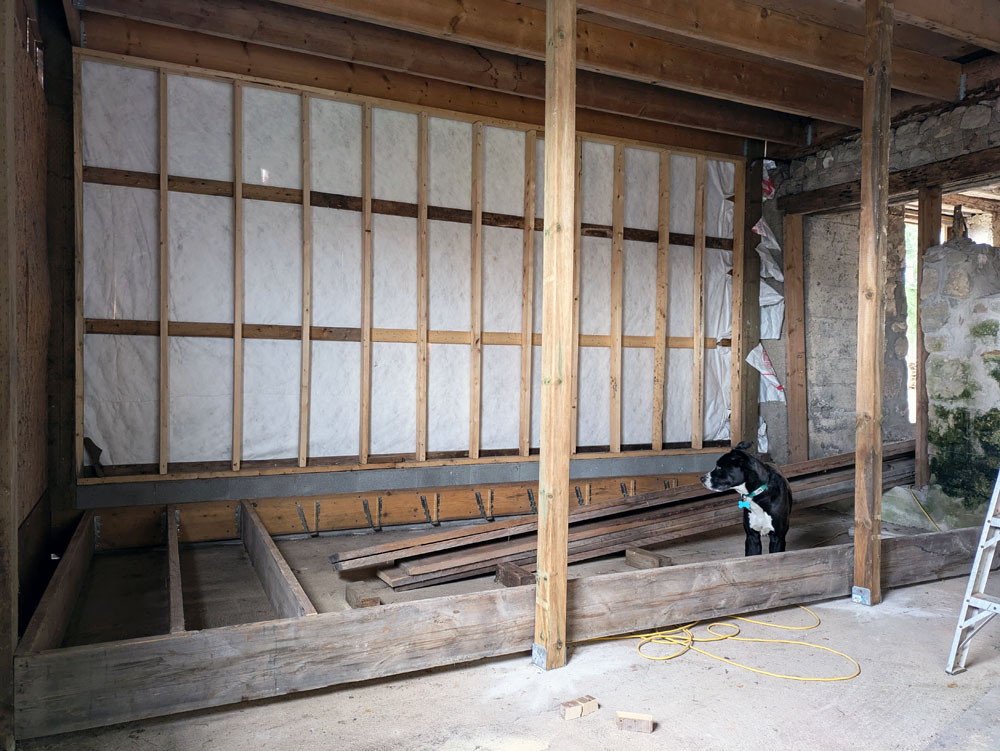
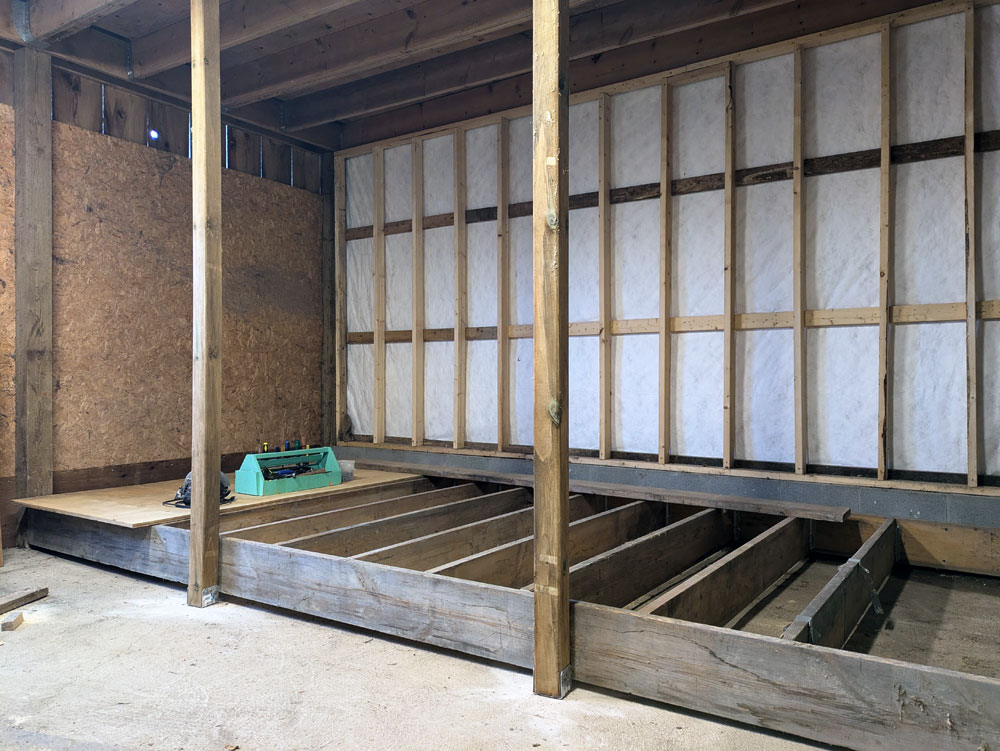
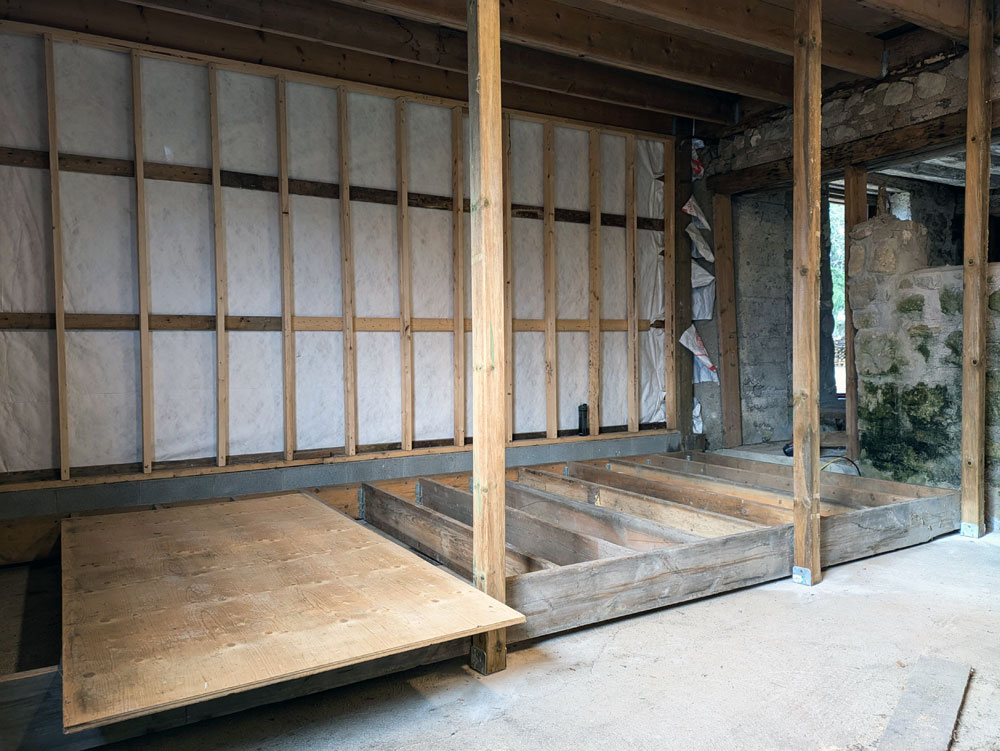
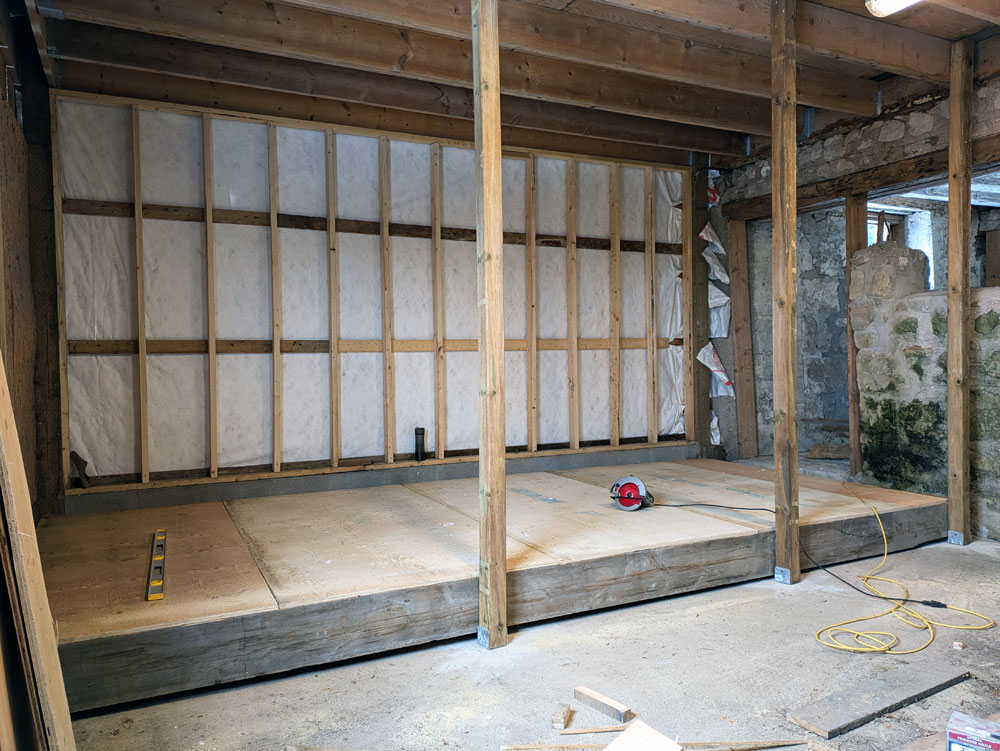
But I know I’ve been pushing myself for years and I need to take better care of myself. I’m hoping this illness was the wake up call I need. I’ve been slowly working my way back. I haven’t made any significant progress on the office, bathroom or coop. I’m taking twice as long to mark my students’ latest assignment. I’m going to bed about an hour earlier than usual (sometimes more). I’m still a bit frustrated at what I see as a lack of productivity, but I’m also proud of myself for making smarter choices.

Here are some of the things I’ve been up to this month.

I am not a rock climber, but I love watching super capable people do incredible things. This climb is epic, but the partnership is even more special.

Also incredible? This kayaker who was “swallowed” by a whale

Other favourite documentaries I watched while stuck on the couch: Edge of the Unknown, The Rescue.

“Go placidly amid the noise and the haste, and remember what peace there may be in silence.”

Desiderata by Max Ehrmann

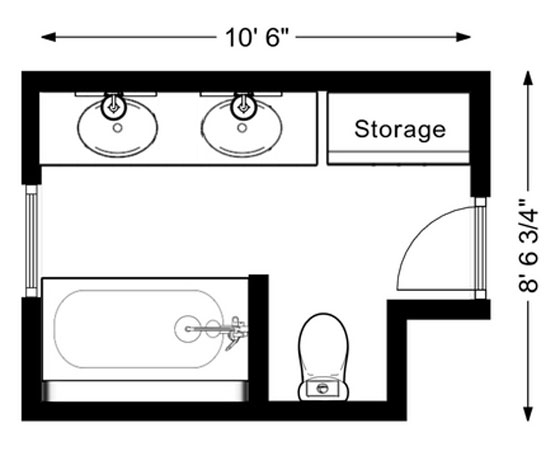
I’m finishing off the month with a surprise adventure day for Ellie’s birthday (celebrations have been epic), lunch with a friend, a consultation for the bathroom renovation, and hopefully a return to the coop.

How has February been for you? Have you had any celebrations? Illnesses? What is your snow situation? Any documentary recommendations?

Main bathroom plans

Renovating our main bathroom has been a long time coming. I’m really excited to finally tackle this project this year.

I am planning to do as much of the work myself as I can. I have a great plumber who worked with my Dad (and by extension me), and he’s going to be my main resource. When I called him at the start of the year to talk about the project he said, “I assume you’re going to be doing most of this yourself?” I love it when someone knows me and trusts that I’m capable.

The vision is for a bright, fresh, farm bathroom. For me, this means white, wood and chrome. It means paneled walls, natural stone (no more Care Bear countertop), shaker cabinets, and cross handle faucets. Here is a moodboard of some of what’s in my mind.

This bathroom from Heidi Callier continues to inspire me. I love the edging on the countertop, the V-groove on the walls and the wood-framed arch mirrors.

Source: Heidi Caillier
Country bathroom inspiration
Source: Heidi Caillier

The layout of the bathroom is going to stay the same, but everything is getting a major upgrade–including insulation, electrical and storage. I’m also going to finally fix that creak in the floor in front of Ellie’s sink.

I have two months between when I finish teaching this spring and Ellie finishes school, so that will be my renovation window. My mission between now and then is to have everything ready to go. So I’m lining up my trades (I want an electrician and a tiler, along with my plumber), making all my decisions and ordering all of my materials.

I’m hoping that I can make the final result as beautiful and functional as I imagine.

Do you have any bathroom reno tips to share? What makes a farmhouse bathroom for you? Do you have a project you’ve been waiting to tackle at your house? What’s the biggest project you’re doing this year?

Office makeover plans

The office makeover is a project I’ve been dreaming about for more than a year. I’ve been working for myself from home since before Ellie was born, yet I don’t have a dedicated workspace.

If I feel like sunshine and a view, I sit at the dining room table. If I’m feeling cozy and the fire is on, I sit on the living room couch. Most nights, I’m on the downstairs couch. I like the flexibility, but having an actual office would also be nice.

It took me a while to realize that I could turn Matt’s office into my office. As soon as I did, I got very excited thinking about everything this room could be.

Matt’s office is a room that only appeared on the blog waaaaaay back when we first moved in and were renovating the basement. After Matt set up his space, he wasn’t keen on sharing it and it wasn’t very photogenic, so I never featured it here.

That is all about to change.

This is the before, a mostly clean slate. (In my excitement to start this project, I couldn’t resist patching nail holes and putting some paint samples on the wall.)

When we did the basement renovation, we reinsulated all of the exterior walls, moved the office door around the corner, put up new drywall, had new carpet laid, and installed the cabinets (which used to live in the main room of the basement).

Basement before
Basement demo in progress
Matt's office
The basement before

The foundation of the room was good. But I wanted to make it work for me.

Here’s a collage of some of the things that are in my plans.

First up is the colour. I’m going to be sticking with green for the walls, but a slightly different tone.

My plan is to have a large desk with two work stations that wraps around the corner. On one side, I’ll have my computer. On the other, I’ll have the sewing machine.

The base of the desk will be two filing cabinets and two banks of drawers, all painted white. Above the desk in the corner I’ll have some open shelving (likely painted green) for storage and display.

The cabinets are staying where they are, as they are (for now). I’d love to transform these into shaker doors like I did in the laundry room and give them a coat of paint, but that’s a later plan. For now, I’m grateful to have the cabinets as they provide a lot of really useful storage for fabric, yarn, office supplies, wrapping paper and more. I am planning to add a corkboard “backsplash,” as I love a bulletin board.

Then the rest of the room is decorating. I have art and objects that are special to me, and I want to finally have a nice spot to display them.

I am very excited for this project, and work is already underway. Stay tuned for more updates.

Do you have an office at your home? What’s your must-have (or wishlist) for an office?

The coop has a floor (and more)

A lot has happened in the coop since my last update. Key word, in the coop. Over the last two months, I’ve been working inside the barn to build the actual coop.

The plan is to make the coop a kind of room within a room. I feel like this is best way to make it secure from predators. It’s also easier to construct a standalone space, rather than trying to tie into the existing barn, which may or may not be square and level.

So this means I’ve been building a floor, walls and ceiling.

First step was setting three new posts. These support the floor, walls and ceiling. I drilled into the concrete floor, put in three saddles and then put up 4×4 posts that are screwed into the ceiling beam at the top.

Then I could move onto the floor. I wanted a subfloor elevated above the existing concrete floor because this corner of the barn is sometimes a little wet. There’s a grate in the floor that appears to be connected to some kind of drain. But I have no idea where the drain goes and I suspect that it may be plugged, as every so often the grate overflows. We also a have a problem downspout and missing eavestroughs at the coop corner.

I’m hoping that new eavestrough and our new block wall will help to keep most of the water out, but to make sure our chickens don’t get wet feet (and our ducks don’t go swimming inside), a raised floor seemed like a good idea.

My mission with the floor was to not buy new lumber. We have a large amount of wood left by previous owners, so I raided that for joists. I found a lot of very long 2x10s (I was hoping for 2x8s), so we have a very strong floor.

I put a rim joist on the new block wall, and then worked my way around to my new posts, keeping everything level. Then I installed hangers and set my joists in place. I do not enjoy nailing joist hangers, but they definitely made setting the joists much faster and easier to do on my own.

Once the joists were finished, it was simple (though heavy) to lay down some sheets of plywood and the floor was done on the last day before Christmas holidays.

I’ve done more since then, but I’ll save that for my next coop update. In the meantime, if you want to see more about the coop, I’ve been documenting the construction on video and sharing on Instagram. Follow me at juliaon129acres, and catch up on all the videos in the Coop highlight.