Along with it being the one year anniversary of the farm this week, it’s also the one year anniversary of this blog. Today, I’m taking a look back at some of the highlights of my first year as a blogger–and, yes, after a year I am calling myself a blogger.
Here are some of my favourite things that have happened this first year:
- Having the bridesmaid dress I sewed along with a link to my blog featured in Vogue Patterns magazine
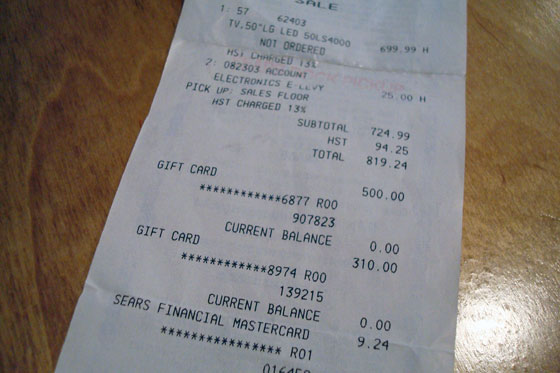
- Talking to the Toronto Star about our experience paying off the mortgage on our first house
- Being nominated for One Lovely Blogger Award by Julie at Outtakes on the Outskirts
- Seeing my blog listed in another blogger’s blogroll
- Experiencing the support and input from the blogging community–Dyson dilemma, where I asked people what vacuum we should buy, got the most comments of any of the posts I published this year
- The friendships and connections I’ve made over the past year with people I’ve never met, but who share some of the same interests — Diane, Lyndsay, Mathew and Carly to name a few
In the first year, I published 171 posts and uploaded 652 pictures. At the start, I was posting four times a week, but now I’ve moved to three times a week. I like having a regular schedule for posting, and I find it pretty manageable to think of and write three posts a week
The blog had 16,815 views in the first year. It averaged 44 views per day in 2012. So far in 2013, the average is 57.
The busiest day of the year was July 23 when I had 543 views in one day. This was the day I published Change of pace, the post about the bridesmaid dress I sewed for my sister’s wedding.

Surprisingly, for a blog that’s supposed to be about home renovation and country living, this sewing post was my most popular for the first year.
Here are the posts that make up the top five from the first year and the number of views they had:
- Change of pace – 828
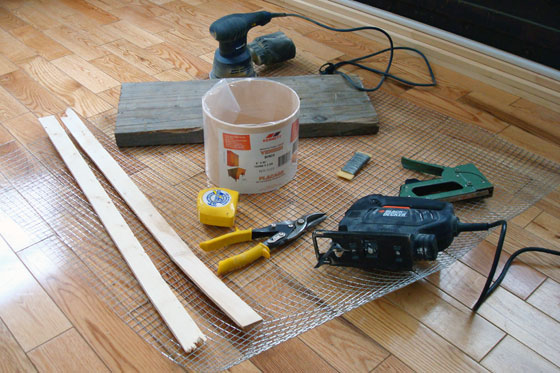
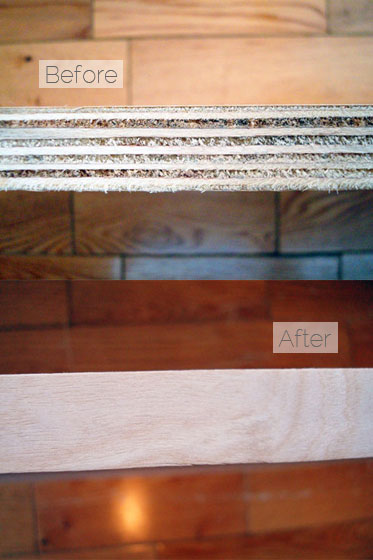
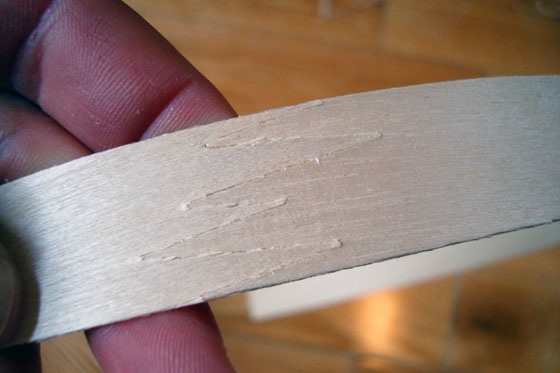
- The reveal… aka how to strip wallpaper – 363
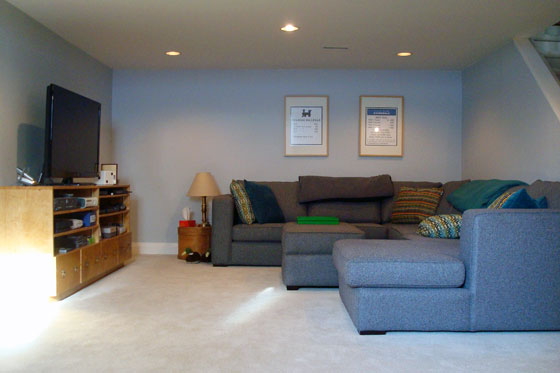
- How to install a pot light – 223
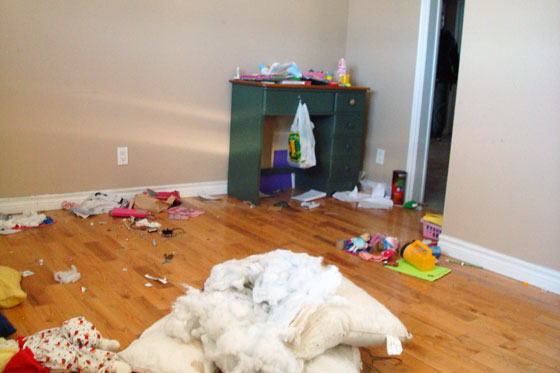
- Free furry friends for you – 157
- Umbrella-ella-ella, the country version – 114
This list shows some of the different ways people find the blog. Most of the traffic on Change of pace came from Pattern Review, a very active online sewing community where I shared the dress. This post continues to get a few hits every day and got a little boost in the fall when the Vogue Patterns article was published. The second and third top posts are how-tos, which turned out to be popular for online searches. The fourth most popular post was our free kitten promotion, which Matt and I sent to pretty much everyone we knew. Number five, which I posted only last week, was my Pinterest Challenge entry, which got a lot of traffic through Young House Love.
The other posts that round out the top 10 illustrate the interconnectedness of the blogging communities. The Pinterest Challenge is an obvious one, but other top posts got a lot of traffic simply through comments on other blogs.
The posts that have been the most popular have been a bit surprising to me. I expected my geothermal series to be more popular than it was. I’ve now realized that geothermal is a project undertaken by a smaller number of people, whereas lots of people want to install potlights and strip wallpaper.
Probably the biggest surprise from the first year has been all of the different places visitors have come from–94 countries in all.

Here are the top 10 countries and the number of visitors from each:
- Canada – 8,870
- United States – 5,951
- United Kingdom – 390
- Australia – 241
- Switzerland – 156 (hallo to Matt’s relatives!)
- Germany – 120
- India – 95
- France – 54
- New Zealand – 48
- Philippines – 44
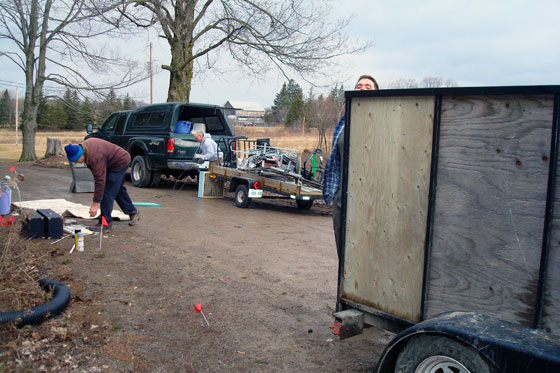
Search is of course a common way visitors make their way to the blog. The most frequent searches were for home on 129 acres (obvious), kioti cs2410 (our lovely tractor Wiley), pyjamas and snow boots outside (???), benjamin moore wrought iron (the paint colour I chose for the basement bathroom), wallpaper newspaper (I didn’t like it, but apparently a lot of people do), and carpeted stringers on stairs.
Most common searches are one thing. The best ones, though, are the ones that come through much less frequently:
- tile saw spraying me in face — Yup. That’s how it goes.
- why was well drilled by barn and not house — Who knows? I’d really like to understand that myself.
- how long will dry wall dust stay in my nose/drywall dust in my mouth how do i clean/basement drywalling how to not get dust upstairs — Answers: a long time/spit, rinse & repeat/not possible, sorry, deal with it
- we bought a farm now what — Good question. I’m working on figuring it out.
As we work on figuring out this farm living thing, the blog has been a great way to capture all of our adventures–both for myself and for all of you out there. To all of my visitors, thank you very much for reading. I like knowing you’re out there. Year one has been a lot of fun. Stay tuned. There’s more to come.