Let’s see how many excuses I can come up with to explain my attitude towards working outside during most of May.
- Weather was cold and rainy.
- My Dad jetted off to England.
- The tractor still had the snowblower attached to it up until the middle of the month.
Despite sounding like a big whiner, I actually did accomplish a few things this month. In fact, I surprised myself by how much I was able to cross off my ambitious list of landscaping to-dos for May.
Here’s how I did.
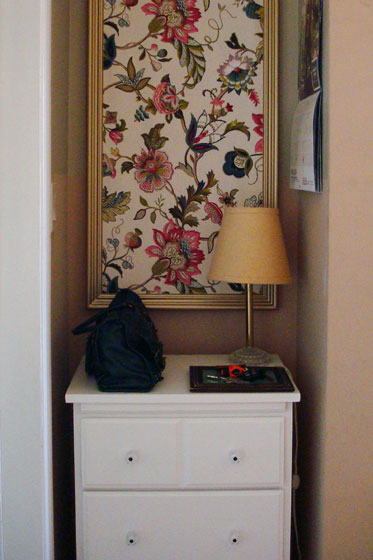
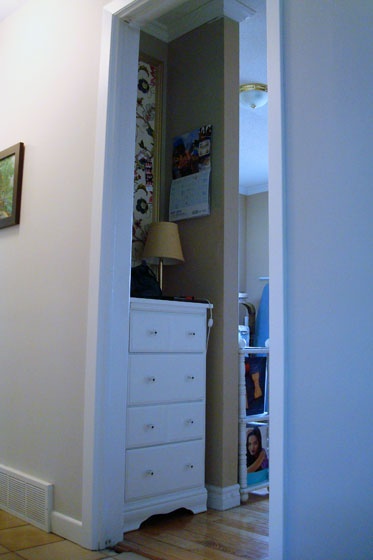
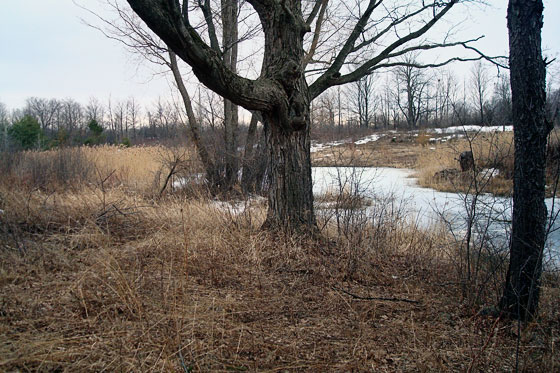
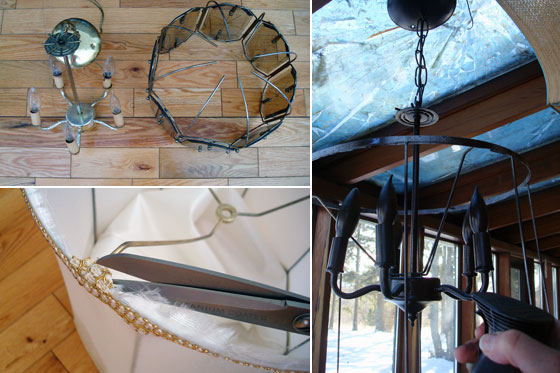
Turnaround
Weed the flower garden halfSpread wood chips on flower garden– I nearly didn’t get to this one, but knowing I had to report back to all of you made me get my butt in gear.
- Make a top for the bird bath – I still haven’t figured out what I’m going to do for this one. The idea that I had for the top is a little bit… well… little.

- Put the bird bath in place
Place the benchContinue to fill in the garden with more plants
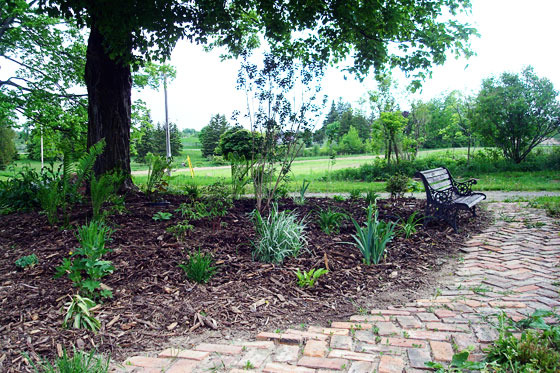
The turnaround is looking awesome IMHO. It’s turning out even better than I expected. Obviously the plants still need to fill out a bit (okay, a lot) more, but I think it’s going to be beautiful.
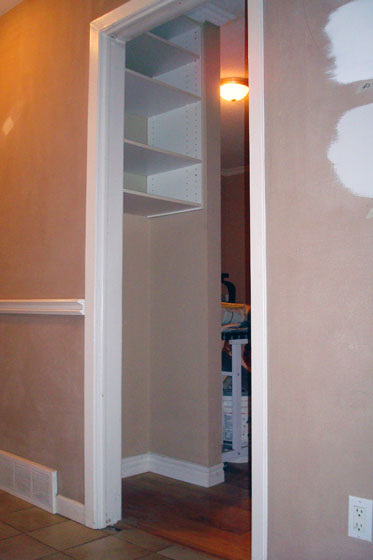
Front garden
- Edge the garden
Transplant a few bushes, trees and other plants out of this bed and into some of the other gardensFill in the pit from the woodstove chimney- Fix the downspouts
- Weed as I go
Trees
Pick up fallen branchesCut branches to firewood lengths- Split firewood
- Burn brush – We have three massive piles of brush, but the wood is still a little damp and isn’t that interested in catching fire.
Matt got an in-depth hands-on session with his new chainsaw when his Dad came over to help us with the clean up. This to-do was definitely a team effort. Lesson learned: The chainsaw is heavier than you think, a fact that becomes obvious after working with it all day. Second lesson learned: Your wife doesn’t care that you just learned how to use a chainsaw. She’ll still send you up an extension ladder to trim branches off the pines outside the kitchen window, all so that she can have a better view of the pond. Third lesson learned: Baxter was a big help, as usual.

Grass
- Add top soil beside the front stoop and seed
- Overseed in front of raised bed under the dining room window
- Rake solar trench smooth and seed
Wop-wop. Big fat nothin’ on the grass front. We did mow before it got knee-high, which is an improvement over the past two springs, so I guess that’s something.
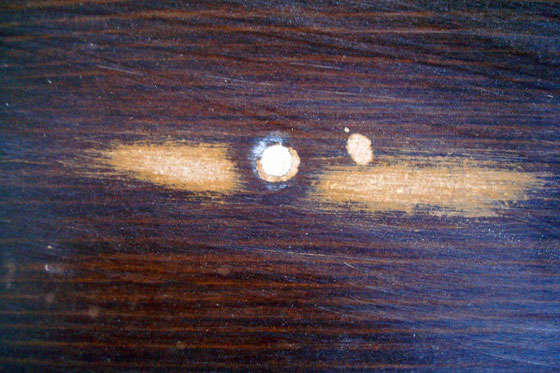
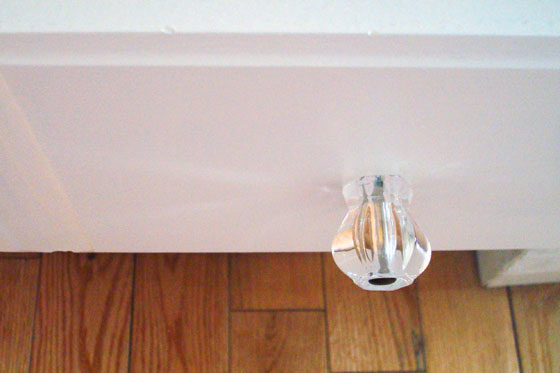
Hoses
Turn on water to exterior tapsInstall hoses at sideand back of house- Install a proper hose bib at the driveshed, so that the hose isn’t laying on the ground. – My Dad’s going to help me with this one, but he couldn’t do very much from England.
- Shorten waterline
- Attach to waterline to wall
- Install a splitter so that I can someday add another hose bib at the opposite corner of the driveshed
- Reinstall tap on shortened waterline
- Install hose hanger
- Hook up hose

My plan to focus on one area per week (or weekend) went a little off track due to weather, support crew and motivation, but I still feel like I put a good dent in this year’s landscaping plan.
Work is ongoing and will continue for a few months (years) yet.
What progress have you made outside so far? Have you learned to use any new equipment this spring? Are your four-legged friends as helpful as Baxter? How do you handle your hoses?