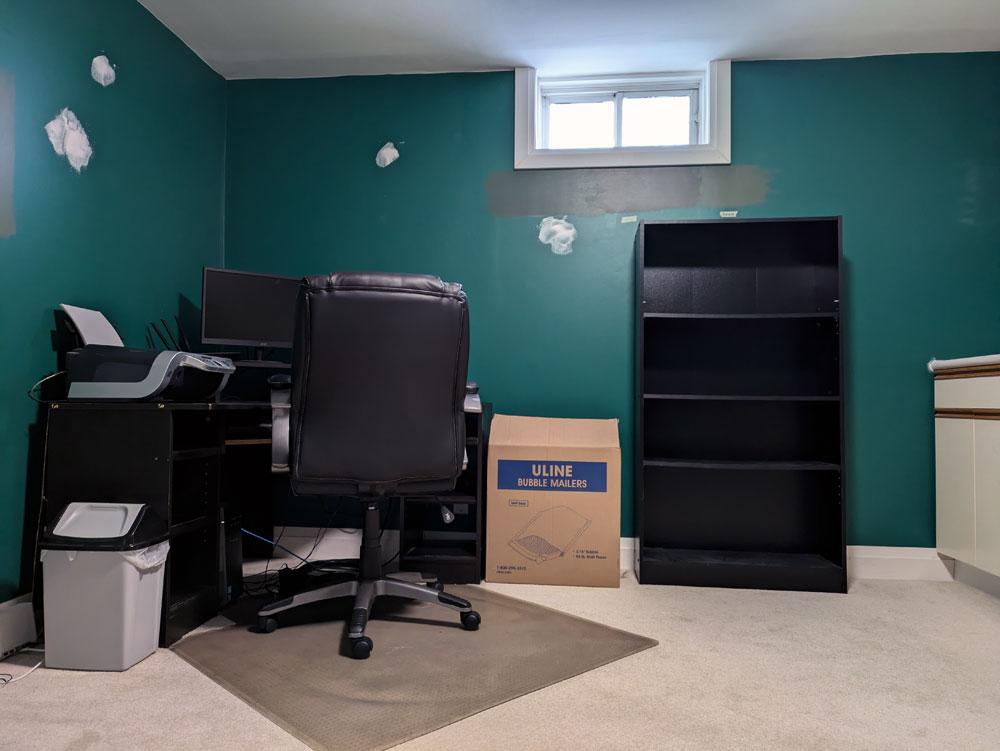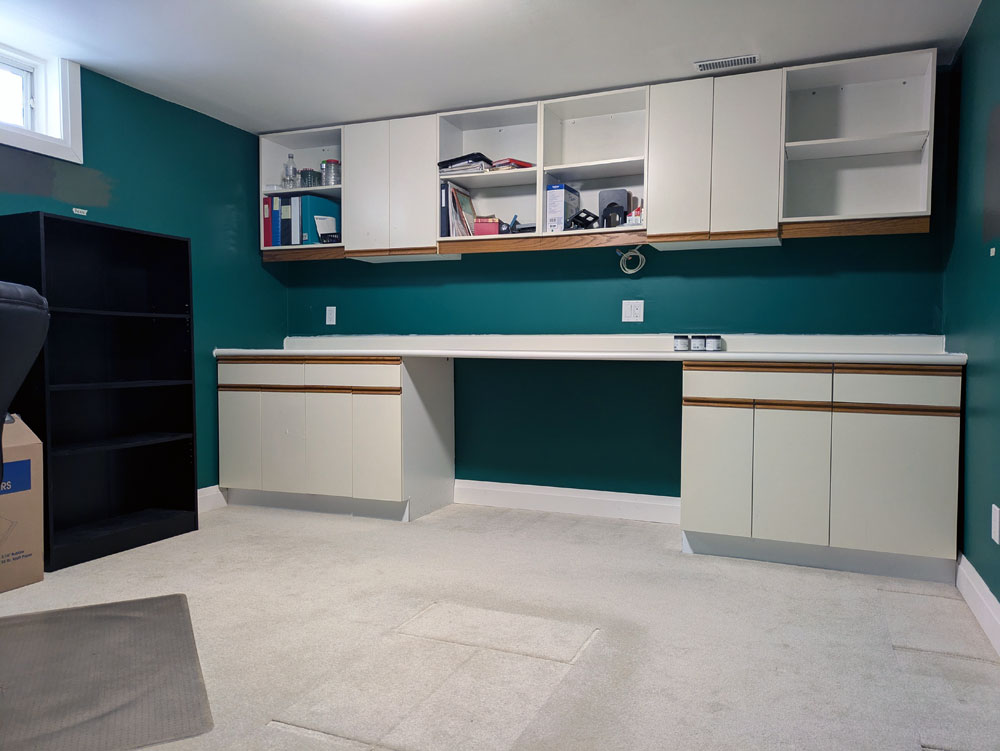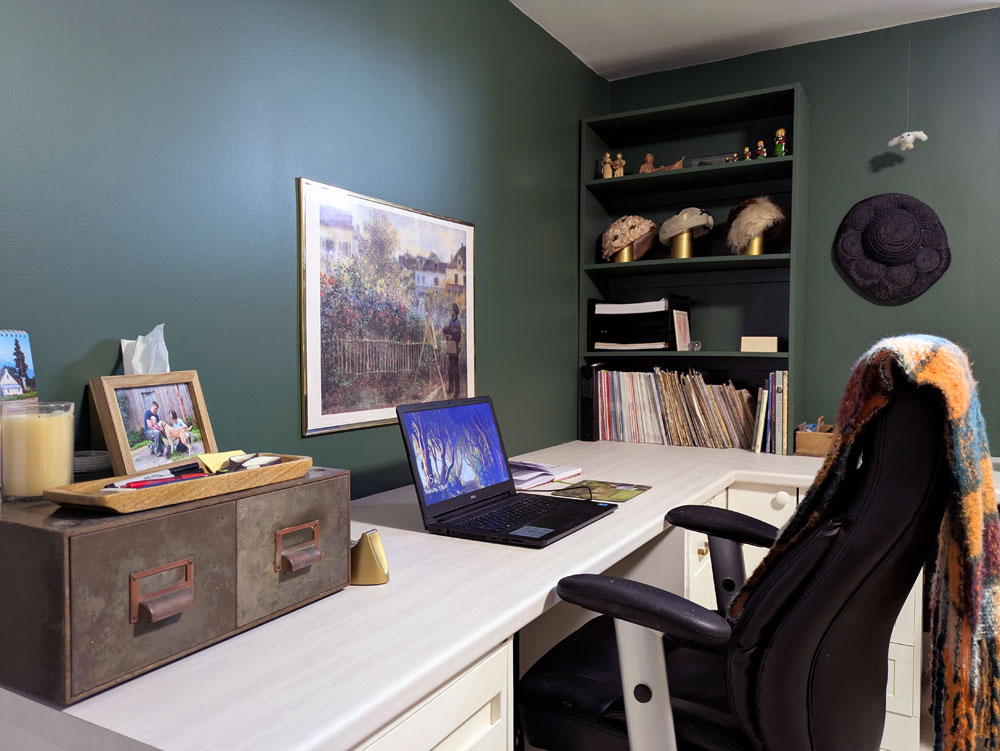
I was unsure what colour I wanted to paint the office for a long time. Back when we first set up the room, Matt picked a forest green (Benjamin Moore Manor Green). It was not my favourite colour, but it was his room, so I didn’t say anything.
Once I decided the office was going to be mine, I was more than ready to repaint.
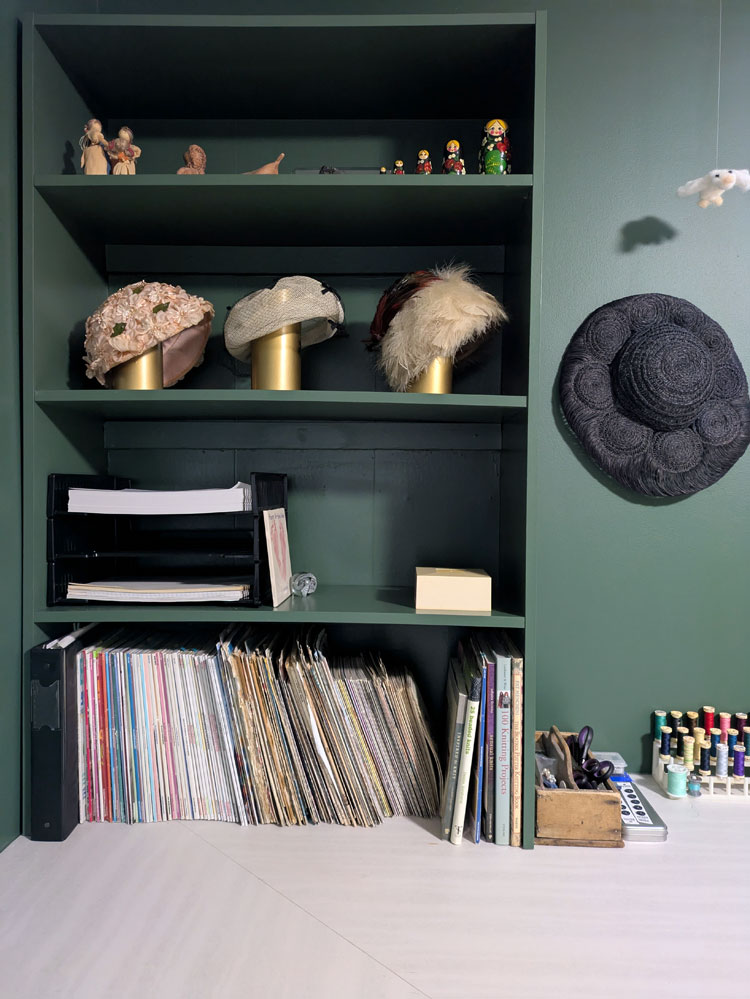
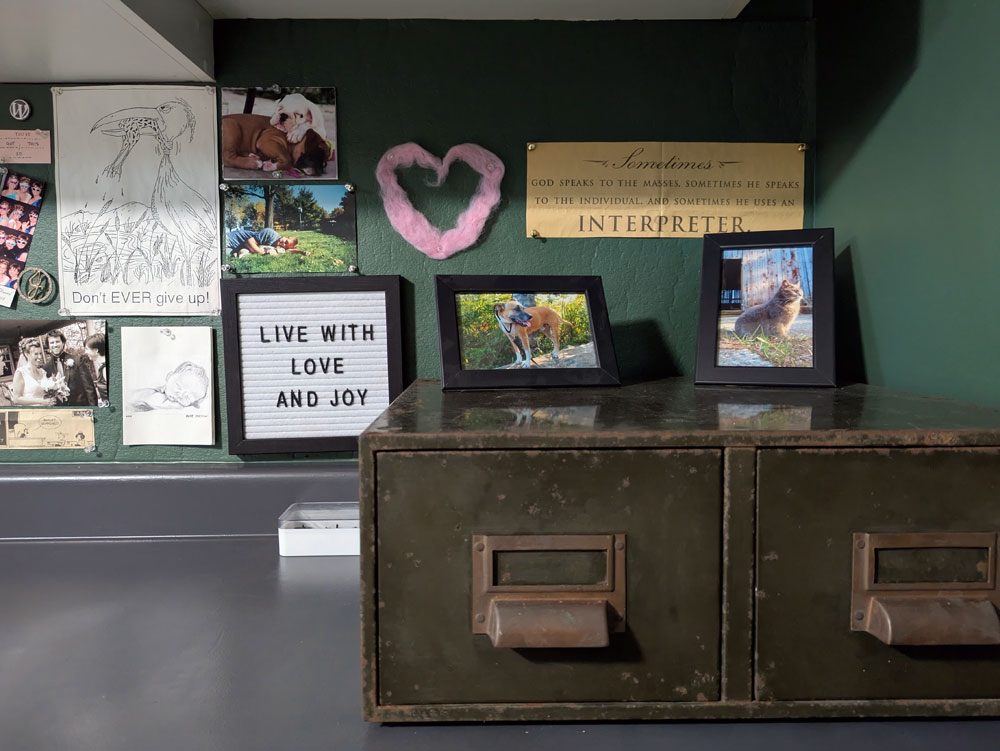
I liked the idea of sticking with some shade of green. I like green and it would be another memory of Matt. I knew I wanted dark olive green a few places in the room (namely the vintage metal drawers I found years ago at an auction). Did I want it on the walls too?
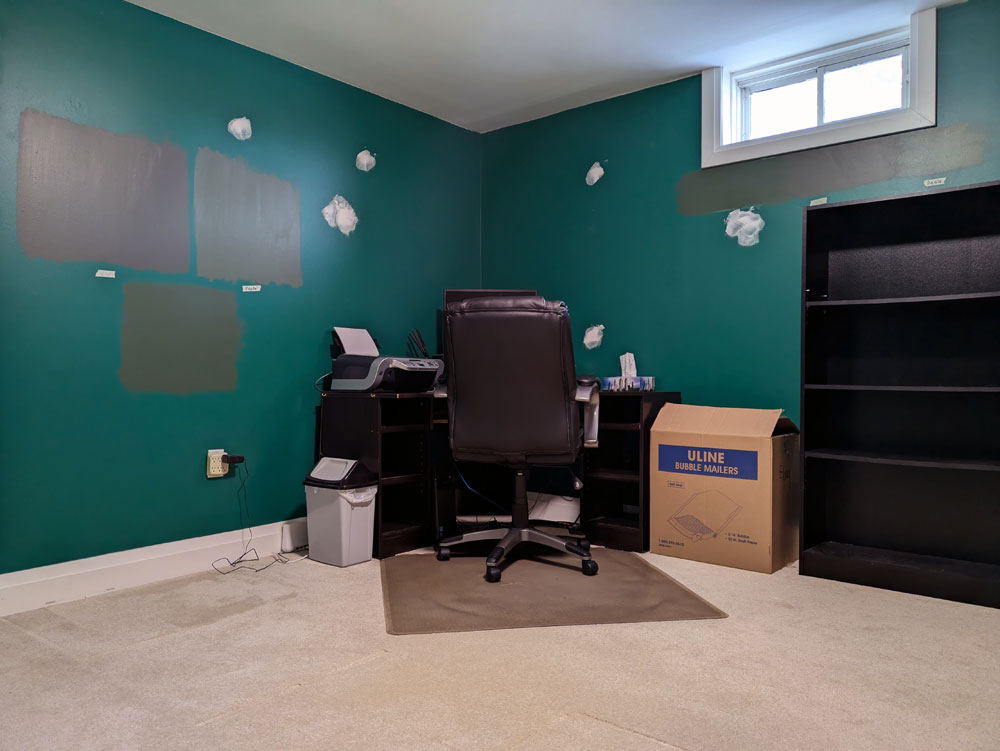
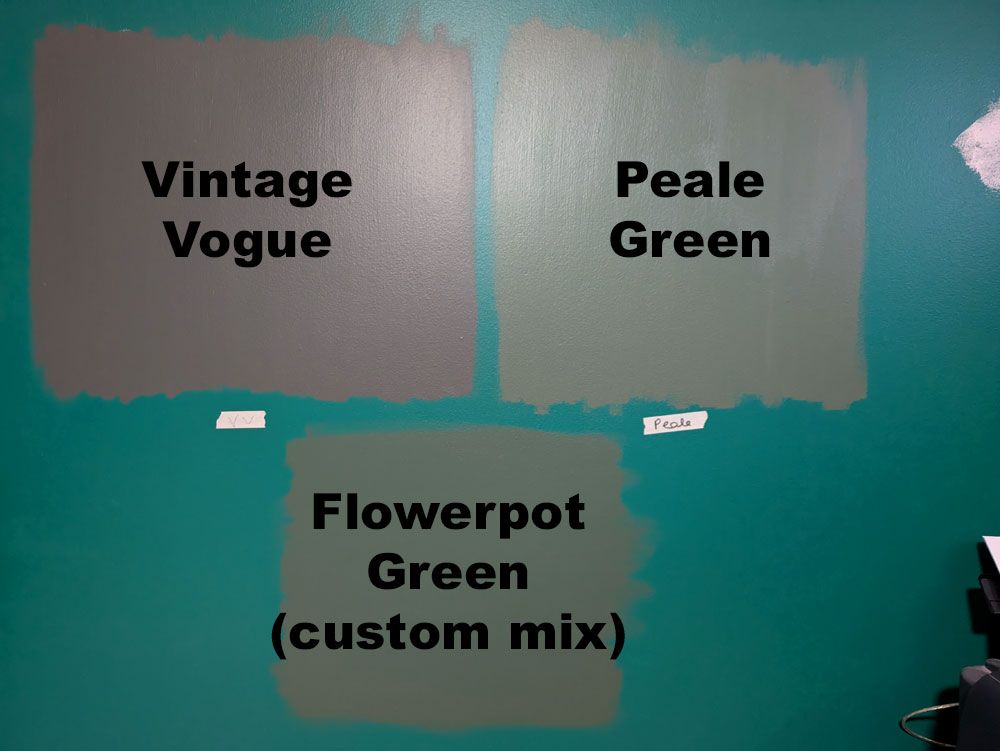
I finally decided to go for it. But then I had to figure out what green. I sampled several: High Park, Rosepine, Cushing Green, Peale Green. They were too light, too grey or too brown.
Ellie’s comment was, “So you’re painting the office garbage can green.”
Thanks, girl.
I returned to the paint store in search of my goldilocks–not garbage can–green.
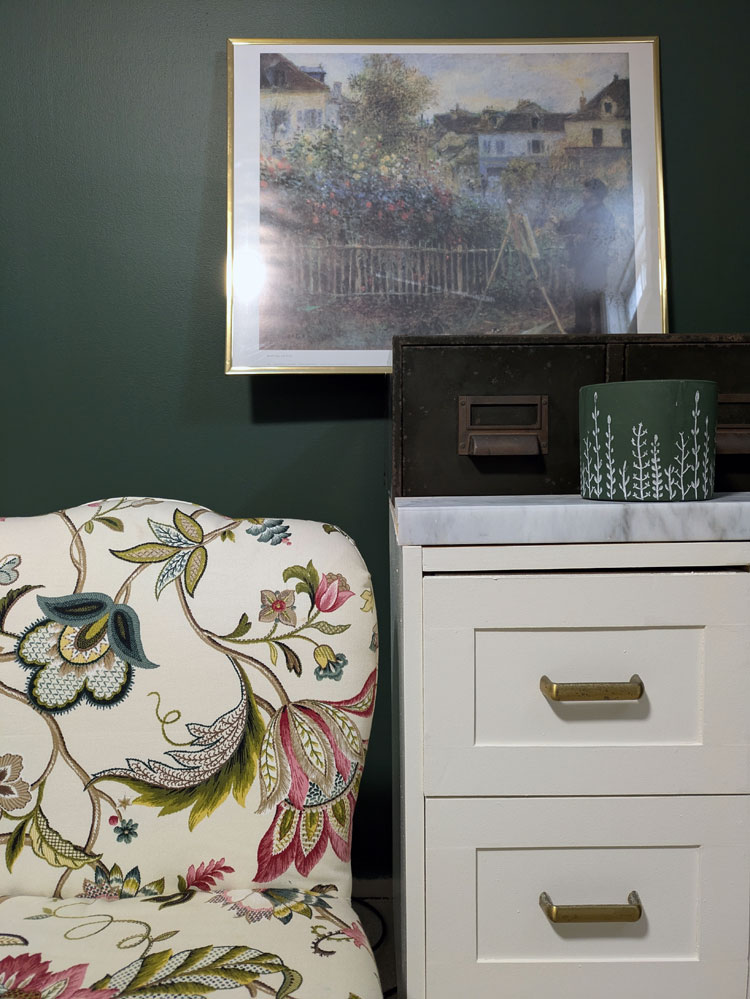
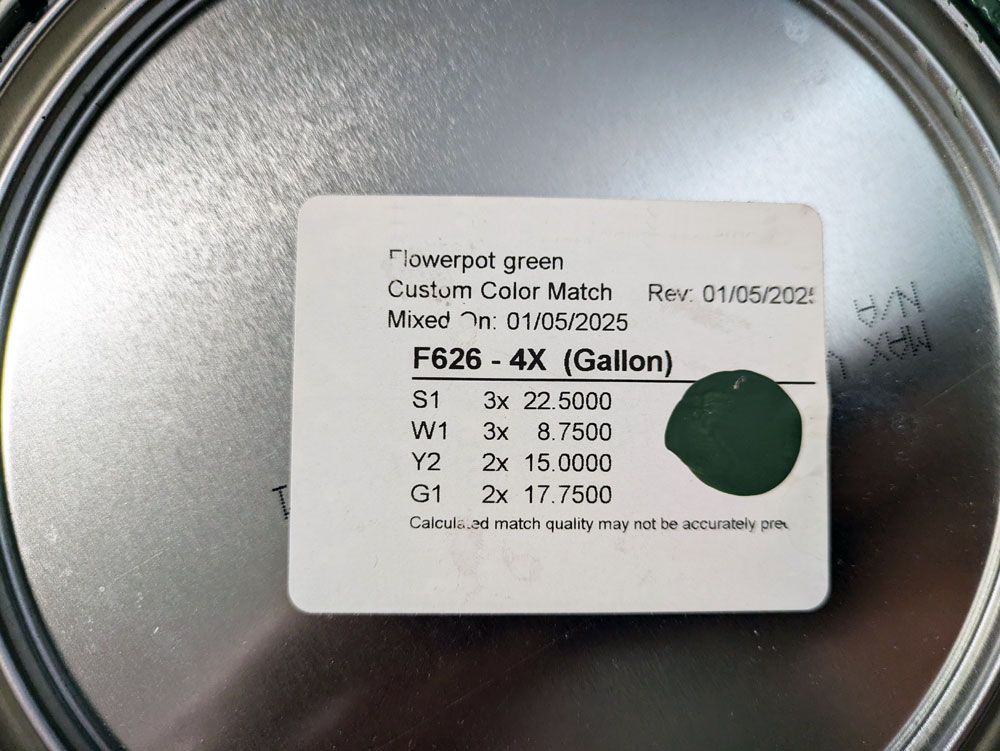
I bought two more samples: the oh so popular Vintage Vogue and a custom shade matched to a flowerpot my sister gave me for Mother’s Day.
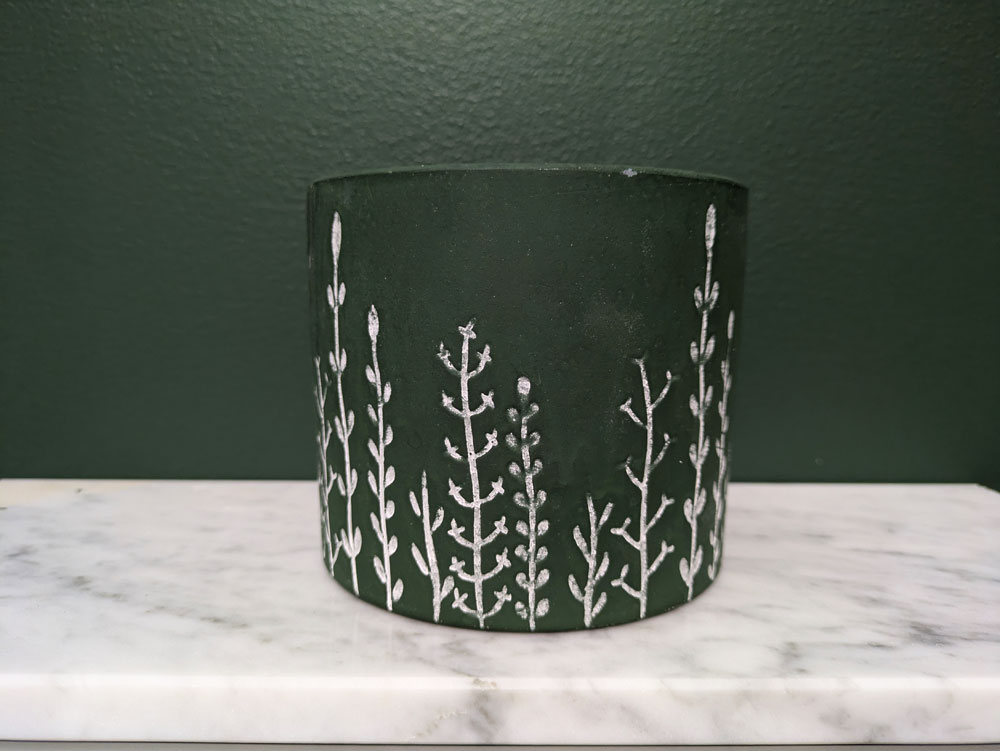
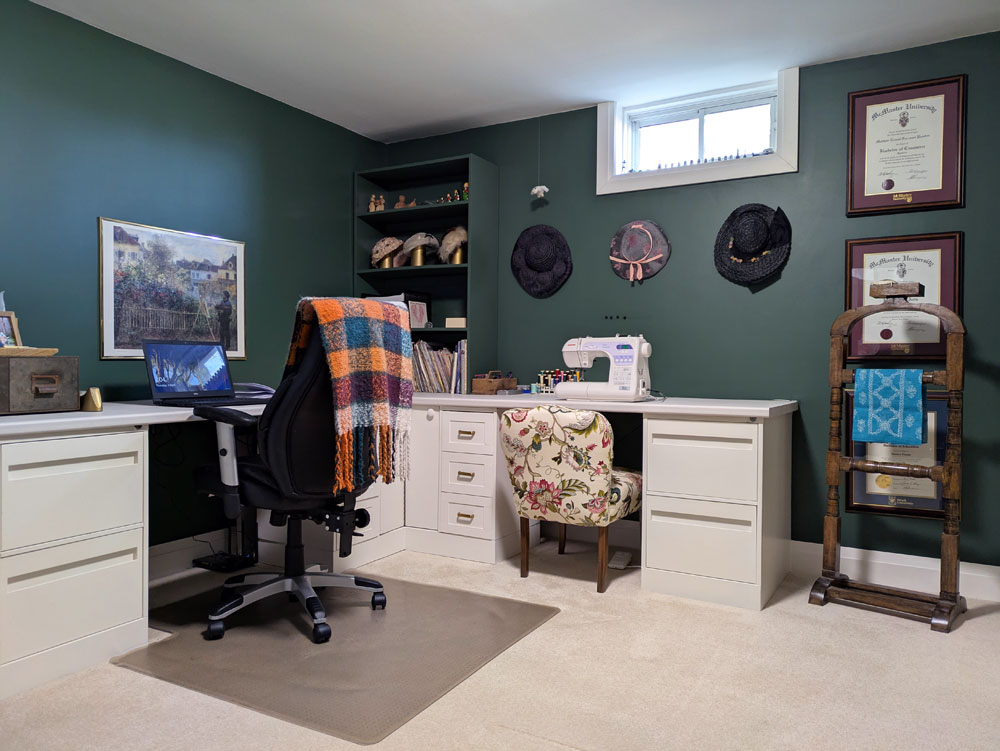
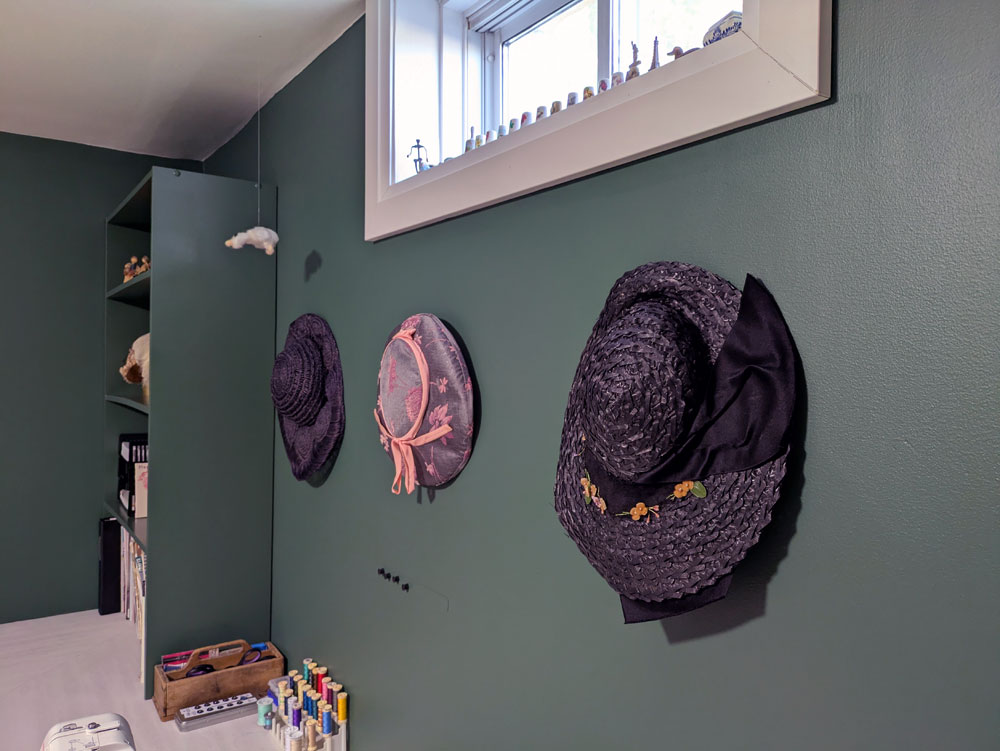
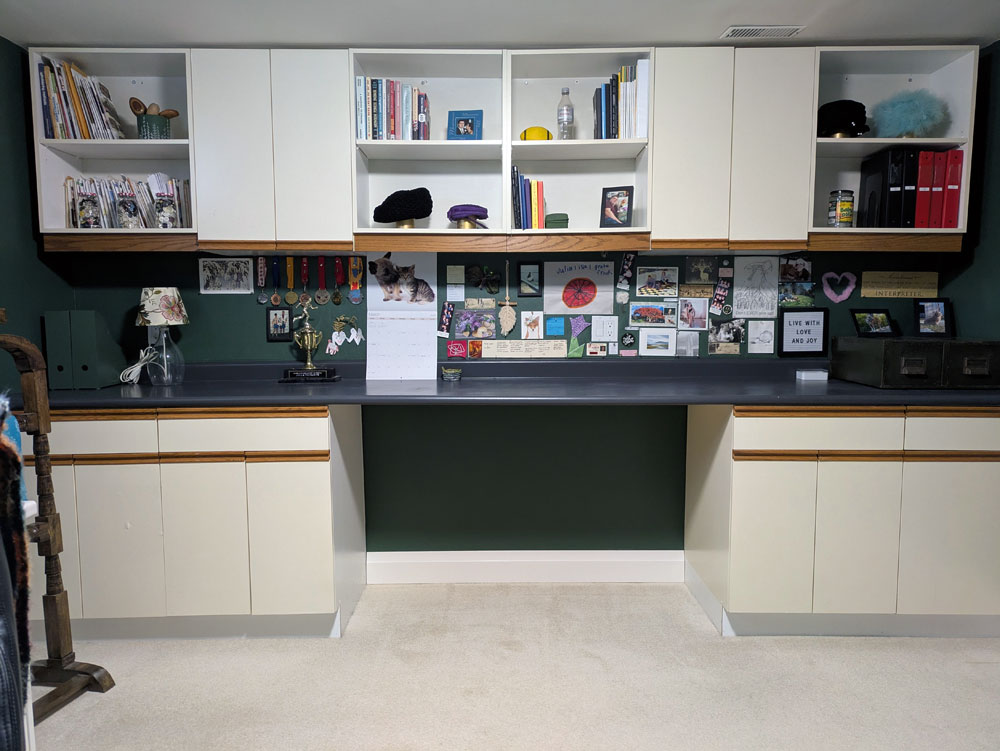
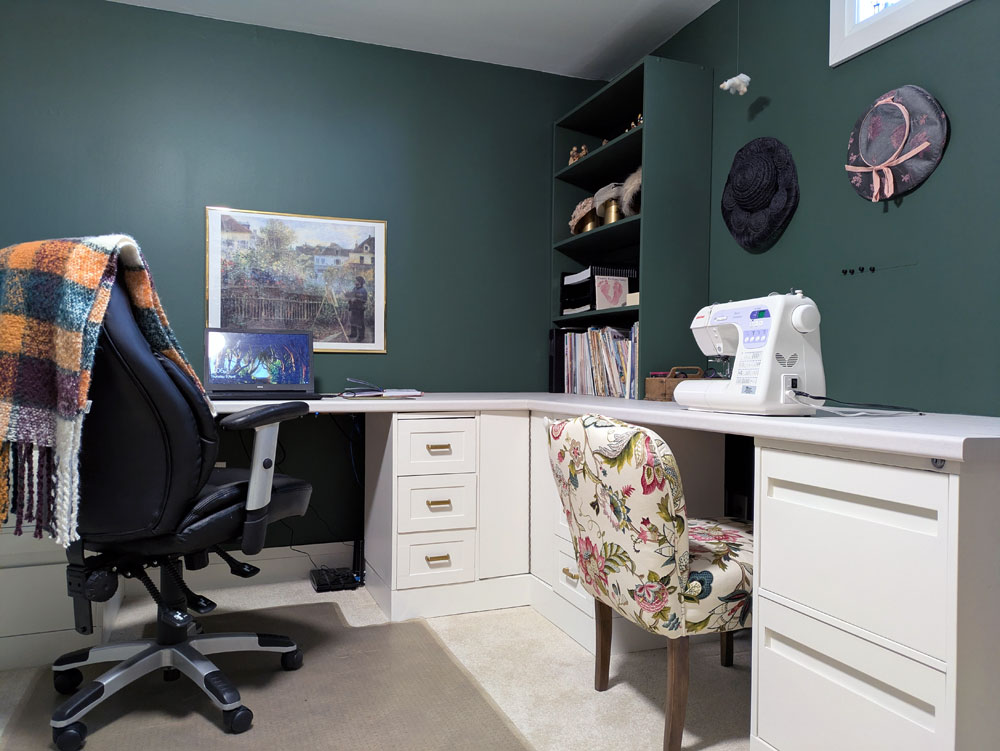
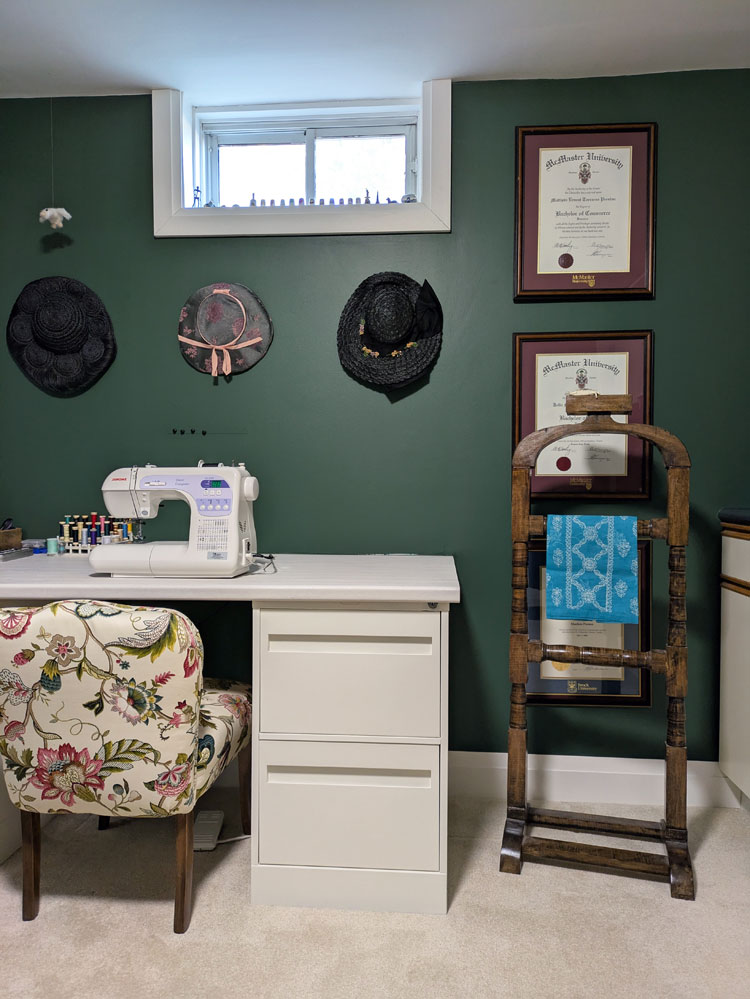
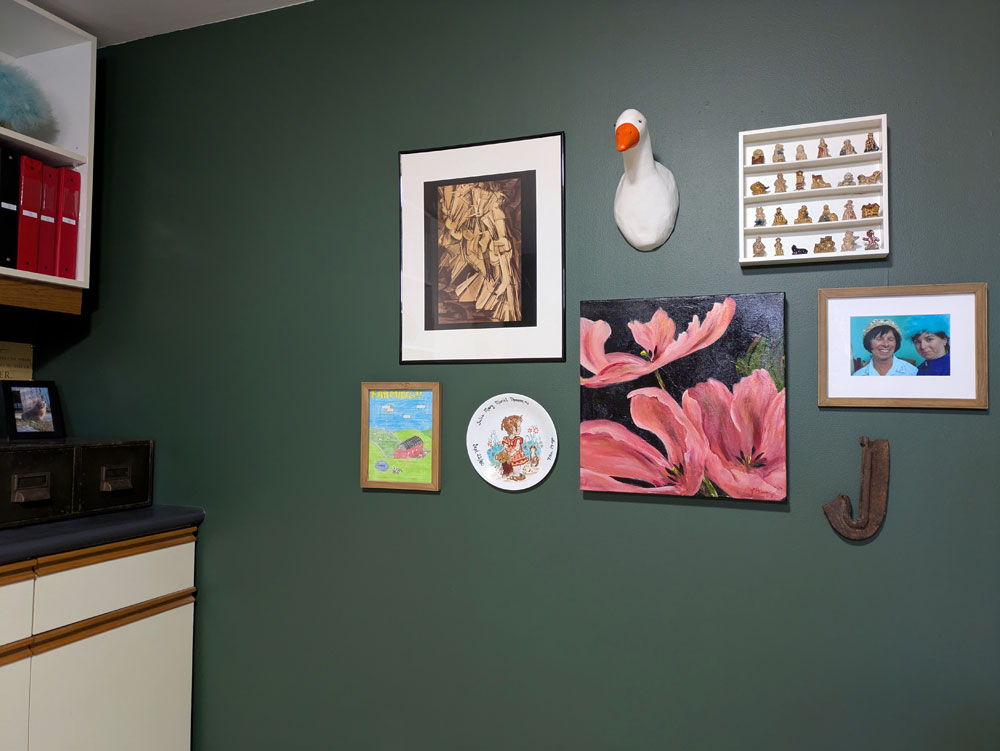
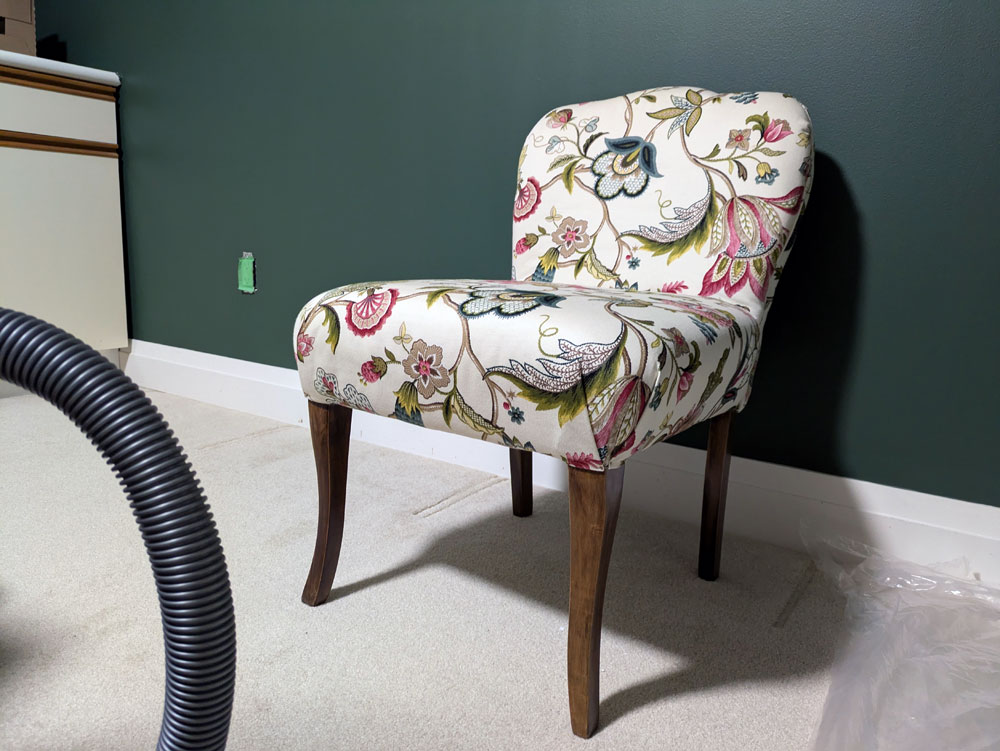
Back at home, I put them on the walls… and Flowerpot Green was the winner. It’s dark, but not black, not brown, not grey. It is definitely green, and it picks up the tones of so many of the things I used in this room.
I had a few moments of hesitation as I was painting the first coat, but then I decided I liked it. When I moved my vintage slipper chair in just to see, I loved it.
My Mom’s reaction gave me another reason to love it. Her comment the first time she saw the room was, “Oh, this is the colour we had in the living room and dining room at home!” She was remembering a time that my grandmother (a frequent redecorator) got new furniture, painted the living room dark green, and then sewed curtains to match.

So from my grandmother to Matt to my sister taking care of me on Mother’s Day, my new office paint is full of history and meaning and family. That feels like a good choice to me.