Two weeks ago, our family expanded by 14 fluffballs–and we’ve been having a lot of fun ever since.
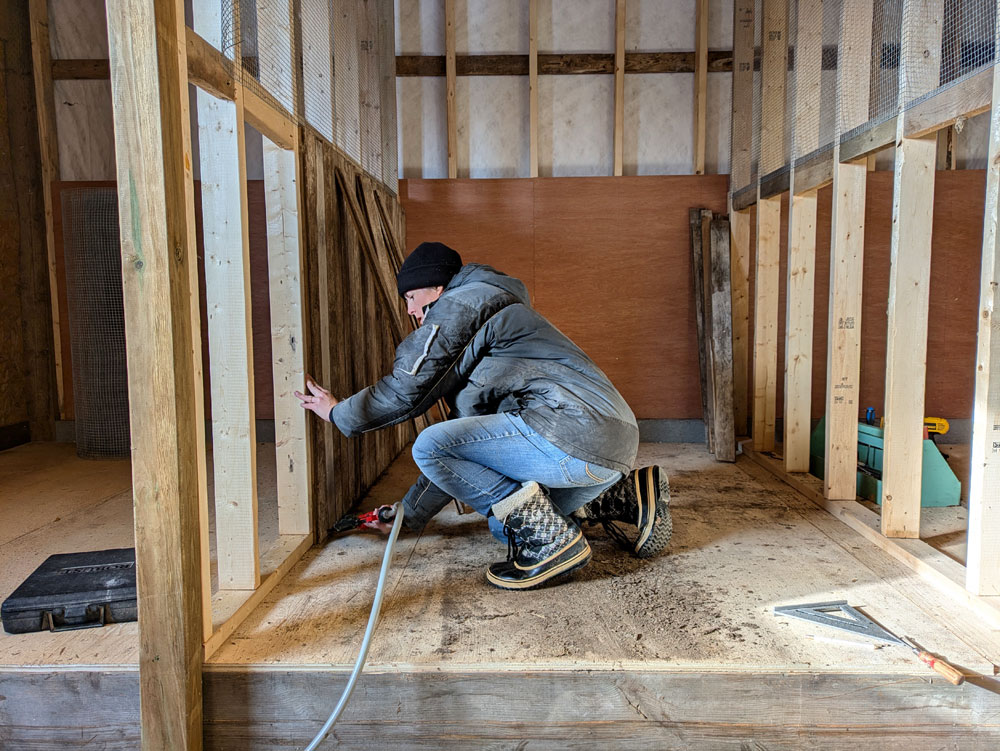
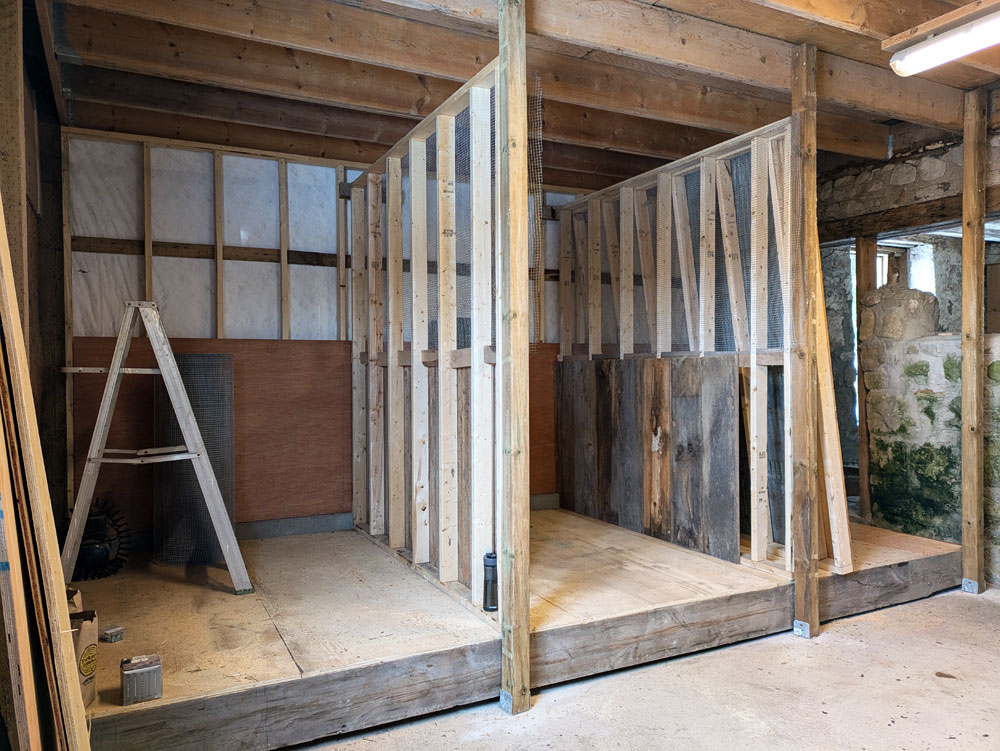
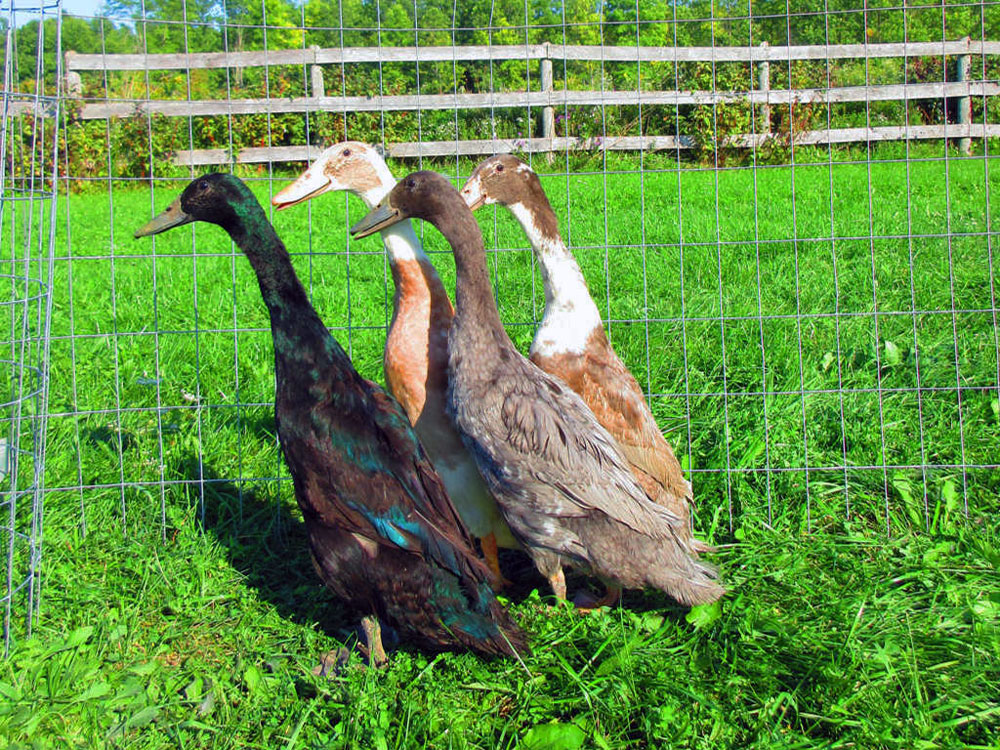
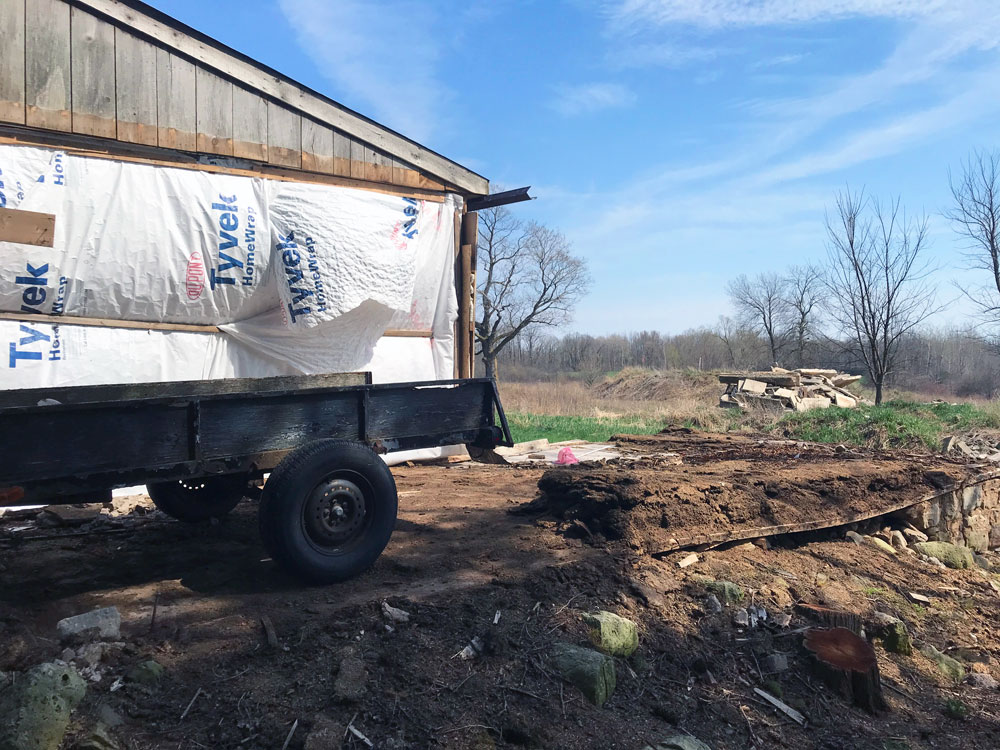
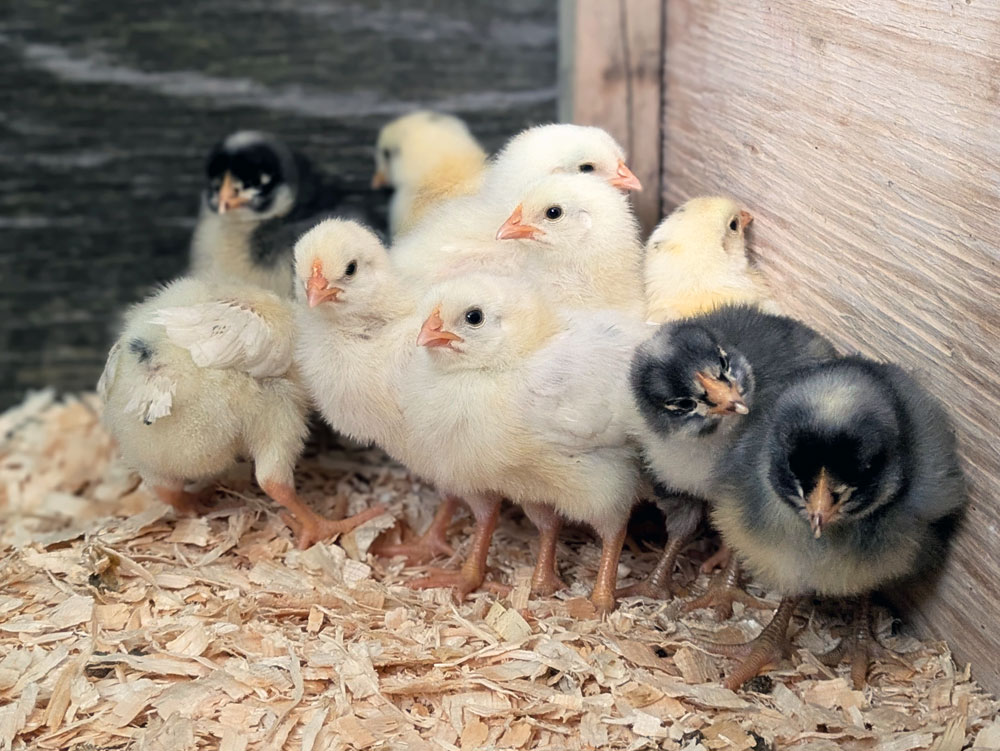
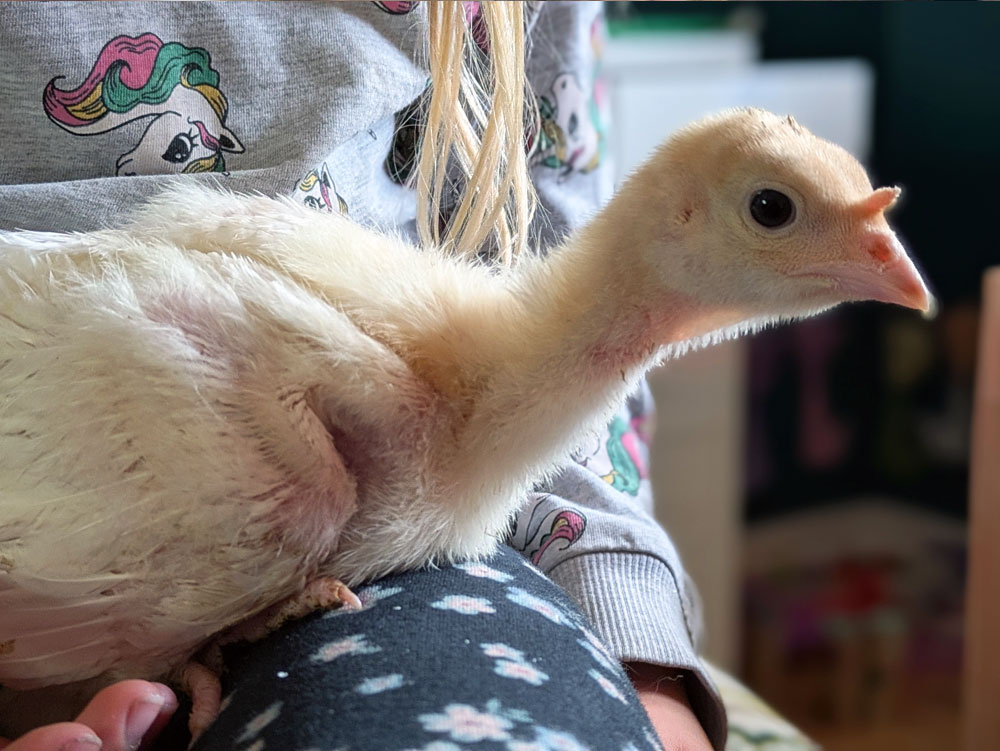
After years of imagining, planning and working (I owe you an update on the coop), the birds arrived. We have 10 chicks and 4 turkeys. For breeds, we have 3 barred rocks (brown eggs), 2 azure blues (blue eggs) and 5 olives (green eggs). I had ordered three of each breed, but numbers apparently shifted at the hatchery. The turkeys are large white and wow are they living up to their name. They empty their food bowl every day and are growing so fast. With their little combs, they look like turkey-corns.
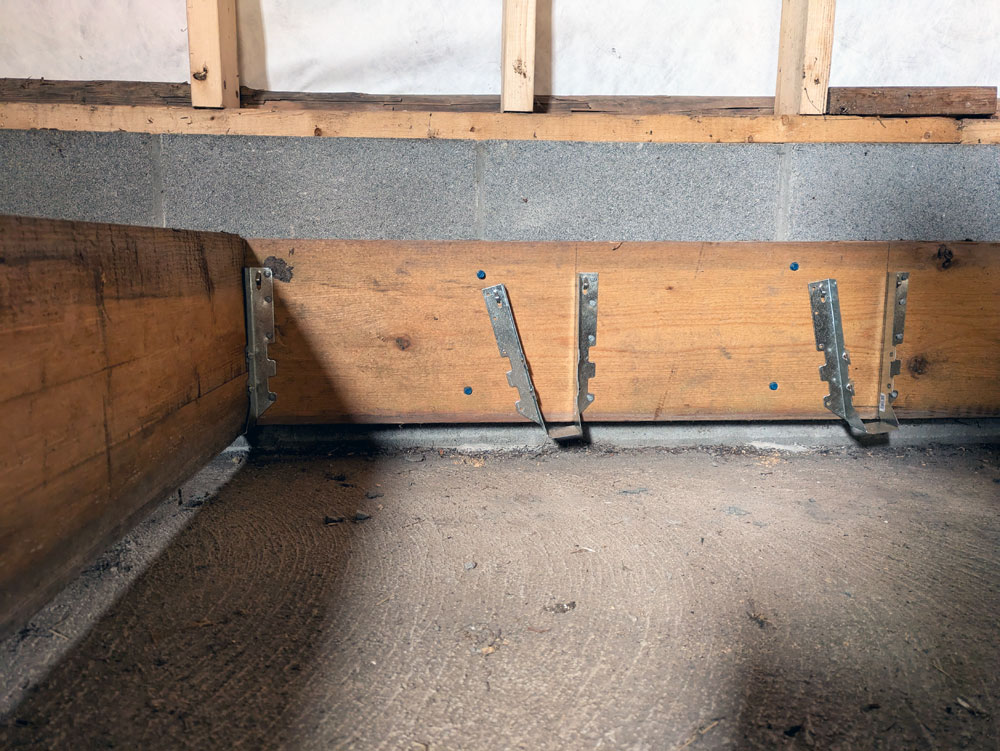
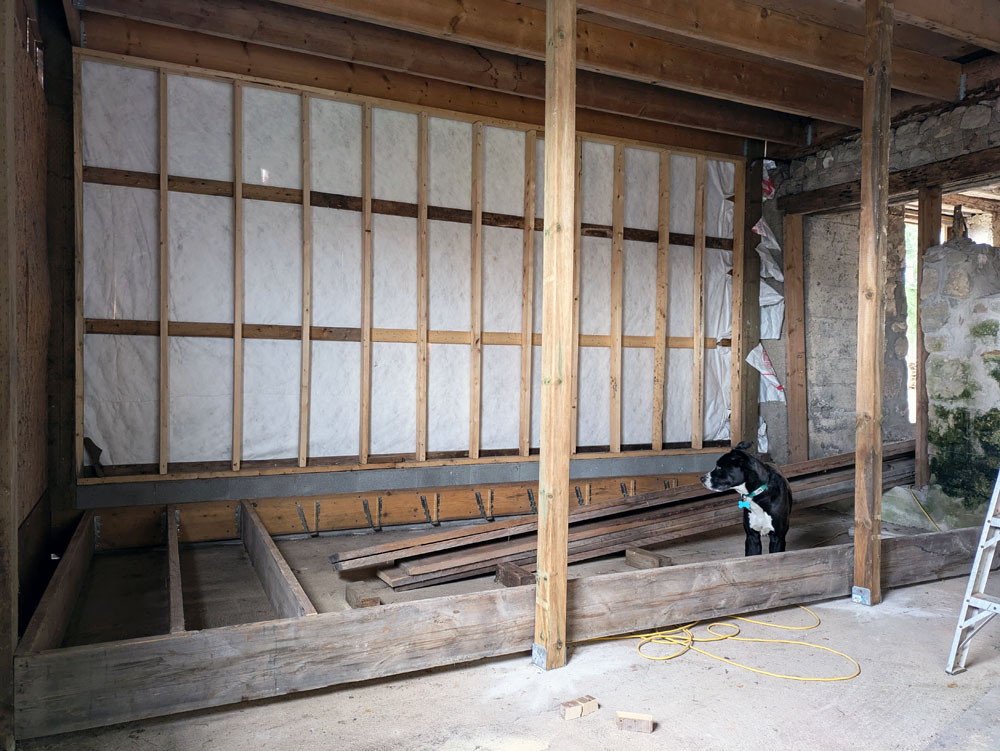
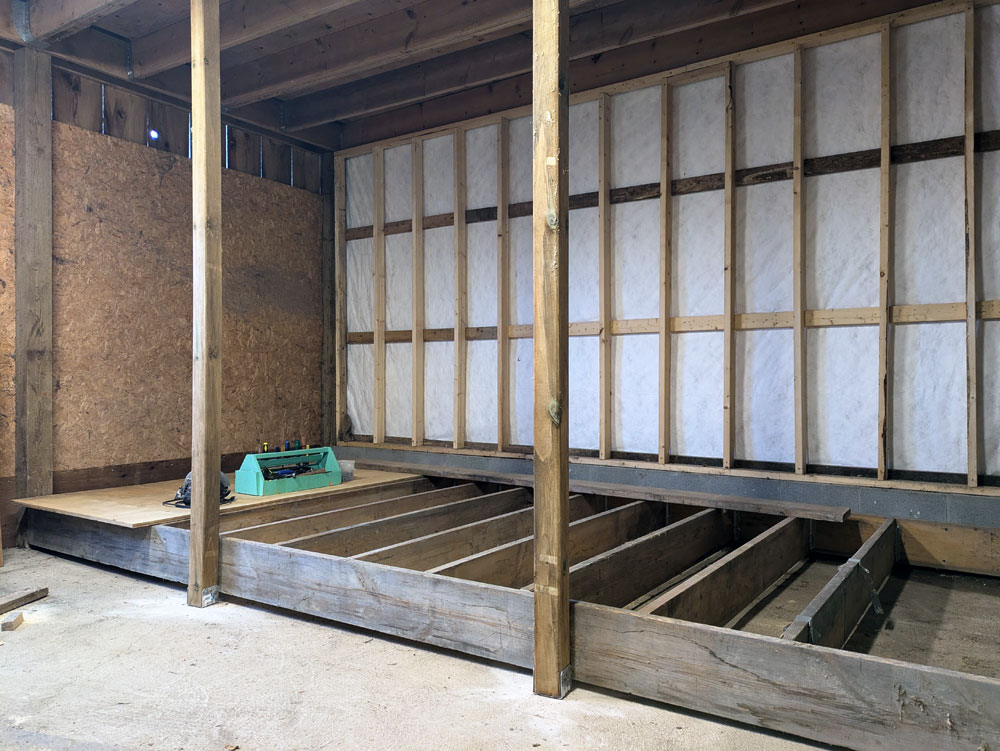
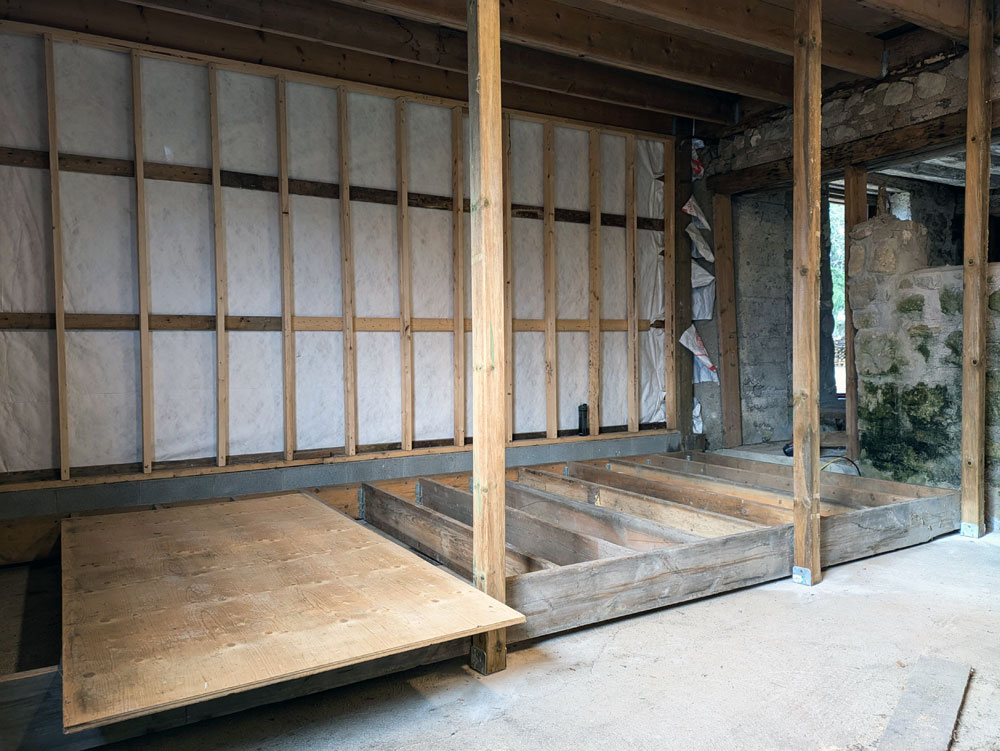
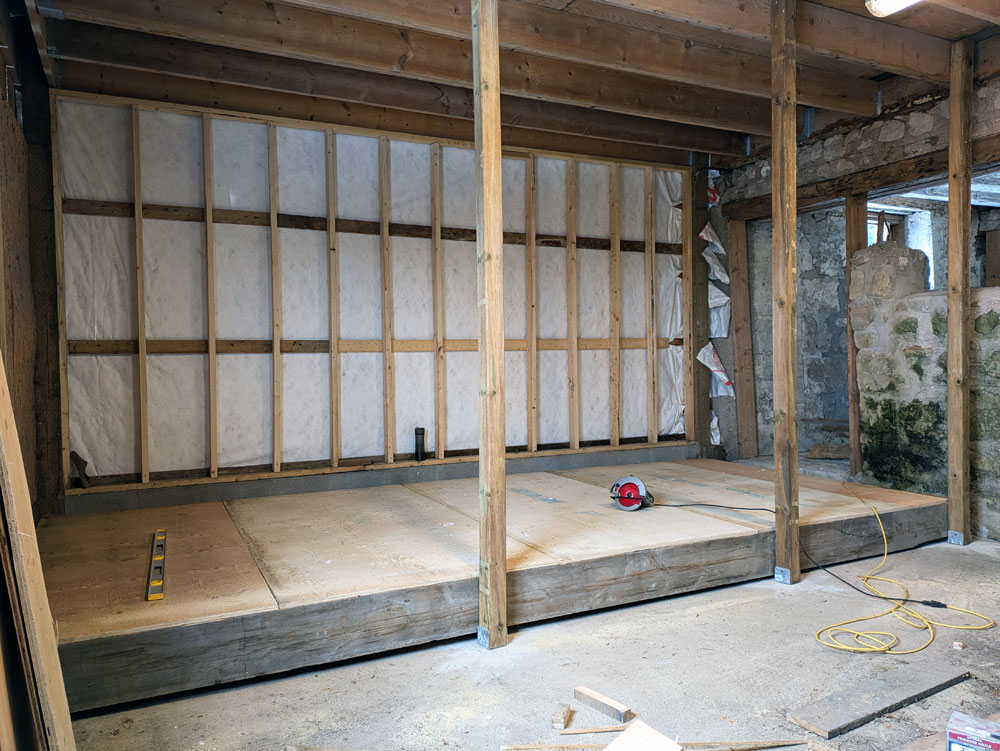
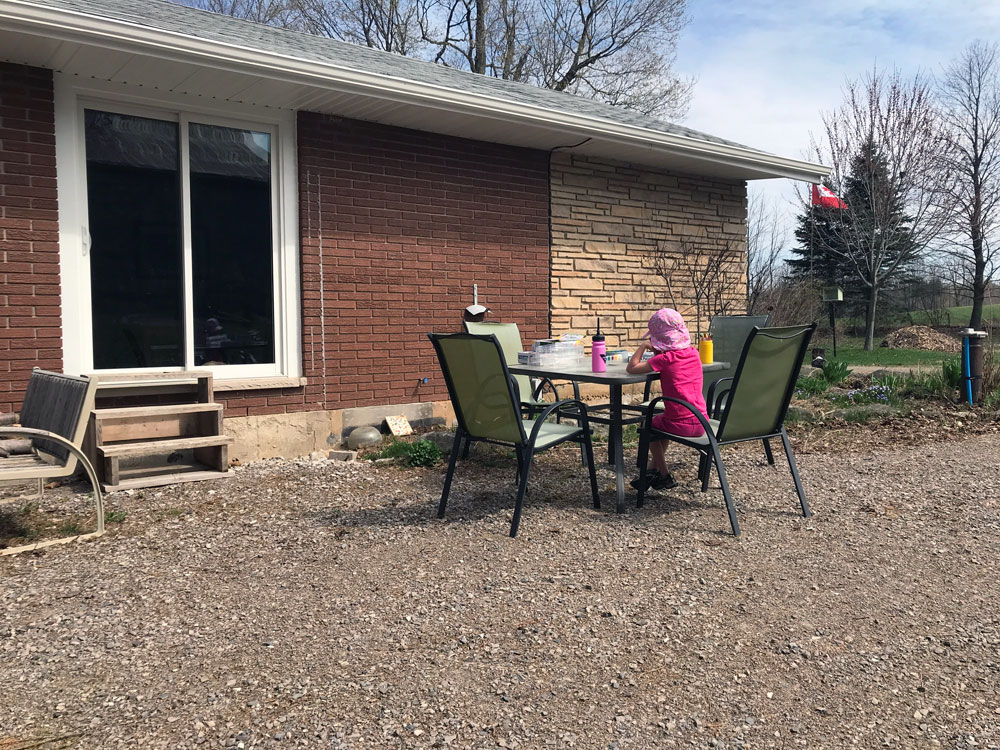
The brooders are set up in the house, so it’s easy to keep an eye on them and take care of them. Ellie and I built big plywood boxes, which have been working really well. I found some heat lamps in the barn, so I hung them from the ceiling and have been slowly raising them as the birds grow.
We didn’t put a lid on the boxes, but we may need to. Everyone is testing their wings and the turkeys have had some impressive vertical leaps.
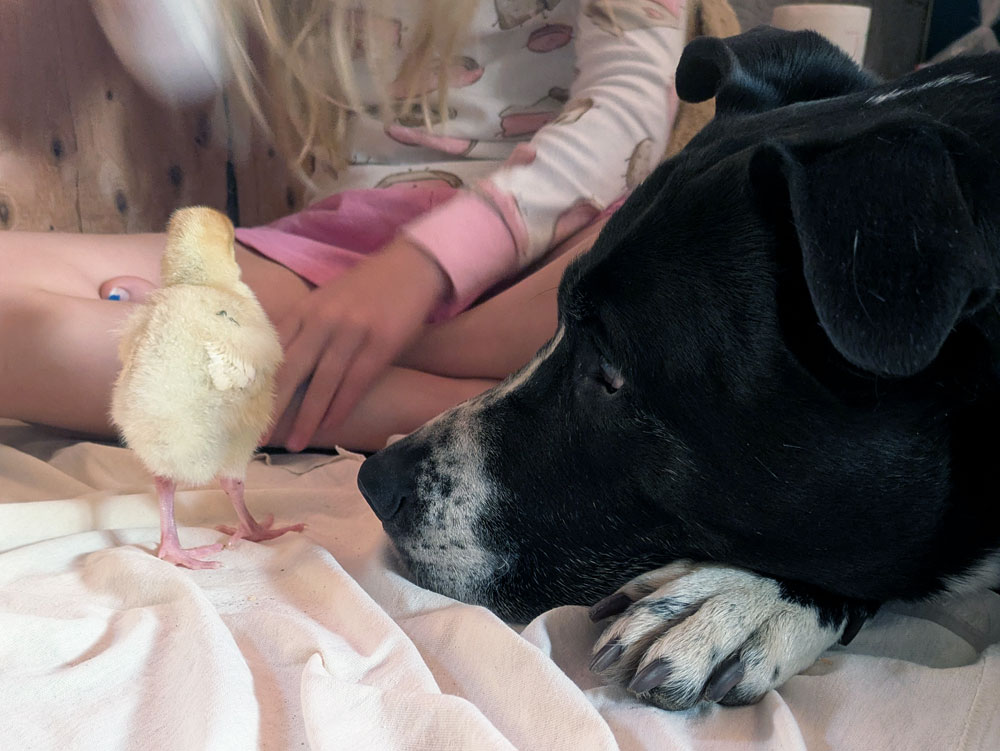
Cigo is tolerating being a bird brother. He is interested in the birds–loud peeps attract his attention. But he’s not been a problem so far. We’re working on making the birds very boring.
The best part of it all is seeing how much Ellie likes the birds. The turkeys are her favourite. When she unloaded them from the hatchery box for the first time, they all crawled right into her lap. They’ve gotten a little more independent, but they’re still the ones she spends the most time with. (She is still very committed to these birds being dinner this fall.)
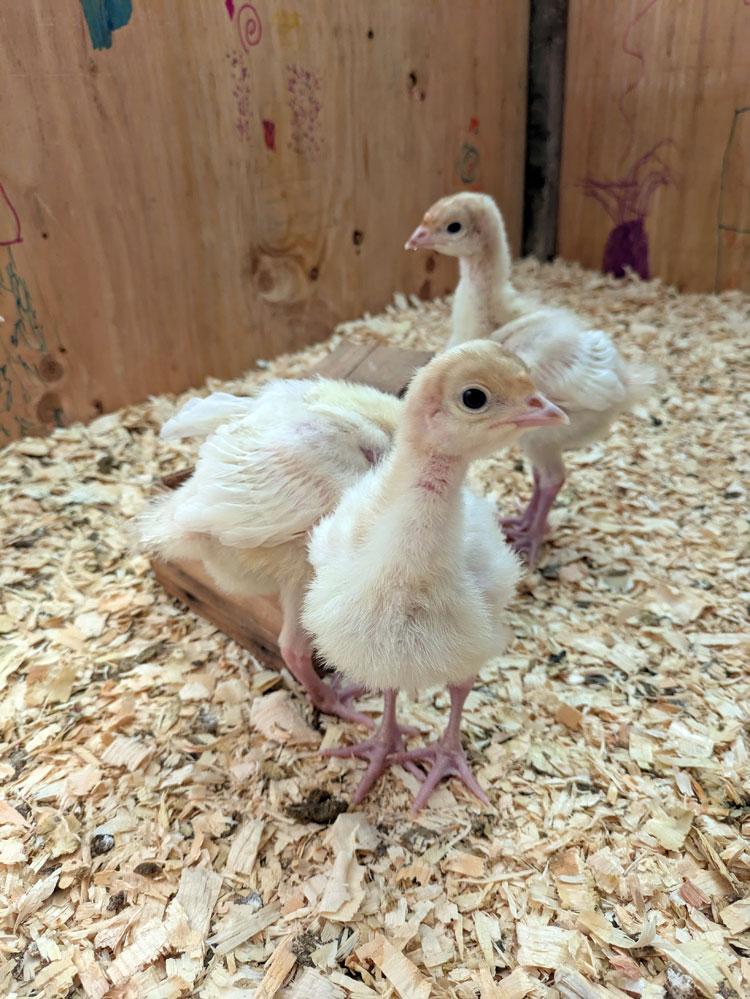
Everyone seems to be healthy and growing. Their adult feathers are coming in and they’re approaching the awkward dinosaur stage. My plan is to keep them inside for another few weeks hopefully until temperatures warm up enough for them to go to the coop.
This little flock is a long-held dream. I am so happy we’re making this happen finally.