This week marks the one year anniversary of our new eavestrough on the barn. A momentous occasion, I know. So momentous I didn’t share it a year ago when it happened.
But it is an important project.
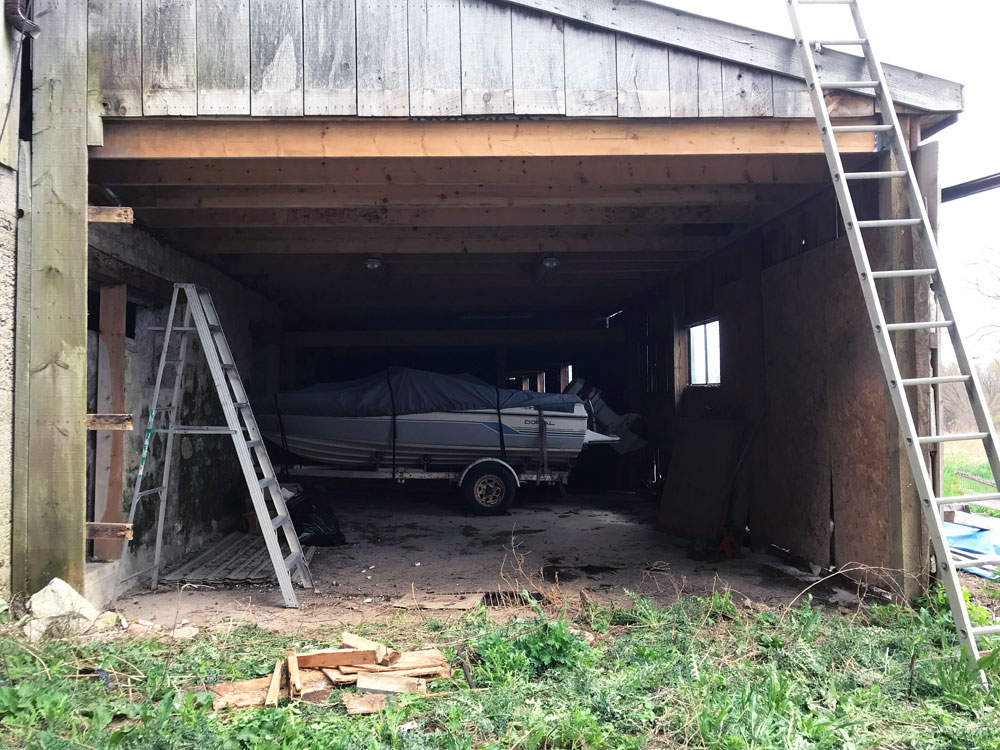
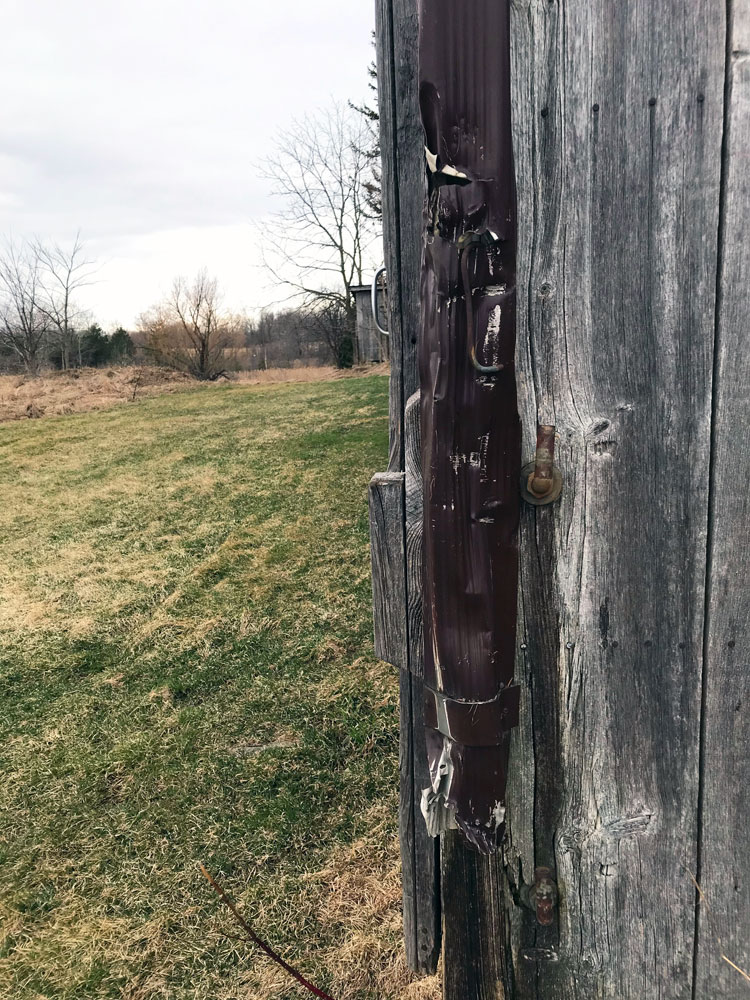
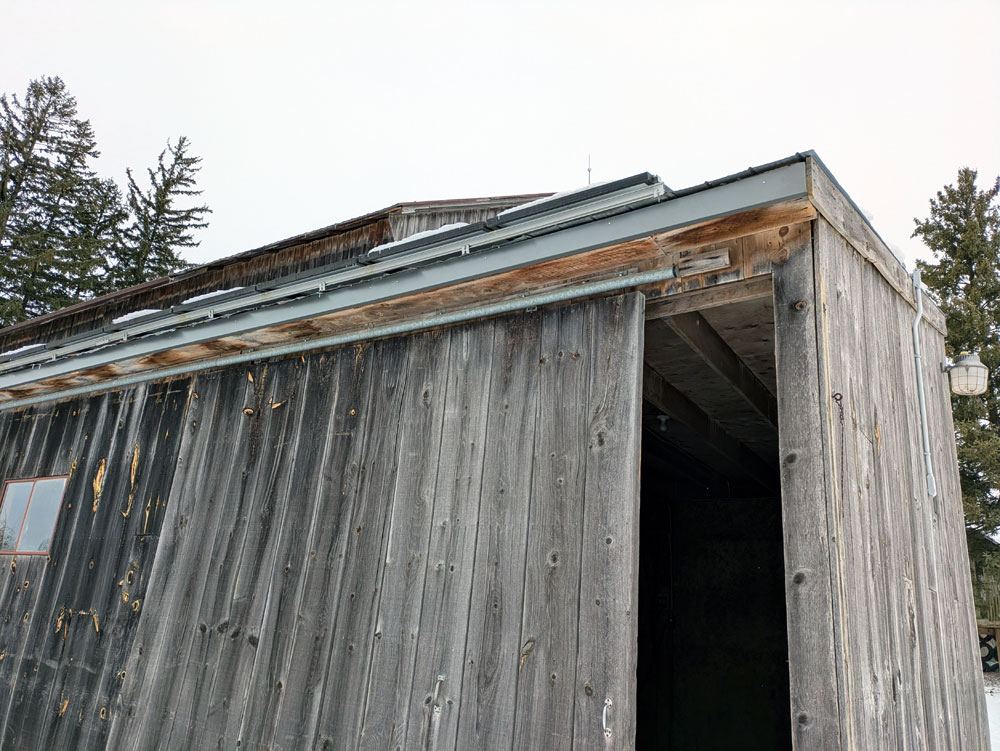
Adding eavestrough to the barn had been on my list for awhile. The eavestrough that was there was in pretty bad shape. Lots of pieces had fallen off. A few downspouts were still in place, but they were full of holes or not connected to anything.
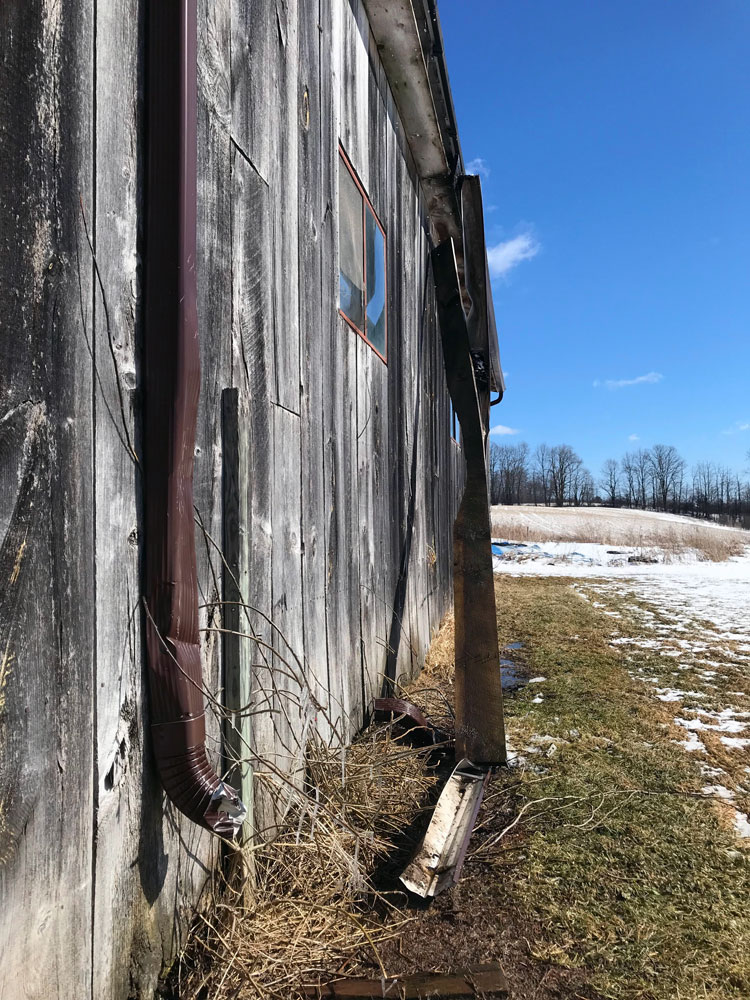

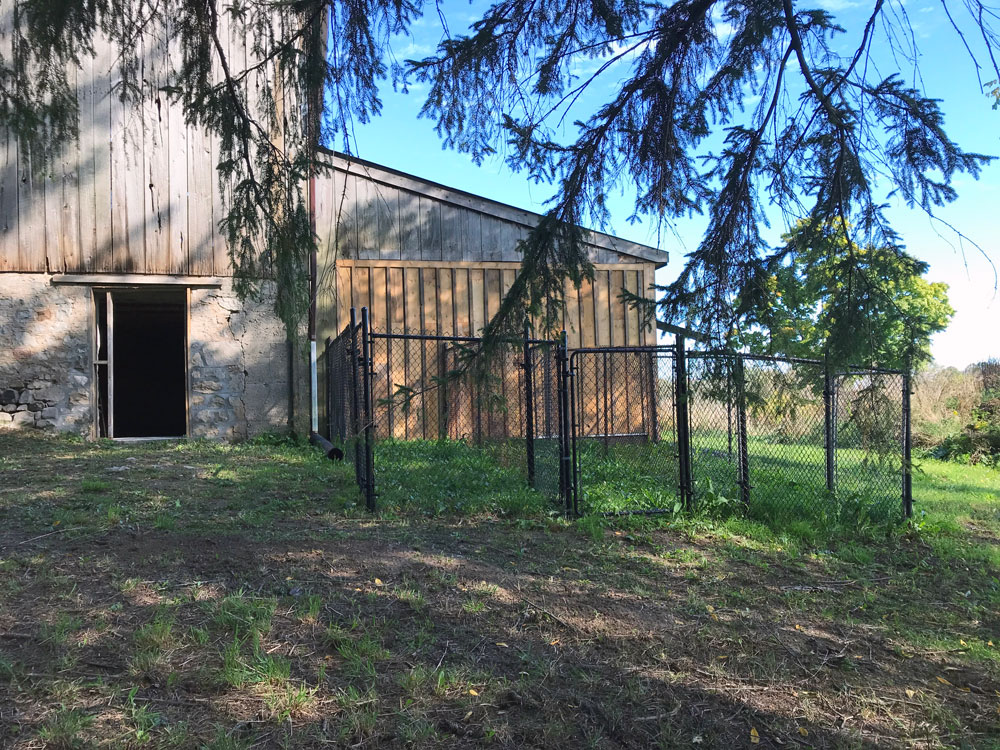
And eavestrough matters. The barn is more than 100 years old. Moisture seeps into the old stone foundation and weakens it. Without eavestrough, the rain pours off the roof and drips right next to the building. If I want to preserve the barn–and I absolutely do–I had to get the water away.
But putting eavestrough on a barn is a bit different than putting it on a house. Our barn is big. It’s tall. Part of the roof is covered with solar panels. It took me a bit to find a company to do it. (I went with Siderman and highly recommend them.)
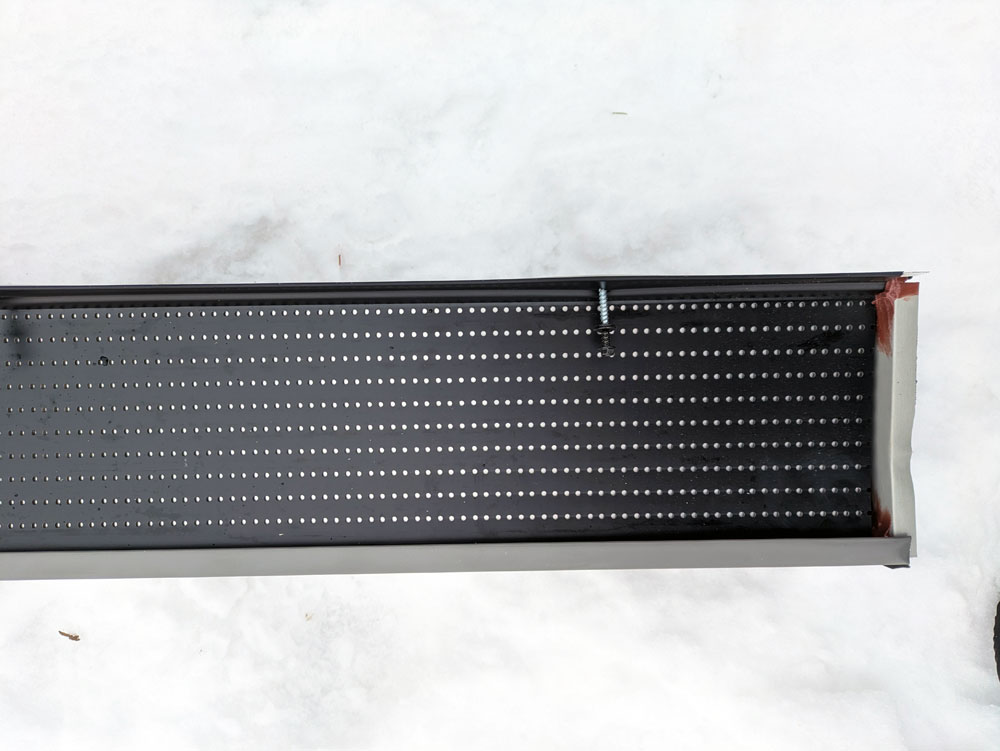
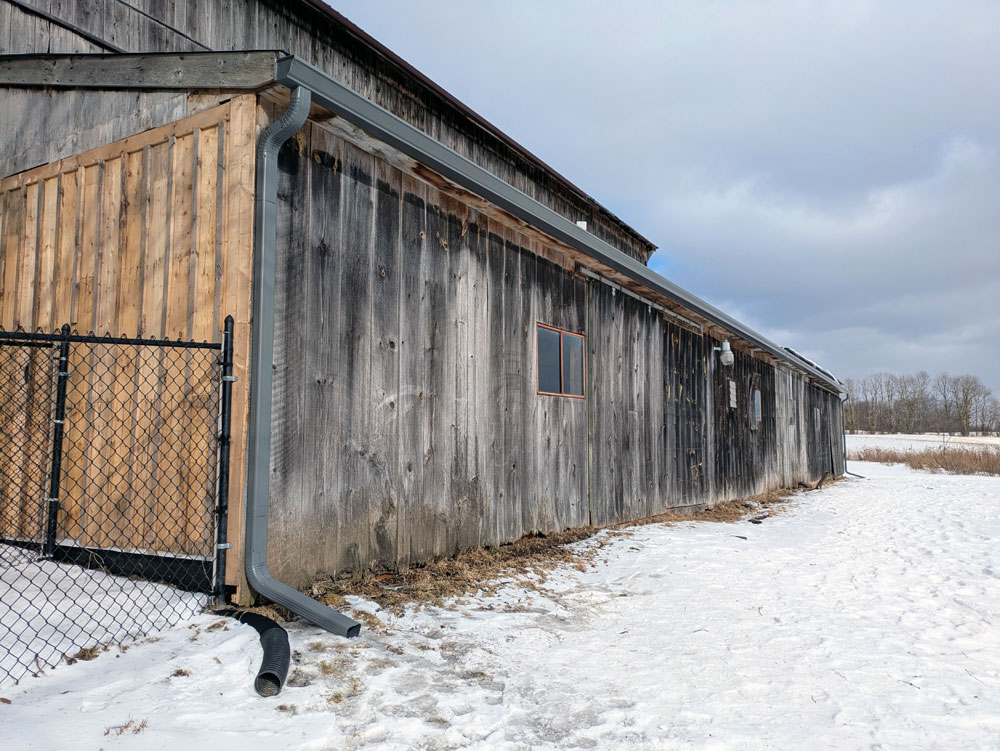
Then we had to work through the options of how to do it. The barn has a large roof that sheds a lot of water. We needed large trough to handle the volume. I ended up choosing a 6 inch trough (an inch bigger than standard residential eavestrough).
I also chose a dark grey colour for the aluminum to try to blend into the weathered barn wood a bit.
The biggest consideration was not the barn itself, but the pines right beside the barn. These trees are super tall and lose a ton of needles. The needles fall onto the roof and clog the eavestroughs. On the house, I clean the gutters several times a year. But the barn is super tall. There is no way I’m cleaning those gutters.
Most gutters these days have built in guards to protect against leaves. I needed something that would work for teeny tiny pine needles. My contractor felt that they had a solution, so I went with their recommendation.
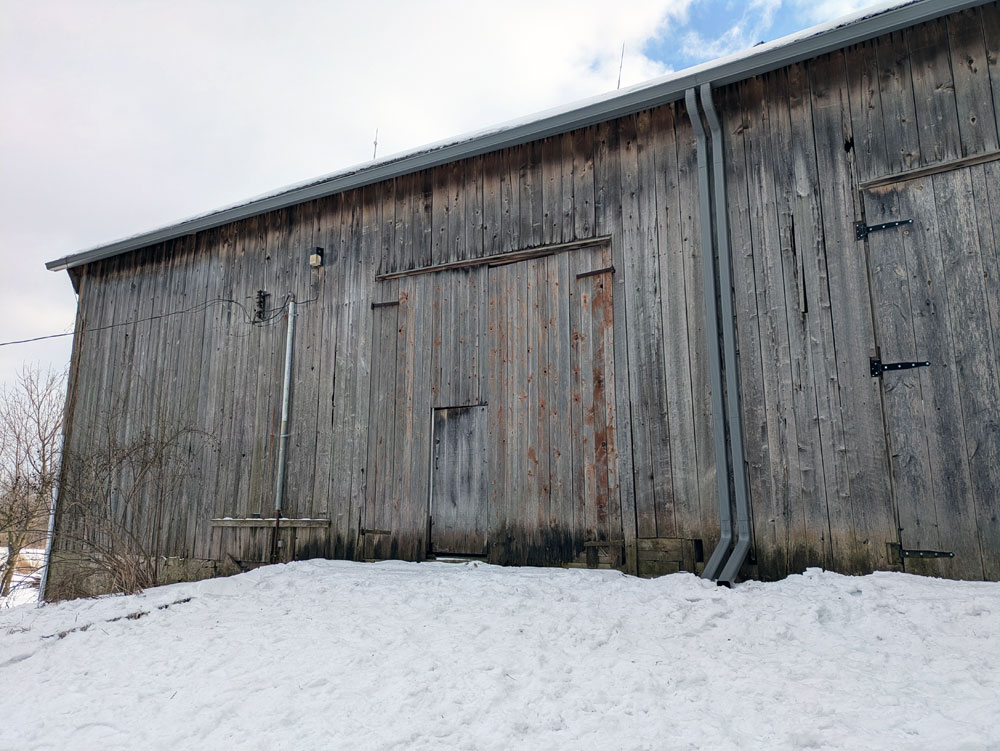
The size of the barn presented another challenge in the form of the budget. I was looking for about 250 feet of eavestrough, which is not cheap. To save money, I eliminated one length of trough. On the back of the barn, we have an addition. So I decided not to put trough on the upper roof. Water can simply drip off onto the lower roof of the addition. The addition did get trough and downspouts, so the double volume of water will still be carried away from the barn.
My contractors tried to squeeze me in at the end of 2024, but the schedule ended up not working. By the time they could come, it was the start of February and snow had arrived. Not ideal weather for eavestrough, but they made it work.
They removed the old trough. Then they replaced the facia boards and wrapped them in aluminum for extra protection.
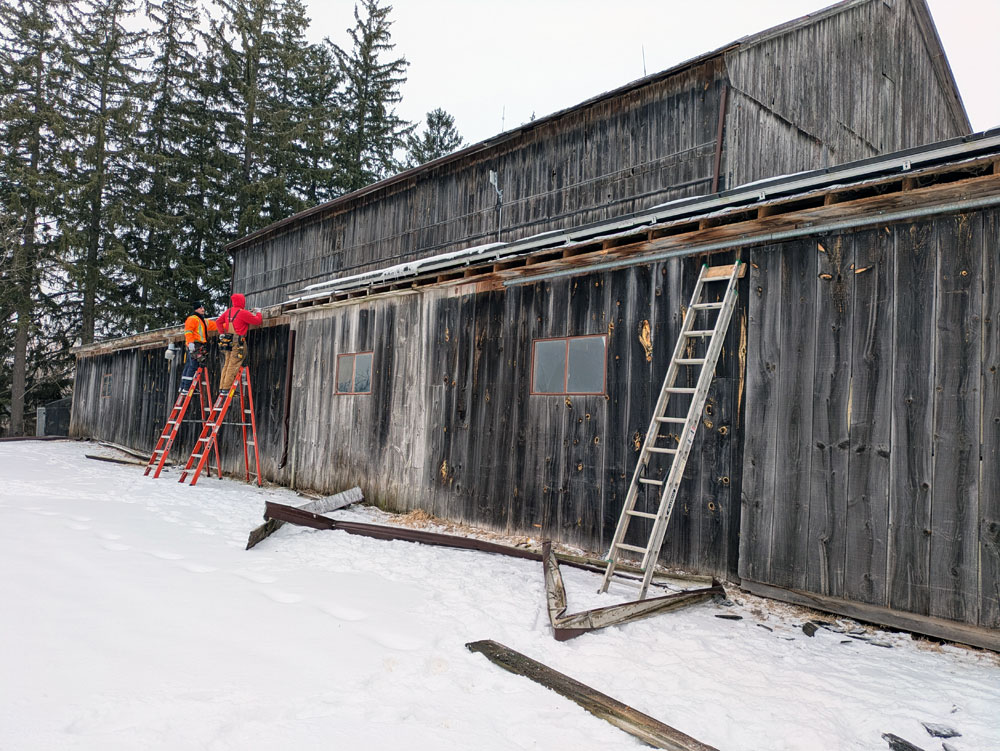
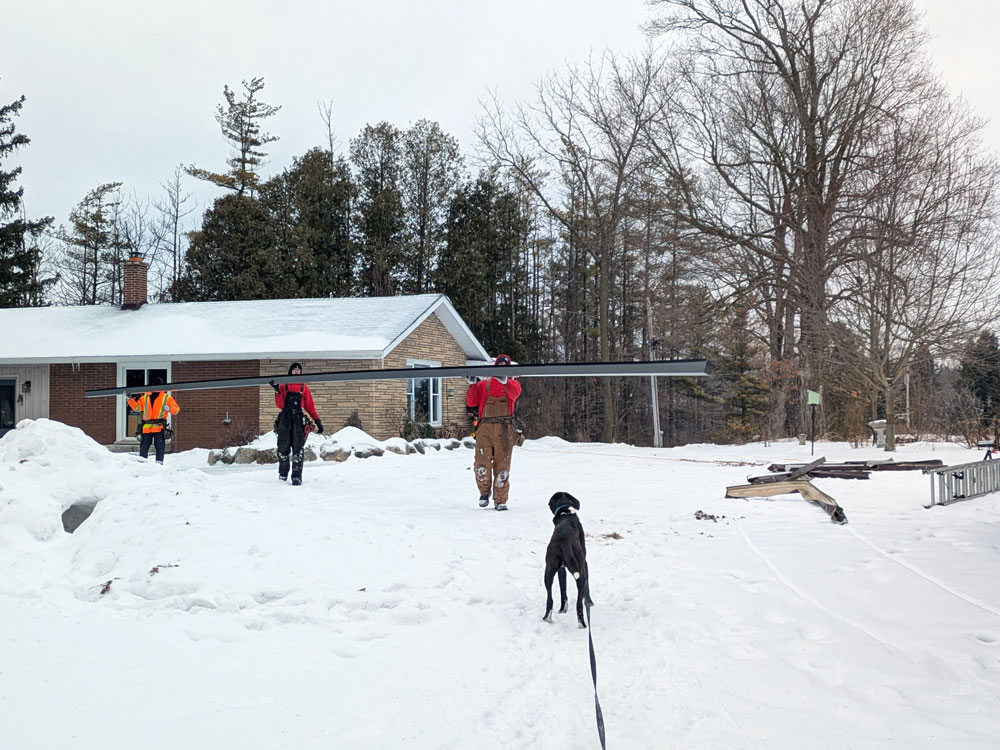
They put up the new trough and downspouts. On the front of the barn, the roof was so sloped the gutters flowed to the middle. So we have two huge downspouts spitting out onto the centre of the bank. On the back, the downspouts are at either end of the addition.
A year later, the barn roof is covered in snow and everything is frozen. But I know when it melts the water will be routed safely away, the foundation will be more protected and this beautiful structure will be a little more preserved.