With much respect to Yoda, my word of the year for 2026 is try.
In case it’s not clear, I’m a doer. I love doing. It’s a key part of my identity. However, I tend to avoid doing things unless I know I can do them fully. This doesn’t mean I always know exactly how to do everything. But I’m confident I can figure it out, and I tend not to take on tasks unless I can give them my full commitment. (In this way, I’m following Yoda’s teaching.)
But that means I have a long list of things that I’d like to do, but I haven’t gotten to because I don’t have the knowledge, the time, the energy, the force… the whatever.
This year, I’d like to give myself a little more wiggle room to try some things. Even if I do them imperfectly or incompletely, there is benefit in taking small steps.
This will mean continuing to try to be better at sleep and rest. I also have ideas of things I’d like to try for fitness, work, community service and stewardship for this land. Some of these ideas have been bouncing around in my mind for years.
I read The 5 Types of Wealth by Sahil Bloom over the holidays. One of the concepts Bloom talks about is mental wealth, which he defines as growing, changing, adapting and achieving your potential. I have never been very focused on personal growth. I like what I have achieved and am very satisfied with my life. However, in some areas, I’m perhaps too comfortable. I’m ready this year to make some changes and try some new things.
A quote from the book that connected with me is, “Regret from inaction is always more painful than regret from action.” I won’t say I have many regrets, but I do have a list of things I wish I could make some progress on. Taking action–any action–feels like a first step.
An article dissecting Yoda’s oft-quoted admonishment said it “is about the mindset; it’s not about the outcome.” I’m often focused on the outcome, accomplishing my goals, checking another project off my list. But even if I don’t fully complete something, this year I’m trying to remember there’s value in trying.
How do you feel about doing versus trying? What are you focusing on for 2026? Have you made any resolutions this year? Anyone else have a word of the year?
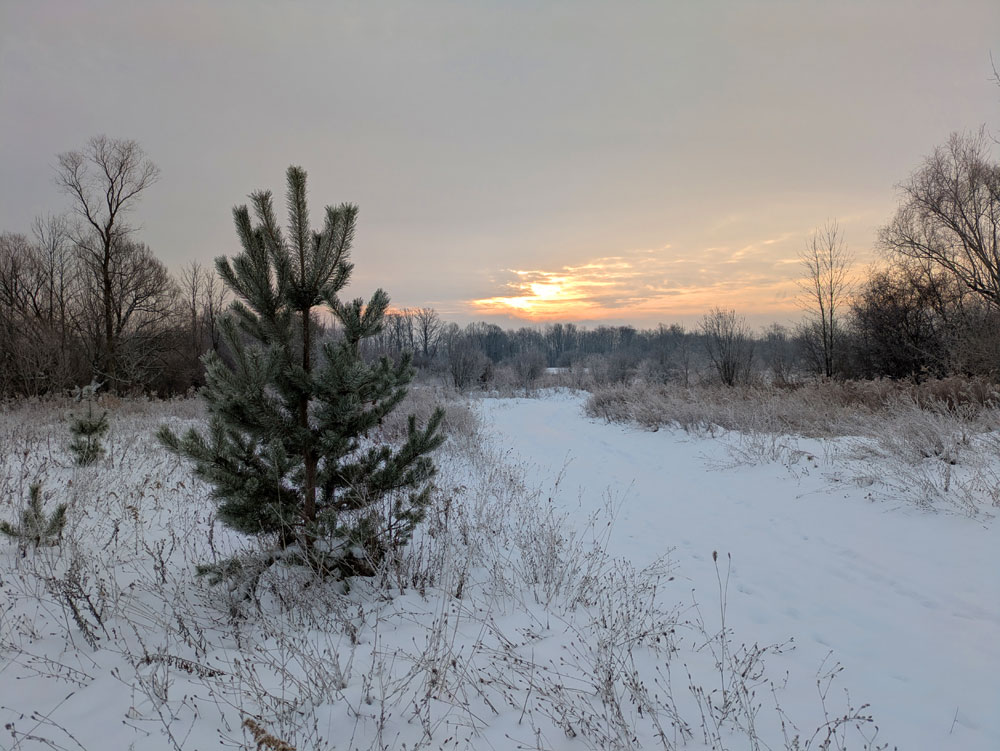
December has arrived–and with it our first significant snowfall. That means time is up on my fall to-do list.
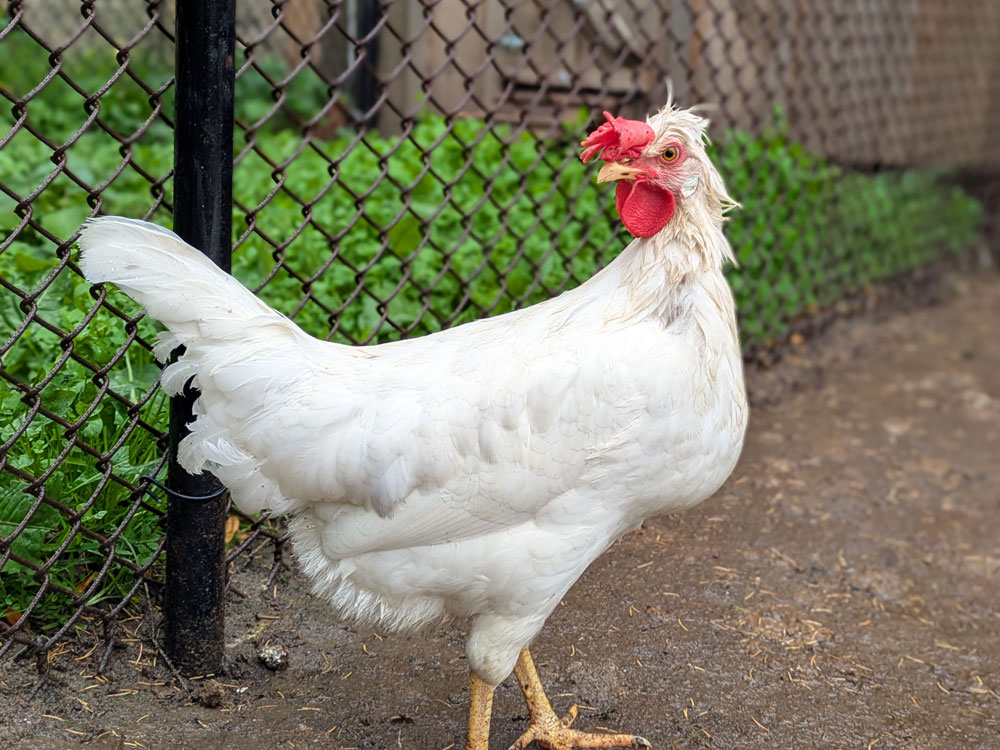
Winter came on fast this fall. I was waiting for all the leaves to fall from the trees before I cleaned the eavestroughs. Then temperatures turned cold. Weather got rainy (causing unfortunate hair-dos for Hair-Do) and then snow.
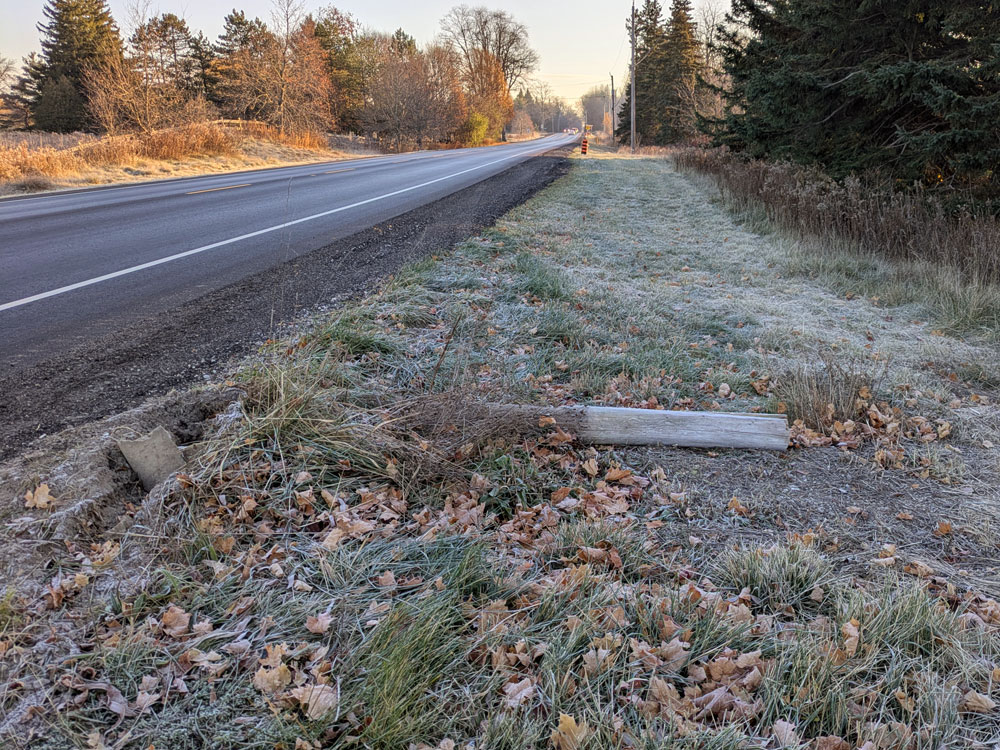
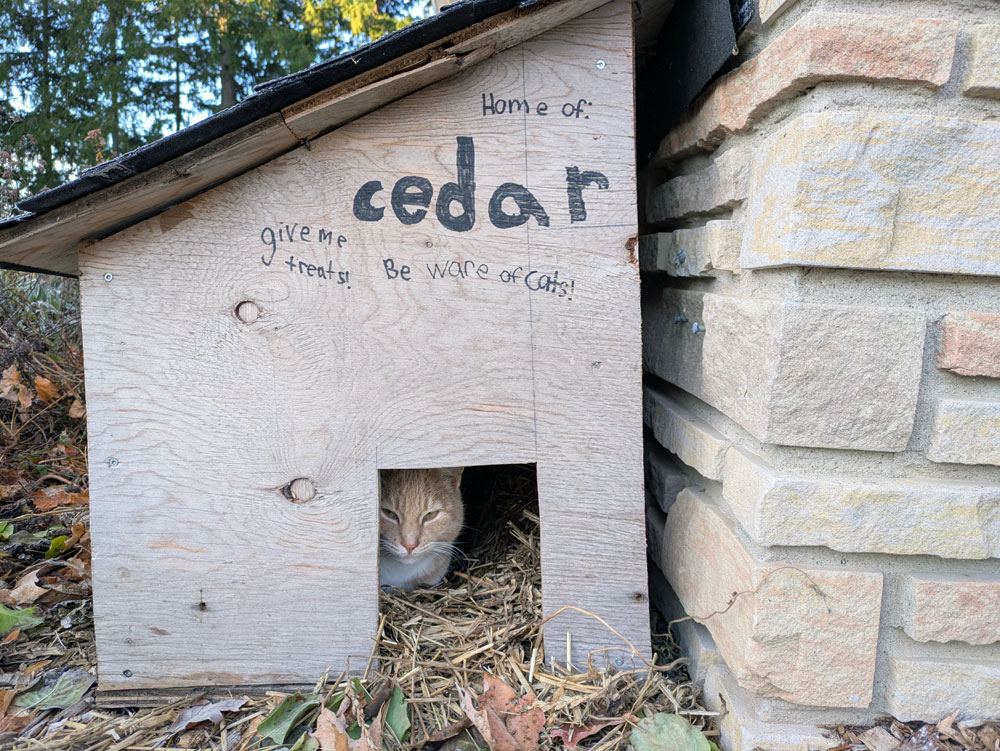
I cleaned the eavestroughs, but it involved a jug of hot water and a chisel. I turned off the last outside tap when temperatures were already below freezing. I dealt with some new to-dos, like resetting our mailbox post after it was knocked over by a street racer and setting up a cat house for Cedar who persists in hanging out under the lilac in the front flowerbed rather than in the barn.
“Inside is for wimps.”
“Never mind. This inside is perfect. I’ll stay here. Thanks.”
I also checked a bunch of smaller tasks off the list and tackled some (not all) of the tasks on my main fall to-do list. Here’s how I did.
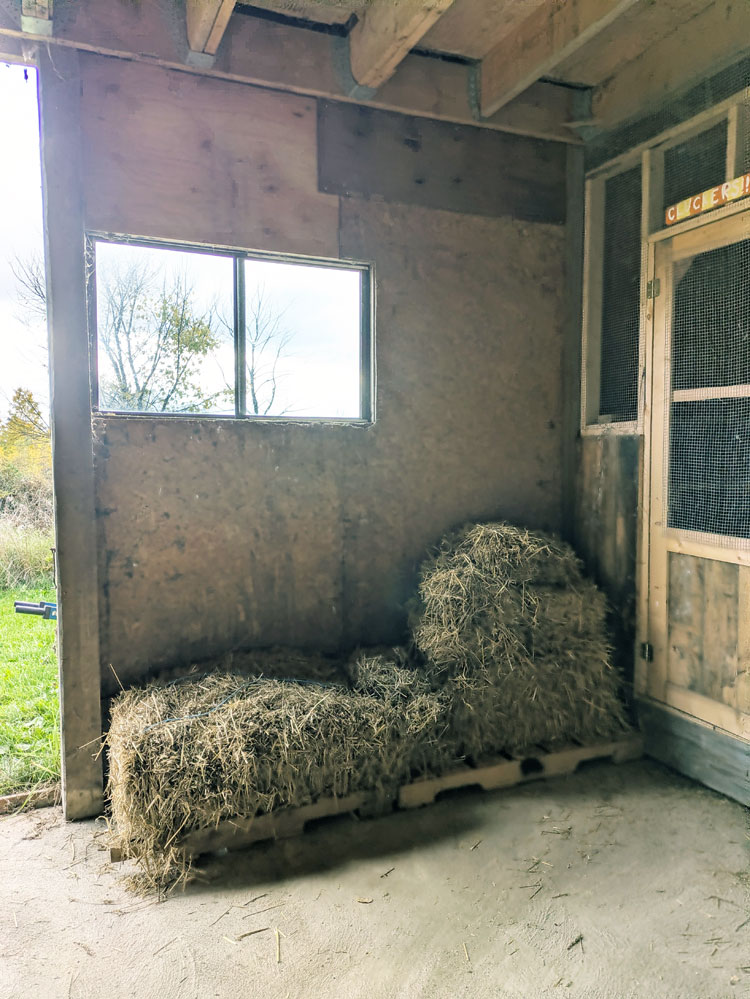
Coop
The coop felt like the biggest task–and the most critical. I did pretty well here.
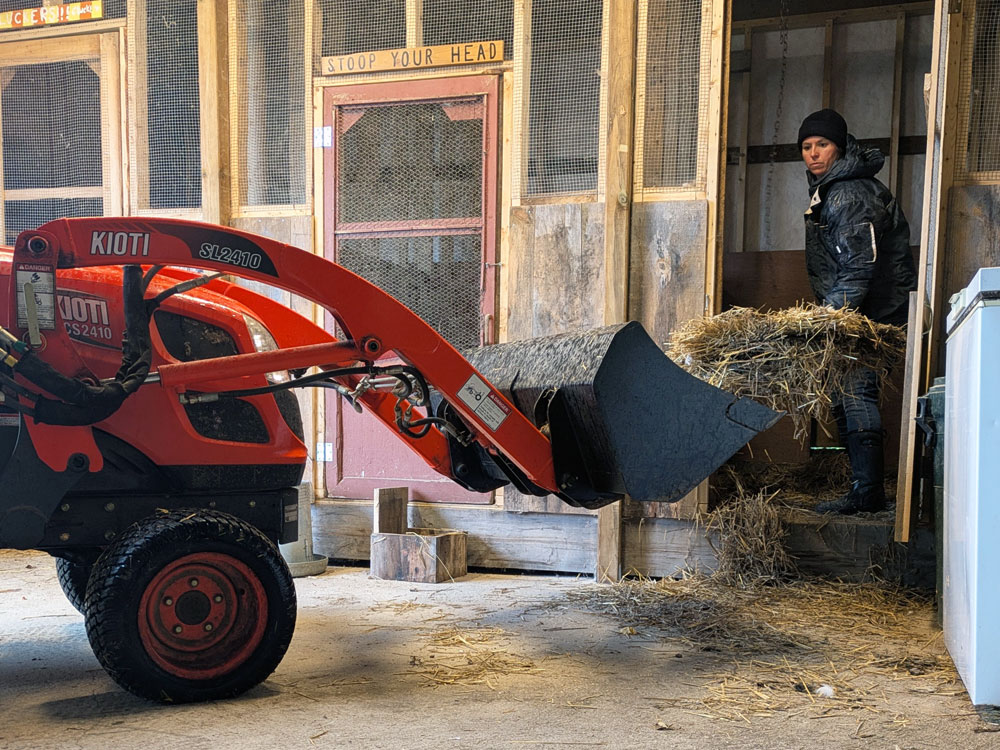
Clean out the pens – Done. Put in fresh straw – Done. The chickens will keep getting new layers of fresh straw throughout the winter. Patch drafts in the walls – Done. Patch leaks in the roof – Not done. We had some big rains in the fall and the coop stayed dry, so I’m crossing my fingers that will hold for the winter. I’m hoping to revisit the roof in the spring. Clean up scrap wood – Half done. (The smaller pile, of course.) Set up a designated straw area – Done
Barn grading
This task was my biggest fail. Fortunately, it’s not a critical pre-winter task, so it’s moving over to the spring to-do list.
Remove old fence post – Done. Remove bush – Half done. Spread dirt – Not done.
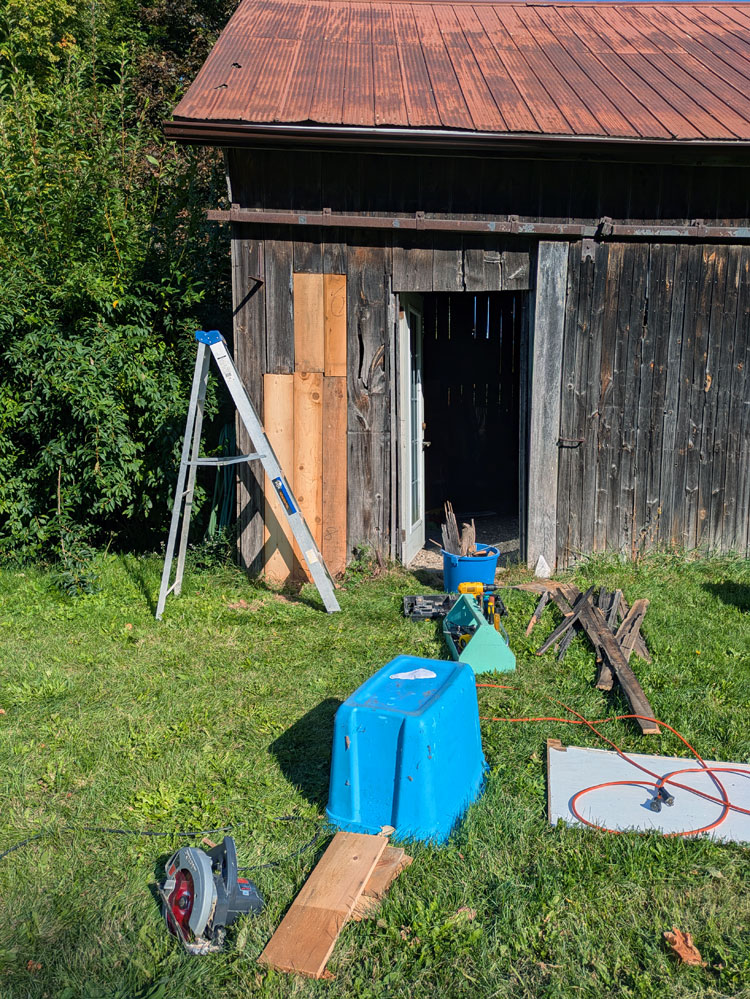
Driveshed siding
Done.
Mowing
No photo evidence. Done.
Brush chipping
No photo evidence. Done. I’ve already started rebuilding the brush pile.
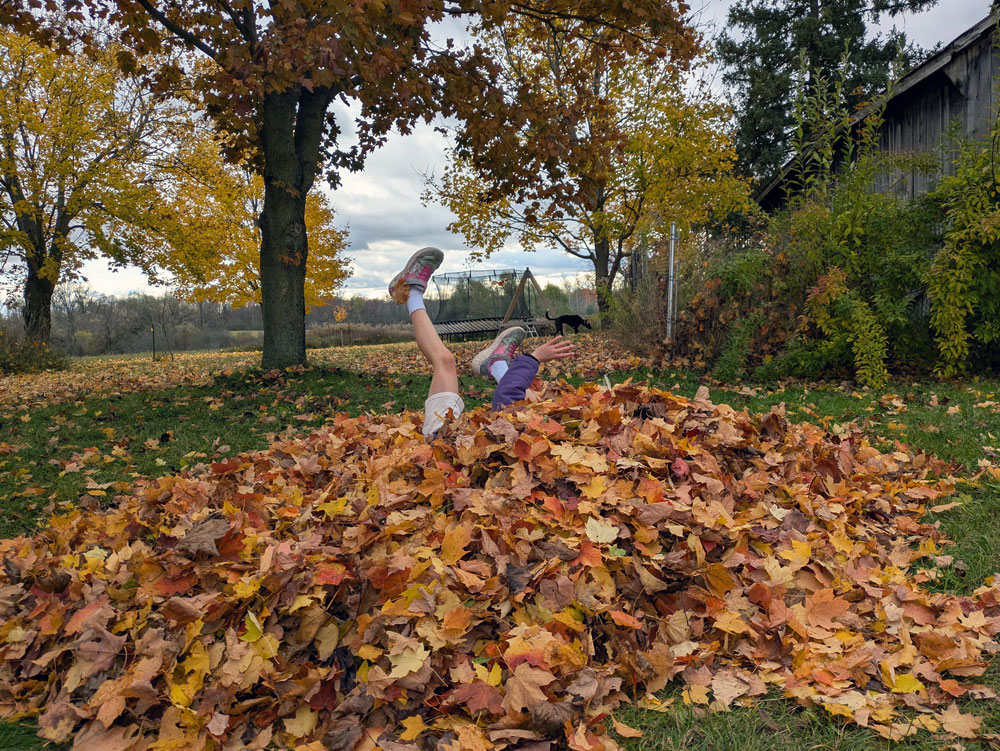
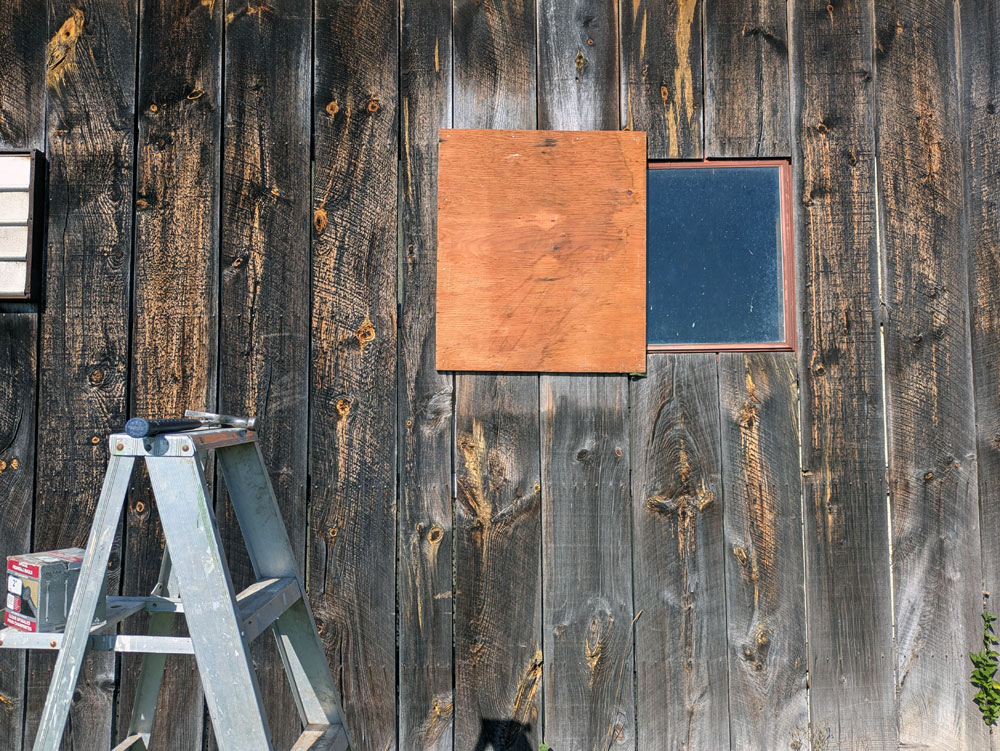
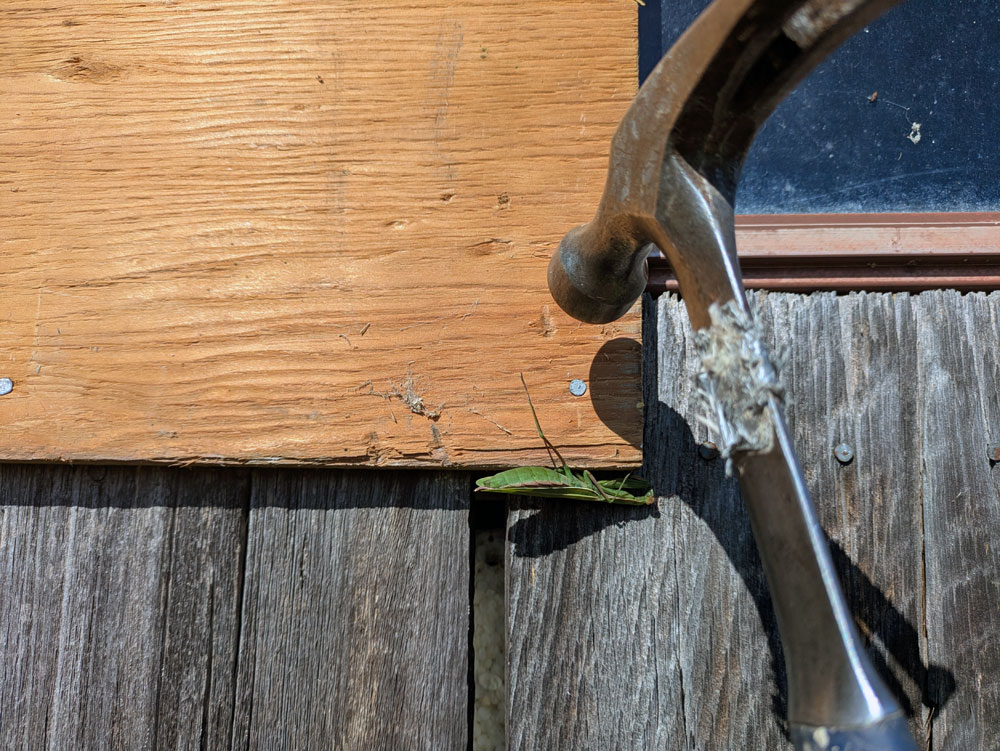
Swallow shutter
Spot the assistant.
Swallow shutter – Done. (It’s definitely not a shutter, but the broken window is covered.)
I feel pretty good about what I accomplished this fall. The birds, cat, barns, tractor, house, property have all had attention and hopefully we are all ready for winter.
Over the weekend we hosted Matt’s family for a pre-Christmas get-together. This gathering has been happening since Matt and I were dating–more than 25 years. Over that time, the family has changed. Four people have died. People have joined. Marriages have begun. Four babies have been born.
Family changes. There are losses and additions. Tragedy and joy. Friction and love. Family can be hard. But it’s worth it.
On Saturday, seeing these people playing, laughing, talking, eating, enjoying together was very special. It is definitely worth it.
Here are some other things from this month that are worth it.
I have a new niece! I knit this hat ages ago, and my Mom had it still, so it went to baby M. It’s such a cute baby girl design.
Another motivation to return to knitting, the Campaign for Wool Canada videos are so beautiful and inspiring.
I made these scones twice this month. They have the flavour of cinnamon buns with a fraction of the effort.
I love so much about this house. The small size. The traditional style. The colours.
A friend of mine posts beautiful thoughts of the day every morning. This one feels appropriate for a post talking about family, whether your family is two or many:
“A good relationship is just two people saying, “Hey life is hard, but I want to do it with you.” That’s it. It’s not a highlight reel… Love isn’t always loud. Sometimes it’s just choosing each other again and again.”
I’m grateful my families (all of them) choose each other and value being together. It’s not always easy. But it’s worth it.
“A huge main bathroom with double sinks, a huge vanity and tons of storage. (The cracked sink, 1970s tile, painted paneling on the walls and Care-Bear-colour-palette on the counter top are examples of potential.)”
This is what I wrote about the main bathroom when I first introduced it on the blog thirteen and a half years ago.
I finally fulfilled that potential. The main bathroom renovation is done. And it is so beautiful.
I took everything out–the fixtures, the two tubs, the fake paneling, drywall, insulation, Care-Bear counter top–and redid it all.
My philosophy for the past 13 years was if I was going to renovate, I wanted to do it completely and ensure the end product was exactly what I wanted.
It is.
I’m going to dive into all the details. But first, here are a few before and afters.
Bathroom before and after
All the details on our new country style bathroom
Behind the walls are new wiring, pipes and insulation. The walls themselves are beautiful pine V-groove paneling. A big upgrade from the fake sheets that were there before. With every renovation in this house, I’m trying to add more farmhouse style, and I felt like the paneling was a good way to do that in the bathroom.
I kept the walls white (Benjamin Moore Cloud White) to keep the look fresh. The white paint highlights the V-groove which gives a subtle texture and interest to the walls. Plus going with white allows the other parts of the bathroom to stand out.
I can’t decide what stands out most to me. Is it the huge wood storage hutch? The sparkly taps? The beautiful marble? The veins of the tile? The leafy shower curtain?
I love how all of the elements of the bathroom work together so well.
For the floor and tub walls, I chose very large tiles with strong veining. The large size is very practical for cleaning (minimal grout!). The finish is matte, which feels appropriate for the farm and contrasts with some of the other sparkly bits in the bathroom. The tiles themselves are also full of contrast with grey lines snaking and swirling over the warm white background. I also had in-floor heat installed, which makes the floor so comfortable.
Accompanying the tiles is our marble on the shower ledge and countertop. This marble is a statement. It’s dark and light and dramatic. Adding to the drama is the beautiful ogee edge, the sculpted backsplash and sidesplashes and the leathered texture. I’m so glad I added these details.
I’m also glad I added the ledge all along the side of the tub. It was a simple adjustment to make at the construction stage. The ledge gives us so much storage and I much prefer the look over a niche. Bumping the tub out by 4 inches didn’t impact the function of the bathroom, and we still have plenty of space between the tub and vanity.
The vanity is exactly the design I had in mind for years. Drawers, drawers and more drawers. I’m so pleased I was able to find it off the shelf. At first, I was concerned that the drawers would be too small. They are quite shallow and narrow. However, they work really well for most things–the perfect amount of space for toothbrushes, hairbrushes, makeup and lots of space to separate things out. Certain containers or bottles don’t fit. Fortunately we have taller storage elsewhere (more on this below).
The vanity led to the one change of plans I needed to make in the renovation. The sinks I had ordered turned out to be too big. Fortunately, the company I worked with to source all of the fixtures quickly supplied another option, and I was able to make the exchange. The sinks we ended up with are quite small, but they are adequate for most bathroom tasks, like washing our hands and brushing our teeth. Most important they fit with the vanity, the taps, the counter.
The taps were another spot where I was trying to create some of that historic farmhouse feeling. From the beginning I knew I wanted old style cross handle taps. That’s exactly what I found: very traditional and a little bit fancy. Their sparkly finish, cross handles, high arc add so much brightness to the bathroom.
In my initial plan for the bathroom, I had expected to have more of a mix of metals. I had planned for the lights and vanity hardware to be on-trend brass or gold. But as the bathroom came together, I couldn’t make the finishes work. I decided to go with the simple chrome hardware that came with the vanity, and that made the light fixture decision easy–sparkly silver there too.
We still have a bit of a mix with a few hits of black in the hutch hardware, hooks and curtain rod.
Instead of mixing metals, I decided to warm things up with a lot of wood accents. This is another touch of farmhouse style. The mirrors were the very first thing I bought for the bathroom. The wood frame and arched top add softness to the other square lines in the room.
I had always envisioned wood towel rings and accessories. Thanks to Facebook marketplace, some refinishing and a little bit of my own construction, I was able to make it happen.
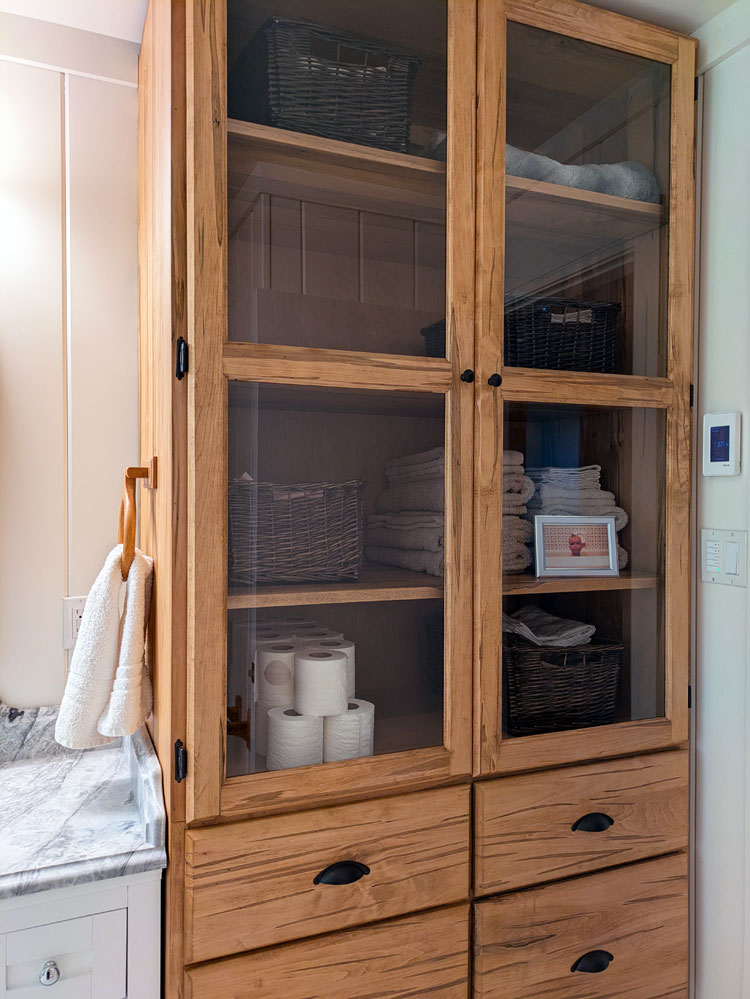
Of course, the big wood storage hutch is another standout. As I wrote 13 years ago, the bathroom had tons of storage, mainly a large linen closet. Unfortunately, its open shelves were ugly and not super functional. Replacing the closet with this hutch adds so much to the bathroom.
Storage of course. I designed the hutch to have 6 super deep drawers. Towels, bottles, soap, medicine, first aid supplies and more all easily fit in the hutch. The upper section with its four shelves holds towels, toilet paper, sheets, blankets with lots of room to spare.
Beyond storage, the hutch adds so much beauty. The maple wood looks perfect for the farm.
The final finishing touch was the shower curtain. This is our only bit of colour in the bathroom. I chose a watery blue leaf fabric that has a beautiful mix of dark and light that echoes some of the tones in the tile and counter. I sewed the curtain myself. I wanted it to be traditional, so I added some pleats at the top. This gives the curtain lovely fullness. It’s also full length from ceiling to floor which makes the bathroom feel so much taller.
This bathroom renovation was not quick. I began taking the room apart in April and finally hung the shower curtain at the end of September. Beyond those 5 months is the 13 years.
It was worth the wait.
I documented the bathroom renovation on my Instagram as well. You can check out all of the videos at Part 1, Part 2, Part 3 and Part 4. Thanks to everyone for following along on the blog and on social media and cheering me on through this project.
At 11 o’clock today, Remembrance Day, I will be standing in front of my students. Most of them are in their twenties. Few were born before 2000.
I will ask them about their relationship to Remembrance Day. I will tell them about my grandfather and the significance Remembrance Day has for me.
I will ask them to give a minute for reflection.
As we move farther from the world wars and the veterans who fought, I feel like the lessons of those wars are diluted. For many of us, war is something we see on our screens. It’s not something that happens to us. Yet we know there is trauma, violence and injustice happening right this moment in the world. Some of it very close to home.
Whether we are able to remember or not, Remembrance Day is a moment for reflection. Nov. 11 is not just for respect and recognition of those who have fought and died. It is for remembering the lessons they have taught us, so that we can do our part to create a world of peace, respect, care.
This is the lesson I am trying to share with my students today.
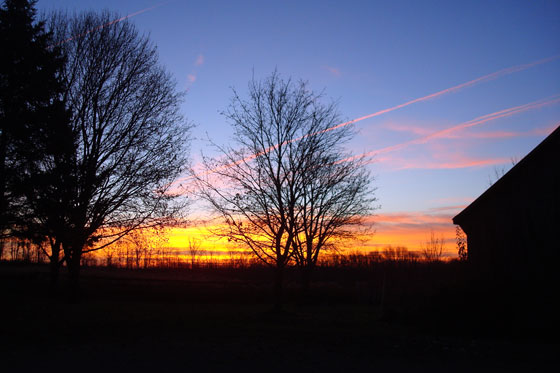
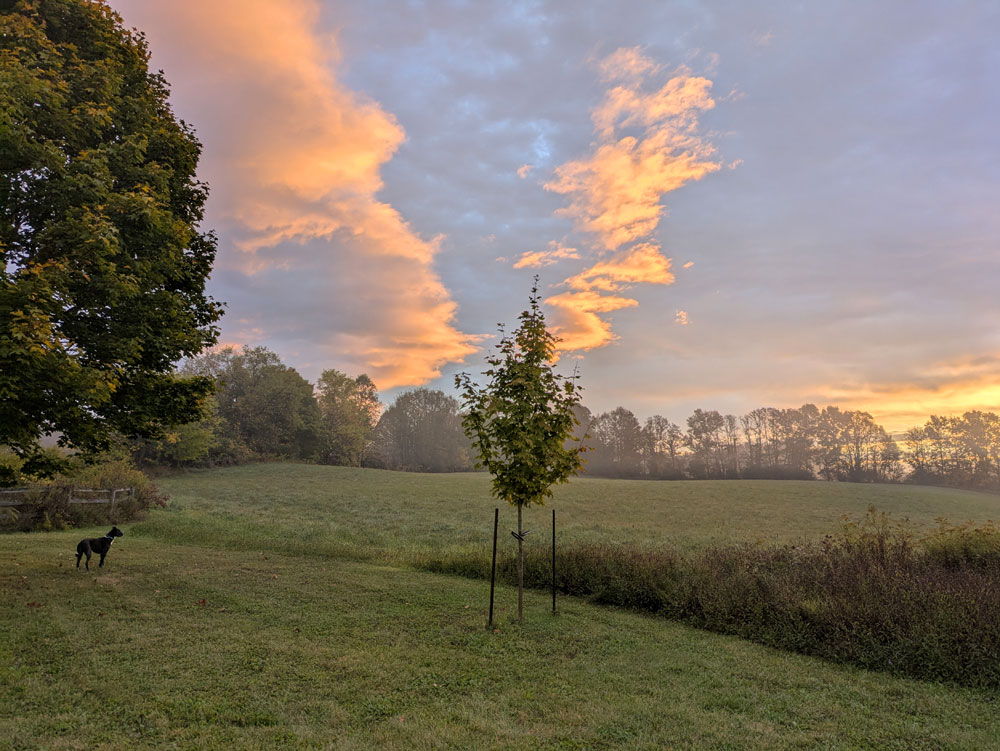
Sometimes at night before I fall asleep, I play a little game with myself. I call it “Good Things That Happened.” As I lay in bed, I think back over my day and single out the good moments.
They can be as simple as my breakfast eggs, fresh from our chickens nicely cooked with perfectly runny yolks. They can be a hike with Cigo, a conversation with a friend, a fun adventure with Ellie, a get together with family.
Big and small, these moments are all good things. Taking a moment to celebrate them helps me appreciate my days, the people around me and my life.
October was full of good things that happened. In this month of Thanksgiving, I encourage you to think about the good things in your life and in your day.
Here are some good things from this month.
Dates, bacon, mayo, sour cream and cheese might sound like an odd combination. But they made a tasty dip that was a hit at one of our Thanksgiving celebrations. The recipe came from this fun, funny cookbook.
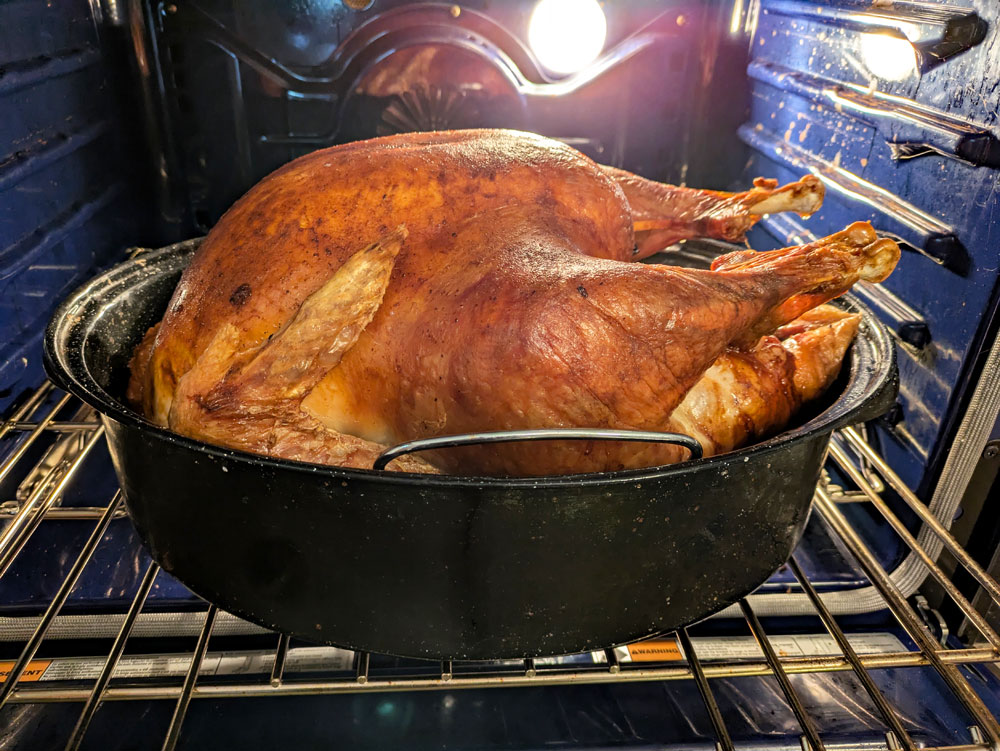
While I’m on Thanksgiving recipes, this was (kind of) the recipe I used to cook our first homegrown turkey. Smitten Kitchen is my go-to for all things cooking. Her recipes are so well tested and reliable. The way she lays out how to do Thanksgiving makes all the cooking very manageable. (I also made her stuffing and gravy.)
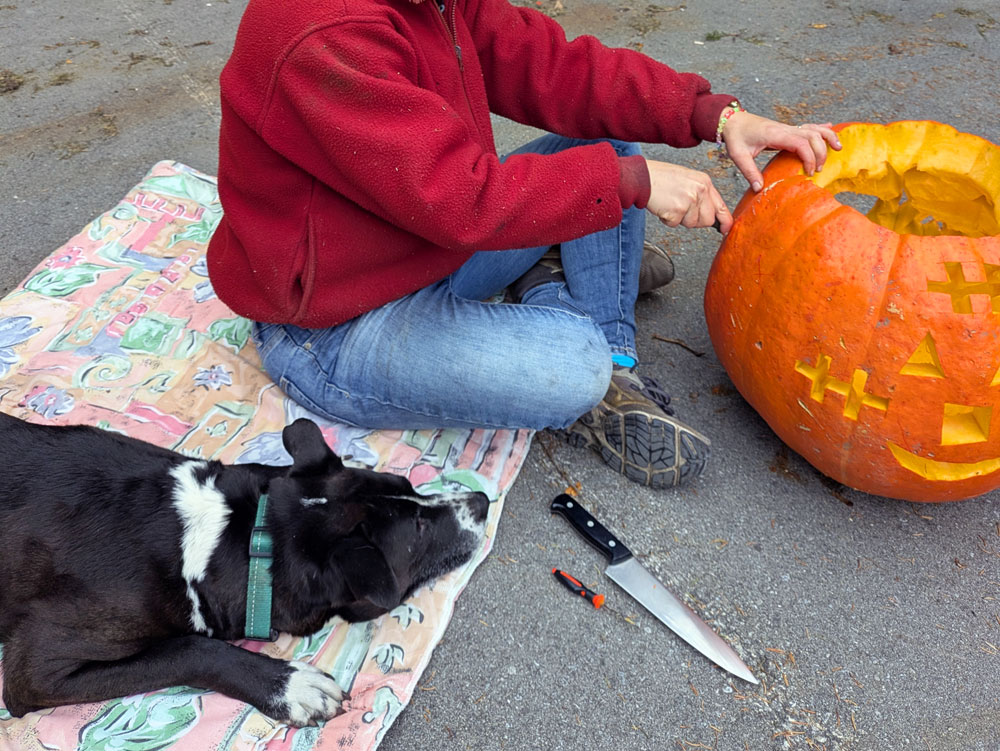
Moving on to a different holiday, Ellie is going to be a skeleton for Halloween. I used these free bones for our pattern and this week will be sewing them on the pink pants and top we already made. (Ellie wanted to recreate a pink skeleton onesie she wore for her very first Halloween.)
Preparing for the worst is still on my mind. This book had some really good tips and thought-provoking stories.
“There’s a joy in being the best you can be… Today’s efforts make tomorrow’s dreams” Another profound, fun song from Jesse Welles. (On the subject of profound, listen to some of his protest songs. His writing is powerful.)
“It is absolutely necessary, for the peace and safety of mankind, that some of earth’s dark, dead corners and unplumbed depths be left alone.”
H.P. Lovecraft, At the Mountains of Madness, 1936, quoted in Alone Against the North by Adam Shoalts
I’m rounding out the month with a visit with a friend I haven’t seen in a dozen years, a return to teaching after our mid-term break last week, and of course Halloween. More good things.
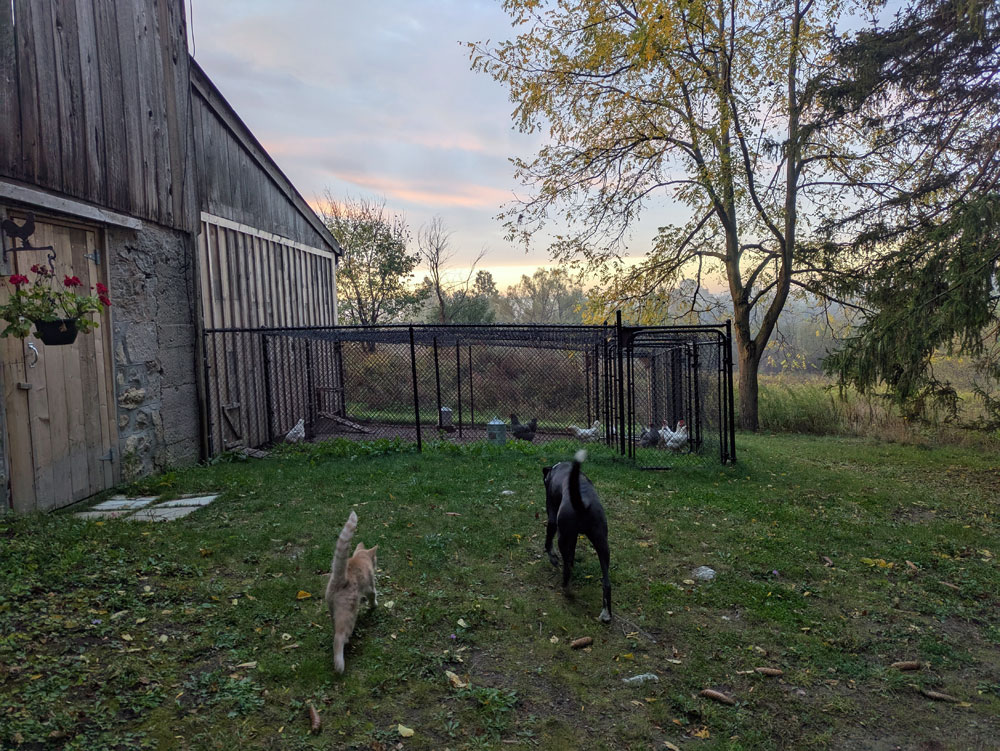
Our little orange kitten has become a champion barn cat, a much-loved family member and so much fun.
Cedar has been with us for six months. You may recall we adopted him and his brother Maple at the same time as the chickens and turkeys arrived in the spring.
We kept the kittens confined in the coop for several weeks so we could get to know each other and get through their neuter surgeries. (The birds were still in their brooders in the house.) After we let Cedar and Maple out to have free range, Maple disappeared just a couple of days later. We’ve never found any sign of Maple, but Cedar has stayed safe and stayed home.
He is a very social little cat and loves to be with us.
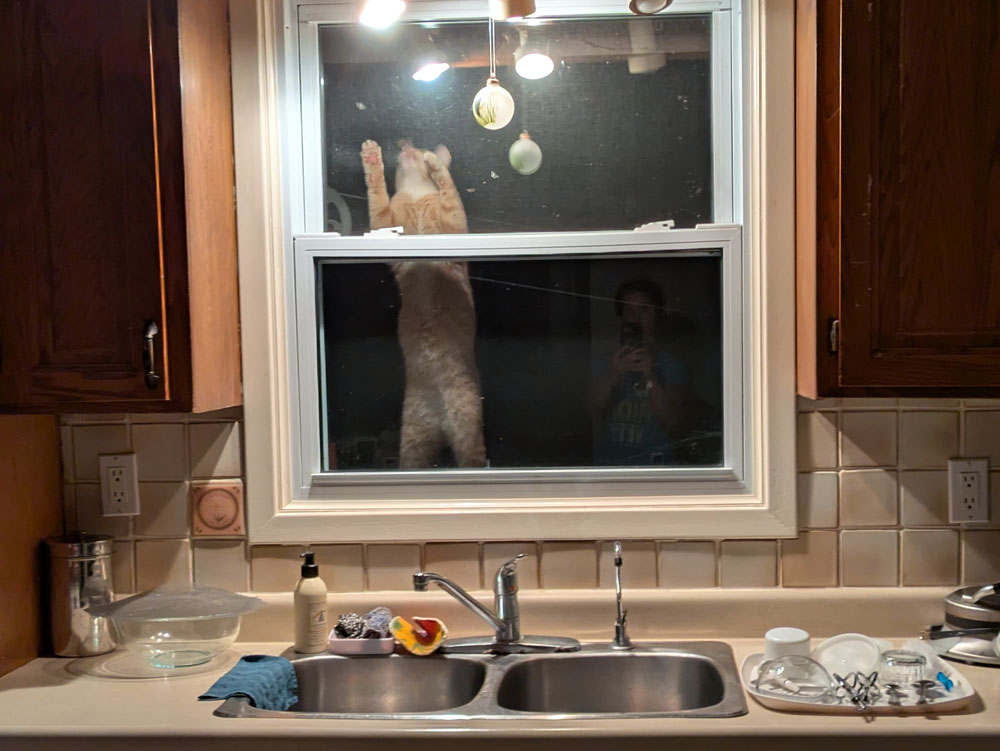
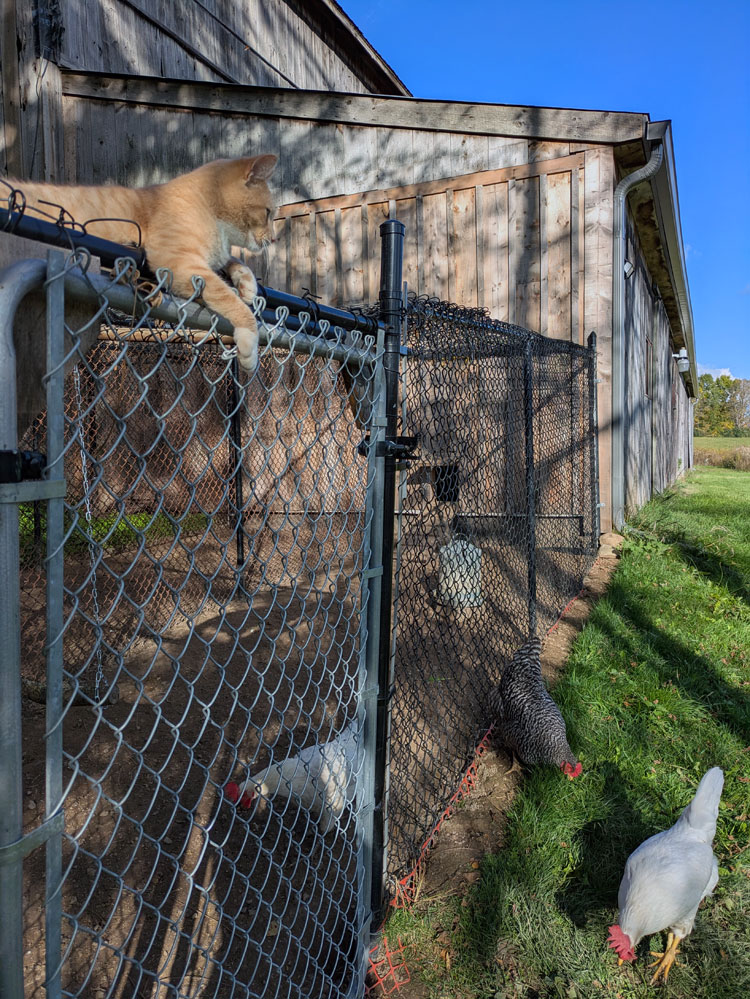
He’s usually waiting outside the mudroom door for Cigo and me in the morning and then runs to the barn for his breakfast. If we’re inside and he feels left out, he will sit on the steps outside the living room door or on the kitchen windowsill and meow. He hasn’t figured out how to break through the screen on the kitchen window, but he keeps trying.
Occasionally he comes into the mudroom if the door is open and one rainy night he made it as far as the living room until he decided he was ready to go back outside.
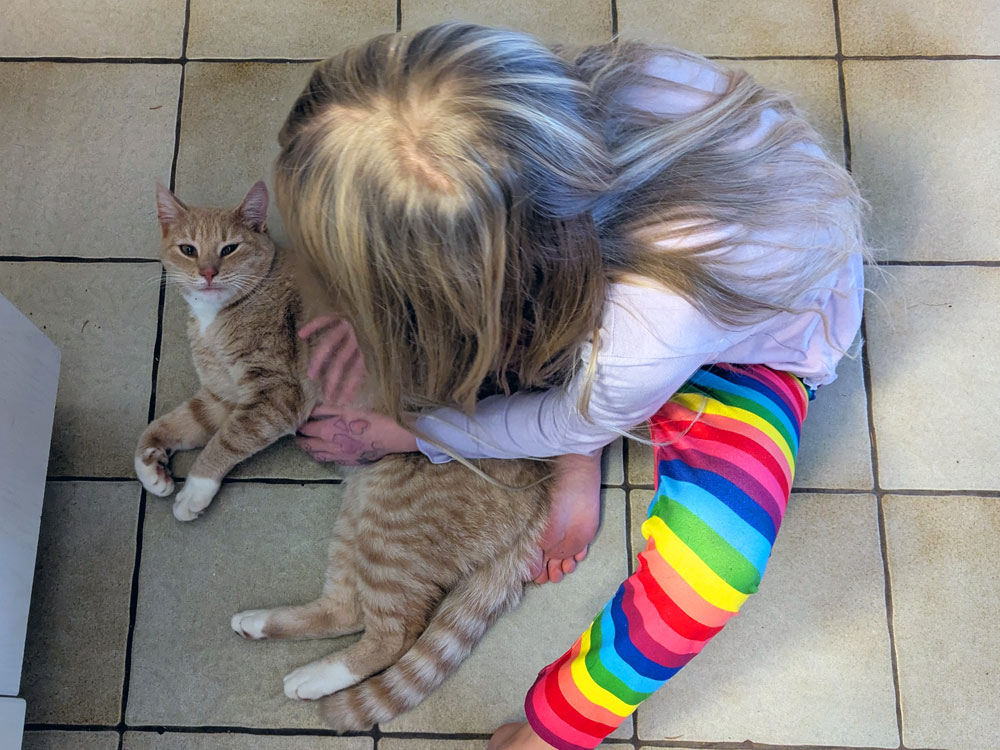
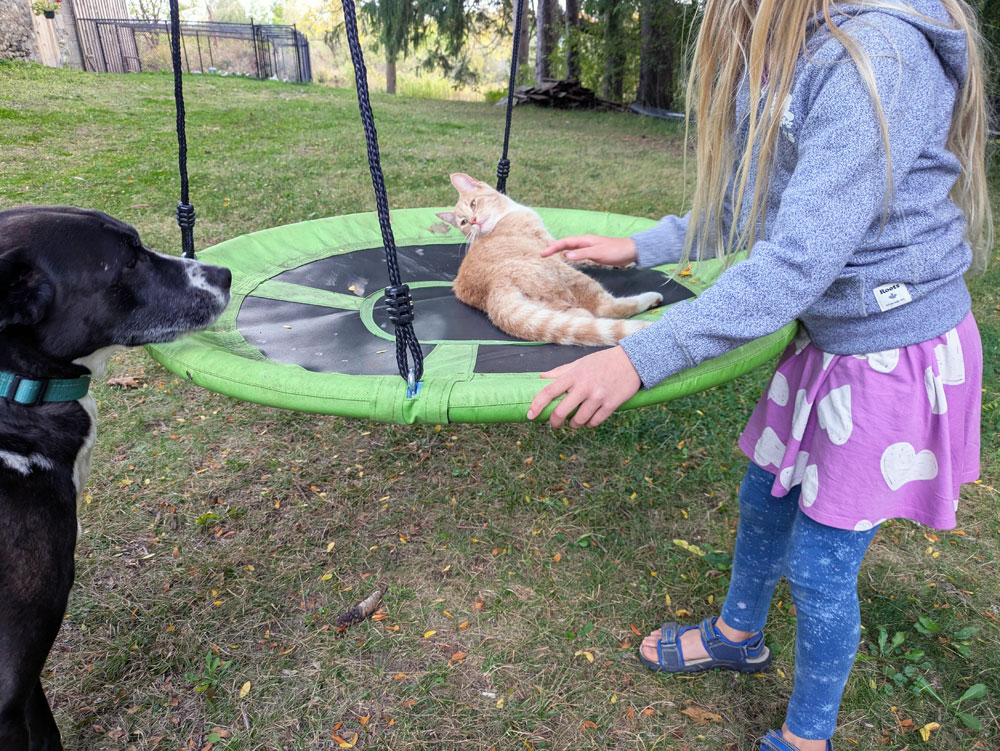
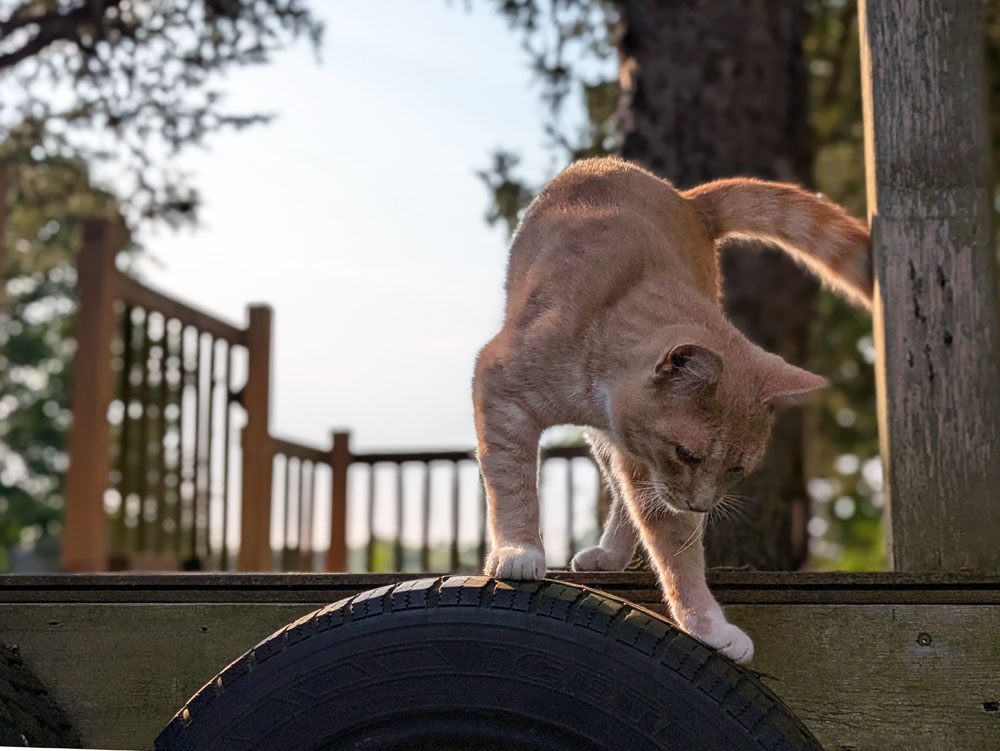
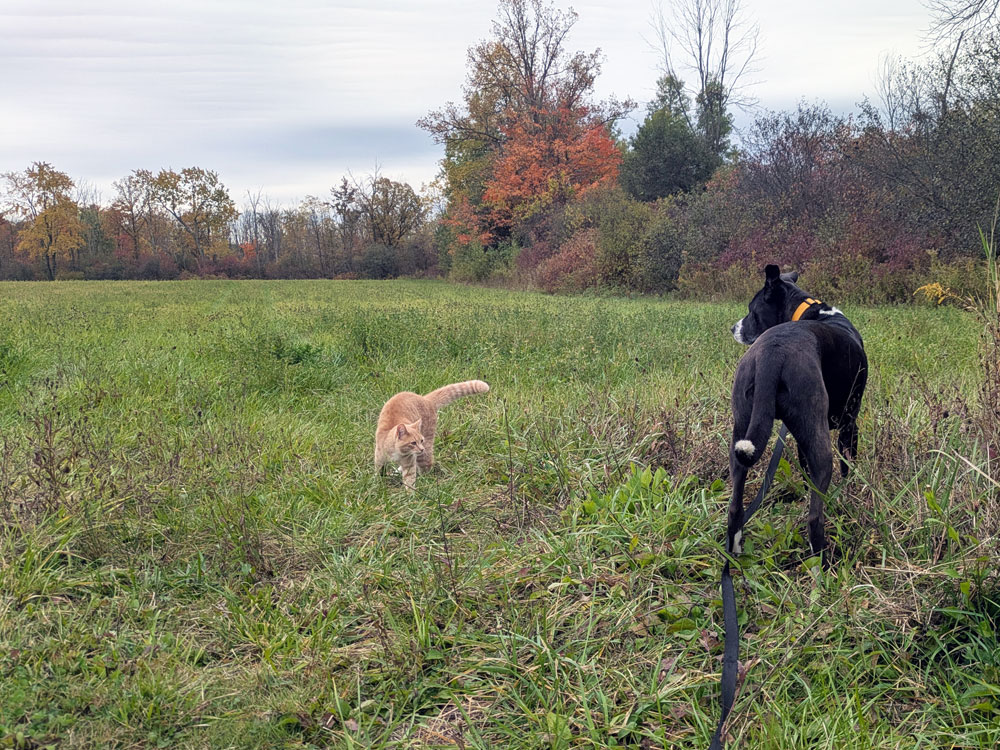
He’s gone on the trampoline, the saucer swing and the treehouse, loves belly rubs and tolerates being carried around by Ellie. He’s accompanied us down the driveway to the school bus and gone with Cigo for a walk to the back field.
The biggest adjustment has been Cigo. Cigo has always been super excited by cats, so it took a while for him to get used to Cedar. He chased Cedar several times and got dragged back to the house for a timeout. Cedar learned climbing trees was a good escape–a good lesson for predators beyond Cigo.
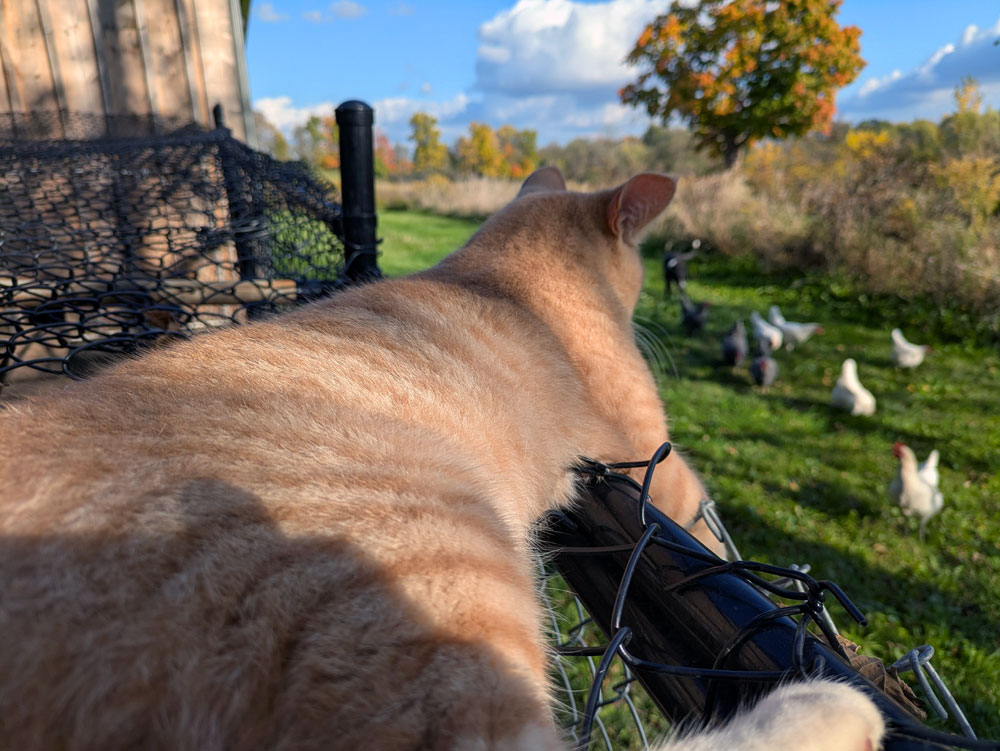
But Cedar is an easy going, tolerant, confident cat. So he kept venturing out of the barn even though he knew Cigo was around. We kept doing supervised visits with Cigo and Cedar and lots of treats for everyone. Eventually, they got used to each other and now we all–including the chickens–can be together with no issues.
Cedar can sprint past Cigo or walk through Cigo’s legs, and Cigo doesn’t blink. In fact, sometimes he seems to say, “Little dude, can you give me a break?” They occasionally try to play together, but haven’t figured out how to manage the size difference yet.
Beyond the fun, Cedar is also doing his job. He is a prolific hunter, and we find dead bodies in the barn and on the lawn regularly.
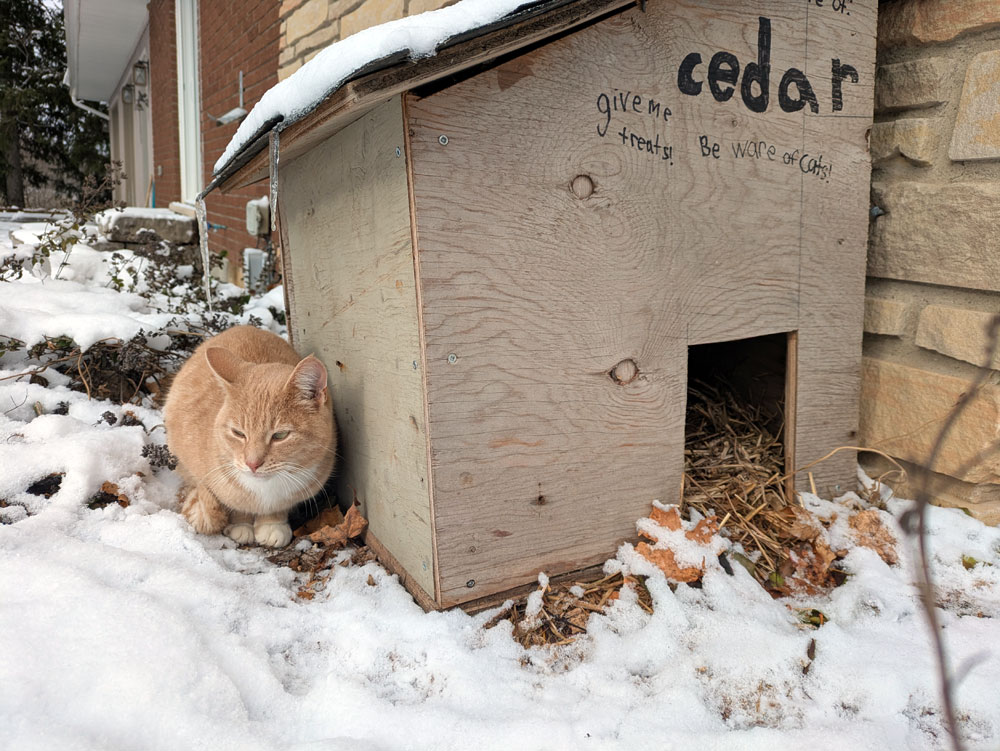
For winter, we’ve added a cat house full of straw outside the mudroom door. He also has the barn with lots of straw filled spots.
Cedar has added to the love and joy in our little family, and I’m very glad he’s with us.
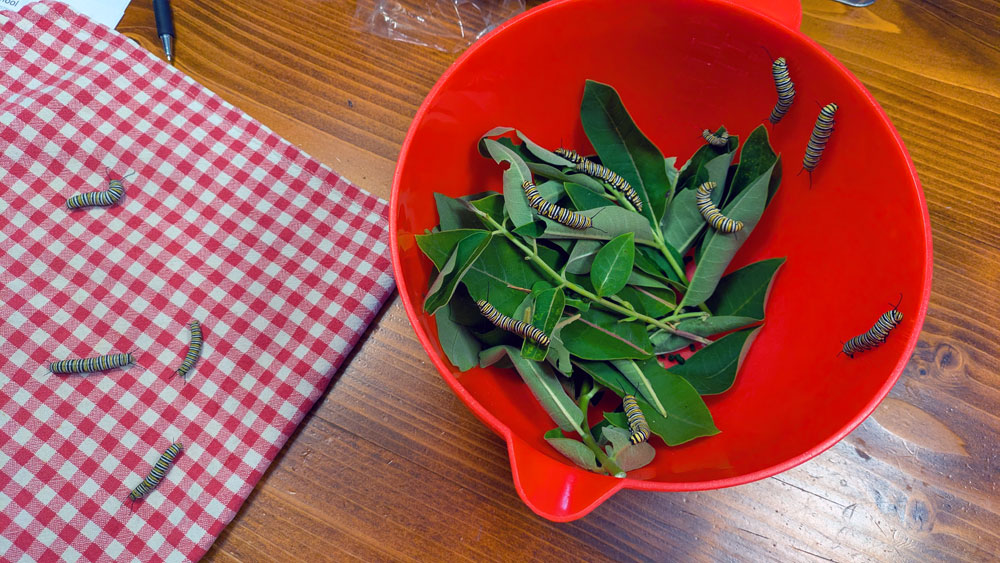
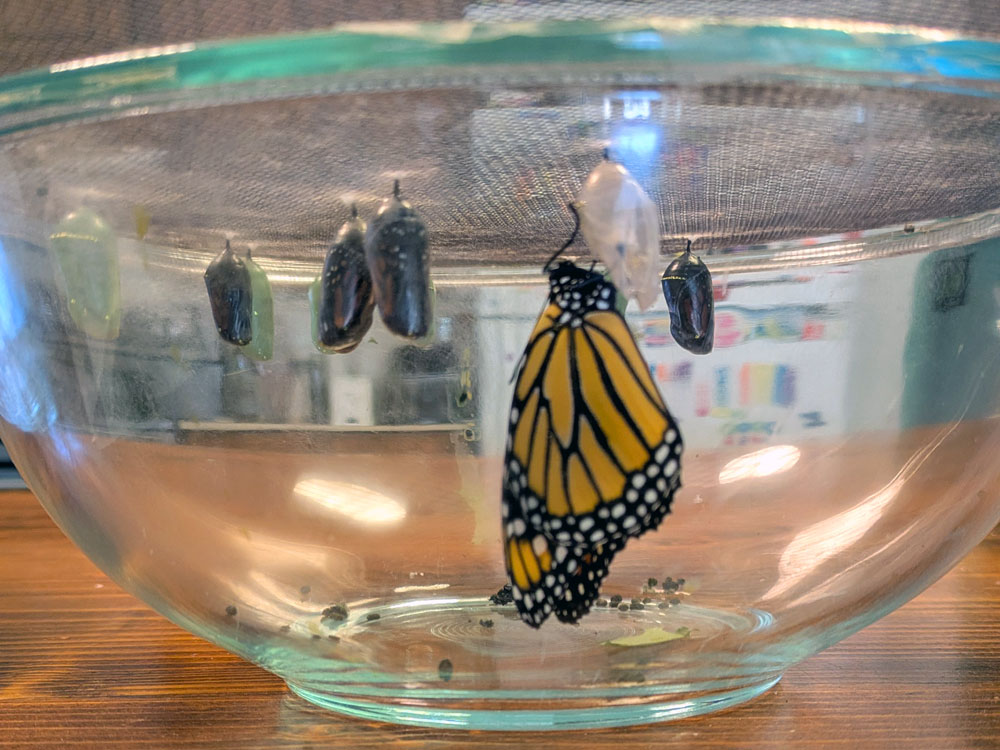
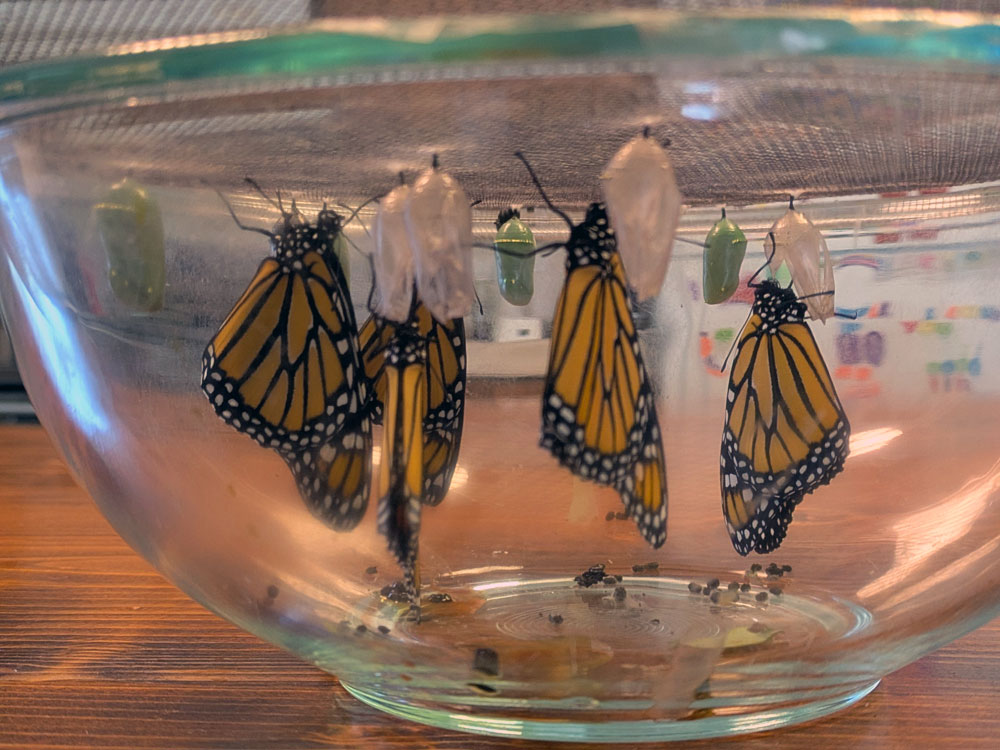
The teeny tiny caterpillars who depend completely on their leaves of milkweed. The big fat caterpillars who munch through their milkweed so loudly I can hear it. The chrysalis inside the caterpillar. The glimpse of black and orange wings through the clear walls of the chrysalis. The butterflies’ first flutter, first flight. Their migration.
That was 9 years ago, with Matt. Matt had raised monarchs before as a child. He was just as enthused to raise them as an adult here at the farm.
Since then, there have been more seasons, more butterflies. Ellie was born. Matt died. The cycle of life has continued.
This year, Ellie and I continued our monarch tradition.
We collected caterpillars and milkweed. We even collected two eggs and successfully hatched them. We found more caterpillars and added them to our nursery. We released butterflies. Found more caterpillars. We started in July and finally released our last butterflies at the end of September.
The number is phenomenal. We have never had so many monarchs. Part of me fears this flurry reflects a last gasp before the population truly collapses. A larger part of me hopes that this is a sign of resilience and strength. Or maybe it doesn’t have meaning, and it’s just life.
Life is a cycle. It is amazing and hard and magical and special. Seeing it up close through the monarchs is powerful. It reminds me to fully appreciate my life. Not take my time for granted. Do my part to support those around me. That I am part of something bigger.
September has kicked my butt. I’m teaching again and loving it again. But I have three classes plus a new course that I’ve never taught before. Setting up the courses, making my lessons, marking assignments feels like it’s taking all my time.
Add in fall and the looming spectre of winter and everything else that I have to do for the farm and it feels like a lot.
I don’t like to come here and complain. I’m grateful to have a job that works with my life and that I enjoy. I’m grateful to have an amazing girl that is so much fun. I’m grateful to have this special place that feels like a sanctuary most of the time. Also a big part of my to-do list, but most of the time a source of peace.
Amongst the busy-ness of the month here are some things that provided some breaks and distractions
I’ve never been into historical sewing, but Bernadette Banner is so engaging, entertaining and educational. All of her projects are super interesting, but Greensleeves is a standout.
Another favourite sewing personality, Emily Hallman, has returned to Instagram, and she’s as full of inspiration and motivation as ever.
Another great sewing resource that helped me figure out the bathroom shower curtain. Jann Newton has tutorials from beginner to advanced.
Despite how full my day is, I try to start with a hike with Cigo. I’ve added a weighted vest to my routine to try and up my fitness a bit more.
I am also still trying to prioritize care. This podcast really helped me adjust my habits, and even though my schedule has been super full, I’ve been doing a bit better on sleep.
This week is about teaching, marking, month-end for some of my client work and a much-needed haircut.