Mid-summer garden update

Basket of potatoes and zuccini in front of marigolds in the vegetable garden

It’s been awhile since I shared what’s up in the vegetable garden. Deep in the middle of summer, lots is up. As in lots of beautiful vegetables.

Looking back at my last update from the end of June, I’m amazed at how much things have grown. Here’s the tour ’round the ring.

Quadrant #1, where the first three of the five rows of potatoes are ready to be dug.
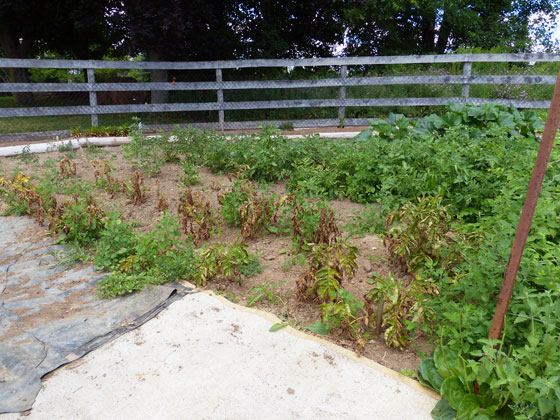
Potatoes in the garden

The raspberries along half the centre axis. I think that the black raspberries (the mess on the left) will be coming out to be replaced with either more raspberries or something entirely different. We have enough growing wild around the farm that we don’t need them in the garden too. And they do not seem amenable to being tamed.

Two rows of raspberries

Quadrant #2 which continues to be weed central as there’s nothing planted here beyond asparagus and grapes in the perimeter beds. I actually broke down and mowed this section last weekend. Let’s pretend I’m a really sophisticated gardener and we’re intentionally letting this section lie fallow this year, okay?
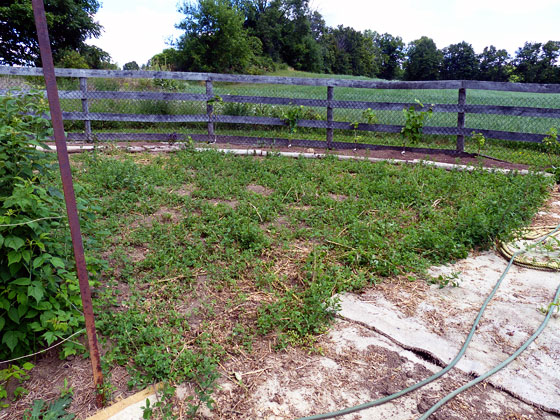
Weedy section of garden

Quadrant #3, which also continues to be quite weedy. However, no mowing is happening here, as this is home to our watermelon, which have totally taken off (more on this below).
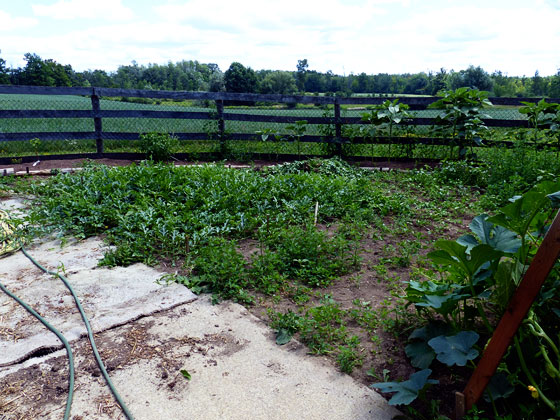
Watermelon vines growing in the garden

The other half of the centre axis is our squash A-frame. The vines are climbing! I’m very excited that the trellis seems to be working. We have baby butternuts, acorn squash and gourds.

Squash growing up an A-frame trellis

Quadrant #4 is the best looking, especially after Matt spent hours last weekend pulling weeds. It’s home to our very bushy tomatoes, peppers, beans and more zucchini.
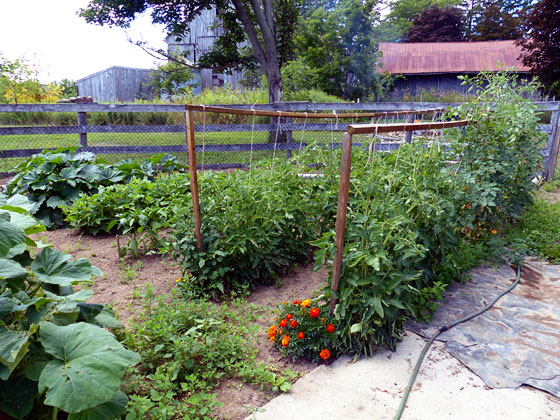
Vegetable garden

I tried to pick a few highlights to zoom in on a little more. A few is hard, as I’m super excited about everything.

Most exciting is our watermelon. As in we actually have watermelon! They’re about the size of softballs right now, so they’re not quite watermelons, but they’re on their way.

Baby watermelon

Another vegetable that is exciting just by its presence is our yellow bush beans. Last year all of four plants sprouted. This year we have a whole row and each plant is loaded with beans and blossoms. We’re going to have more than enough beans to freeze for the winter.

Yellow bush beans

Also on their way are our Sicilian Saucer tomatoes. I picked up these seeds on a whim, so I’m not sure what to expect. The blossoms were huge, befitting the “saucer” name. We have some catfacing on the bottom of the fruits, which I’ve learned is common with big tomatoes. The fruits aren’t saucer-size yet, but I feel like they’re on their way to being quite large.
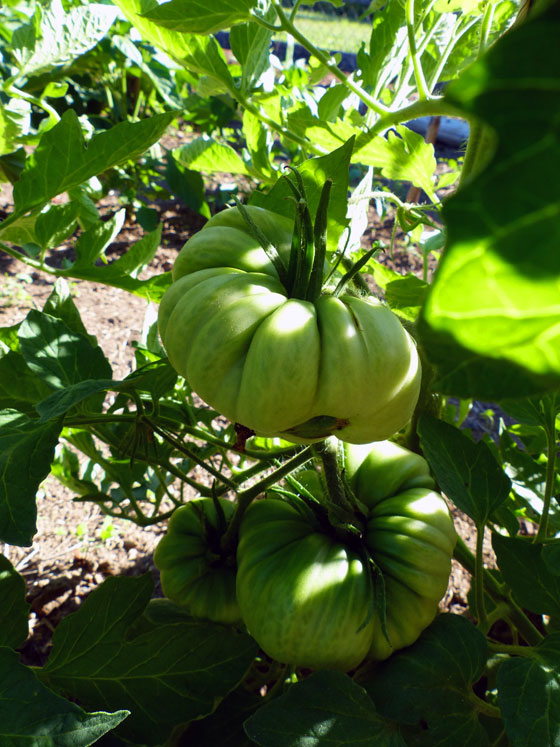
Sicilian Saucer tomatoes

The plants that I’m watching most closely are our grapes. A few of the vines have finally reached the top of the fence, and some tendrils have even started to wind themselves around the wires.

Grape vines

These are the highlights, but there are a few lowlights.

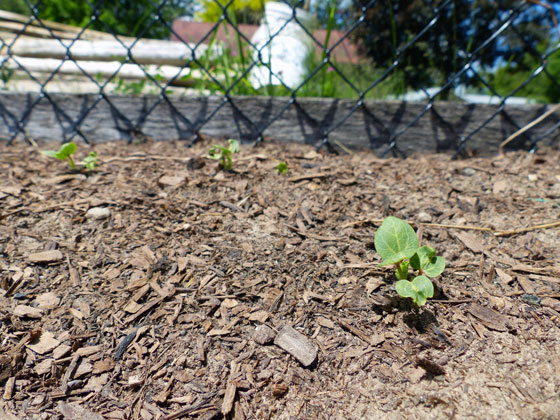
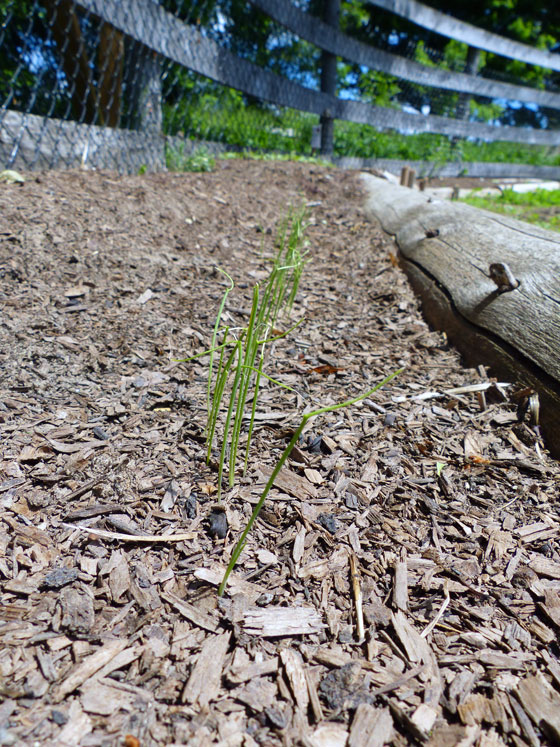
I planted the bunching onions in the raised bed, which are filled with the dirt we bought this spring. The onions did not like the dirt at all. They’ve looked like blades of grass ever since they sprouted back in June. Last weekend we transplanted those wee little sprouts into the main section of the garden. They’re already looking perkier.
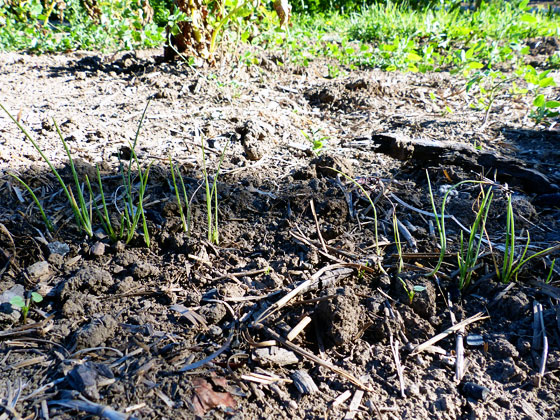
Green onion sprouts

A few of the raspberries have been hit by Japanese Beetles. The damage hasn’t been too bad, and we have so many canes that I’m not miffed to sacrifice a few leaves. However, that doesn’t mean I’m not on a campaign against the beetles. It only took me a couple of days to get over my squeamishness at the crunch they make when I crush them.
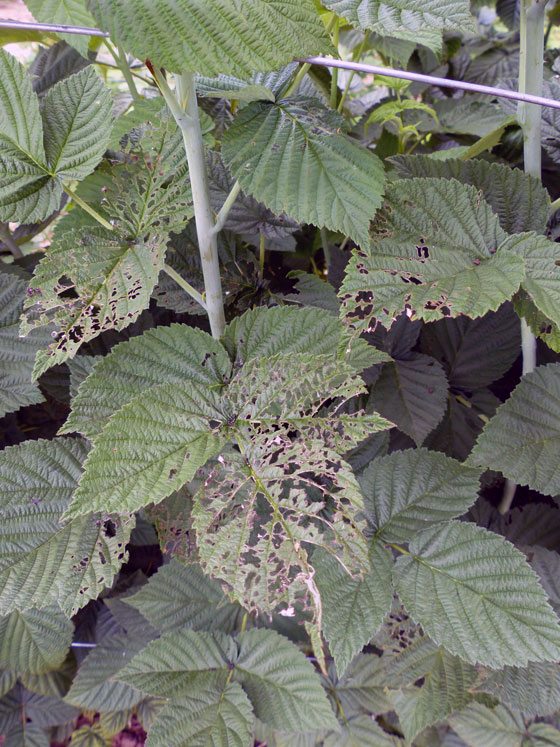
Japanese beetle damage on raspberry canes

This one may not be a lowlight, but some of the tomatoes that we purchased as sprouts are growing oddly. The plants are all the same type, but the fruit are all different sizes. Everything from the size of a marble to the size of a pingpong ball.

And then we have a few plants where the stems that support the trusses have taken a turn and branched up into “suckers.” You can see the stem looping around and up in the photo below. I’ve never seen this before. Have you?

Sucker on a tomato truss

One final highlight that I have to share. As I was photographing the garden, I came across this guy in the watermelons. A frog in the garden is a good omen, right?

Frog in the garden

What we’re loving most is eating the garden–the vegetables and fruits only, no frogs. We have so much desire to cook in the summer, and our meals are so fresh and full of variety.

How is your garden growing? What fresh produce are you enjoying this summer?

Save

Save

Save

Save

How to build a raspberry trellis

Raspberries are a pretty easy crop to grow in my opinion. Last year I transplanted a whole bunch of raspberry canes from my parents’ garden to ours. The canes have grown and spread like crazy.

This year, the object of the game is to contain the canes–a little bit. Raspberry canes don’t bear fruit until their second year, so the first year is all about letting the canes grow… and grow… and grow.

The taller the canes grow, the more likely they are to fall over. A trellis can help to keep them upright and also keep the row a manageable width.

Here’s how Matt and I made the trellis for our berries.

How to build a raspberry trellis

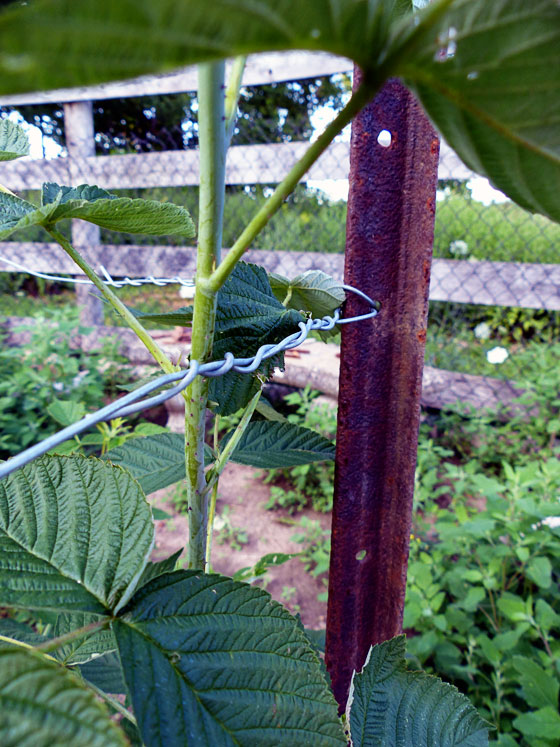
We started with metal T-posts. We happened to have a large quantity courtesy of past owners–free materials, yay! And I liked that the metal won’t rot like wood.

The posts were about 7 feet long. Matt hammered them into the ground leaving about 5 feet sticking up. We used six posts, three on each side, for our rows, which are about 18 feet long. The width of the rows is 2 feet.

Then I strung wire through the holes on the T-posts. There are three rows of wires, each about 16 inches apart.

How to build a raspberry trellis

At the final corner I doubled the wires back and twisted them around themselves.

How to build a raspberry trellis

The raspberries grow between the wires staying nice and straight. About once a week, I walk along the row and make sure all of the growing canes are tucked inside the wires.

Any canes that sprout outside the row can be transplanted to inside the boundaries.

How to build a raspberry trellis

So far, we’ve had just a handful of berries, as we only started our canes last year. Our plants, though, have become thick and lush. With our trellis in place, we’re set to have a great crop of raspberries next year.

Have you picked any raspberries this year? Do you grow raspberries? Have you ever built a raspberry trellis?

Save

Summer progress in Illinois

Sarah is back today with more news from Illinois. Like me, she has a long summer to-do list, and she’s made some good progress recently.

Things have been pretty busy around here.

This past weekend Steve and I spent over 4 hours trying to get the garden back in shape. Weeds had really gotten ahead of us.

It’s crazy how a good rain and warm sunny weather for a couple days can turn weeds from “manageable” to “out of control,” because that is exactly what happened. But we do now have a handle on things, and I need to work on it every day, even for just a few minutes, so that we stay on top of things.

Freshly weeded vegetable garden

The rain and sun has been great for the kale though. I have added it to my salads, and I have made some kale chips. But truthfully I really needed to find a way to use more of it and quickly.

I was listening to Young House Love’s podcast, and John mentioned that he blends his kale with just a little bit of water and freezes it in ice cube trays. Then he uses a cube or two to drop in his smoothies. Wow! That was such a simple idea and I had never thought of that or read that idea anywhere. So I cut a bunch of kale, rinsed it and did exactly what John suggested.

Blended kale ice cubes

I used a lot of my kale. It only took a few minutes and now I can add it easily to my breakfast.

I will have more to harvest. This is AFTER I made my kale cubes.

Kale in the garden

The other thing that we worked on over the weekend was the chicken coop.

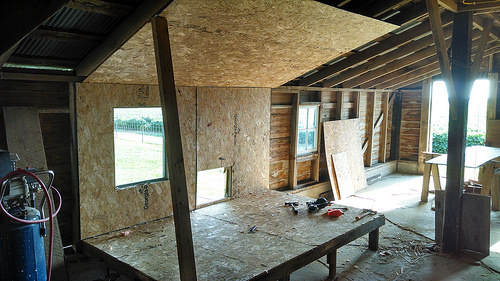
Building a chicken coop inside a barn

We had just been using wood that we had laying around, but we got to a point where we had to make a run to the home improvement store and get more supplies.

We are basically making a small room inside one of our barns. The exterior wall and the roof will be insulated.

I am still kind of designing and redesigning things as we go, but I have a pretty good plan in mind. I am hoping we will be ready for chickens by the end of this upcoming weekend.

This summer seems to be flying by so quickly. We have gotten so much done, but I feel like I have so much more that I really want to get finished.

I don’t want another month to go by without checking so much more off of my to-do list!

Oh, I know what you mean, Sarah. Summer is the time to get things done. I’m glad I’m not the only one with an ambitious to-do list. You’re doing a really great job, though! I can’t wait to see the rest of the coop–and its occupants.

Save

Save

Home Goals 2016 mid-year report

Six months ago, I shared my Home Goals for 2016. We just crossed the halfway point of the year, so it’s time for my mid-term report.

Beyond sharing my Home Goals, I also started the year by sharing some of my ideas for the major renovation that we want to do… someday. And the first goal on the list was to get an idea of how much the reno is going to cost to help us figure out when that someday might be.

We consulted with a contractor, got some feedback on our plans and got some numbers. They’re big numbers… as in not any time soon numbers… but it was helpful to give us an idea of where we’re at.

In terms of specific projects, here are the rest of our goals.

Guest room

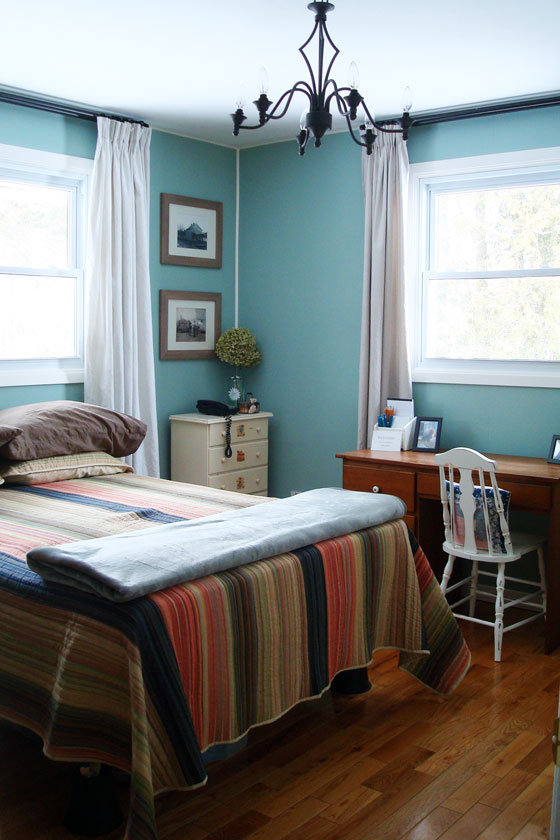
Robin's egg blue country guest room

The guest room was our first project of the year, and I’ve already done the official “reveal,” so I’m feeling pretty good about crossing this project off. However, there’s one task left on my original to-do list, which has also made it onto my summer to-do list.

  • Paint the walls and trim
  • Replace the light fixture
  • Make window treatments
  • Refinish the desk chair
  • Strip the paint off the metal bedframe (and maybe repaint)
  • Decorate and personalize

Finish the basement

Building shelves in the closet under the stairs

The basement was essentially finished a looong time ago. However, those niggly finishing details are still hanging around. Plus, we have two new summer projects, one that you know about and one that you don’t yet. (I’ll be talking more next week about things that are going to affect our basement progress).

  • Trim around the cold cellar doorway
  • Finish the built-in storage area in Matt’s bathroom
  • Make/buy art to finish off the space
  • Build shelving in the closet under the stairs
  • NEW Build a new closet in the basement
  • NEW Mystery project (more to come next week)

Furniture

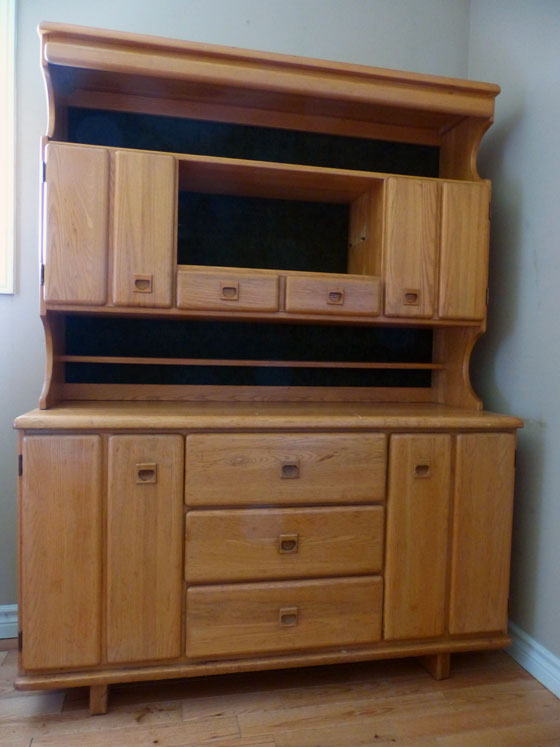
Vintage china cabinet

I’m always on the hunt for a few key pieces of furniture. So far this year, I’ve found one piece–the china cabinet for my office–but it’s still awaiting its makeover.

Vegetable garden

Centre axis of a round vegetable garden

My all-consuming summer project every year has become the vegetable garden. Thanks to Dueling DIY this spring, the garden is in really good shape.

  • Hang the gate
  • Edge the garden
  • Build raised beds around the perimeter
  • Build trellises for the raspberries, tomatoes and squashes
  • Plant perennials: grapes, asparagus, rhubarb, more raspberries
  • Run a waterline out to the garden
  • NEW Spread hay mulch over the garden

Outdoor clean-up

I ambitiously added another outdoor goal to the list, although I realized I’d have to pick my battles in terms of which area I chose to clean up.

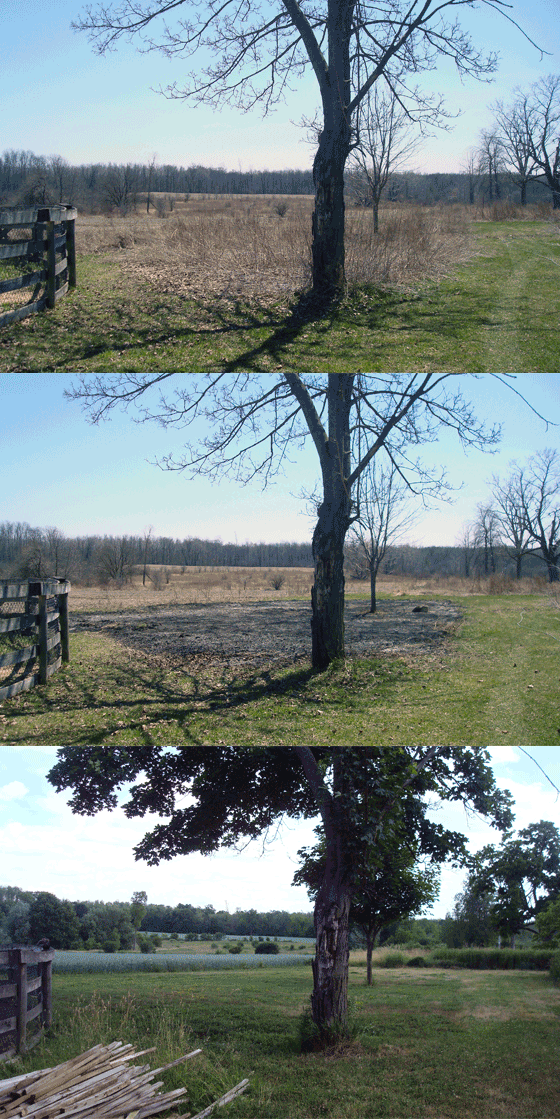
Thanks to a bit of distraction at the start of the garden Dueling DIY, I’ve cleaned up the large lumber pile on the north side of the centre field and burned the long grass and weeds on the south side of the garden. Matt’s been mowing the burn, and it almost looks like a real lawn already.

Burned lawn

I’m feeling pretty good about what we’ve accomplished so far. Work on a farm never ends, but I love seeing the progress we’ve made.

How are things going at your house? Do you feel like you’re making progress on your goals?

Save

Save

Save

Garden at the end of June

Garden at the end of June

Much progress has been made on the garden. You might notice in the photo above that we have a gate! And it’s not just propped in place. It’s actually on hinges, and it swings and everything. It’s only been 10 months since I built the gate. Not at all unreasonable to wait that long to fully protect the garden, right?

Inside, things are slowly filling in. I’m trying to remind myself to be patient and things will grow… eventually.

Let me take you on a tour of around our garden as it’s growing right now.

Quadrant one is our most well-established. It is home to five rows of potatoes–three red, one Kennebec and one Russian Blue. Although I really could have done two Russian Blues given how many we had and how much space there is in this quadrant. There are also three zucchini plants. Then in the perimeter beds there are onions, beets, carrots and a selection of herbs.

Quadrant one of the vegetable garden

I’m a bit disappointed in the onions. They are spindly, some of the ends are brown, and I’m not confident that they’re going to size up. But I keep watering them and sowing new rows for my attempt at succession planting. (The beets in the background are doing excellent, however).

Green onions

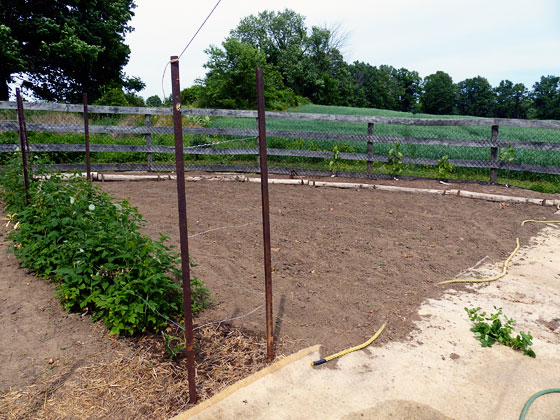
Quadrant two is bordered by our perennial crops: raspberries, grapes and asparagus. The middle is empty however, and we don’t have plans to plant anything here. One of the things I’ve realized is that we can only handle so much with this large vegetable garden.

Quadrant 2

The asparagus isn’t that much farther along than the onions, but I’m beyond excited by it. I’m trying to grow asparagus from seeds, and I thought I wasn’t going to be successful. These seeds took so long to sprout. Almost three weeks. I thought it wasn’t going to happen. So these little tiny ferns are tremendous progress.

Asparagus sprouts

Quadrant 3 has a lot of growth, but not the kind I want. Welcome to weed central. Ugh. There are some watermelon seedlings in here, but I’m not sure they’ll last that much longer without some defense. The outside edge has our sunflowers which are growing incredibly.

Quadrant three in the vegetable garden

Quadrant four is slightly better than weed central, but not by much. This is our first year planting this half of the garden, so it’s taking more effort to clear out the weeds on this side. In this quarter we have two rows of tomatoes (under the wood frames), one of peppers, one of beans and three more zucchini plants. The outer edge has some more herbs, more sunflowers and our hollyhocks.

Quadrant four of the vegetable garden

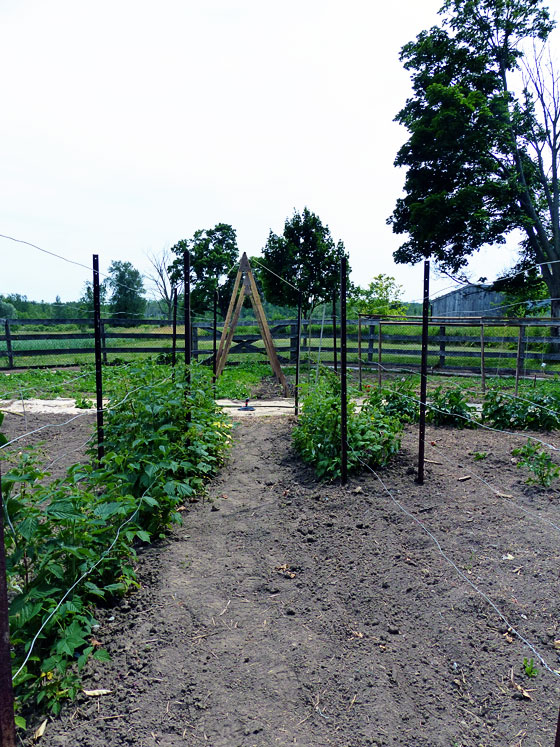
You’ve caught glimpses of the centre axis already, but here’s the view that I’ve been working towards for the past two years. A long look between our two rows of raspberries, through the squash A-frame and out to the back fields.

Centre axis of a round vegetable garden

On Monday I posted about vision. The vision for this vegetable garden has been a long time coming, but it’s oh so wonderful to see it come to life.


Save

Save

Save

Garden in June

Vegetable garden in June

Every night when I get home from work, I walk through the garden. It’s one of my favourite times of the day–outside at the farm, seeing what’s grown during the day, appreciating all of the hard work we’ve done so far.

The garden is finally taking shape as I’ve envisioned it would from the start–as in years.

Sprouts are growing, from hollyhocks to beets to onions and sunflowers.

Hollyhock seedlings

Beet sprouts

Green onions

Sunflowers

Some of the plants have gone beyond sprouting and moved onto blossoming.

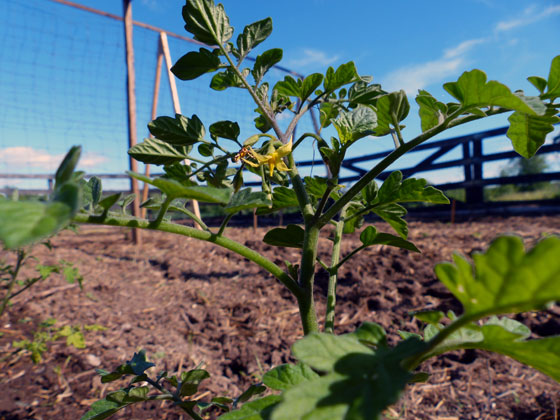
Tomato blossom

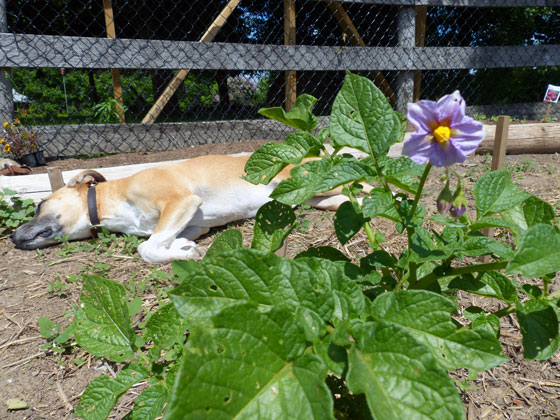
Potato blossom

Marigolds amongst the tomatoes

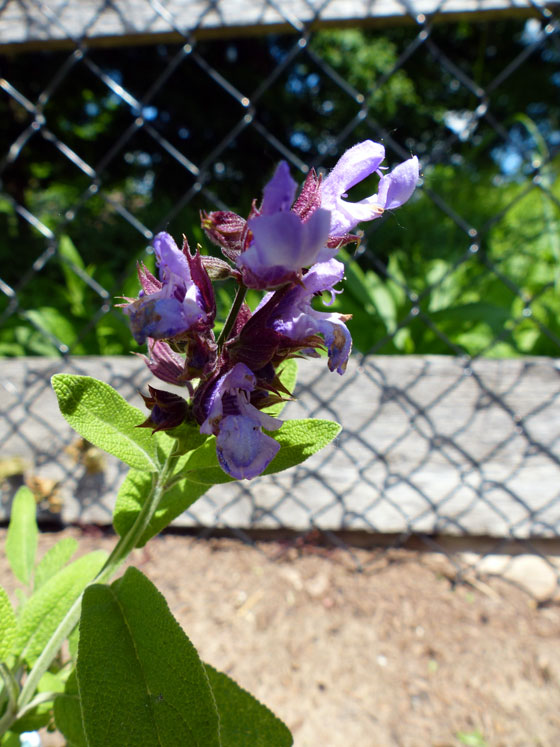
Sage blossom

There are even signs of fruit on the raspberries and grapes–although I’m working myself up to picking the grapes, as the vines are supposed to focus on growing, not fruiting yet.

Raspberries

Baby grapes on new vines

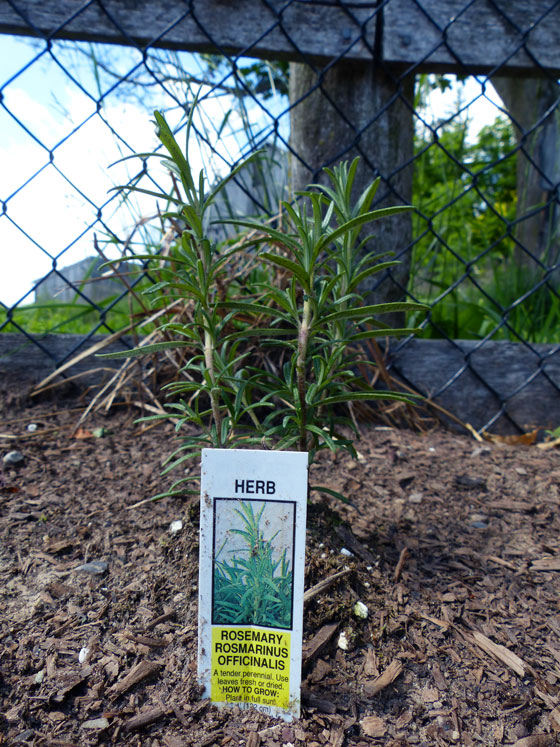
I’ve planted herbs all around the perimeter, lavender, thyme, sage, rosemary, basil.

Rosemary plant

The biggest progress since my final Dueling DIY update are the trellises for the squash, raspberries and tomatoes. I’ll go into more detail on each of these as we go through the season, but here are a few snapshots for now.

The tomatoes are planted under a simple 2×2 wood frame. I’ll add strings once the tomatoes grow a bit more.

Simple wood 2x2 tomato trellis

Matt hammered 12 steel T-posts around the 2 rows of raspberries. I still need to string wire between each post to hold the raspberries upright, but the hard work was definitely the posts. So much hammering.

Raspberries trellised with steel T posts

The biggest addition is our squash trellis. Fingers crossed this works to corral the squash. We have a big garden, but I learned last year that it was no match for squash.

A-frame squash trellis

We have a few more tasks to do before we can officially move into maintenance mode: hang the gate and spread the straw for our deep mulch experiment.

But for now, I’m enjoying my evening walks and seeing the growth so far.

What’s growing at your house?

June garden update

Sarah’s last post was her final report in our Dueling DIY garden challenge. She’s back today to share how her vegetable garden–and a couple of other things–are growing.

I thought I’d take this time to give a garden update. We have had an unusually cool start to spring and that means several of my plants got a late start. Thankfully though the temperatures have been rising and our garden is really starting to catch up. I will give a quick rundown of most of my crops. (Note: We got 1.5 inches of rain the day before I took the pictures below.)

Asparagus

This is my first time raising asparagus so I really don’t know what to expect. I know that the first year or so I am just supposed to let them grow and that’s what I’ve done. Most of the plants don’t look very good, but maybe next year they will grow back even better. I am just using a wait and see method.

Asparagus going to seed

Brussels Sprouts

One of the plants that got a late start. I am hoping they recover quickly.

Brussels sprouts plants

Carrots

At this point I can say that the tops look really good. Hopefully it is looking just as good underground.

Cucumber

Also got a late start but really seems to be recovering. I planted 4 pickling cucumbers that didn’t make it though. That is disappointing.

Kale

I have planted 3 varieties. And they have all taken off like crazy. I have picked some for salads, but I am ready to make some kale chips this week.

Leaf lettuce

Even with a late start, our lettuce looks healthy, and I have picked a few salads worth so far.

Peppers

We have green peppers, red peppers, jalapeno and several other varieties. The plants are all fairly small at this point so I hope they take off soon.

Potatoes

We have planted both a traditional russet and a thin skinned red potato. Like the carrots, the tops look great. I hope that means good things are happening in the ground too.

Rows of vegetables in the garden

Onions

The onions are very healthy. We really need to add them to more of our dishes so they don’t go to waste.

Radishes

Note for next year… plant less radishes. Seriously, we planted way too many and I am afraid they will go to waste. Anyone have any recipes or suggestions other than putting them in our salads?

Rows of vegetables in the garden

From right to left: lettuce, radishes, green beans, cabbage and potatoes

Rhubarb

Also my first year for rhubarb. When I first put it in the ground I was worried that it wouldn’t make it. Several leaves died off. But this week I noticed two really healthy new leaves so I think it is on the mend.

Rhubarb

Spaghetti Squash

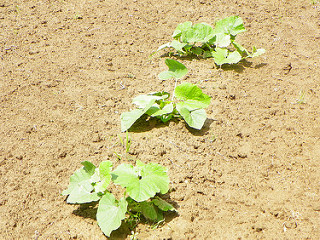
The plants are looking great! I have left plenty of room around them to plant pumpkins hopefully in the next week or two.

Spaghetti squash

Strawberries

The plants look very healthy. This is one crop that Steve really wants to expand on next year, so we may have to add on to our garden again!

Sugar Snap Peas

Probably my favorite plant of the garden. I usually eat them before they even make it into the house. This is one plant that prefers cooler weather so I hope that I see some pods before it gets too hot here.

Tomatoes

Definitely our most used crop around here. Besides eating them straight out of the garden my mother-in-law cans tomato juice, and I plan to make salsa and pico de gallo. So it is a good thing that we have plans for them because I have planted 24 plants!

Actually, the plants that I started from seed are finally looking healthy enough to transplant so we will be nearing 30 plants.

They are all different sizes so I am hoping they ripen at all different times!

Tomato plants

I have a few things that I am still hoping to plant, but I am very happy that our garden is really looking great this year.

We do have two more things that we are growing around here:

Kittens

Jan asked for an update, and I am always happy to spend more time with these two before I find them new homes.

They turned 5 weeks as I write this, so we have another week or two before they are ready to leave. They are eating dry food pretty well and they are definitely becoming more active.

Kittens wrestling

If anyone from my area is reading this, I am still looking for homes for them if you are interested!

Striped kitten

Ahh. Super cute, Sarah. Too bad Illinois is a bit far away, because Ralph could use a sidekick. Congrats on the garden growth. Things are looking promising.

Dueling DIY – The Final Update

Six weeks ago when I launched this Dueling DIY adventure, I thought, “I got this. No problem. I’ve got six weeks! Sarah’s going down.”

I had a somewhat ambitious list, but I thought it was entirely doable. Now that we’ve come to the end of the challenge and my final report, I’m stiff, I’m sore, I’m proud of what we accomplished… but I’m also a little bummed that I couldn’t cross everything off.

In that respect, Sarah, whose update you saw earlier this week, is the winner.

Here’s my final list:

  • Hang the gate
  • Edge the garden
  • Build raised beds around the perimeter
  • Build trellises for the raspberries, tomatoes and squashes (I have wood and wire, but nothing’s put together yet)
  • Start a few seeds indoors
  • Till in the ash, straw and manure (still only half the garden is done)

And a couple of maybes:

  • Weather permitting, plant grapes and potatoes
  • Run a waterline out to the garden (this one is Matt’s task, so I’m not really feeling too bad that we didn’t get this done)

So I made it just over halfway through my to-do list (56% if you’re wondering).

The perimeter beds were definitely a much bigger project than I anticipated–both in terms of the amount of work and their literal size. But I’m really happy with how they turned out. In fact, I’ve already started filling them up with onion (seeds), sunflower (seeds) and grapes.

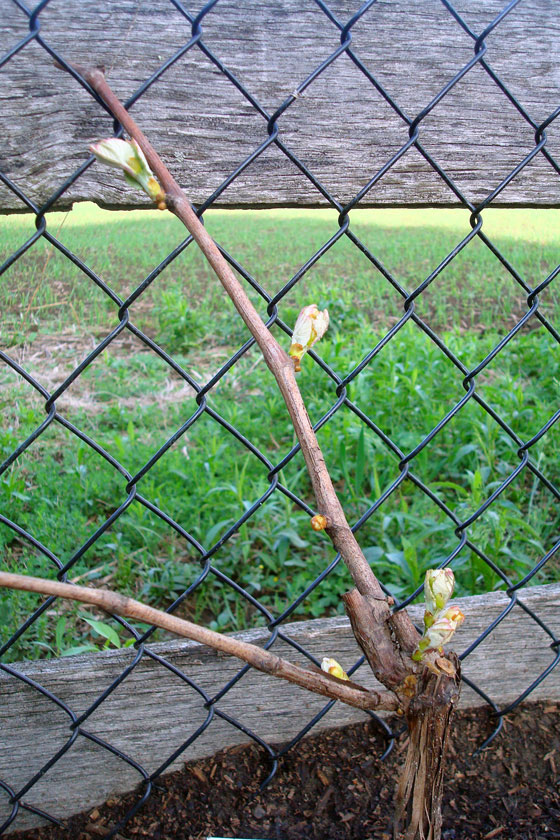
Grape buds

Although filling might be a bit of an exaggeration. According to my original calculations when we started this challenge, the perimeter of the garden is approximately 175 feet. The beds are just over 2 feet deep, which means we have 350 square feet in the perimeter alone. I’m not sure Matt and I eat enough food to keep up with this garden!

Rustic raised beds in a round vegetable garden

The outer beds are obviously where I spent most of my time throughout this challenge, but the interior of the garden–or at least half of it–got some attention too. We’re now up to 5 rows of potatoes (who exactly is going to eat all these?). We have three rows of reds, which we grew for the first time last year, and then we have two new varieties that we’re trying out: Kennebecs (highly recommended by Karen at The Art of Doing Stuff) and Russian Blues (another Karen suggestion that I couldn’t resist adding just for fun).

Potatoes growing in the garden

Our sprouts have overcome their damping off and are growing well. In fact, I’ve moved on to the hardening off stage and they’ve spent a few days outside this week. Matt brought home some tomato plants to supplement our own seedlings. Those can probably go in the garden this weekend, but I’m going to let our sprouts grow a bit more before they move outside permanently.

Sprouts and seedlings

Aside from finishing the raised beds, our biggest accomplishment last weekend was wrestling an abandoned hay bale out of the tree line beside our big field (where it and a friend have lived for years)…

Bales of hay stuck in the trees

onto the trailer (seriously, it took us about 45 minutes to get to this point)…

Straw bale in the trailer

and up to the garden.

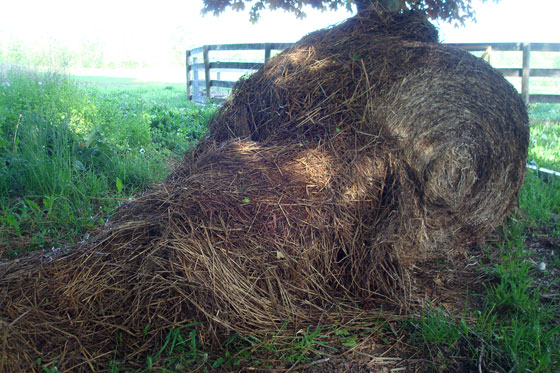
Straw bale for mulching the garden

I’m going to try the deep mulch method to deal with weeds, maintain moisture and add nutrients to the garden. This bale is going to be my mulch. Hopefully it’s enough because I do not want to go back to get his friend. What a ridiculous way to spend a holiday Monday morning.

So obviously work does not end on the garden just because Dueling DIY has concluded. Trellising and tilling and gating and waterlining are still going to happen. As is planting and growing and (hopefully) harvesting. And I’ll be sharing more garden updates as we go along–I can’t help myself.

The beauty of taking on a project like this Dueling DIY is that in the end we each win. We’ve each made progress on our gardens, and we’re closer to enjoying the fruits of our labour (literally) than we were six weeks ago.

Thanks for the motivation, Sarah. And congratulations on your victory. I may have to send you a potato as a prize. And thanks to all of you for following along, doing your own challenges at your homes and encouraging us.

How’s your big spring project going? What gardening progress have you made recently?

Dueling DIY – The Challenger’s Final Update

Six weeks ago, Sarah in Illinois and I started a Dueling DIY challenge. Our mission was to get our gardens in shape for the year through some friendly competition. Today, Sarah’s here with her final update on how she did. To see how we got here, check out all of our previous posts.

I have to admit, when I first made my list of things to finish for the challenge, I thought that I made it too easy on myself.

I saw Julia’s list and thought that I was sure to win.

However, what I learned was: most projects take longer than what I plan for, weather does not care what you have planned, and I procrastinate just as much as I did in high school when doing homework.

So as you can guess from what I have written so far, I did not completely finish everything on my list. But I sure made a valiant effort!

1. Make some kind of designated area (possibly raised bed) for annual vegetables such as asparagus and strawberries.

I call this 90% done. Everything is planted. Asparagus and strawberries are planted, rhubarb is in the ground and seeds and bulbs are planted for my cutting garden.

Raised beds made of barn board

For the borders I used old rough cut barn wood. We have a large pile of old wood out in the barn but I did not find enough long boards. So I am going to have to keep digging to find a couple more boards.

However, I am happy to have the two outside beds defined so that there is no fear of cutting too close with the mower.

2. Neaten and define north flower bed and add mulch.

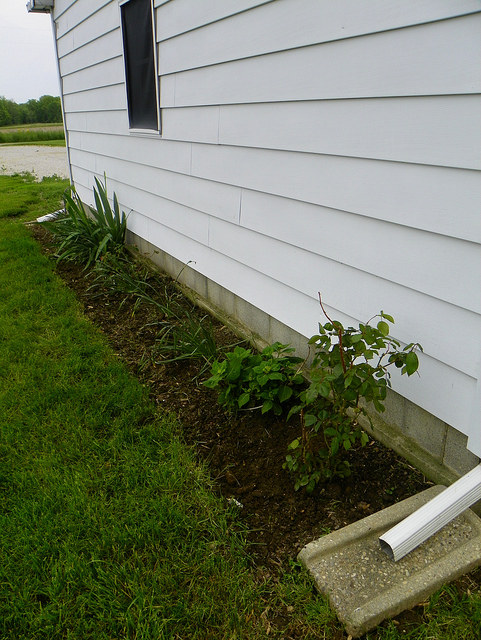
Clean siding

Nothing new has been done here. Steve and I are debating on whether to buy a couple bags of mulch or dive right in and get a truck load.

Now that he is in the field all hours of the day, we still haven’t made the decision so the mulch didn’t get put on the flower bed. But I am still happy with how this flower bed is filling out.

Hydrangea mid-way through spring

3. Divide mums and spread around deck.

Mums around the edge of the deck

This is the first thing that I finished, and the mums are really taking off.

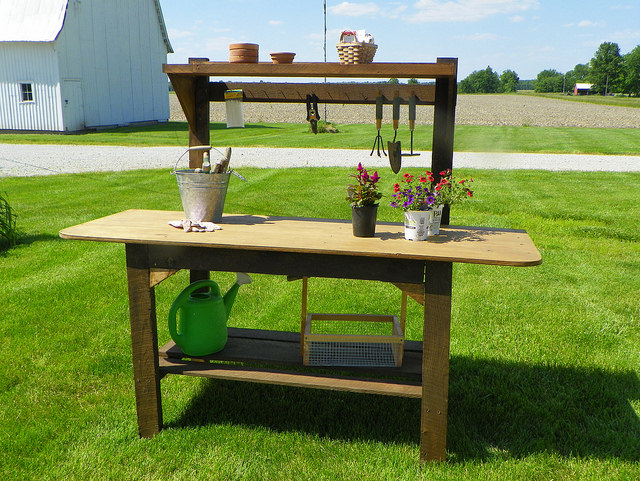
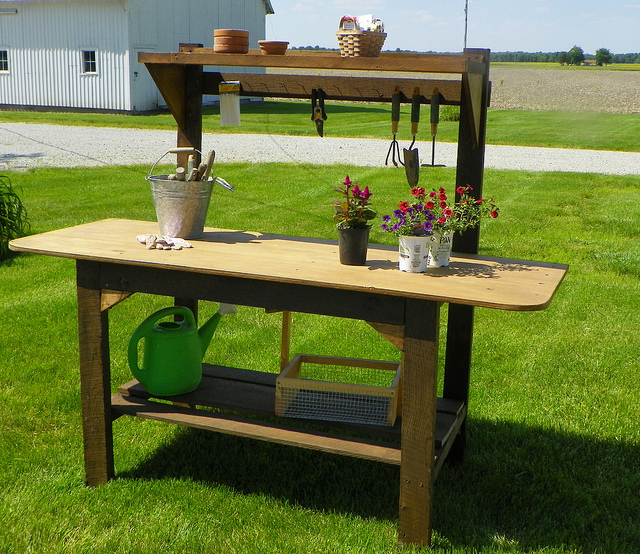
4. Make a designated gardening area complete with workbench.

This was my favorite project!

Potting bench

We were tearing out a room in our pole barn and so I had the countertop and the top shelf ready. All I had to do was make the framework.

Potting bench

I say that was “all I had to do” but designing the work bench from scratch was time-consuming. I knew I wanted a top shelf and a shelf underneath. I also knew I wanted a place to hang my tools.

Tools hanging on a potting bench

I used mostly older barn wood but a few pieces are newer pine so I used the darkest stain that I had on hand to try to blend the different woods together. I really could not be happier with the finished project!

Potting bench

So here is my final list:

  1. Make some kind of designated area (possibly raised bed) for annual vegetables such as asparagus and strawberries.
  2. Neaten, and define north flower bed and add mulch.
  3. Divide mums and spread around deck.
  4. Make a designated gardening area complete with workbench.

I won’t find out until Julia’s post to see how I fared in this competition, but I’m feeling kind of good about my odds!

I am so happy that we did this challenge. I guarantee if I didn’t have the constant competition in the back of my mind, I would not have gotten as much done as I did.

I would have made excuses about how I was tired, or how I had so many other things to do, and I would have avoided all of the hard work. But I am proud at how much I got done, and I am happy with my progress whether I “win” or not!

(It would be nice to win though!)

Okay. I’m impressed that Sarah can cross everything off her list. And that potting bench is awesome. I’ll be back on Friday with my final post in this Dueling DIY challenge.

Dueling DIY Week 5

Five weeks ago Sarah in Illinois and I started a friendly Dueling DIY competition to help us get our gardens in shape. In last week’s update, Sarah was distracted by newborn kittens and falling behind. I gave a fist pump and started to calculate how much farther ahead I could get. But apparently I was counting my kittens before they hatched as the saying goes. With just one week left, I’ve had a setback. Read on to find out what happened and if you want to review the progress we’ve made up to now, you can check out all of the previous posts here.

Let’s start with the bad news first.

#1: In this Dueling DIY challenge, this is all of the cuteness I can offer. Cute absolutely, but perhaps not at the level of Sarah’s kitten cuteness.

Cutie

Bad news #2: Some of our sprouts aren’t doing so hot. I think it might be a case of damping off. Although some things might be turning around. (More on this below).

Wilted watermelon seedling

And the worst news: We lost a full weekend of work because both Matt and I are sick. I ventured outside at one point and spent 45 minutes lying on the lawn when I felt like I couldn’t stand up anymore. Matt is on antibiotics for throat and ear infections. I’m holding on to my belief that this is just a cold. The amount of time we spent horizontal meant that we didn’t spend time working in the garden. So, so, so incredibly frustrating.

But between the time of my last update and being struck down with this plague, we had accomplished a few things. So there is some good news in this Dueling DIY challenge.

We have a new team member: Colonel Briggs. Short for Briggs and Stratton, our new rototiller. Honestly, Matt’s been wanting an upgrade since we inherited Fairfield. When he brought the Colonel home, he declared that the rototiller couldn’t have just a single name, hence the title.

Matt put the Colonel to work right away, and they’ve tilled half the garden.

(A face shield is not normally necessary for tilling. Matt wanted ear protection, and his chainsaw helmet was closest).

Tilling the garden

We’re thisclose on the raised beds. I have about four timbers left to set–less than 1/8 of the perimeter to go. Then I have to spread the cardboard, layer in the mulch and top them up with dirt.

Raised garden bed made of logs

We had four yards of triple mix delivered, and I’ve filled the raised beds more than half of the way around the garden. I feel I have to say the beds would be completely done if we hadn’t been sick. Argh.

Four yards of topsoil

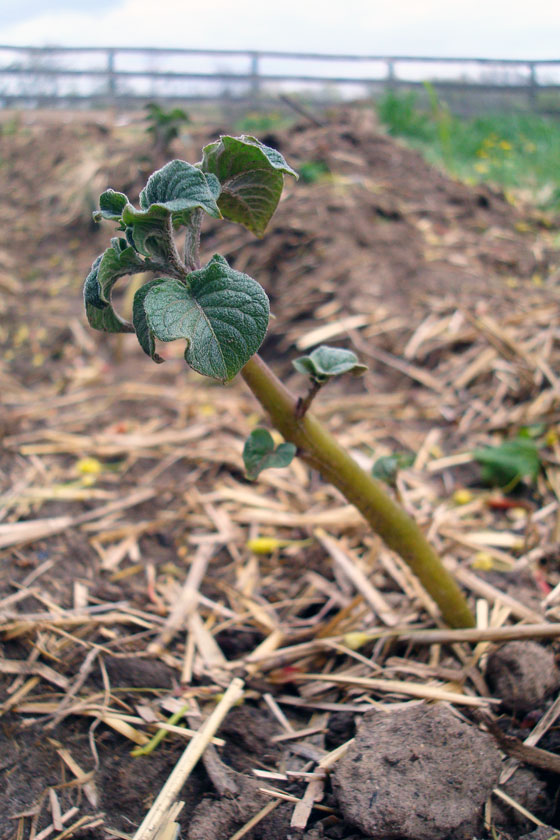
Despite not being finished with the garden set-up, we’ve already moved on to planting. Three (!) rows of potatoes are in, and we’re not done yet. A new shipment of seed potatoes arrived in the mail yesterday.

Potato shoot

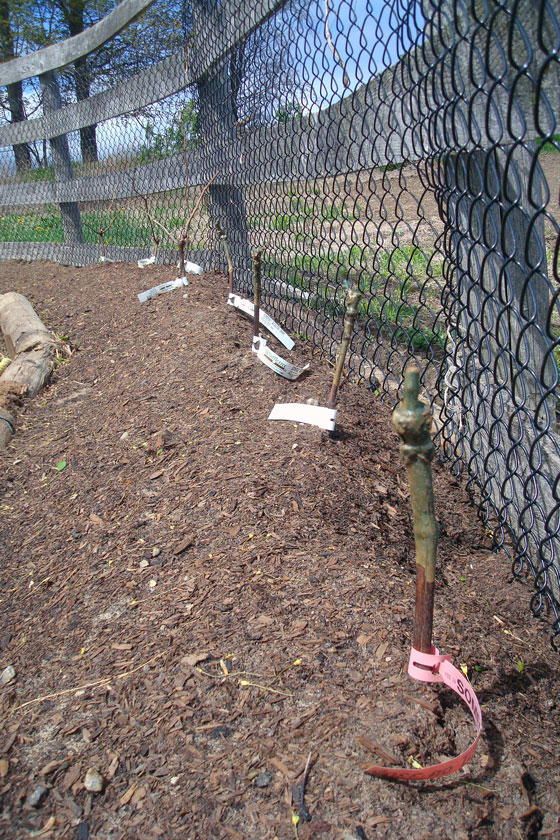
I’ve also planted eight grape vines. I’m so excited about these grapes. Although I fully admit that I have no idea what I’m doing with them. I’m trying to read about pruning and planting and trellising and training. Right now, I’m focusing on watering them and keeping my fingers crossed that they take root. Please share any tips you have.

Freshly planted grape vines

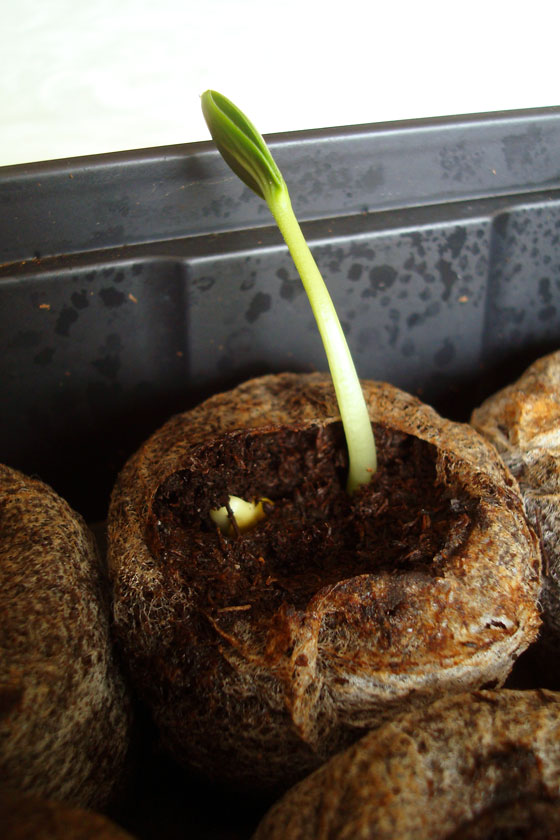
In terms of smaller updates, let’s start with the literally small–the sprouts. As you saw at the top, we’ve had a lot of shriveling and dying. We’re down to just one watermelon out of seven. We lost about half the tomatoes too. I think it was a case of damping off, so I’m giving the watering can a rest.

The sprouts continued to die, but I was very surprised that some new sprouts started popping up as things dried out. We have a new watermelon–our first of the Crimson Sweet variety–and a whole bunch of new tomatoes. I know I’m going to have to separate the sprouts that are doubled (or tripled) up. I’m not sure I can bring myself to pinch out the extra sprouts, but I’m not sure I can keep everyone alive if I try to separate and transplant them. Any advice?

Crimson Sweet watermelon sprout

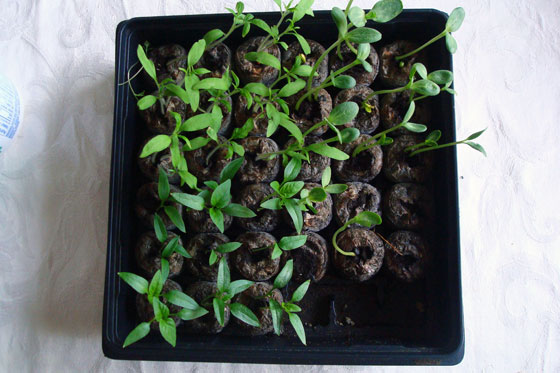
Pepper and tomato seedlings

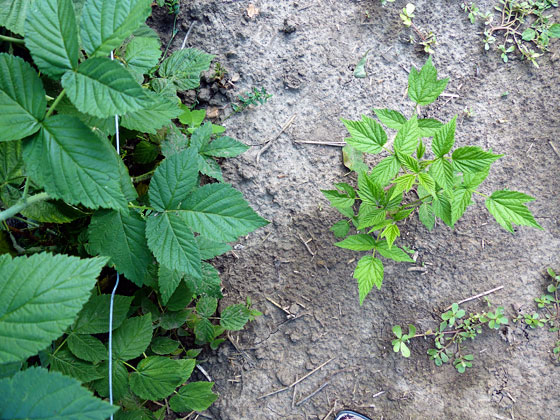
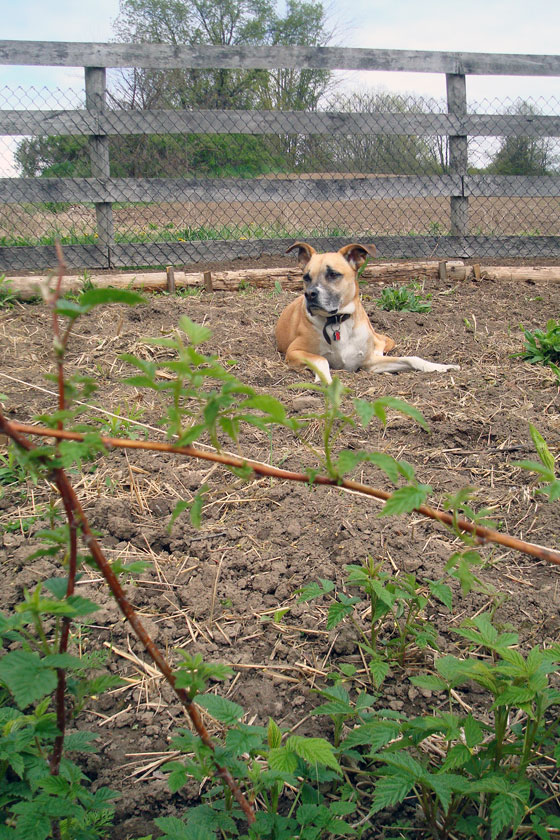
The other win is that the raspberries–black and red–are weeded. And the raspberries themselves are spreading like weeds. I’m so pleased with how they’ve settled in.

Young raspberry canes

And if we hadn’t spent our whole weekend horizontal, we would have the trellises set up to support them.

Argh.

Let’s move on, shall we? We’ll take a look at the original to-do list. Again, I can cross a little bit more off.

  • Hang the gate
  • Edge the garden
  • Build raised beds around the perimeter (more than half done)
  • Build trellises for the raspberries, tomatoes and squashes
  • Start a few seeds indoors
  • Till in the ash, straw and manure (half done)

Only one week to go in this Dueling DIY challenge. Send vitamins.