It’s the beginning of week 2 in the One Room Challenge. Time for your first progress report on the master bedroom.

This makeover has been going on for a long time–longer than just the ORC. If you want to get caught up, here are the previous posts:
- Not quite masters of our universe
- Master bedroom makeover plans
- Scraping the stipple ceiling
- Painting the walls
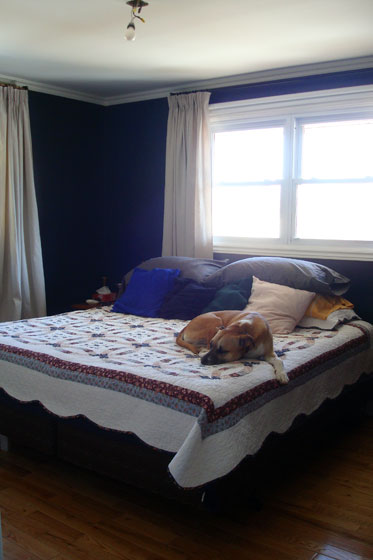
- Master bedroom move-in
- One Room Challenge Week 1
I’ve learned that I need schedules and deadlines if I want to complete a project in any reasonable amount of time. That’s part of why I love the ORC.
I posted my to-do list last week, but not my schedule. So to hold myself accountable, I’m going to put timelines on everything.
It may look like I’ve accomplished a lot already. Just remember this makeover has been running since Christmas.
Here’s where we’re at:
Buy a new bed– DoneRemove popcorn ceiling– DonePatch ceiling and walls– DonePaint ceiling, trim, doors and walls– DoneMake/find window treatments– DoneBuild hookboards for behind the door– DonePaint dresser and replace hardware– Done April 6- DIY a headboard – By April 12
- Refresh dinged up closet doors –By April 19
- Relocate light switch – The electrician is booked to come April 22
- Replace light fixture – I’ll get the electrician to do this while he’s here
- Come up with a jewelry storage solution – By April 26
- Sew a bedskirt – By May 3
- Decorate and personalize –
Ordered prints April 6. Fingers crossed they get here in time.
The main accomplishment in the past week is painting the dresser. I didn’t realize how badly scuffed and chipped the black paint was until I started to prep for painting. It’s amazing what your eyes miss when you look at something every day.
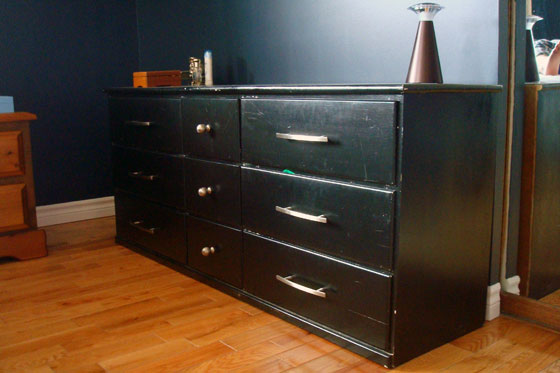
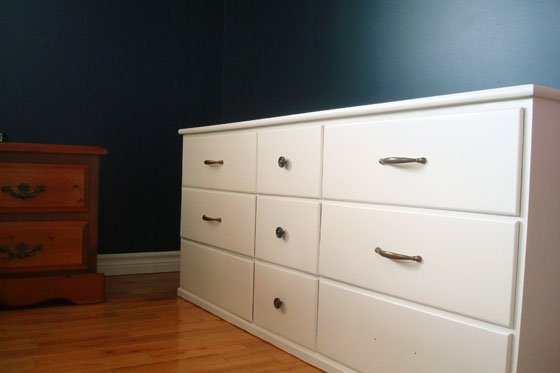
I’m really liking how the white paint pops against the dark blue walls. The brass knobs and handles tie in with the hardware on our pine nightstands–and even better the new handles are the same dimensions as the old ones so I didn’t have to patch or drill any holes. That’s never happened for me before, and it felt like a major victory. (And yes, I know I’m missing two handles. They’re back ordered and are supposed to come in a week or two. Missing hardware seems to be a recurring theme of my ORC participation).
I think I’ve made some decisions about the headboard, so I’m crossing my fingers I can get that one done next weekend.
Thanks for following along.
And be sure to check out Calling it Home for all of the other ORC projects.