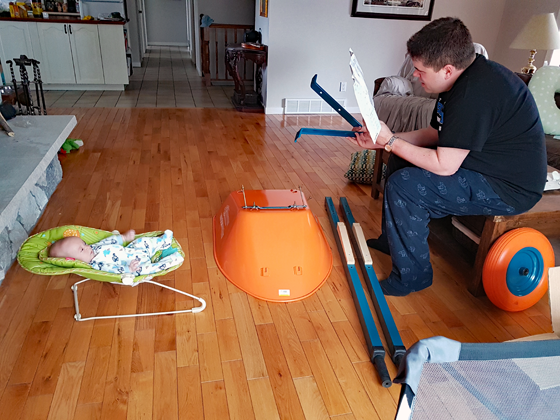
Thanks everyone for your good wishes on our new addition. We’re excited–and I will admit I’m still a bit nervous about this whole baby thing too. We had our pre-natal class this weekend, which was informative and encouraging, and I have (yet another) ultrasound this morning (this baby is going to have supersonic hearing after all of our scans). Overall, we’re feeling pretty good about where we’re at.
As you can see, 2017 was quite a year for us. Today I’m taking a minute to look back at the year that was from a personal, professional and farm point of view.
After thinking and planning for quite awhile, I took a leave of absence from my communications job at the end of August to spend some extra time with family and see if I could build my own communications consulting company. I love working from home and love working for myself. I’m still working on building my client base, but I’m so grateful to have this opportunity.
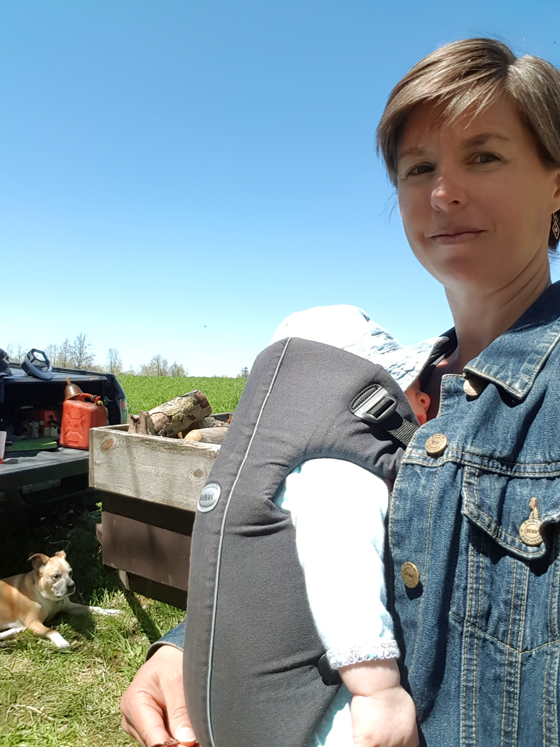
The timing for my leave turned out to be very fortunate, as at the start of July we found out we were going to have a baby and at the end of September Matt was diagnosed with an ocular melanoma. It’s been so helpful to have a more flexible schedule for appointments and most importantly to have the mental space to process and reflect on all of the changes in our lives.
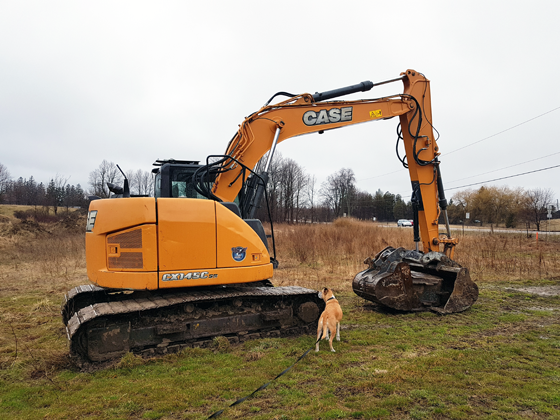
Along with all of that, we’ve replaced both our cars–my 14-year-old girl finally died and Matt’s year-old car was written off after he was hit by a driver who ran a red light. Matt ended up with a broken arm courtesy of the airbag, which derailed some of my plans for projects around the farm, but was a small hardship when he could have been much more seriously hurt.
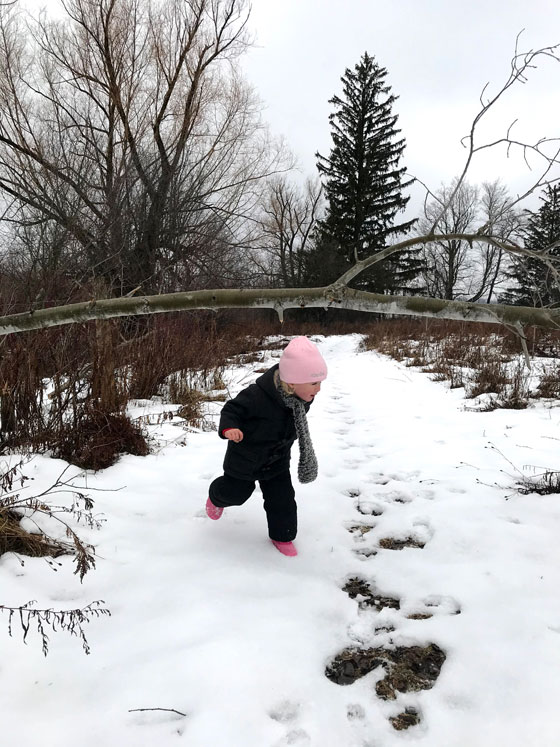
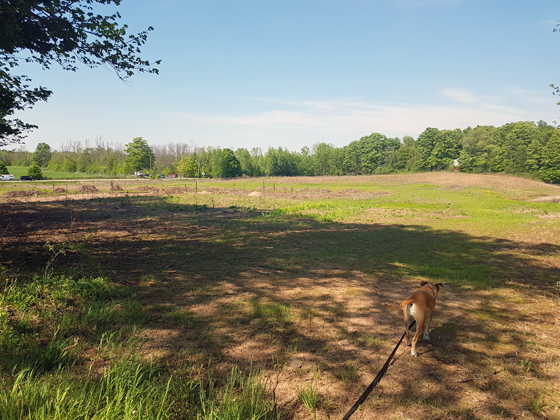
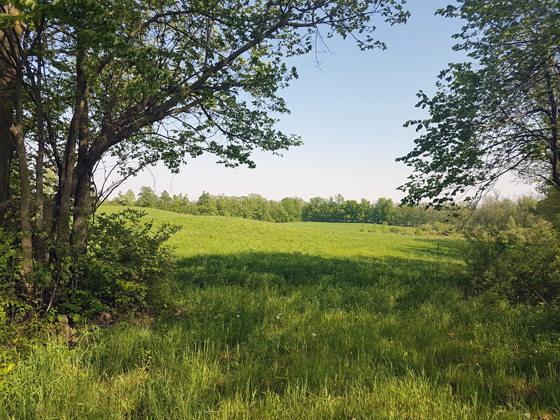
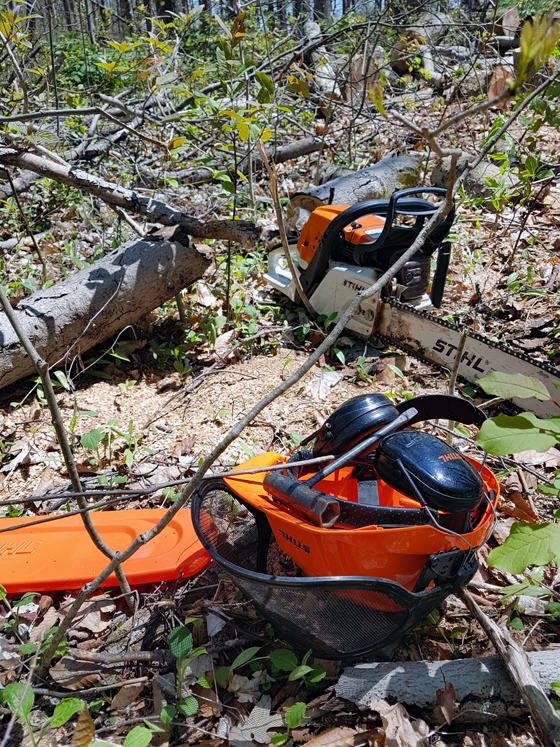
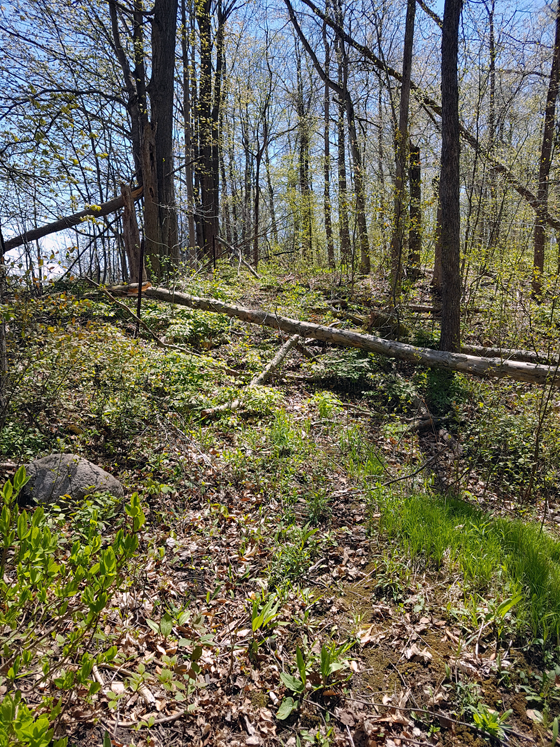
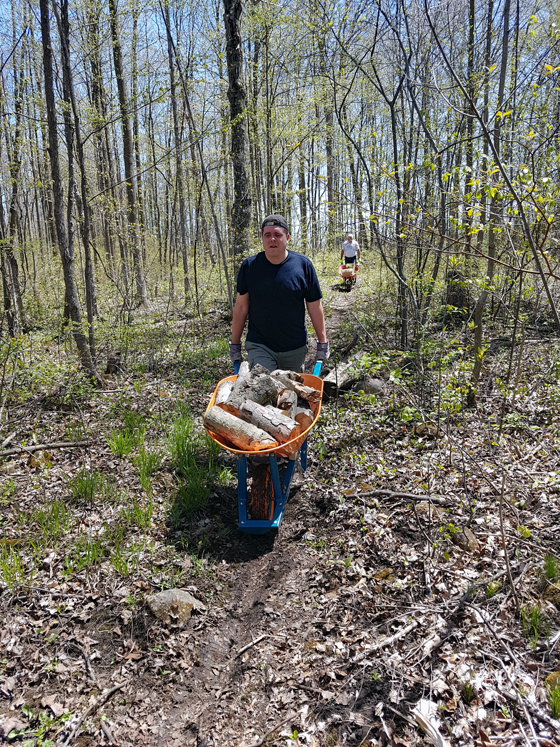
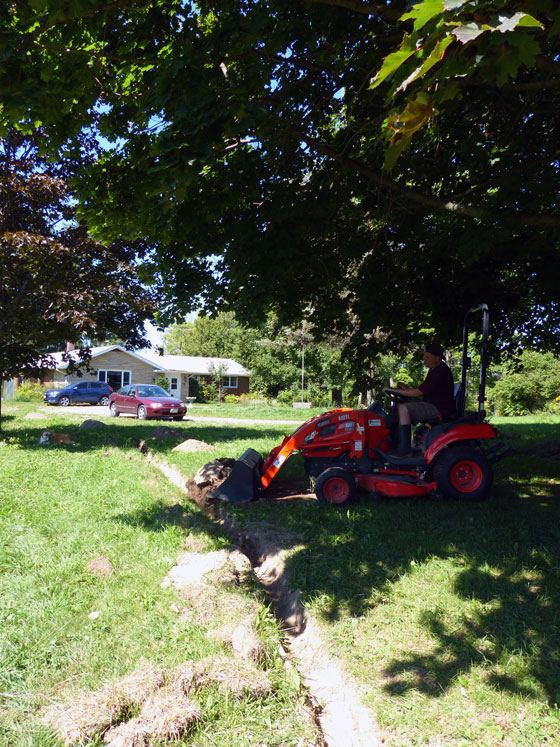
Amongst all of these changes and challenges, the farm has been our constant and our refuge. 2017 marked five years at the farm, and I can’t imagine being anywhere else. It gives both of us peace to be here, and also gives us an outlet when we need to distract ourselves with tractor therapy, digging in the dirt, painting something or just walking the property.
I have a feeling we’re going to be saying, “What a year!” for the next while (perhaps the rest of our lives?) as we watch this baby grow, adjust to our new family reality and continue with life on the farm.
As many of us do at the start of the year, I like to take a moment to look back and reflect on the year past. Beyond all of the personal changes in our lives, I also started 2017 with my usual list of Home Goals I wanted to accomplish at the farm over the year.
Looking back, we didn’t do too bad.
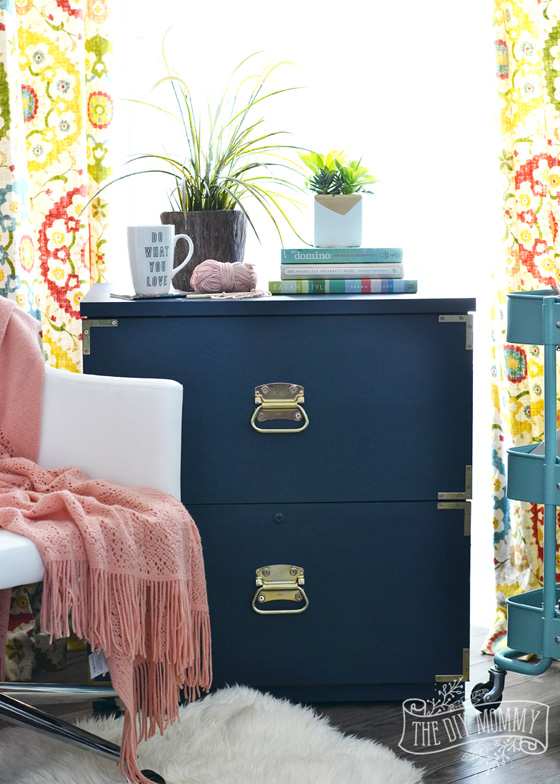
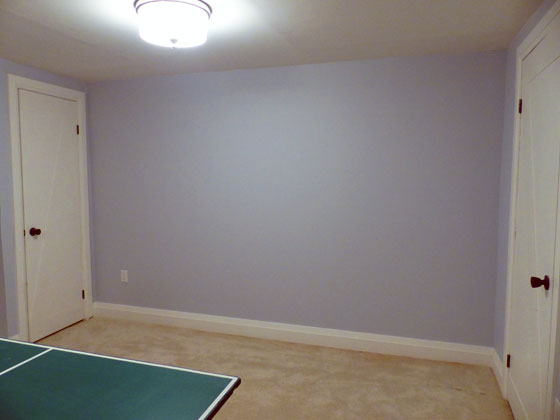
My office
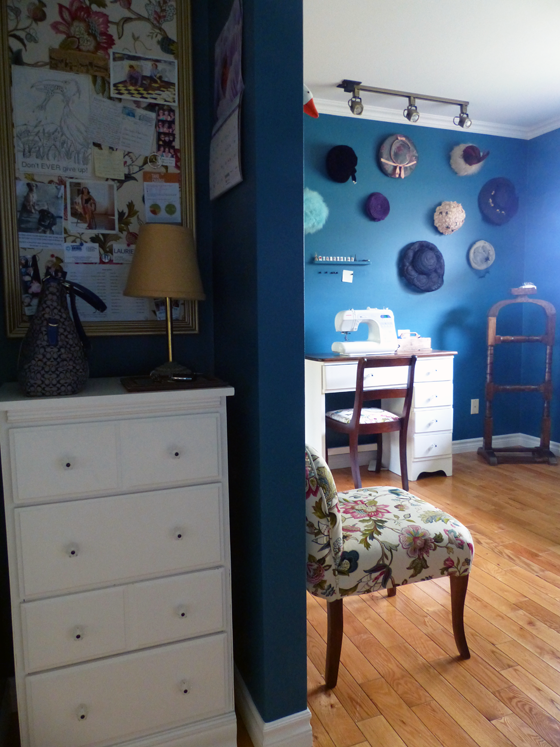
I was very happy to finish the final bedroom at the farm and finally unpack all of our moving boxes–only five years after moving in. Reupholstering my grandmother’s vintage slipper chair is a project I’m still very proud of. What I called my office ended up being more of a craft room and it was such a great space for creativity.
I say “was” because my office ended up seeing another makeover just a few months later when I decided to turn it into the baby’s room. I’m finding other spaces to be creative around the house, and I love how the baby’s room is coming together. I’ll be sharing all of those details soon.
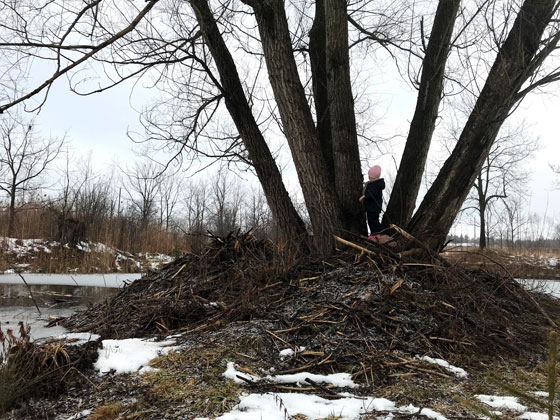
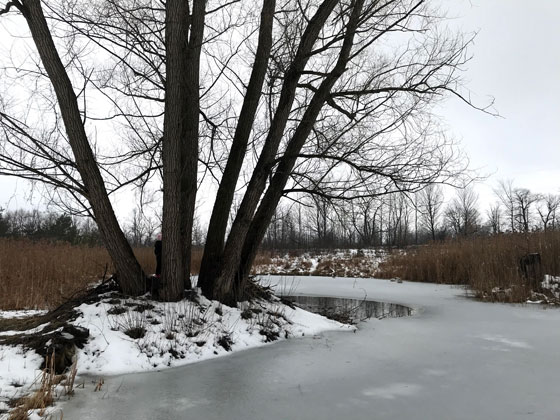
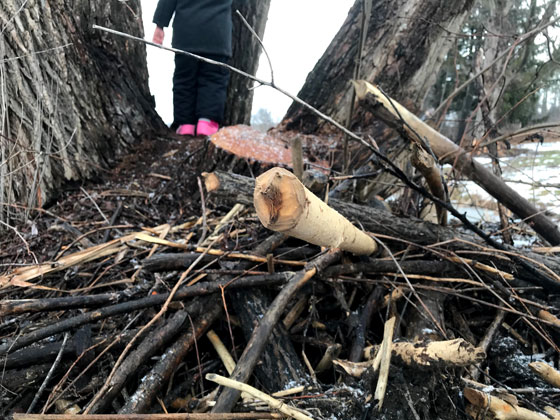
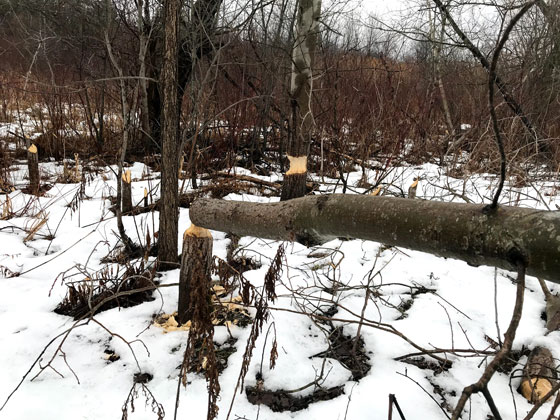
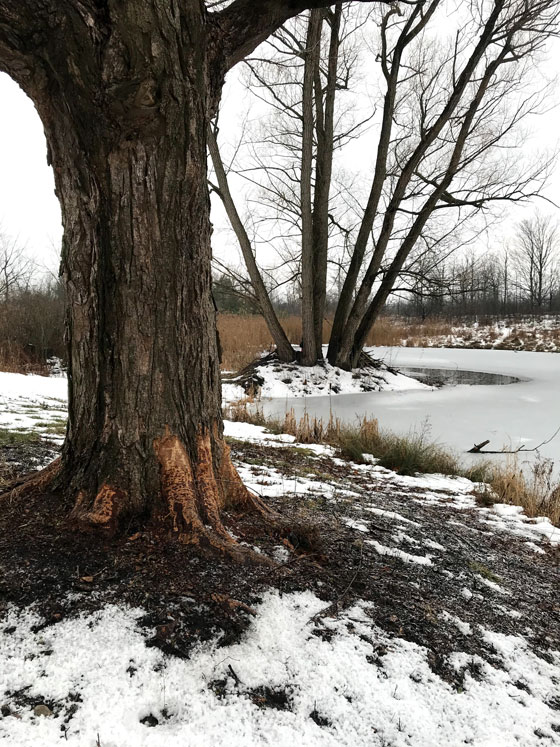
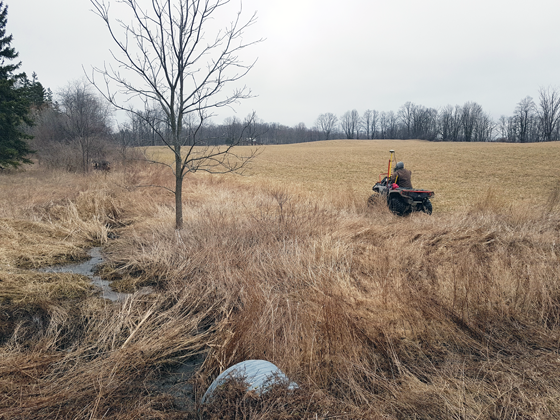
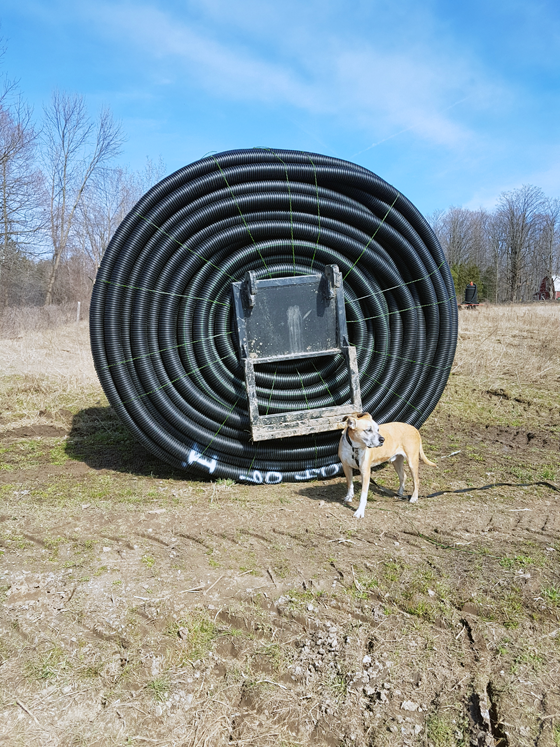
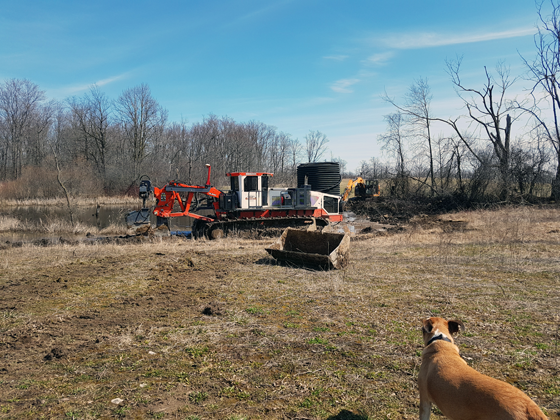
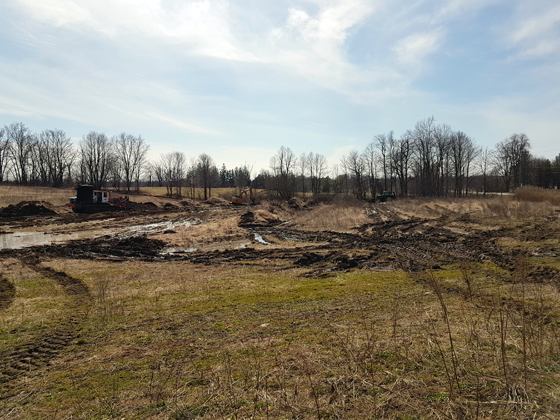
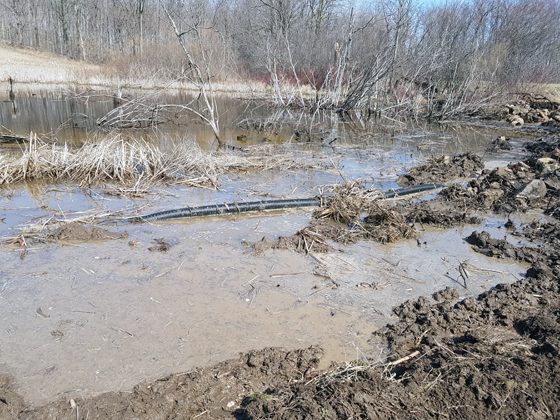
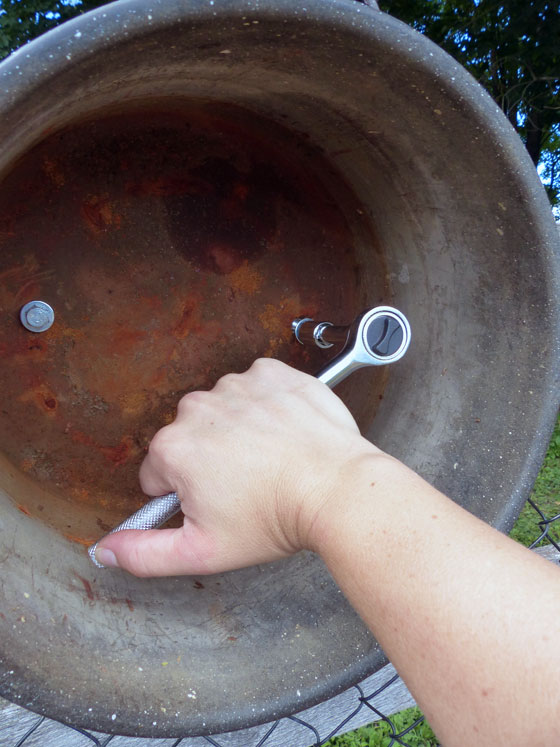
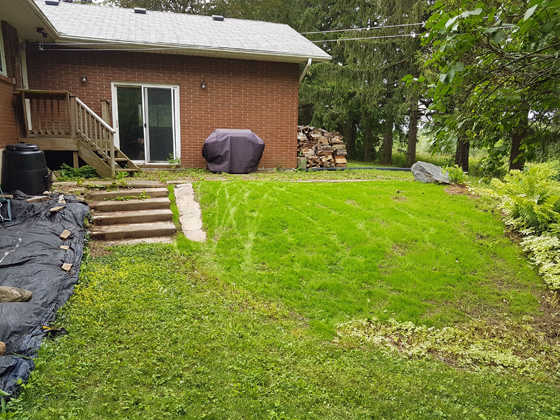
Clean up the pond shore

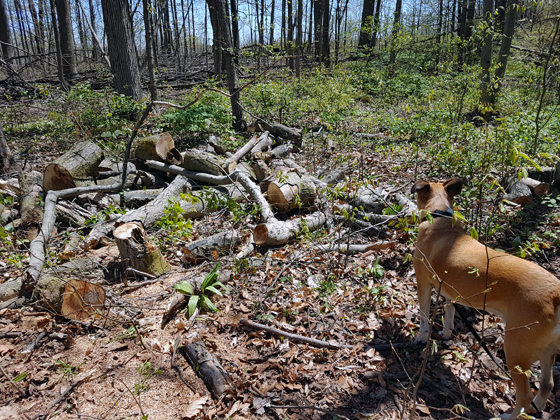
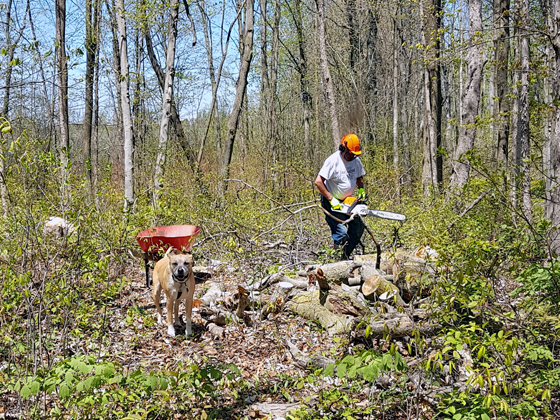
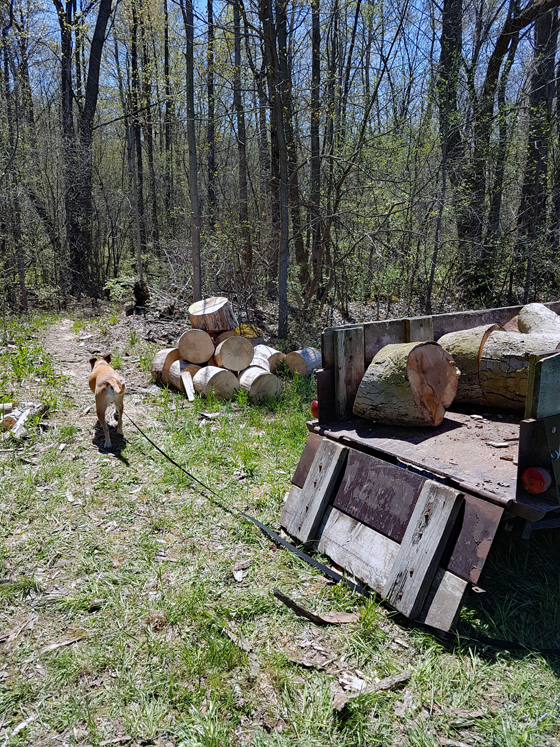
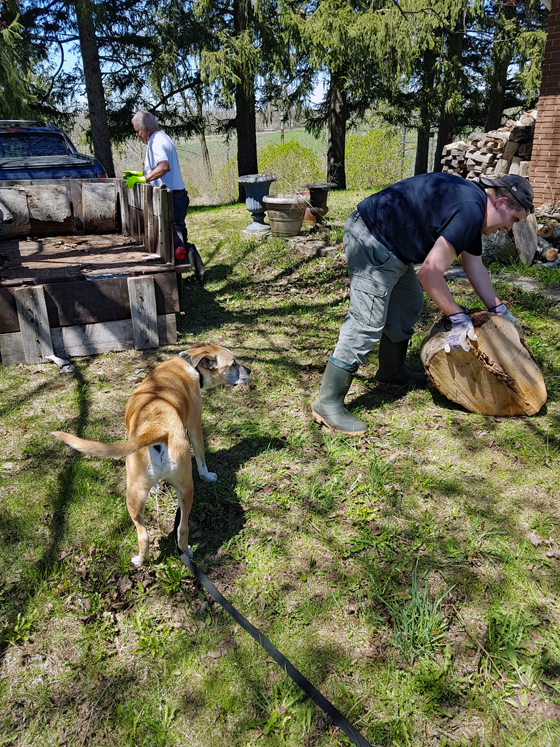
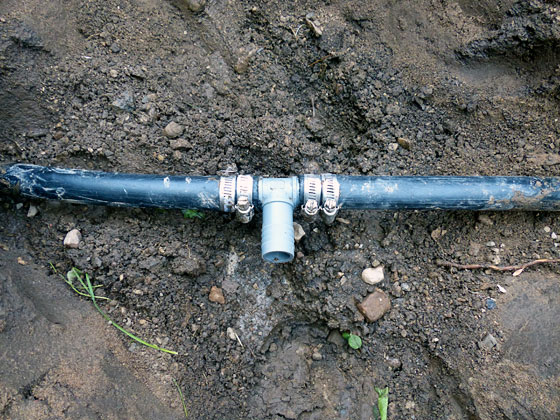
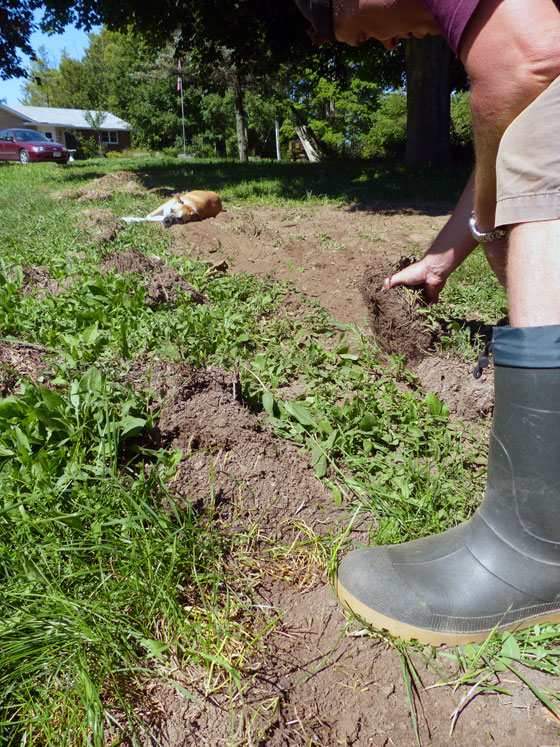
The pond shore was my one and only outdoor land clearing goal for the year (and we have plenty of spaces that I want to clear). Mid-year, I gave up on it happening, but then an enthusiastic nephew and a generous husband went to work over a few weekends, and we made more progress than I ever expected.
There’s still more to go, which might be difficult as I don’t think the baby will be as helpful as our teenage nephew, but Matt and I may be able to divide and conquer on this one. And regardless, every time I look out the kitchen window or walk past the pond with Baxter (which happens at least once a day), I’m grateful for the improved view and access to the water.
While I had planned to focus just on the pond shore, I did give the area right behind the house a bit of attention, and cleaned up (most of) the jungle that’s been there since we moved in.
Vegetable garden
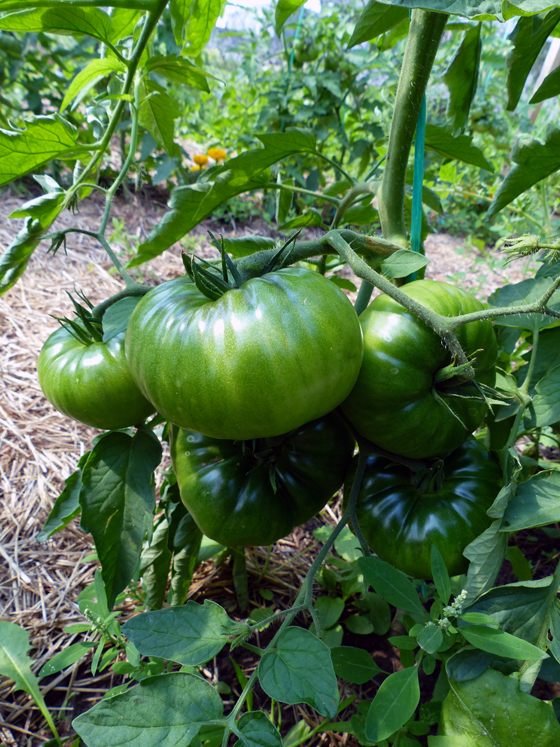
At the start of last year, I said I was going to add rhubarb (check), a second row of berries (check–ended up being blackberries) and maybe some more grapes (check). I also put in four blueberry plants to try. As usual, I’m crossing my fingers that everyone survives the winter and bears fruit this year.
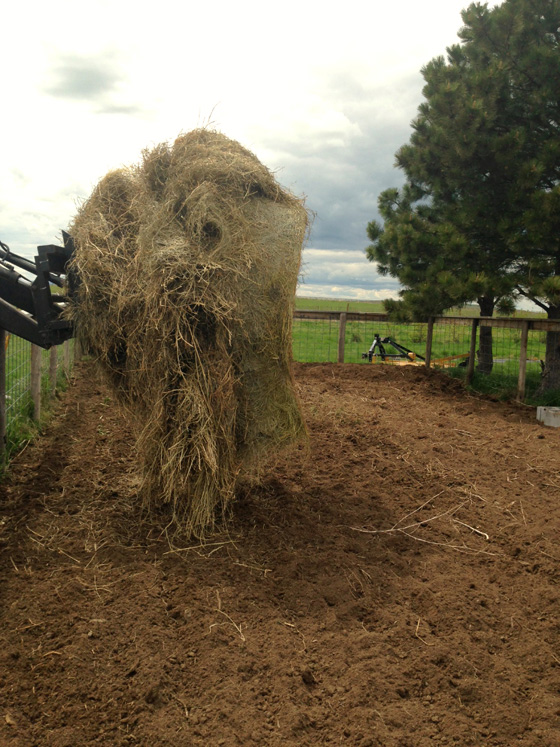
My biggest goal was keeping the weeds under control. I can’t say I was successful in that. I tried to find some old hay bales for a deep mulch but didn’t have any success. And in terms of weeding by hand, most of the season, I didn’t feel like weeding, and I gave into that feeling… a lot.
We capped off the year by covering two of the quadrants with tarps, and my tentative plan for the coming year is to leave the tarps in place. This will decrease the garden size by not quite half, which might just be manageable in our new reality.
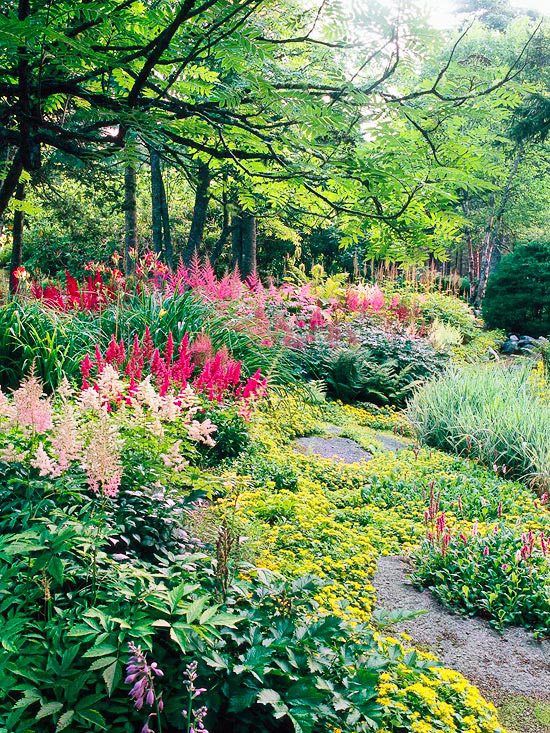
Flower gardens

The flower gardens got some half-hearted attention this year. I can’t say I met my goal of keeping them weeded and filled with beautiful flowers, but I did get in them a few times and they didn’t look too scraggly most of the time (I don’t think).
Basement
Uh, yeah. I still have empty picture frames leaning against the basement walls waiting for art. I didn’t get to this in the first half of the year, and, since I left my job, I’ve been careful about spending money on extras, even inexpensive posters. So we go yet another year with some unfinished areas in the basement.
However, I did finally share the transformation of the basement TV area and all of the details on how we decorated it. I love this space so much and am so proud of us for doing it ourselves.

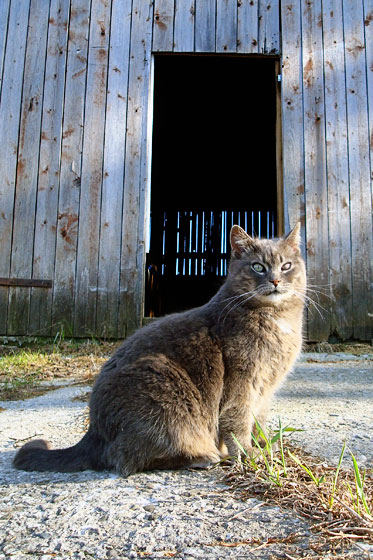
New barn cat
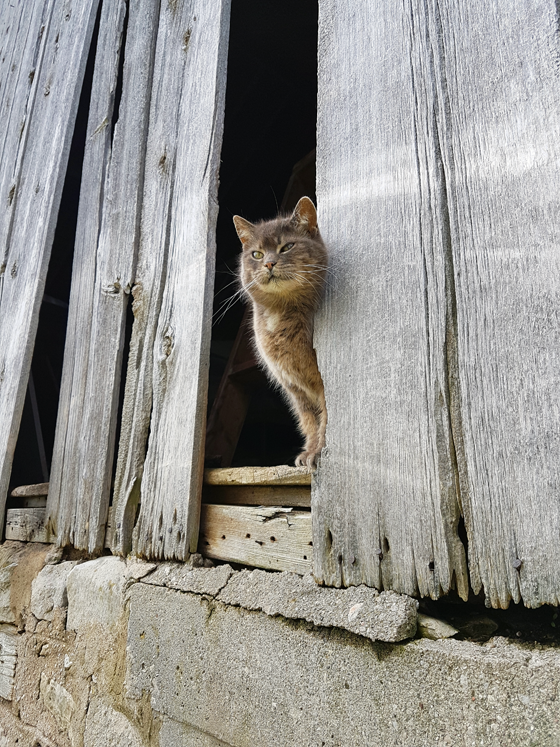
After talking to a few people, we decided not to add a new barn cat to our family. Ralph has things under control and she’s content. She doesn’t need company, and I’m not confident that expecting her to train a young cat would work. So Ralphie gets to be mistress of the barn. She can live out her years in peace, and we will take our chances with adopting a new cat when we need it and hope that the newbie lives up to Ralph’s high standard.
Extras
As always, a few extra projects sneak into every year. I can call another room completely finished–the guest room–after refinishing a vintage metal bedframe. Spoiler alert, the guest room has since seen a few more changes as it’s become guest room/sewing room as I’ve given my office over to baby.

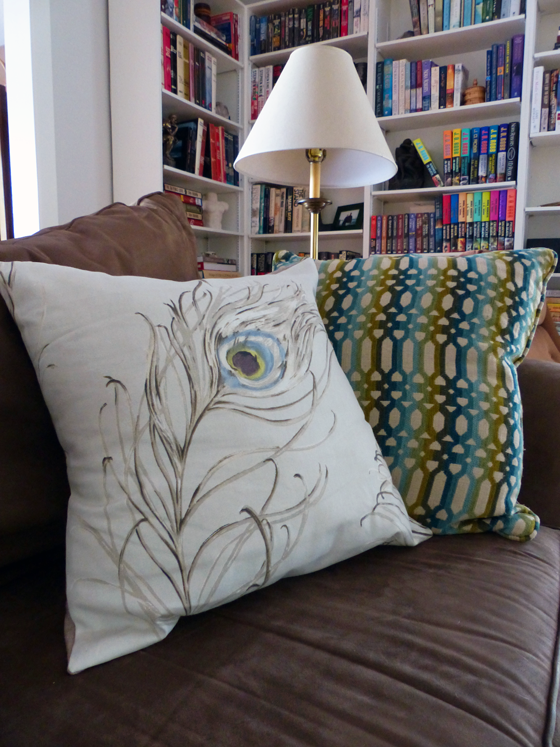
The living room also saw a few tweaks with a new mirror on the mantel and new pillows on the couch. I’ll be sharing our new coffee table soon too.
So around the house, 2017 was a mix. Which is okay and pretty normal for us.
We had enough abnormal in the year that I’m grateful that projects and the farm are such a refuge for us.
How was 2017 for you? What was your big accomplishment for the year?