The last straw in the vegetable garden

My approach with our vegetable garden is to view it as a big experiment. I do a bit of research here and there, but mostly I dive in and cross my fingers.

We added two new crops this year that I view as experiments: asparagus and grapes.

Asparagus isn’t really a huge experiment. I know how it grows. We like to eat it. However, most people grow asparagus from crowns. I started ours from seed. This means it will be probably four years before we harvest any asparagus.

Nurturing our asparagus along is an experiment.

My very basic research on asparagus told me to wait until the ferns turn brown, then cut them down and top them with compost and straw. This weekend, I judged that the ferns were brown enough.

Asparagus ferns in fall

You can see that our asparagus are very spindly. I’m not sure if this is because they’re brand new, or because I planted them in the raised bed, which is filled with what we discovered is very poor triple mix.

Tiny asparagus spears

Either way, they need some coddling. While this bed could probably benefit from some compost, I’ll leave that for the spring. For now, I just covered the asparagus stumps with a healthy layer of straw.

Straw mulch in the vegetable garden

I also applied the straw to our other experiment, the grapes. I fully admit that I have no idea what I’m doing with the grapes. Despite the reading I’ve done, I’m not at all clear on how to prune them, trellis them or just in general care for them. So I’m making it up as I go along based on what I think I’ve read.

Our grapes are new and they’re a little exposed on the outside of the garden on the edge of the field. So I figured some mulch might help to insulate their roots.

Grapes mulched with straw

As often happens with me, once I get started, I got a bit carried away.

After mulching the asparagus and grapes, I thought, “Why don’t I just roll the whole bale into the garden and see how far it goes?”

I wasn’t entirely sure I’d be able to move the bale on my own, as Matt and I have always done it together up to this point.

It turns out I can. Not easily, but I can.

Mulching the garden with straw

Between hacking at it with the pitchfork and unrolling it, I covered about half the garden.

Straw mulch in the vegetable garden

Those big round bales are full of a lot of straw. And this one was quite old, so the layers were very matted together. It always felt like a major victory when a large flake or one full coil peeled off.

So that brings me to my third experiment: seeing if a thick straw mulch helps to control weeds. My fingers are crossed–my default approach to gardening.

Gratuitous Baxter picture: Dude’s ears very rarely stand up. But an afternoon outside and a garden full of sniffy straw are exciting–or at least halfway exciting. He looks so ridiculous that I couldn’t resist sharing a photo.

Baxter with one ear up

Anyone have any tips on growing asparagus or grapes? Do you use straw in your garden? Or a different type of mulch? Anything else I should do this winter to protect my little plants?

Milkweed gone to seed

Burst milkweed pods

The milkweed has burst. Across the farm, fluffy white “snow” is flying around. All the way up the trail from the pond, the fuzzy seeds are sprinkled over the grass.

Milkweed seeds

Milkweed is precious because it’s the one and only food for Monarch butterflies. We seem to have a bumper crop of seeds this year, so I’m hoping this means more plants next season.

Milkweed seeds

Winter rye cover crop in the vegetable garden

Winter rye sprouts in the vegetable garden

Look at our pretty green sprouts.

Fall in Ontario is about brown. Gardening season is done. Leaves, grass, flowers are all pretty drab. But we have one new crop growing.

This is our winter rye cover crop in the vegetable garden. It’s our first time trying a cover crop.

We love our garden and how productive it is. So we’re working hard to maintain the quality of our soil. Last year, I spread straw and manure all over the garden. This year, we’re going with so-called green manure.

In the spring, we’ll cut the rye and turn it into the soil.

Have you ever grown a cover crop? Do you have any green growing at your house?

Vegetable garden highs and lows

I’m going to go a bit corporate today. Have you heard of a SOAR analysis? It’s a business planning exercise where you look at the strengths, opportunities, aspirations and results for a particular project. It’s a bit friendlier than the old-school SWOT (strengths, weaknesses, opportunities, threats).

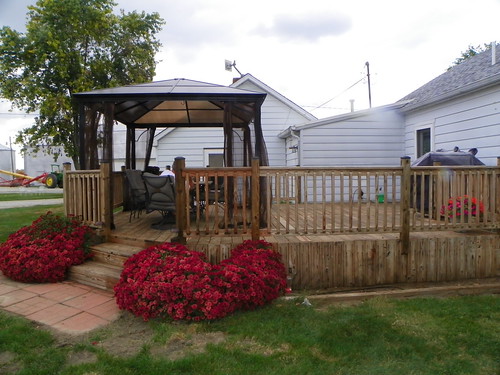
Today’s project is the vegetable garden.

Vegetable garden in October 2016

Matt and I officially harvested everything last weekend. We have more clean-up yet to do, but I feel like I’m ready to look at what worked and what didn’t… or, more positively, what opportunities there are for next year.

Strengths

Soil – We have a great garden, and I can’t really take a lot of credit for it. Our soil is fabulous, and I’m doing everything I can to keep it healthy (see opportunities below).

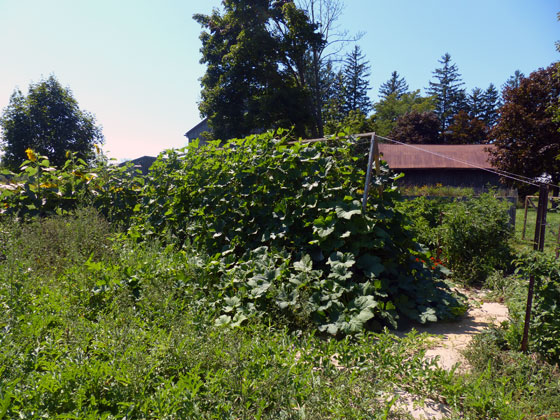
Trellises – I’ve written about growing our raspberries, tomatoes and squash vertically. It totally worked. We got great yields in much less space than we would have without the trellises.

How to grow squash vertically

Watering – This was a very, very, very dry summer. I was very thankful for our well, so that we didn’t have to pay municipal water fees. We watered every other day–more than is recommended by most gardening how-tos–but I think it made the difference between losing most of our plants (which didn’t happen) and harvesting a very impressive crop (which did).

Crops – In terms of impressive, the key successes this year were peppers and beans, which last year did next to nothing. Two new crops–sunflowers and watermelon–were also great successes. The watermelon took forever to ripen, but finally made it thanks to the hot summer weather continuing well into fall.

Watermelon harvest fall 2016

Our potatoes, tomatoes and zucchini were crazy prolific as usual, and the new versions we tried–ridiculously giant Sicilian Saucer tomatoes and Russian Blue potatoes–were fun additions.

Russian blue potato

Opportunities

Raised beds – Argh the raised beds. I love having the perimeter beds in the garden, but the soil we bought for them was not good at all. Weeds didn’t even grow. The asparagus, hollyhocks and some of the herbs eventually got some traction, but it took all season. The carrots, beets and onions were nearly complete failures. Some of the herbs just shriveled up and died.

Pathetic carrots

Dead lavender plant

I’m not sure what we need to do to remedy this next year. The soil was triple mix which is supposed to include compost, peat moss and top soil. However, our triple mix is very sandy and seems to be deficient in nutrients. I’m thinking all kinds of compost and manure might revitalize it.

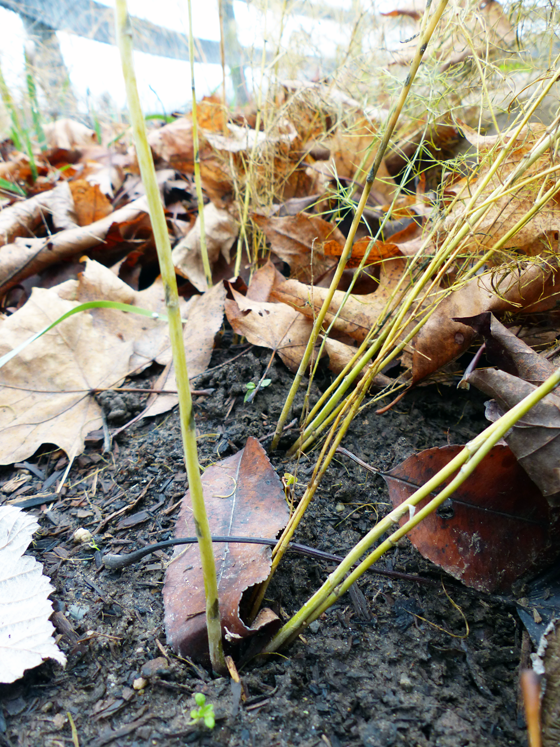
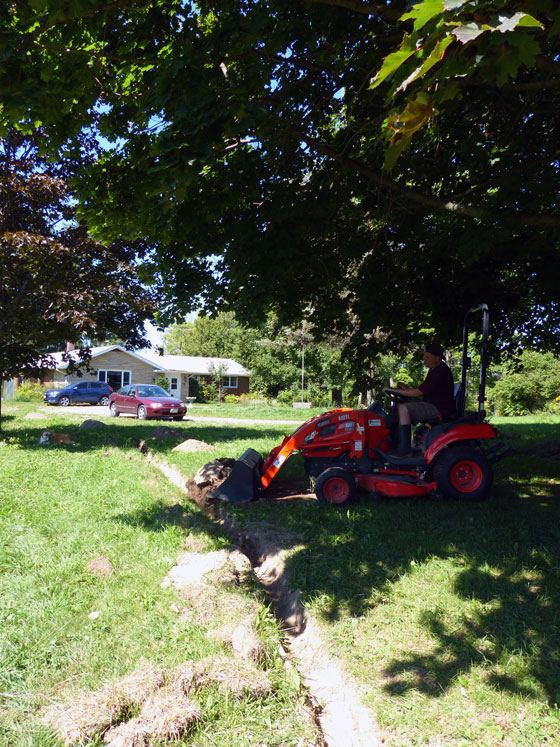
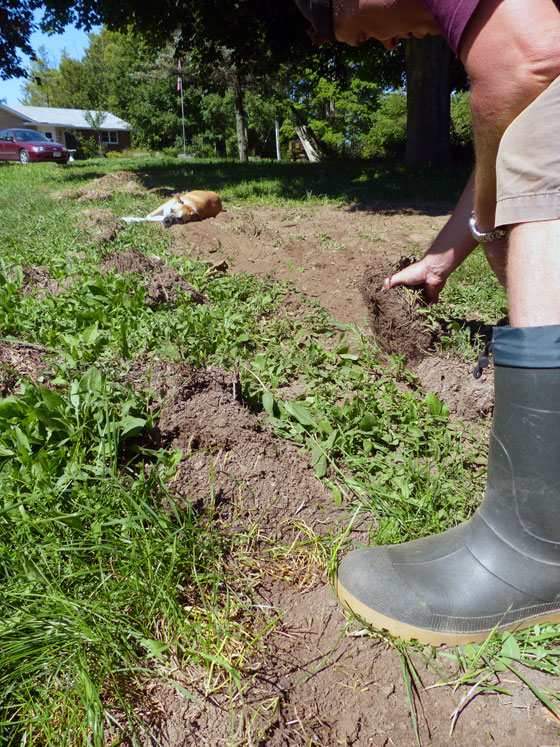
Black raspberries – My attempts to domesticate the wild black raspberries that grow elsewhere on the farm was also a big fat fail. These plants can only be described as brambles. They’re thorny and floppy–and when they flop over, they root themselves into the ground making a big tangled mess. I channeled Sleeping Beauty’s Prince Phillip and dug them all out last weekend. I’m looking forward to finding a new kind of berry to plant in their place next spring.

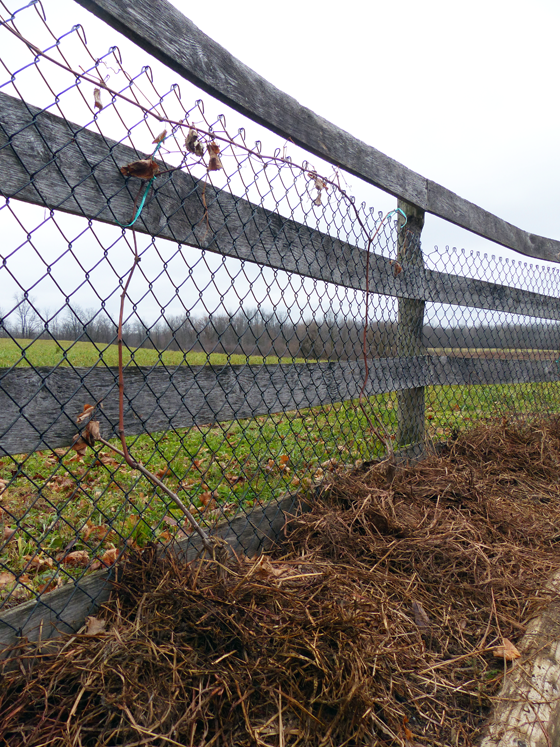
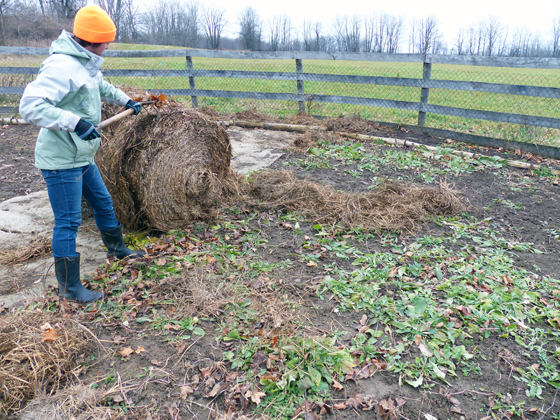
Weeds – One of the things I wanted to try this year was using a deep layer of straw as a mulch over the garden to smother the weeds. Matt and I brought an old abandoned bale of straw up to the garden, but I never got around to spreading it over the garden. We didn’t keep up with weeding by hand, so the garden was very, very weedy. The deep mulch method is still on my list for next year.

Weedy garden

Plant the whole garden – Our garden is big. Last year we planted just half, but this year we made it up to three quarters . I ended up mowing the weeds in the empty quadrant all summer. Not the best use of space. I’m hoping that we can use the whole garden next year.

Aspirations

Maintain the soil – I’m learning that gardening is about growing soil, more than growing plants. Last fall I added ash and manure to the whole garden. This year, I’m aiming for more manure and some compost–especially in the raised beds. I’m also trying a cover crop for the first time, seeding one quadrant with winter rye. Crop rotation is another consideration that I’m realizing takes lots of advance thought–as in years in advance.

Slow-growing crops – Asparagus and grapes were two additions to the garden this spring. Both are going to be long-term commitments, and I’m hoping that they make it through the winter and thrive next year.

First year grape vines

New additions – I’m looking forward to adding more herbs to the raised beds and putting more thought into how they’re clumped around the perimeter of the garden. Another consideration is maybe a cutting garden, or at least dressing up the vegetables–and filling some of the vacant spaces–with a selection of flowers.

Results

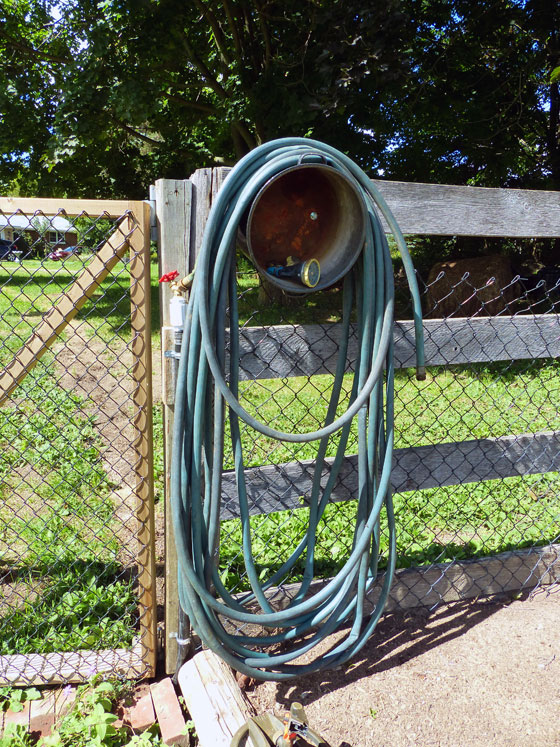
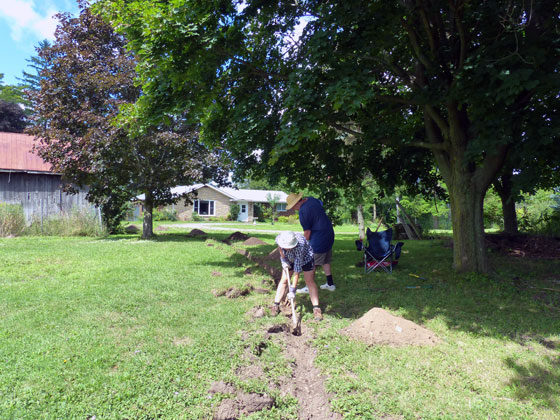
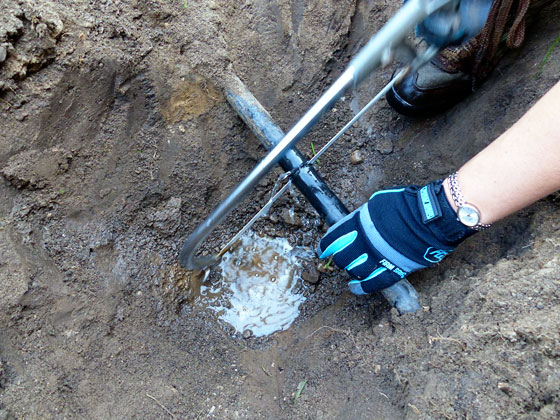
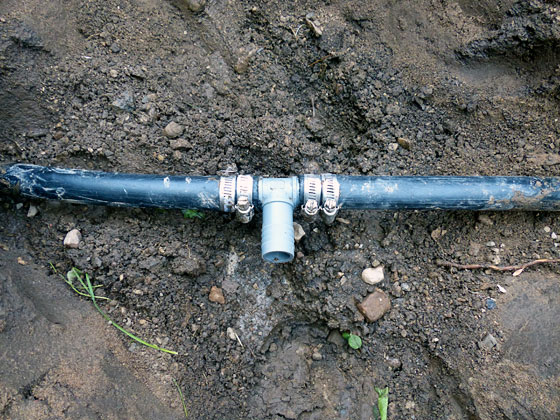
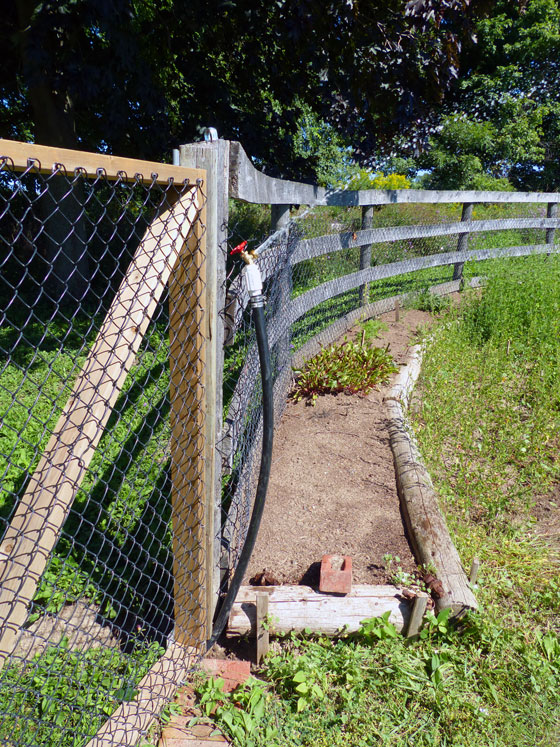
Infrastructure – There’s another corporate, distinctly non-garden word for you. But I don’t know how else to describe the base structures that form the garden–and that as of this year are all done. Last year our big accomplishment was the fence. This year, we added the curbs, raised beds, trellises, gate and waterline. I’m looking forward to not “building” the garden next year and just planting it.

#Harvest16 – Once again, the garden was super, duper productive. We had more zucchini, tomatoes and watermelon than we could use–to the benefit of our families and co-workers. We’re hoping that our squash and potatoes last well into the winter. Any storage tips?

Garden harvest fall 2016

Preserving – I feel like growing your own garden soon leads to preserving your own food, and this year Matt and I dove in to canning. We pickled about 10 pounds of beans–I was skeptical, but they’re so good I can eat a jar on my own–and made nearly 12 litres of our own ketchup–Matt is a big user of ketchup and is very particular about his preferred brand… although he has now switched allegiances to our homemade version. We’ve also loaded up the freezer with beans, roasted tomatoes, grated zucchini and plan to add peppers.

I’m not quite ready to call this year’s garden completely done, but I am ready to call it a success. In fact, we have also fulfilled every single goal I had for the garden in my original Home Goals 2016 post. That’s an achievement.

How did your garden grow this year? Any tips for storing potatoes and squash? Or favourite recipes to share? Anyone have ideas for the soil in our raised beds?

Growing sunflower seeds

It’s been neat to watch the sunflowers go through their various stages of growth.

More than a month ago you saw the cheery blossoms.

A couple of weeks ago, the seeds started to come in. The spiky flowers in the centre of the blossom dropped off to reveal the tightly packed seeds.

Sunflower seeds

Sunflower seeds

It was about this time that the local wildlife seemed to discover the sunflowers.

I had hoped to get another photo this week, but the flowers have been nearly picked clean. Most of the seeds have been consumed.

The biggest culprits are the blue jays. Any time I walk past the garden, at least six jays erupt from the sunflower patch. We’ve also spotted chipmunks and squirrels.

So it appears that we may be buying bird seed again this year.


How to grow squash vertically

Last year, our squash took over the garden. Fully half of our nearly 2,500 square foot garden was completely covered in squash vines.

We loved the squash that we harvested, and we knew we were definitely growing squash again. However, we knew that we weren’t willing to give up that much of the garden this year.

My plan to corral the squash was first to plant less. No matter how much we like squash, we cannot eat nearly 40 butternuts and about 70 acorns (last year’s harvest).

Wheelbarrow full of acorn squash, butternut squash and pumpkins

The second part of the plan was to coax it up, rather than across. Up was a theme of our garden all this season. I’ve already shared how our raspberries and tomatoes are growing vertically. Now it’s time for the report on our final vertical experiment.

And this truly was an experiment. We were growing acorn and butternut squash. They weren’t small and lightweight. I wasn’t sure whether the vines would be strong enough to support the hanging fruit.

Back in the spring, I built a large A-frame. It was about 8 feet tall and 16 feet long.

A-frame squash trellis

We used 2x3s for the As with plywood at the peaks for extra stability. The top ridge is two 2x2s. Each A is screwed into stakes that are hammered into the ground. We spread wire fencing across each side and attached it to the wood with big staples. Just for extra stability, we tied each end of the trellis to the fence so that it couldn’t fall over.

How to grow squash vertically

With the A frame in place, I planted (half) our squash seeds under the trellis.

Squash seedlings

As the plants grew, I tucked the vines into the mesh. The vines were a bit fragile and bruised or even snapped easily. I learned it was important to not let the plants get away from me. I had to be diligent about training them up the trellis before they grew too big. Fortunately, the squash seemed to recover quickly from any of the damage I inflicted.

Squash growing up an A-frame trellis

Just like last year, though, the squash took over. Thankfully, this year it took over in the right direction–up. Soon, the whole A frame was completely covered.

squashtrellis7

The plants blossomed and set fruit. And I crossed my fingers that the fruit would stay on the vines long enough to ripen.

We’re nearing the end of the season now, and I’m happy to report that things are looking really good. The leaves are starting to die off, so you can see just how good for yourself. Behold, the squash.

How to grow squash vertically

Yup. Once again, we have a whole lotta squash. And they’re big ‘uns. Oy vey.

How to grow squash vertically

The butternuts are phenomenal. The acorns are more iffy. But I’m not sure that I can blame the trellis.

First, we don’t have quite as many acorns as I was expecting. The butternuts definitely have them beat for quantity.

Second, the acorns aren’t exactly all acorns. They come in a few different shapes. Any ideas what would make them grow so differently?

Elongated acorn squash

Mishapen acron squash

Despite some mutants, I’m calling the vertical squash growing experiment a success. It’s definitely a method we’ll be using again.

Have you done any experiments in your garden this year? Have you tried vertical gardening? What’s your favourite type of squash? Any tips for storing the squash or recipes to share?

Save

Save

Save

Save

Save

Making more ‘mums

Almost exactly a year ago Sarah in Illinois wrote a post about sealing her deck, and she included a photo of the very impressive chrysanthemums that were growing on either side of the deck stairs. A year later, they’re even more impressive–and they’ve multiplied. Read on to learn about how Sarah successfully split her mums.

Last fall I shared a picture of my mums. I was really proud of them. They were so full and added so much color to our deck.

Then this spring Julia and I had a garden challenge. One of the projects I checked off my list was to divide my mums.

I simply dug them up out of the ground, divided them into a few same-sized clumps and planted them back into the ground around our deck.

That is it. That is all I did.

Then this is what happened.

I know. I am as impressed as you are.

I have had neighbors stop and ask me what my secret is. But all I can say is, I watered them for the first week or two after I transplanted them. That’s it. No fertilizer. No secret concoction. I didn’t trim them back or even sing to them! I just sat back and let them go.

That’s my kind of gardening.

Holy chrysanthemums, Sarah! Those are gorgeous. I’ve heard that some plants do better after splitting, and this seems to definitely be the case for your mums. My frugal heart also loves that you now have six huge plants and didn’t have to spend any extra money.

How we installed a waterline for the vegetable garden

A big to-do on the garden task list is now done. We finally have a hose at the garden… and I’m so happy to cross this one off the list.

Hose in the vegetable garden

With the lack of rain we had this summer, we watered the garden a lot. However, the closest hose was at the driveshed. That was three hose-lengths away. I had screwed the hoses together back in the spring, and most of the time we kept them laid out across the yard. But any time I had to wind them up (like every time we cut the grass) it was a heavy haul.

Adding a tap at the garden was one of my Home Goals 2016. I already shared a bit of the misery that was digging the trench from the driveshed to the garden (ground so hard, summer so hot, rocks and roots so many, garden so, so, so far away).

Trenching a waterline to the garden

When I measured the trench, it came out a bit more than 100 feet. I spent a week visiting various home improvement stores and then specialty plumbing suppliers trying to find someone who would sell me 110 feet of irrigation pipe. All I could find was 100-foot or 400-foot coils. Ugh.

I bought 100 feet and crossed my fingers that we could splice on a small extra piece we had at the farm already and still make it to the garden.

But it turned out I was worried for nothing. When Matt and I unrolled the pipe and laid it in the trench, it easily reached the garden. Thank goodness for small wins.

The other thing I was worried about was our plumbing abilities. I had a plan, but I wasn’t sure if it was actually going to work.

We dug down to the waterline that ran to the hose at the driveshed. After turning off the water, I took a deep breath and cut through the waterline with the hacksaw. So much for my brand new work gloves.

Cutting a waterline with a hacksaw

Then we inserted a T. A note about these connections. They fit super, super tightly. We boiled the kettle and then Matt poured the hot water over the pipe and that softened the plastic enough that I was able to wedge the fitting into place. The clamps on either side provide extra insurance to hold everything together and prevent leaks

Adding a T connection on a waterline

From there, it was easy to connect our new 100 feet of pipe.

Running a waterline for a garden hose

At the garden, the pipe sneaks under the brick threshold at the gate and up the post. Look how much pipe we had. Exactly the perfect length. And look at the water flowing. We did it! And there are no leaks! Big wins all around!

Adding a hose at the vegetable garden

Backfilling the trench was much easier than digging it out. Wiley helped which was huge.

Backfilling the trench with the tractor

Baxter did not help. In fact he staged a sit-in (lie-in) to protest when Matt started to put the sod back down. “Dirt is good, dude.”

Baxter lying in the dirt

The finishing touches were clamping the waterline to the fence post and then installing a hose hanger.

Rather than a typical hanger, I wanted to try a metal bucket. I’ve seen a few other people do this, and I figured it would give us a place to stash nozzles or maybe even some garden tools.

Again, I spent some time running around to various stores trying to find the perfect bucket. Then I remembered a rusty old canning pot–one of our many gifts from previous owners. I knew there was a reason I didn’t throw that out.

I drilled a couple of holes in the bottom and then bolted it to the fence.

Using a pot as a hose hanger

Then I dragged the hose out to the garden one final time (except for seasonal shutdown, but don’t burst my bubble, okay?) and coiled it up.

Hose in the vegetable garden

Such a great addition to the garden. And this is actually our final to-do on our garden to-do list. This year has been all about adding the structure (raised beds, trellises, perennials) and functionality (gate, trellises, hose) to the garden. I think all of this is going to make a huuuuge difference next year.

The other thing that is going to make a huge difference–and that we have yet to do–is clean up. We have a whooooole bunch of weeds that I want out of there before winter sets in. That’s still a few weeks away though, as harvest is still going strong.


How is your garden growing? Does plumbing make anyone else anxious? How do you handle irrigation in your garden?

Save

Save

Save

Save

Save

Save