Six weeks ago when I launched this Dueling DIY adventure, I thought, “I got this. No problem. I’ve got six weeks! Sarah’s going down.”
I had a somewhat ambitious list, but I thought it was entirely doable. Now that we’ve come to the end of the challenge and my final report, I’m stiff, I’m sore, I’m proud of what we accomplished… but I’m also a little bummed that I couldn’t cross everything off.
In that respect, Sarah, whose update you saw earlier this week, is the winner.
Here’s my final list:
- Hang the gate
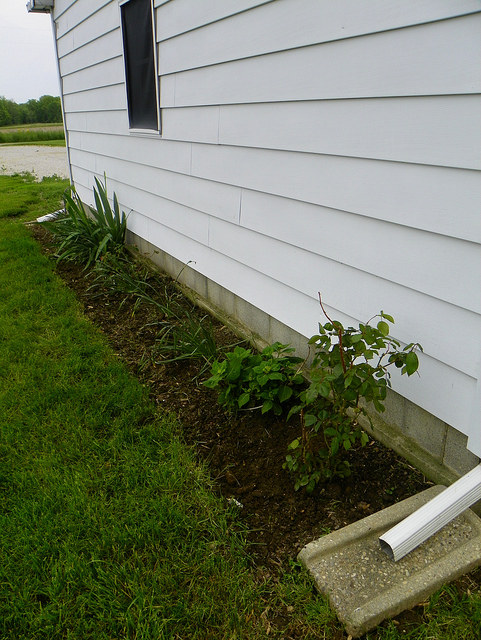
Edge the gardenBuild raised beds around the perimeter- Build trellises for the raspberries, tomatoes and squashes (I have wood and wire, but nothing’s put together yet)
Start a few seeds indoorsTillintheash,strawandmanure(still only half the garden is done)
And a couple of maybes:
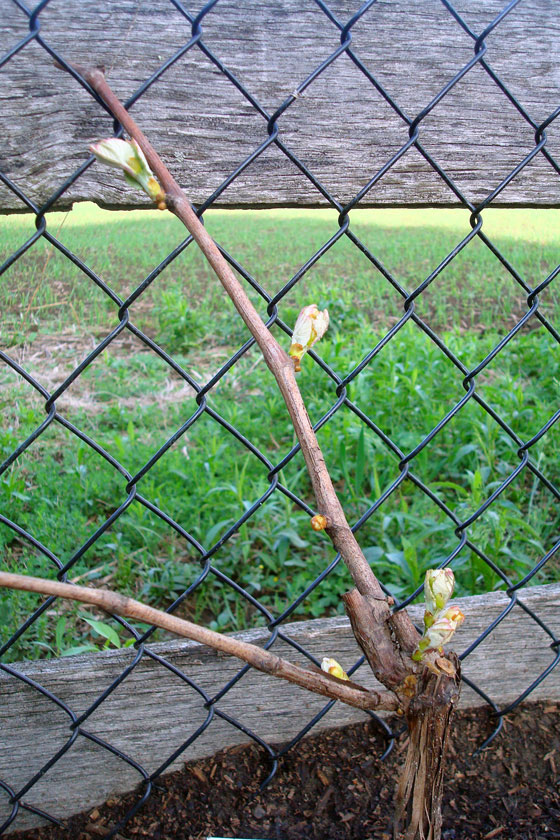
Weather permitting, plant grapes and potatoes- Run a waterline out to the garden (this one is Matt’s task, so I’m not really feeling too bad that we didn’t get this done)
So I made it just over halfway through my to-do list (56% if you’re wondering).
The perimeter beds were definitely a much bigger project than I anticipated–both in terms of the amount of work and their literal size. But I’m really happy with how they turned out. In fact, I’ve already started filling them up with onion (seeds), sunflower (seeds) and grapes.
Although filling might be a bit of an exaggeration. According to my original calculations when we started this challenge, the perimeter of the garden is approximately 175 feet. The beds are just over 2 feet deep, which means we have 350 square feet in the perimeter alone. I’m not sure Matt and I eat enough food to keep up with this garden!

The outer beds are obviously where I spent most of my time throughout this challenge, but the interior of the garden–or at least half of it–got some attention too. We’re now up to 5 rows of potatoes (who exactly is going to eat all these?). We have three rows of reds, which we grew for the first time last year, and then we have two new varieties that we’re trying out: Kennebecs (highly recommended by Karen at The Art of Doing Stuff) and Russian Blues (another Karen suggestion that I couldn’t resist adding just for fun).

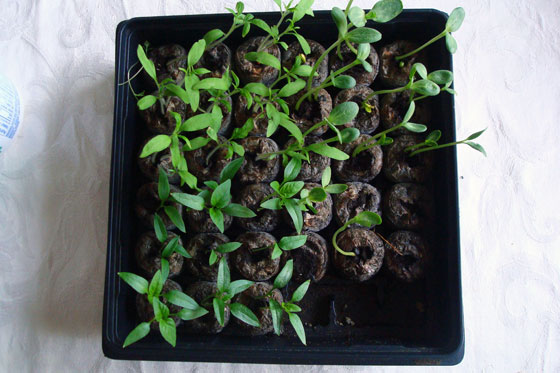
Our sprouts have overcome their damping off and are growing well. In fact, I’ve moved on to the hardening off stage and they’ve spent a few days outside this week. Matt brought home some tomato plants to supplement our own seedlings. Those can probably go in the garden this weekend, but I’m going to let our sprouts grow a bit more before they move outside permanently.
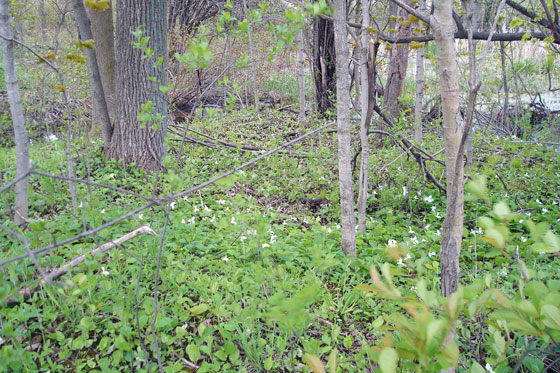
Aside from finishing the raised beds, our biggest accomplishment last weekend was wrestling an abandoned hay bale out of the tree line beside our big field (where it and a friend have lived for years)…

onto the trailer (seriously, it took us about 45 minutes to get to this point)…

and up to the garden.
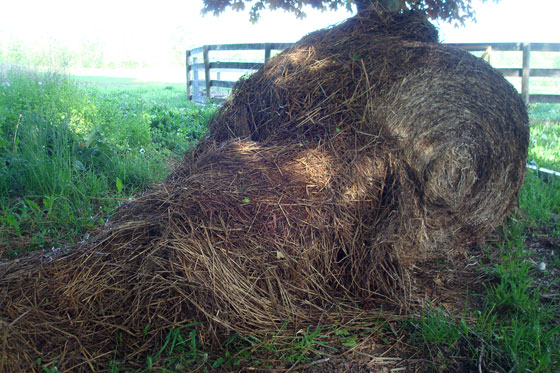
I’m going to try the deep mulch method to deal with weeds, maintain moisture and add nutrients to the garden. This bale is going to be my mulch. Hopefully it’s enough because I do not want to go back to get his friend. What a ridiculous way to spend a holiday Monday morning.
So obviously work does not end on the garden just because Dueling DIY has concluded. Trellising and tilling and gating and waterlining are still going to happen. As is planting and growing and (hopefully) harvesting. And I’ll be sharing more garden updates as we go along–I can’t help myself.
The beauty of taking on a project like this Dueling DIY is that in the end we each win. We’ve each made progress on our gardens, and we’re closer to enjoying the fruits of our labour (literally) than we were six weeks ago.
Thanks for the motivation, Sarah. And congratulations on your victory. I may have to send you a potato as a prize. And thanks to all of you for following along, doing your own challenges at your homes and encouraging us.
How’s your big spring project going? What gardening progress have you made recently?