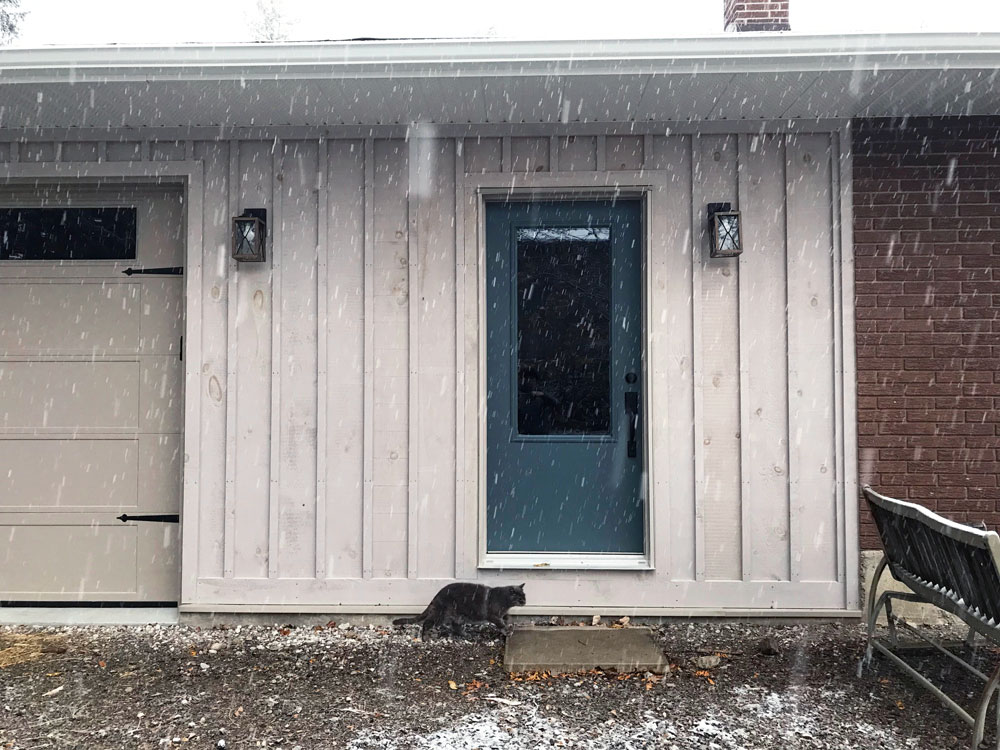
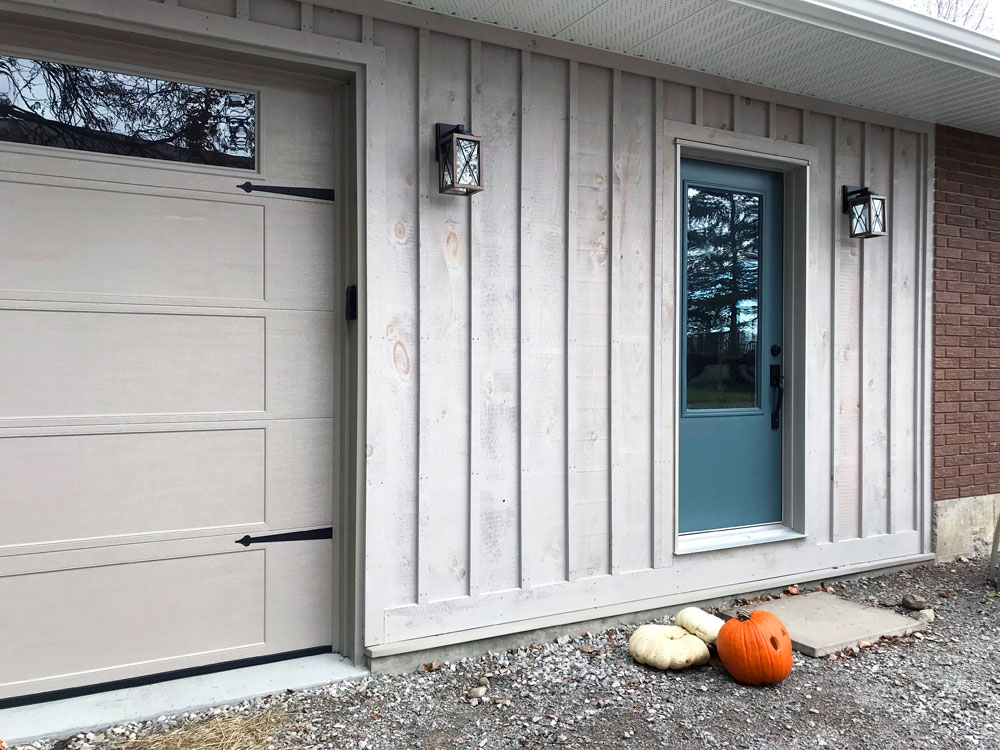
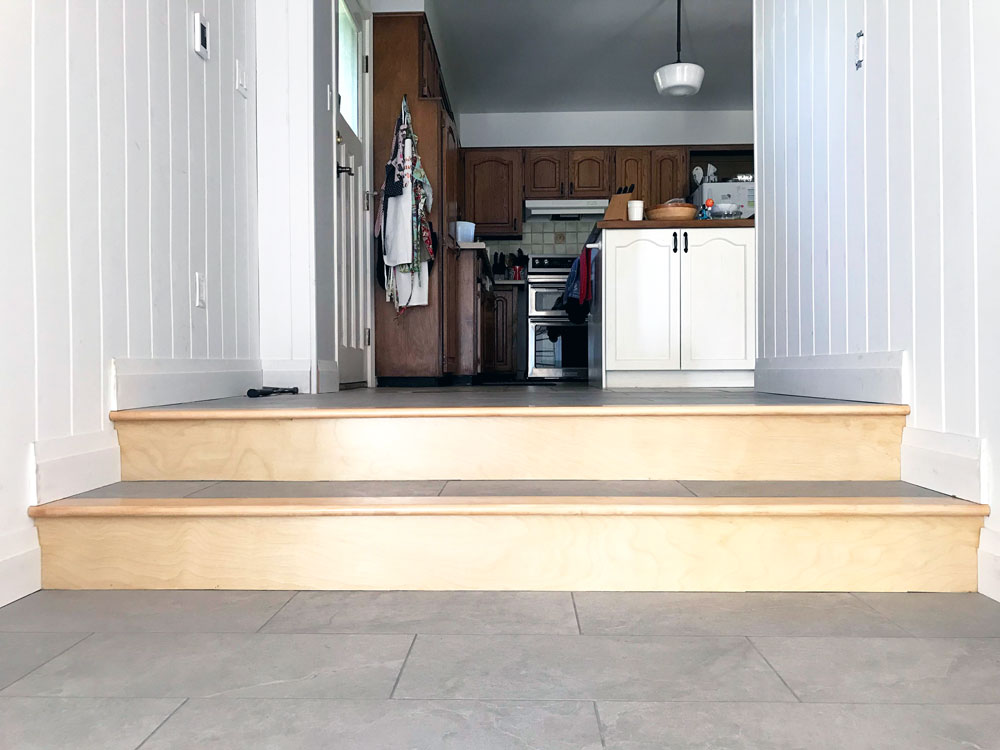
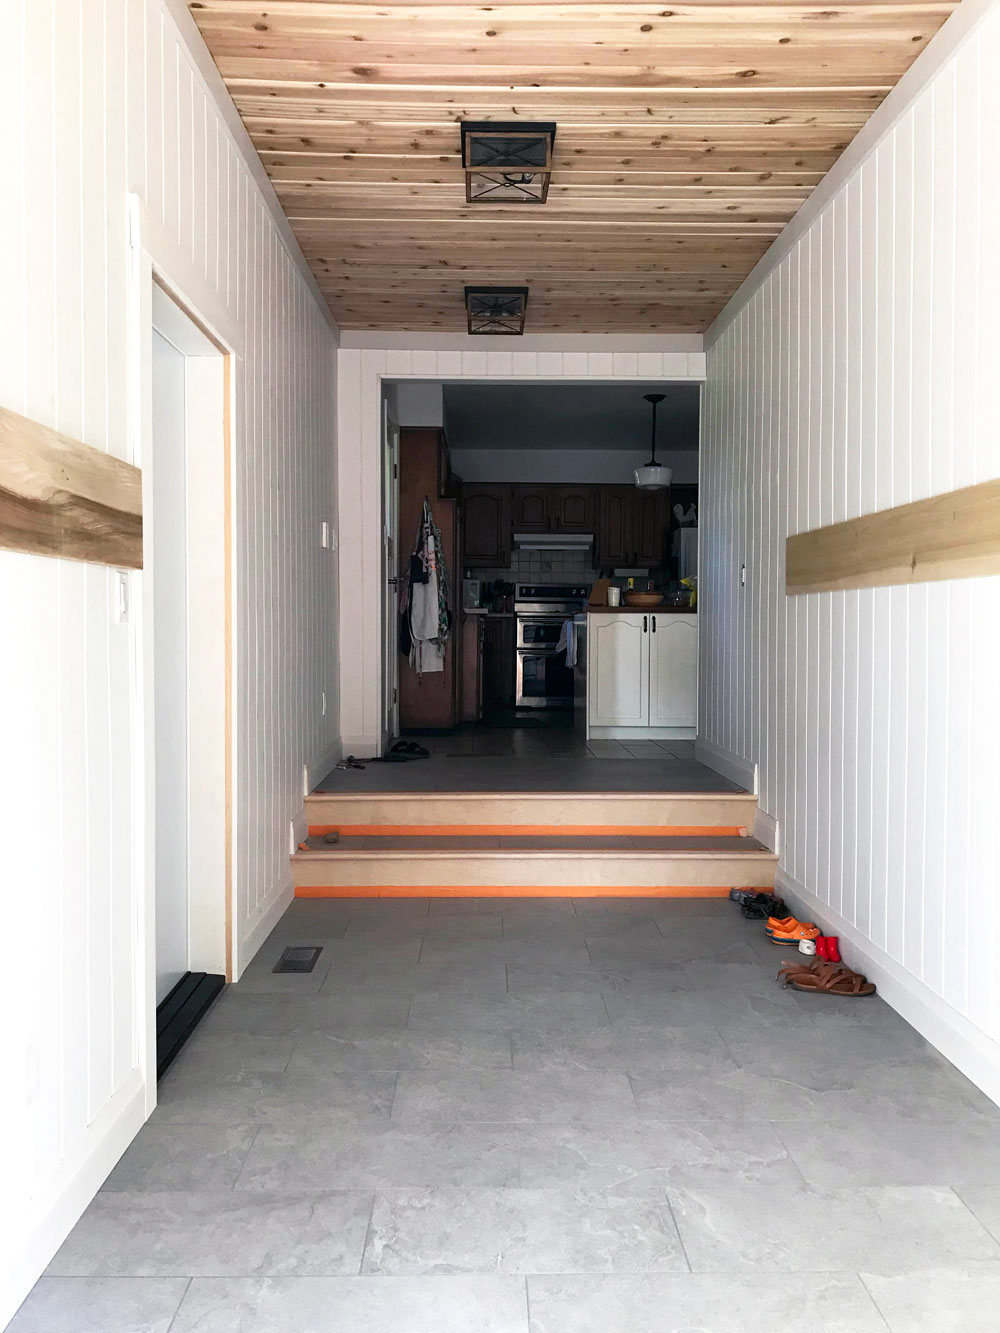
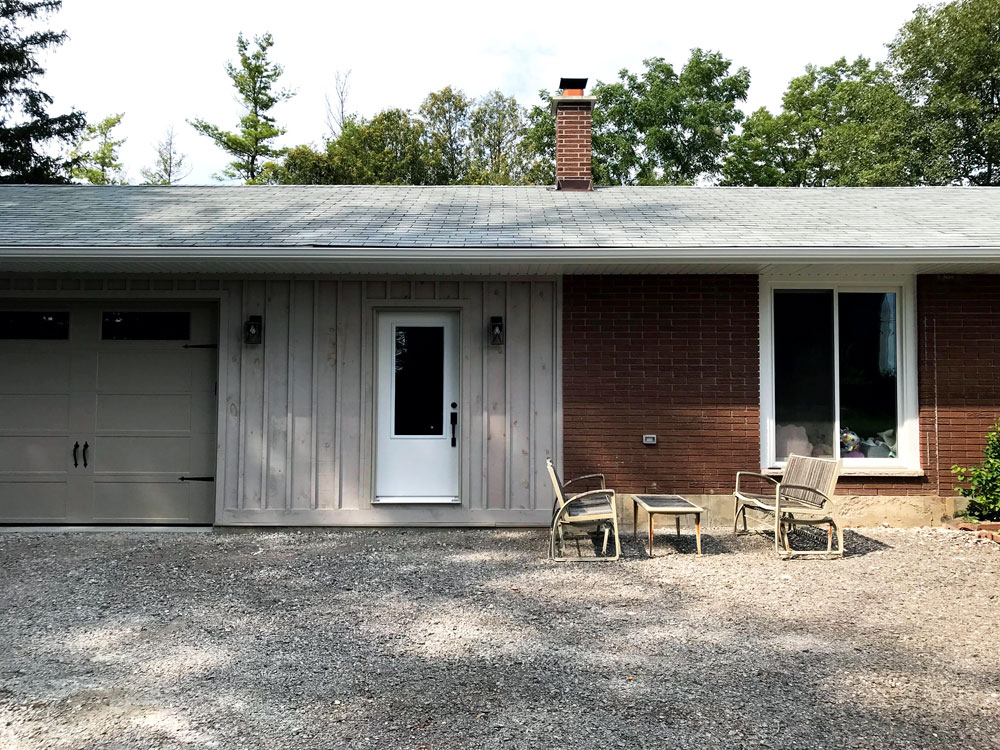
This week I am going to spray paint the mudroom. Honestly, I’m a bit intimidated. I’ve never used a paint sprayer before, and painting a whole room seems like a big place to start. Plus I’m really proud of the mudroom and I don’t want to mess it up.
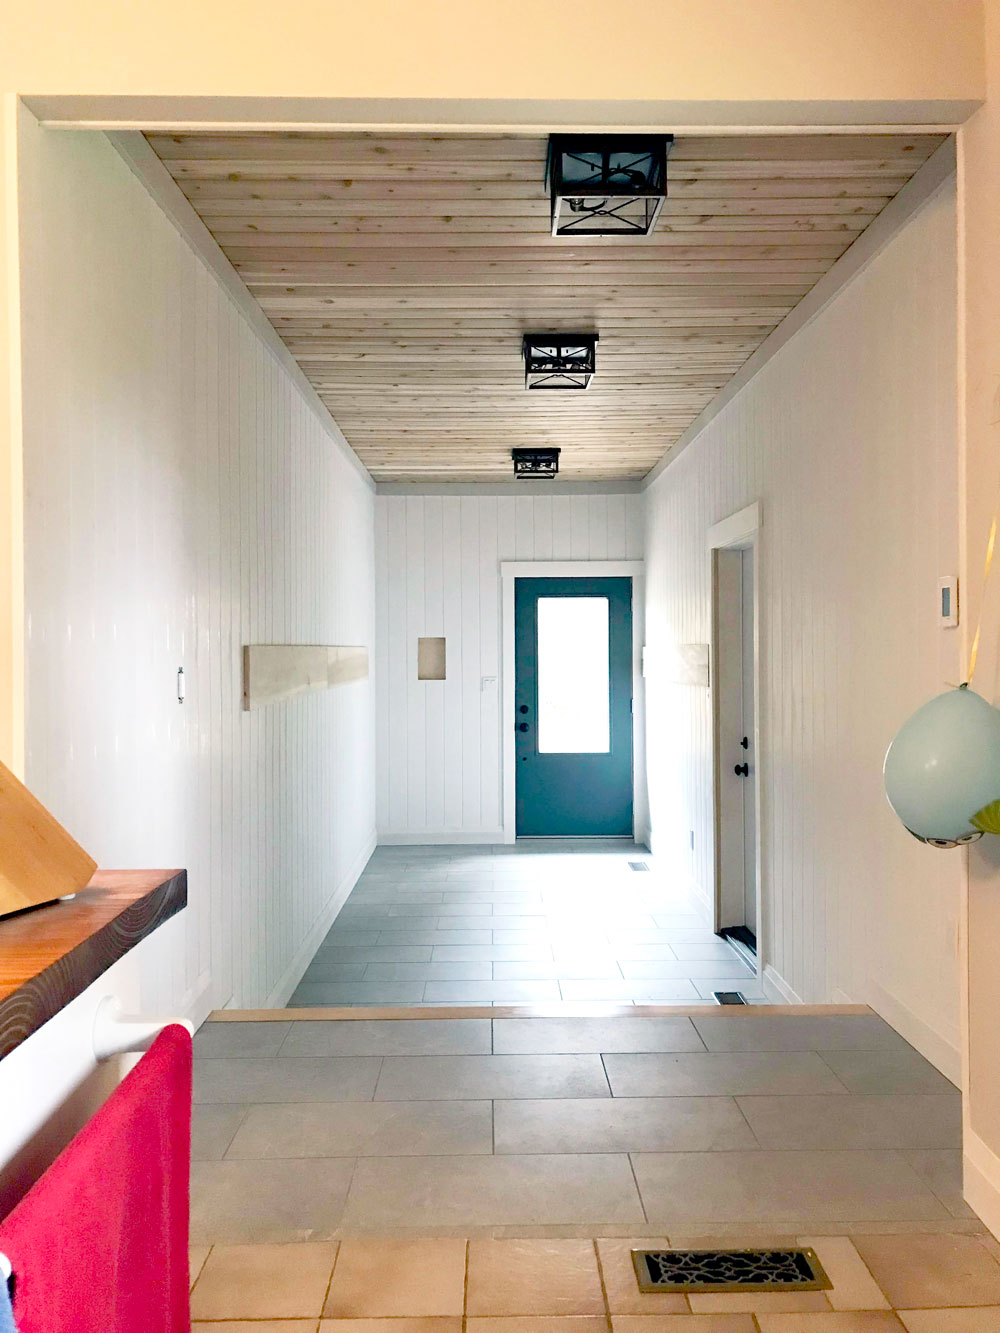
But I feel like a sprayer will give me the best finish (provided I do it well) and be fast. If it ends up not going well, I’m reminding myself that most of the walls will eventually be hidden behind coats, cabinets, a bench, mirror and more.
As I prepare to tackle this new-to-me DIY, I thought I’d share some of the ways I make a project like this less intimidating. I’d love to hear your tips as well.
Research
Take some time to figure out the best way to approach your project. I started by investigating the options for painting the V-groove panelling. Was there a really fluffy roller that would work? (Answer: Maybe, but the finish might end up a bit goopy. And I’d still have to do a lot of cutting in that would take a lot of time and also maybe not give me the finish I’m looking for.)
Once I settled on spraying, I called the rental store and booked the sprayer. I have since watched a lot of YouTube videos for the exact sprayer model that I will be using as well as other paint sprayers. I want to understand how they work and the proper technique.
YouTube, online tutorials, a manual, professional advice–there are lots of resources to help you tackle whatever you’re looking to do. You’re not in this alone.
Take your time
I am not a fan of jumping right into a project. I like to plan and think things through. I gave myself a week to reserve the sprayer, prep the mudroom, gather materials (more on this below) and learn as much as I can about paint spraying.
For spray-day, I’ve also tried to give myself as much time as possible. I’m picking the sprayer up first thing in the morning, and my Mom is booked to pick Ellie up from preschool, so I don’t have the pressure of a ticking clock when I’m painting.
Taking your time may mean booking time off work or having childcare lined up. Clearing your schedule means you can focus on your project and feel less stress.
Gather your tools and materials
When you’re taking on a new project, you may not know exactly how everything is going to go and exactly what you’ll need. Having your tools and materials ready can make things go more smoothly and ensure you’re prepared for the unexpected.
Maybe you’re going to try some plumbing. Have a bucket and extra towels, along with your full toolbox and any specific plumbing tools (wrenches in multiple sizes, a roll of teflon tape, etc).
I have my paint ready to go. I also have extra buckets, rolls of masking tape, sheets of paper and plastic and PPE.
Enlist help
Two heads are better than one. Many hands make light work. There’s truth in these sayings. Even if your helper doesn’t know what they’re doing either, sometimes it’s easier to figure things out together.
One of my friends suggested meeting up this week. I invited her to help me mask the mudroom–yes, I’m that kind of a friend. As she is also that kind of a friend, she said yes. A second pair of hands will make putting up the plastic to protect the cedar ceiling much easier.
Friend, family, neighbour, partner–lots of people are willing to help. Don’t be afraid to ask.
Focus on the reward
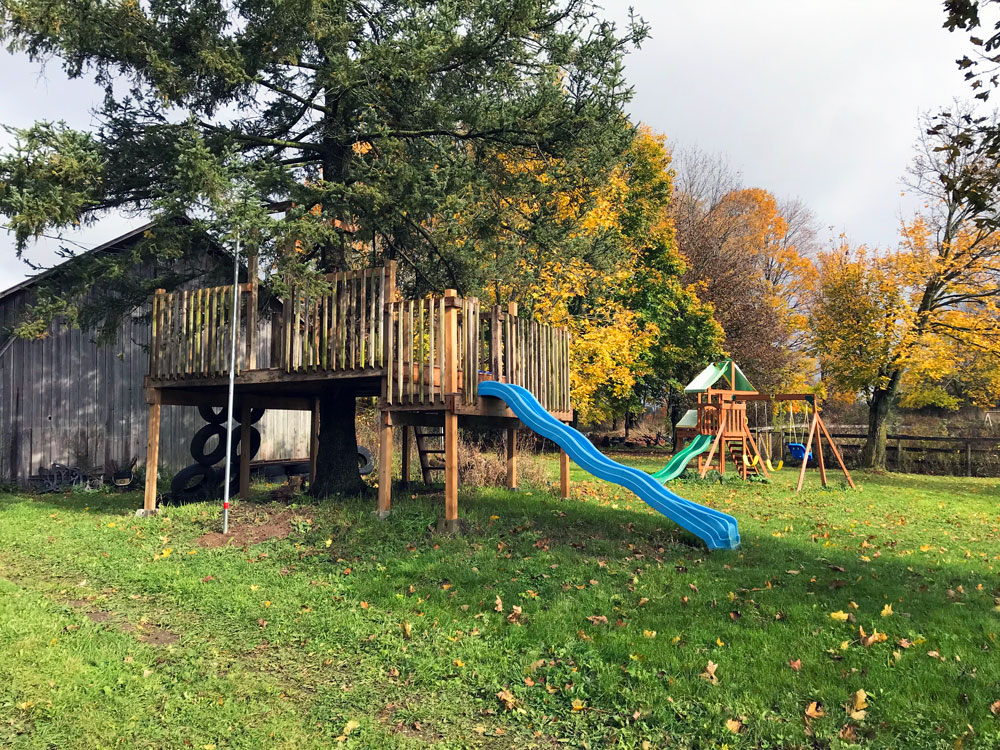
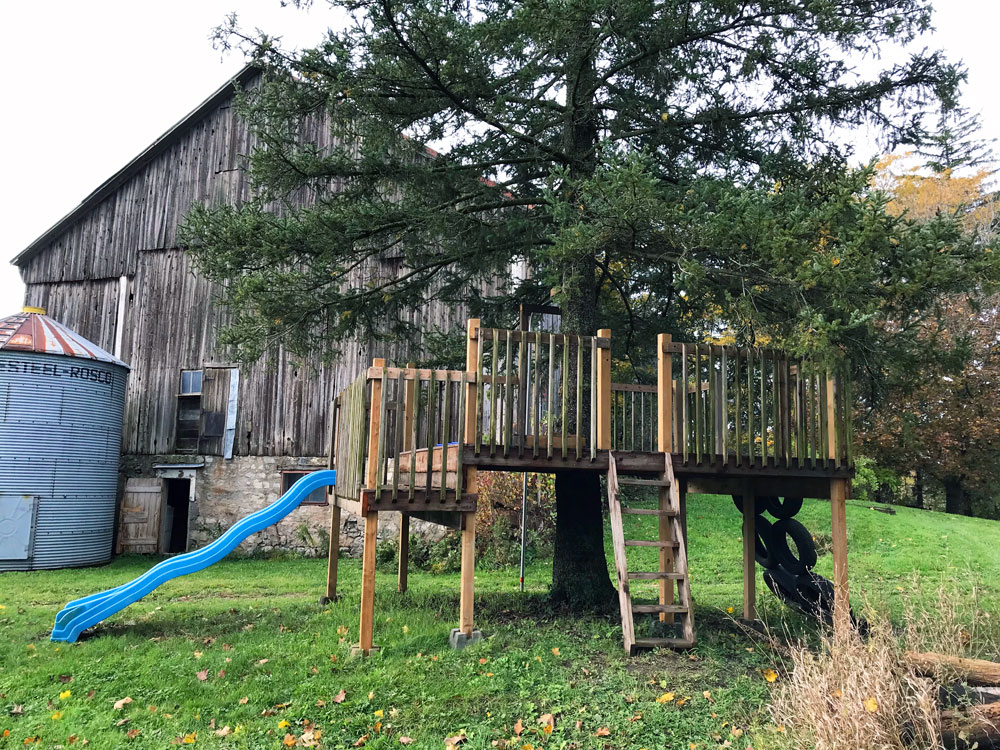
I am so excited to have the mudroom painted. Not for the painting itself, but for what comes next. Storage, hooks, decorating–all of the fun stuff. The thought of getting to the fun stuff motivates me to get through the painting.
Plus, if the spraying works out, I’ll have a new skill to add to my DIY repertoire.
Other rewards of DIY are saving money, finishing a space, fixing a problem, beautifying your home.
DIY can be intimidating. But like anything there’s a learning curve. Each project I tackle builds my confidence for the next one and the one after that.
If you’re thinking of trying something at your house, go for it. With a bit of preparation, you can make it happen.