New chickens in Illinois

Sarah in Illinois has been chicken farming for about a year. And in case you haven’t guessed from her previous posts, she’s enjoying it. Now she’s expanding her flock, and she’s here today to tell us all about it.

I have mentioned a couple times that I would like to add to my flock of chickens. After a couple weeks of phone and email tag, I finally picked up 4 new hens last weekend. I bought them from a family farm and CSA that is not too far from where I live.

I had very few requirements when looking for new hens. I wanted chickens that were no longer chicks but still young, commonly called pullets. I was not particular on breed, I would have chosen a couple Leghorns if available, for their white eggs, but other than that I really didn’t care.

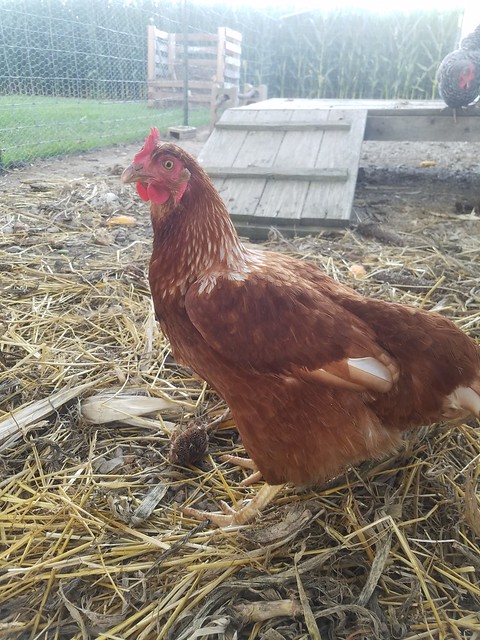
This farm had only Red Sex Link which meant that they were Rhode Island Red crossed with another breed. The person that I picked them up from was not sure what they were bred with but since I have no interest in breeding chickens of my own and purely wanted them for the eggs, I really didn’t care what breeds they were.

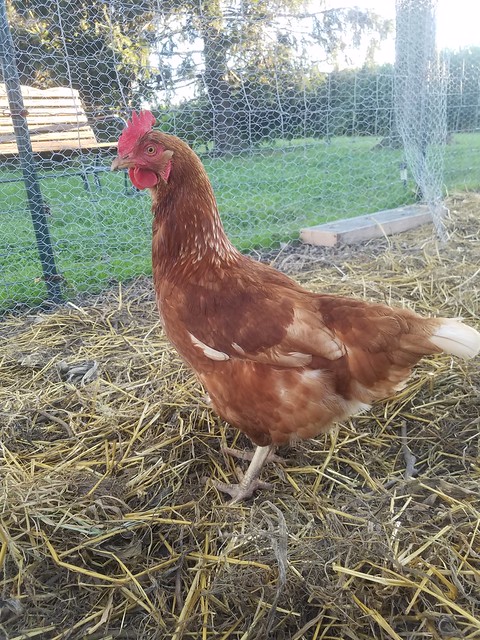
The chickens I picked up are 9 months old, which means they are already laying. And after a day off from all of the trauma of relocating and meeting my older hens, they started laying right away.

Speaking of meeting my older hens, I had done a little research and randomly had a conversation with one of my customers at work on the best way to integrate the new tenants.

It is a good idea to keep them segregated but within view of each other for a while so that they get to know each other without causing many battles. I have also read that it is a good idea to put the new hens on the roost at night when the older hens are resting for the night. Then when everyone wakes up in the morning they are more accepting of each other.

Basically, we did none of that.

I did keep them apart for a short time, but then Steve got in the run to be referee and told me to put them all in together. It was quite comical to watch him reprimanding chickens but honestly it worked pretty well.

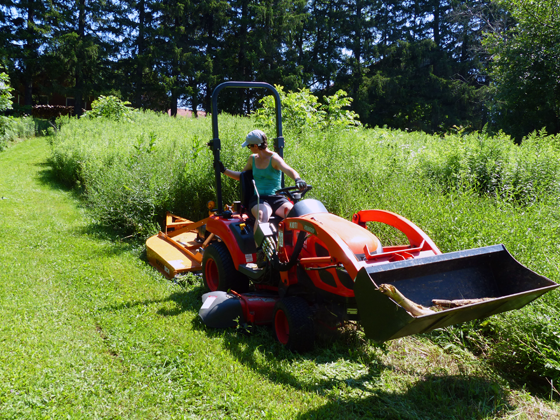
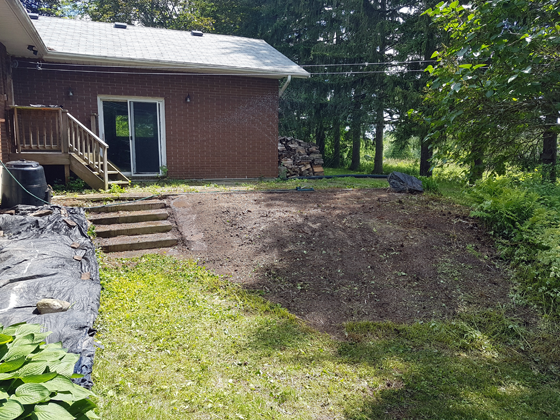
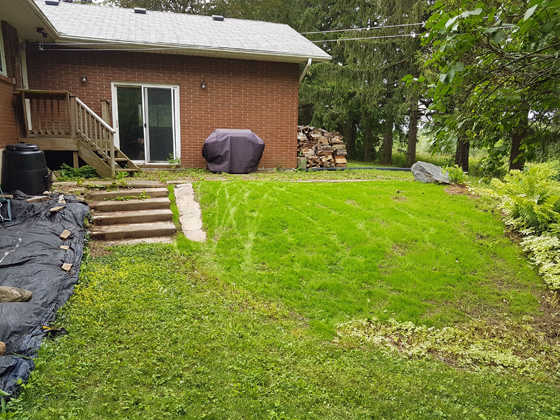
Since I brought them home early on a Saturday morning we were able to work in the yard and keep an eye on them all day both Saturday and Sunday. That way if there was a serious injury, we were right there to be able to intercept.

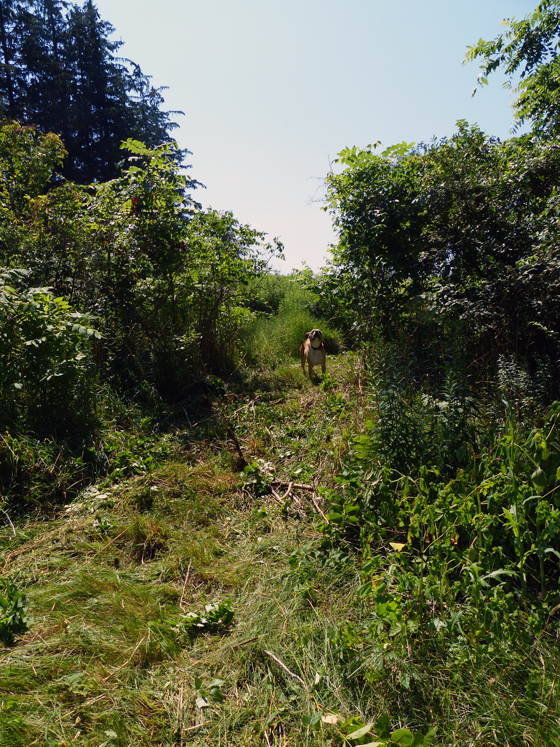
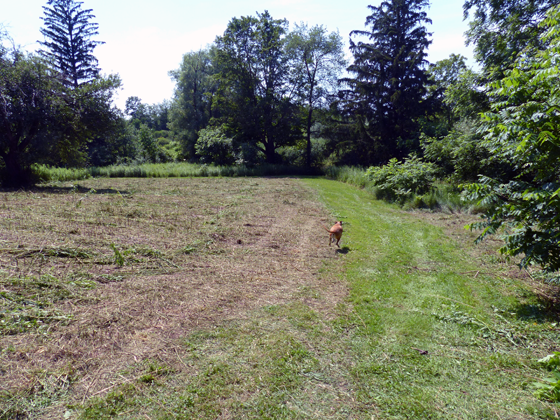
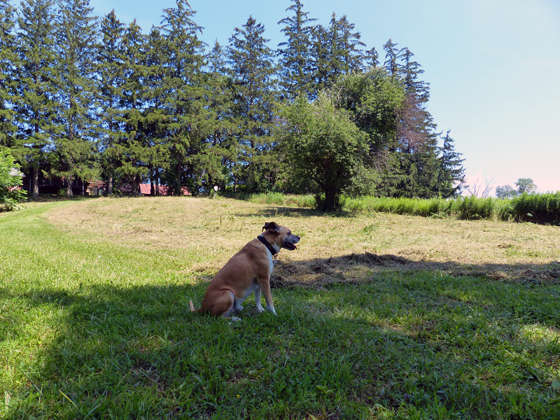
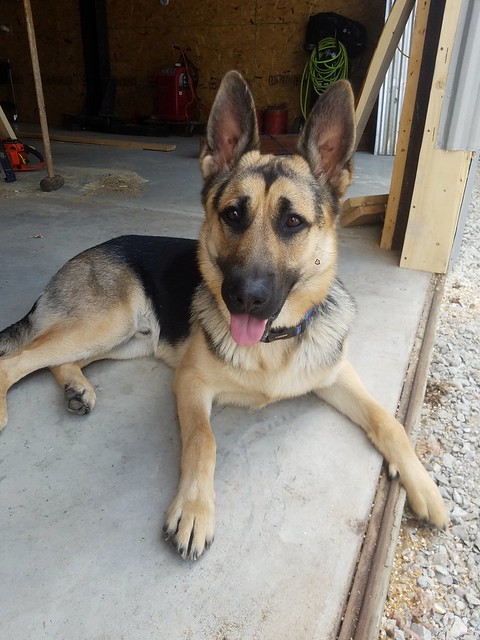
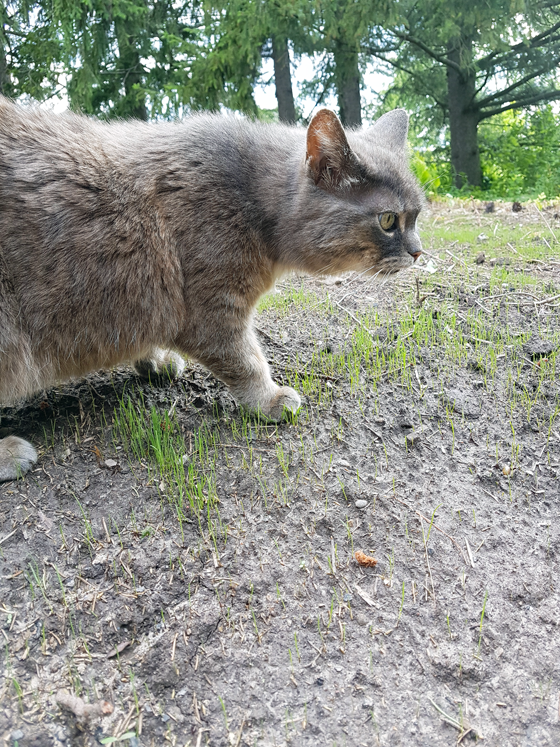
Another distraction was Blitz. He was quite entertained by the new chickens and ran back and forth along the run. I think it was helpful. The chickens were more worried about the 80 pound dog than picking on each other.

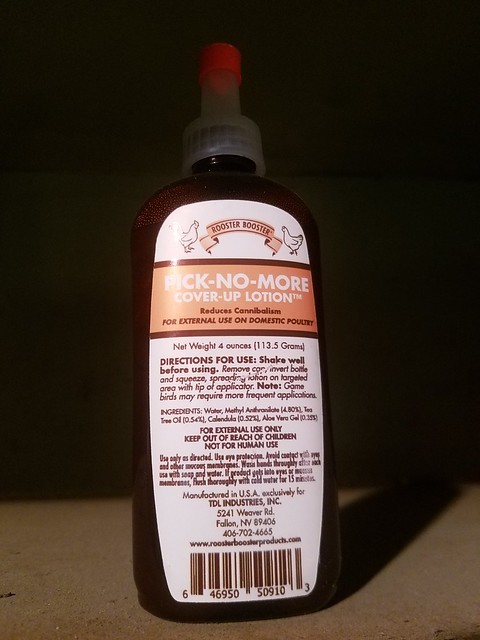
I was prepared for more serious injuries. Chickens do have a pecking order and when they assert their position they are likely to peck and injure each other. However, once a chicken is bleeding it is more likely to be picked on by the other hens. So I purchased a lotion that not only helps heal injuries, it dyes the blood a different color so they are less likely to be drawn to the injury. I am very thankful so far I have not even opened the bottle.

As I write this, the chickens have been together one week, and I can say I think everyone is getting along very well. I still occasionally see an older hen dash across the run and peck a newbie for no reason whatsoever, but overall, I think things are going very well.

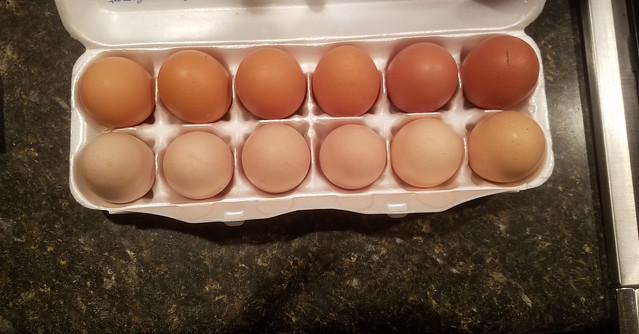
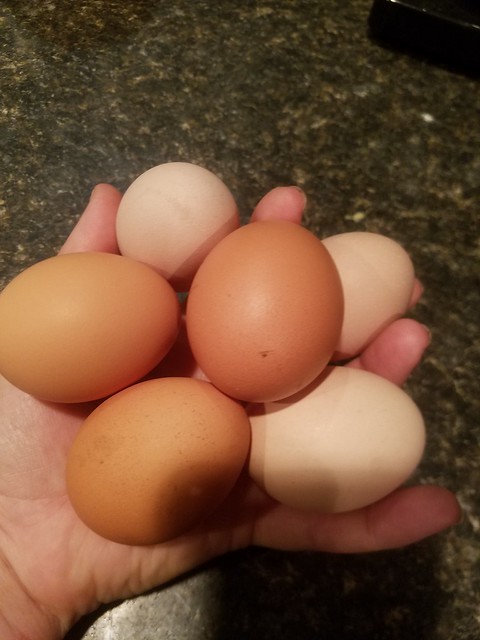
I am consistently collecting 5-7 eggs every day. It is also exciting that the new chickens’ eggs are much darker than the older hens. They are actually quite pretty. Hmmmmm…maybe I need to start looking into Easter Eggers…

I’m so glad that your new chickens have integrated well with your older ones, Sarah. I’ve heard it can be very challenging. Glad to see that Blitz is still helping out around the farm. I love the colour of the beautiful dark eggs. I think you definitely need to explore more colours.

Odds & sods

Ralph and Baxter relaxing on the driveway

Today is Civic Holiday here, so Ralph, Baxter, Matt and I are doing our civic duty and taking it easy. In that vein, I’m keeping it simple today with an odds and sods post.

  • The holiday Monday starts a week off work for me, so I’m looking forward to lots of time around the farm, a new writing gig, catching up with a few friends, and a bit of taking it easy. (But first I have a 17-year-old who’s excited to learn how to drive the tractor, so that means an extra pair of hands and a day of free labour for me. Yay!)
  • Later this week we’re headed into the big city to see the Toronto Blue Jays play the Yankees. The Jays’ season thus far has caused Matt hours of angst. Even if this week’s game doesn’t tilt our way, he’s excited to see the Yankees live for the first time.
  • Matt brought home our first peaches of the season the other day. They are so good. My favourite so far is sliced, tossed in a frying pan for a few minutes with maple syrup and then poured over waffles–a perfect vacation breakfast. I love fresh summer produce. Next on the menu, fresh sweet corn,
  • Thanks to humidity, we had a couple of big rainstorms last week. As in tree branches down in the wind and driveway washed out due to who knows how much rain in just a few minutes. Fortunately, damage wasn’t too severe and our sump pump worked the way it’s supposed to.
  • Two new-ish to me blogs are The Grit and Polish and Chris Loves Julia. I really enjoy their style–both writing and home. They both also welcomed new baby girls to their families over the last couple of weeks.
  • Once upon a time a long long time ago, Danica wrote a guest post for me. She and her husband are still working hard on their Hillside Casa. They had a crazy productive week last week–and still have a just plain crazy to-do list for the next two months. What they’ve accomplished is super impressive and they’re a great example of what DIYers can do.

Happy August everyone.

Little green apples

Little green apples on our old apple tree

A big ancient apple tree stands right in the middle of the meadow. Now that we’ve mowed some of the grass, I can actually get to the tree to see that it’s loaded with little green apples.

We have apple trees sprinkled around the farm, but we’ve never done anything with the fruit. Maybe now that this one tree is accessible this will be the year.

My friend made an amazing apple butter for us last year that Matt went bananas (does that even make sense?) for. Plus, apple sauces and butters and jellies don’t care how pretty (or, let’s be honest, not) our apples are. And these are pretty homegrown looking.

Although I don’t think I can take any credit. This tree has been doing very well all on its own.

Do you have any apple trees at your house? Any tree care tips to share? What about favourite recipes?

Making room to run

Back in the spring, I stopped in at our tractor dealership. I love our tractor, Wiley. I particularly love his attachments–mower deck, front-end loader, snowblower–and covet more–backhoe, auger, rotary cutter.

On this particular day, I was particularly coveting the rotary cutter.

A rotary cutter is a heavy-duty mower, sometimes called a bush hog. It can go through thick brush. It can hit rocks and stumps without breaking. It can even take down small trees.

In our constant campaign to beautify/tame/maintain the farm, clearing brush is an ongoing undertaking.

The thing about anything to do with the tractor is it isn’t cheap. So when I came home and told Matt I’d gotten a quote on a rotary cutter, I wasn’t sure what his reaction would be.

His exact words were, “You’ve been talking about this since we moved here, woman. Just buy it.”

Alrighty then. One rotary cutter coming our way.

Woods rotary cutter

It took us a while to get the rotary cutter running. Eventually, our tractor guy came out for a farm call to walk us through it (five years in and we’re still country newbies). But last weekend we got cutting.

And Matt loved it as much as I did.

Matt did the septic bed. He wanted to cut the little trees so that their roots don’t get into the drainage area. It’s hard to see, but at the top of this slope behind all of those weeds is the house.

Clearing brush with the rotary cutter

It took Matt very little time to get his confidence. While I avoided trees that were more than a couple of inches in diameter, Matt had no hesitation about mowing them down.

Clearing brush with the rotary cutter

Clearing brush with the rotary cutter

Clearing brush with the rotary cutter

The puppy liked all of the new smells that we uncovered.

Clearing brush with the rotary cutter

We also uncovered a few rocks and stumps, but the cutter powered through.

Rock scraped by a mower

Matt soon had the septic bed nice and clear. (The house is behind me in this shot.)

Cleared septic bed

After Matt had his turn, I took mine in the meadow. This is what happens when I ask my husband to take my picture. I end up with puppy butt.

Baxter watching the tractor

He did manage to resist Baxter’s charms long enough to get a few action shots.

Clearing brush with the rotary cutter

At the end of the day, there was plenty of space for the puppy to run.

Baxter running through the meadow

And a nice clear view from the pond up to the house. Well, clear except for the pines, but there’s no way we’re taking those down.

The mowed meadow

Moments and happenings

Barn cat on a stump

Going into this past weekend, I was a bit anxious about what I was going to be posting on the blog this week. I had nothing written, and unusually I didn’t have any ideas either.

The thing about the farm though is that something always happens. We do something or see something and that becomes something to remember and share. Some moments are simple, some are bigger.

But together, they make up life here at the farm and are part of what makes living here so special.

Saturday morning started with Matt and Bax heading out for their walk, and Ralph sitting on her stump waiting for them to come back. She does this often. Last weekend she meowed after them the whole time they were gone.

But when I came out to snap her picture, she hopped off the stump and came to get attention from me instead. This weekend, I was more stealthy and managed to get a few shots of her. Queen of the farm on her throne.

Barn cat on a stump

After the photo session, I took my  book and went out and sat with her.

The quiet of a Saturday morning. The summer sunlight. Our amazing cat. This beautiful land. A simple moment that was a special start to the weekend.

Raspberry report

Raspberries

Raspberries equal summer for me. I grew up picking them in my parents’ garden and making jam with my Mom. In fact, at Matt’s and my wedding all of our guests received a small jar of homemade raspberry jam made with my parents’ berries.

Now we have them in our garden.

It’s been two years since I transplanted canes from my parents’ garden. They have spread and sprouted new plants and this year they are bearing fruit. Lots and lots of fruit.

We have one row that’s about 16 feet long, and now at the peak of raspberry season we’re picking about 3-4 pints a day.

Although I’m mostly picking partial quarts because I ruined a couple of pints when I accidentally fermented some berries by leaving them on the counter too long.

Soggy pints

Quarts of raspberries

Our plants are super dense with lots of canes. In fact, the row could likely benefit from some thinning. I think a few less canes might encourage more fruit or at least let more light or air get to the fruit. This bird’s nest was buried deep in the plants. I had no idea it was there.

Bird's nest in the raspberries

The wire trellis that we built has done a good job of keeping the canes upright and contained, so the row has been easy to manage. We added some woodchips between the raspberries and blackberries, trying to keep weeds down.

We’ve had a good amount of rain during this growing season, but I think the berries could have benefited from a bit more watering. They’re a wee bit small. With a bit more water, they might grow bigger. Something to keep in mind for next year.

Small or not, we already have plenty of berries. In fact, it’s been hard to keep up. I’ve made jam, a galette, muffins, stirred lots into my yogurt and pints are still stacked in the fridge.

Raspberry galette and jam

We could have even more, but I’ve not been super enthused about picking after I get home from work. I’m expecting to find some very ripe berries this weekend. They should be good candidates for more jam.

We may not need wedding favours this year, but I’m sure our family will still enjoy jam in their Christmas packages.

Are you enjoying raspberries at your house? Any raspberry recipes to recommend? Or growing tips to share?

How to rescreen a screen door

Fresh country air is one of the best parts of summer living on the farm. But summer on the farm also means bugs, so screens are an absolute necessity. Sarah in Illinois is here today to share how she fixed her screen door after it had a few too many encounters with a puppy who was enthusiastic to enjoy the country air in person dog.

I don’t think you can live in the country without a screen door. Unfortunately screen doors and young energetic dogs don’t mix. Blitz gets so excited to head outside that he pushes the door open with his big paws.

The screen became damaged enough that I decided that it was time to try my hand at re-screening a door.

I started with buying a screen replacement kit at our closest home improvement store. It comes with a large roll of screen, a roll of spline and a spline tool. The only other tools that I needed were a utility knife and pick.

I started by removing the damaged screen and using the pick I pried all of the old spline out of the grooves.

I compared my old spline to the new spline. My only concern was making sure that they were the same diameter. If the newer spline was too large it wouldn’t fit in the groove, if it was too small, it wouldn’t stay in place. Thankfully, it was close enough to work well.

After all of the spline was removed and I cleaned the door, I was ready to start putting the new screen in place.

I carefully centered the screen over the opening and laid the spline over the groove. Working with just one side I used the spline tool, which is basically a handle and a roller, and pushed the spline down into the groove. It was a tight fit, but not too tight, just enough that I knew that it wasn’t coming out.

I worked my way around all four sides pulling slightly on the screen to keep it taut.

At the corners I had to use the pick again to squish the spline down tight where the spline tool couldn’t reach.

Once I felt that the screen was in securely and pulled tight, I trimmed the excess screen off with a razor blade.

In the case of our door, there were two separate screen areas so I repeated everything on the second half of the door.

I was then ready to rehang the door.

I was nervous tackling this project because I was worried that it would never look like it did when the door was new. But honestly, this was such an easy project and cost me less than $10 for the kit.

Now we’re ready for this guy’s next adventure.

Well done, Sarah. It looks really professional. We love having the windows open in the summer, but I’m realizing a few of our screens are in need of repairs. We’ve found ourselves chasing moths or even the occasional mosquito in the house. In the past, I’ve patched a hole. Rescreening sounds pretty easy and straightforward. Plus I’m ensured of not missing any holes.

Reclaiming the jungle

Landscaping is a multi-phased project here on the farm. I’m not entirely sure what phase we’re in now, but I looked back through the archives and the first time I posted about this area of the property was four years ago. Holy moly.

The back of the house has been a wee bit overgrown. As in we just let it go. Not the prettiest view out the kitchen window.

Overgrown weeds at the back of the house

There were so many rocks and weeds it was unmowable. But I wasn’t prepared to put in the work to make it a flower garden either.

We left it alone. Surprisingly, it didn’t improve.

Then two years ago we covered most of the mess with a tarp. Which wasn’t really much of an improvement either.

Tarp covering the backyard

We left it alone again. For two more years.

But at the start of this July, I finally lifted the tarp.

Hello rocks. Fancy finding you here. But the weeds had mostly died, so that was a bonus.

Picking up rocks

With some raking, digging, leveling, a wee bit of sawing and mowing for some of the more stubborn brush, and finally seeding and watering, we ended the day with something that we thought could someday be a lawn.

Seeding the backyard

The local wildlife came by to check out the transformation. The snakes particularly seemed to enjoy the cleared dirt.

Milk snake

Our usual inspector came by too. Hello Ralph. And hello sprouts!

Ralph inspecting the newly sown grass

Three week later, hello electric green lawn.

New lawn

We still have some blending to do and a few thin spots to fill in (plus I’d love to break up that concrete beside the steps).

And of course that black tarp is still hanging around. Hopefully the weeds closest to the house die over the next few weeks and I can seed that area this fall. Who knows what phase we’ll be at by that point.

Do you have an overgrown area that you’re reclaiming? Have you ever used the tarp technique to deal with weeds? Are you a seed or sod person? Is anyone else’s property overrun with rocks? Who else has snakes slithering by?

Building a round wood framed mirror

Large round wood frame mirror

It’s been two years since I watched a bunch of bloggers participate in the One Board Challenge. Two years since I haven’t been able to get this round mirror by Jenn at Build Basic out of my mind. The fact that it was built with a single 1×8 made it even cooler.

Every time I went to a thrift store, I casually looked for a large round mirror. This spring I finally found one at Value Village (for $9.99), and it was time for my own One Board Challenge.

Round mirror makeover before

I’m not going to post a how-to here because, hello, not my project and also Jenn’s instructions are very good.

I love the creativity of the One Board Challenge. My brain does not work like this. I would not think to make a round frame out of a straight board. In fact, even with the tutorial, it took me a couple of tries to figure out how to arrange the wood. My first try was fine, but not as interesting as Jenn’s configuration.

Building a round wood frame

Jenn notes that there are multiple ways to arrange the wood. I feel like her arrangement had more interesting angles, so that was what I went with.

Building a round wood frame

If you’re thinking of trying this mirror yourself, I do have a few notes to share.

This project is rated moderate. It’s very doable, and none of the skills are particularly difficult. What might make this challenging for a novice DIYer is that building the frame takes a lot of tools. I had my tool box, mitre saw, jig saw, drill, Kreg Jig, sander and clamps all spread out over the front lawn (plus the dog). Then I went to my parents’ house and used my Dad’s nailer and air compressor.

Outdoor workshop

Cutting the curves with the jigsaw–especially the narrow border pieces–takes a certain level of confidence. I think it would be much easier to do the little pieces on a table mounted jigsaw versus freehanding it.

Speaking of tools, my mitre saw wasn’t big enough to handle the major angle cuts in one shot. A 1×8 is not a narrow board. I had to cut partway through, then flip over the board, readjust the angle of the saw, and cut the other half. It wasn’t difficult. Just slow.

Building a round wood frame

In Step 4, Jenn says “On each joint, mark a unique registration line so that it’s easy to quickly reassemble the pieces later on.” A simple registration mark is letters–you want each to be unique, so a line or slash isn’t distinctive enough. With letters, you can make one joint the A joint, another B and so on. You draw an A on each of the pieces to be joined together, so that you know which piece connects to which, even after dryfitting, sanding and the rest of the steps.

Registration marks

When marking your holes for the Kreg Jig, draw your lines extra long so that the jig doesn’t cover them up.

Kreg Jig

Once the frame was assembled, I stained it my favourite Provincial. Then the final step was attaching the mirror to the frame.

I broke from Jenn’s suggestion to attach the mirror using clips because my mirror ended up being just a wee bit smaller than the finished opening. Instead, I cut a disc from hardboard. I painted it black to camouflage any gaps that might show between the edge of the mirror and the frame, then I used construction adhesive to glue the mirror to the disc.

Gluing a mirror with construction adhesive

Once the adhesive was set, I then glued the disc to the back of the wood frame. I added a couple of tiny screws for extra insurance.

Attaching the mirror to the wood frame

As soon as I flipped it over, I was ecstatic. I love how this turned out.

Large round wood frame mirror

Fieldstone fireplace in the summer

It’s large and bright and a little bit rustic–and a great addition to the summer mantel in the living room. Thanks to Jenn at Build Basic for sharing such a great project.

Do you decorate with mirrors? What would you build in a One Board Challenge?

Summer farmhouse mantel

Blue-green glass jugs on the mantel

I typically don’t do a lot of seasonal decorating. But given that the mantel still had snowshoes on it at Easter, I thought it was time for a little refresh in the living room.

These blue-green glass jars are definitely more summery than snowshoes. They go perfectly with the new throw pillows I added to the couch.

Blue-green glass jugs on the mantel

How to mix and match throw pillows

I bought the two bigger bottles last year and even though they looked large in the store, when I put them on the mantel I felt like they were a wee bit small. The fireplace is huge and with the vaulted ceiling in the living room, there’s a lot of space above the mantel to fill.

I made this wood framed mirror to add some height and give the illusion of doubling the bottles. (More on this mirror coming up later this week).

Fieldstone fireplace in the summer

On the rest of the mantel, I used our usual decor that stays no matter the season. The pair of antlers that my FIL found are a beautiful organic accent that complements the wood and the stone. The large lantern and the trio of sphere tealight holders are very welcome hits of black.

Decorating our mantel with a lantern and antler

We are not using the fireplace these days–Easter was the cut off for that as well as the snowshoes. However, the beauty of the fieldstone and barn beam has not diminished. I love how it is the centrepiece of our home.

How do you decorate for summer? What colours do you associate with summer?