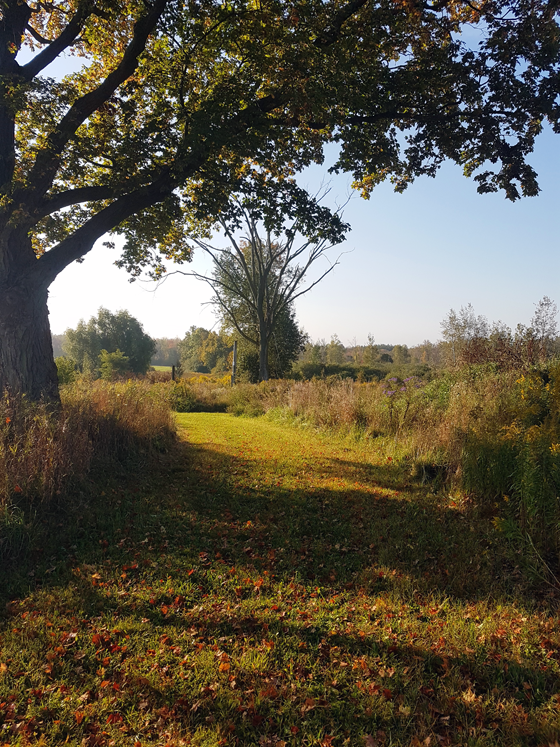
Spring and fall are important seasons on the farm. We’re either working to get things going or working to wrap things up. And all the time I feel like there’s a deadline.
In the fall the deadline is very real because we never know when the weather is going to turn and winter is going to be here. I realize we’re only in the first week of October, and it’s barely begun to feel like fall. It’s not really fair to start talking about winter already, but I already feel like I need to get moving. I have approximately three months until winter officially hits. And who knows how long until freezing temperatures and snow arrive.
Here’s what I’d like to accomplish this fall:
1. Clean out the vegetable garden
Pulling out the plants, a final weeding, lots of pruning, maybe some cover crops or mulch–there’s lots to do here.
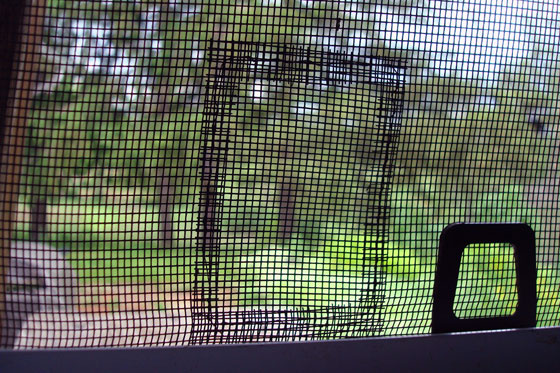
2. Remove window screens
I didn’t get around to this last fall, and as a result our windows never got cleaned this spring, and they’re pretty dirty. Pulling the screens off will set me up for next spring.

3. Wash dining room and living room windows
See #2 above. I can’t wait til spring on these two big windows. While we still have running water outside, I will clean these two windows.
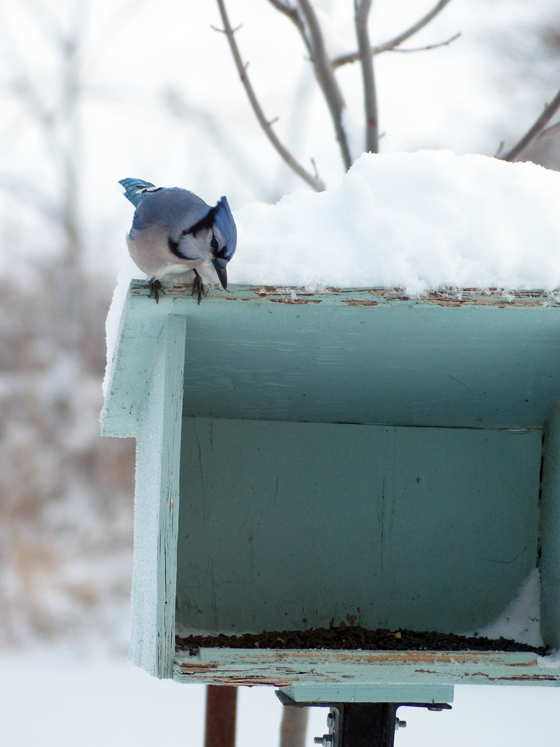
4. Put away the birdbath and put out the feeder
The bird feeder is easy now that I have a sleeve in the ground that the stake slips into. However, the bird bath is pretty heavy and needs assistance from both Matt and Wiley.

5. Bush hog the meadow, septic and pond shore one more time
I will also likely light the big pile of brush down at the pond on fire while I’m driving around on the tractor.
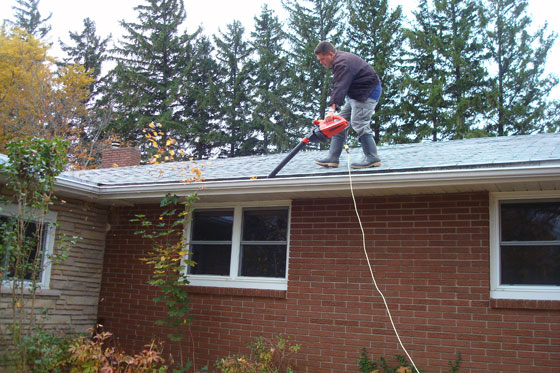
6. Clean gutters
Matt’s job. Will likely be done several times this fall.

7. Switch out the mudroom mats
Covering our whole mudroom floor in my large DIY cocoa fibre mat helps to deal with the wet and snow that might come in on our boots.
8. Sweep the chimney
I’m ashamed to say that after three seasons of having a working fireplace, I have never cleaned the chimney. It’s passed time for this chore.

9. Vacuum my car
Between Baxter and the grit of a country property, my car desperately needs a cleaning. Winter will only make things worse, so if I can start off relatively clean, I’ll feel better about myself.
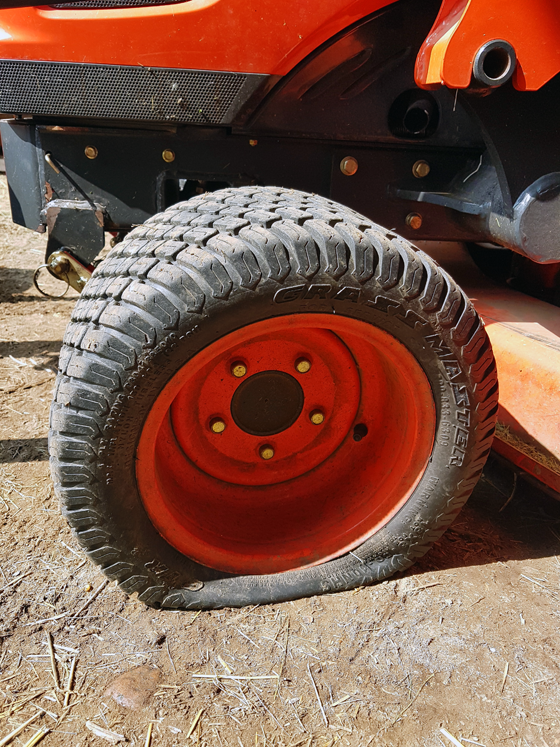
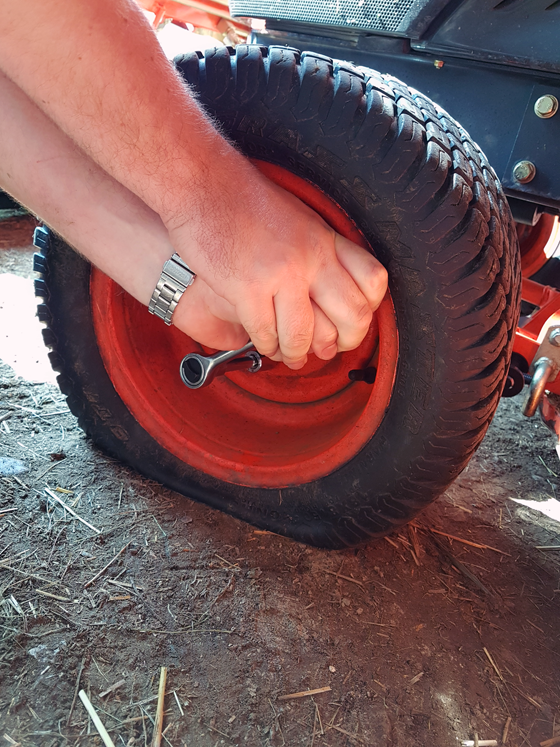
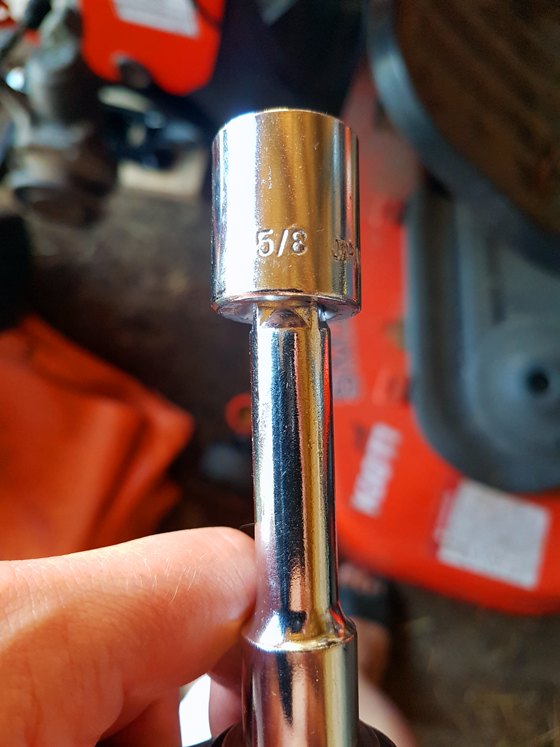
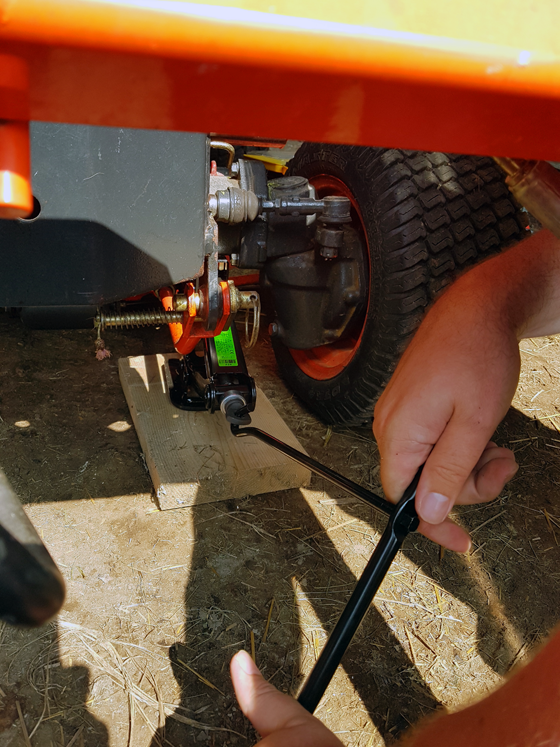
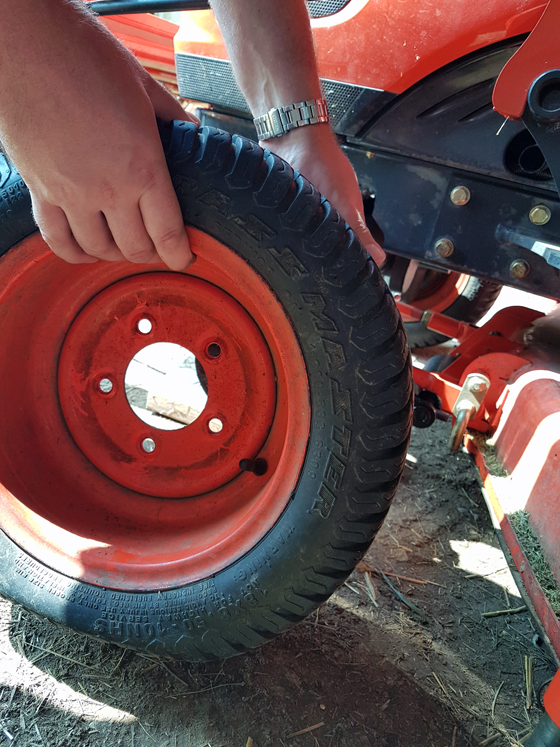
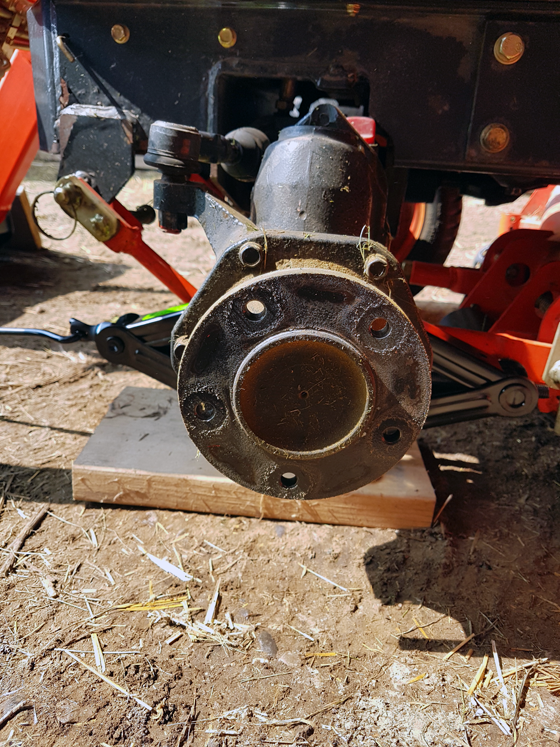
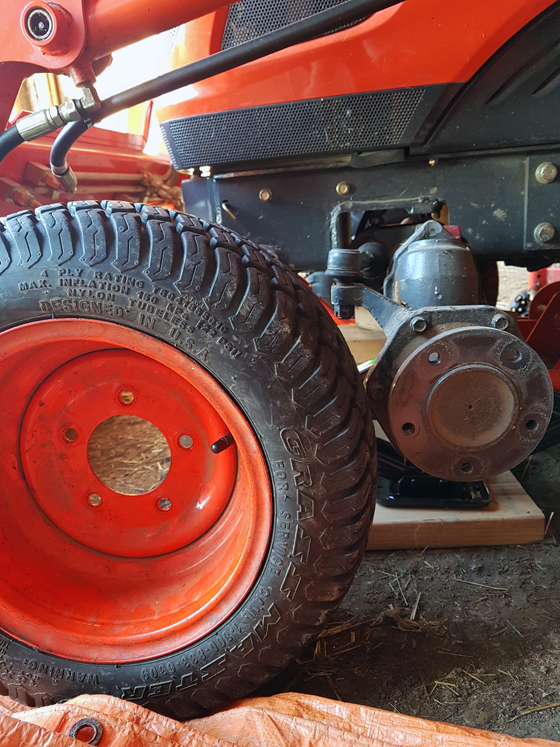
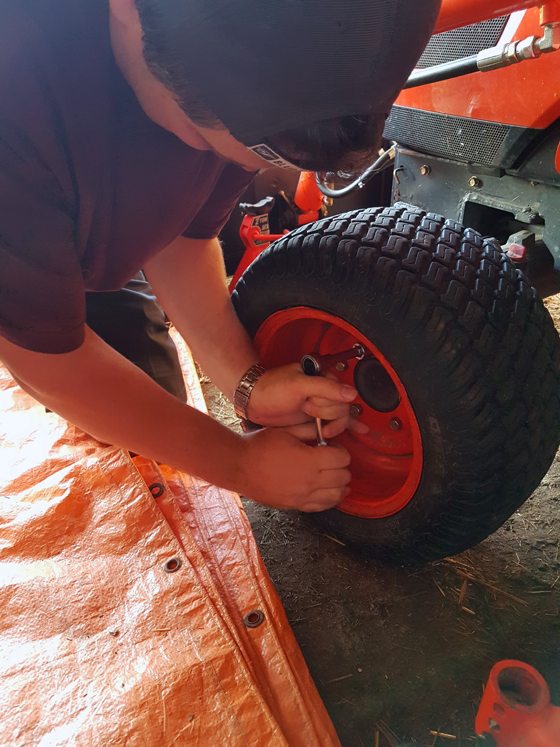
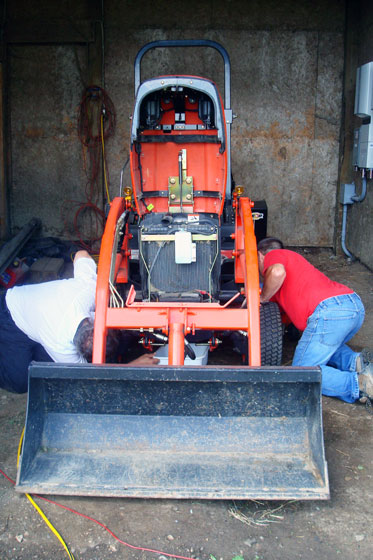
10. Service the tractor
Taking off the mower, greasing all the fittings, changing the oil will ensure that we’re all set for whatever comes this winter.
11. Build a new coffee table.
This has been on my home goals list for awhile, and it’s time to do it. Ideally, the weather holds long enough that I can do some of the work outside.
12. Pick up the lumber pile beside the silo
Last year we went all summer with a big pile of lumber beside the silo. This year, we’ve done it again. Although not quite so big this time around. Hopefully we can move it into the barn without injury this year.
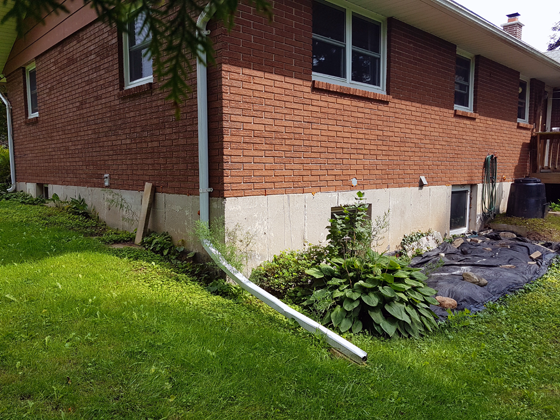
13. Regrade back and side of house
I didn’t get a load of topsoil for my birthday, but I’m not giving up on this one yet.

Oooh. Unlucky 13. I feel like I should find one more task to even it out. I’m a bit surprised there are only 13 things knocking around in my brain. Thinking about fall felt much more overwhelming than that. Sometimes that’s the beauty of writing down a to-do list. It makes the tasks seem more manageable.
Hopefully, that’s the case with this list.
What’s on your fall to-do list?