As I was writing about our patio project and the herb spiral around the well, I took a journey through the blog archives. I came across this post that I wrote just over 10 years ago about the plans I had for outdoor projects and another about some of the progress we’d made.
I marveled at what I accomplished in one weekend and then laughed at myself for all of the landscaping I thought I would accomplish in one year. We’ve completed most of the projects, but they definitely took more than one year. In fact, some of them are still in progress.


The post also included my long term plan, which, I said, “will take who knows how long.”
Funnily enough, we haven’t done too bad on that long term plan. What I enjoyed most, though, was seeing how little my plans have changed over the past 10 years. Some of the projects are done. Some are not. But I still want to do them.
Come take a look back (and ahead) with me.
Here’s our (extremely ambitious) list from 2013.

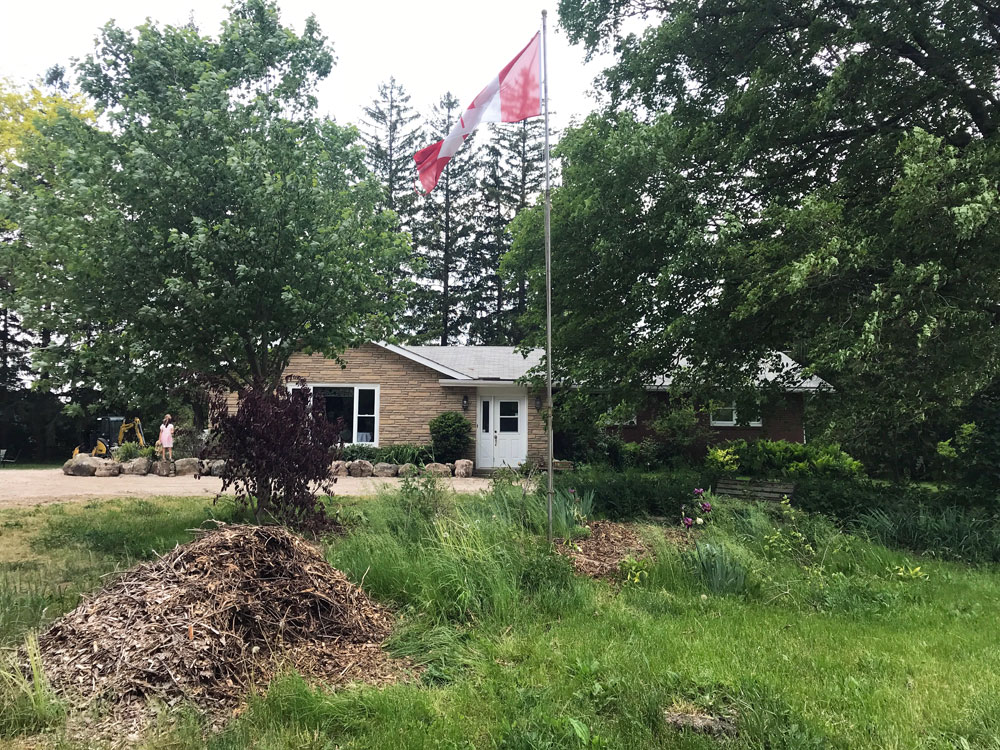
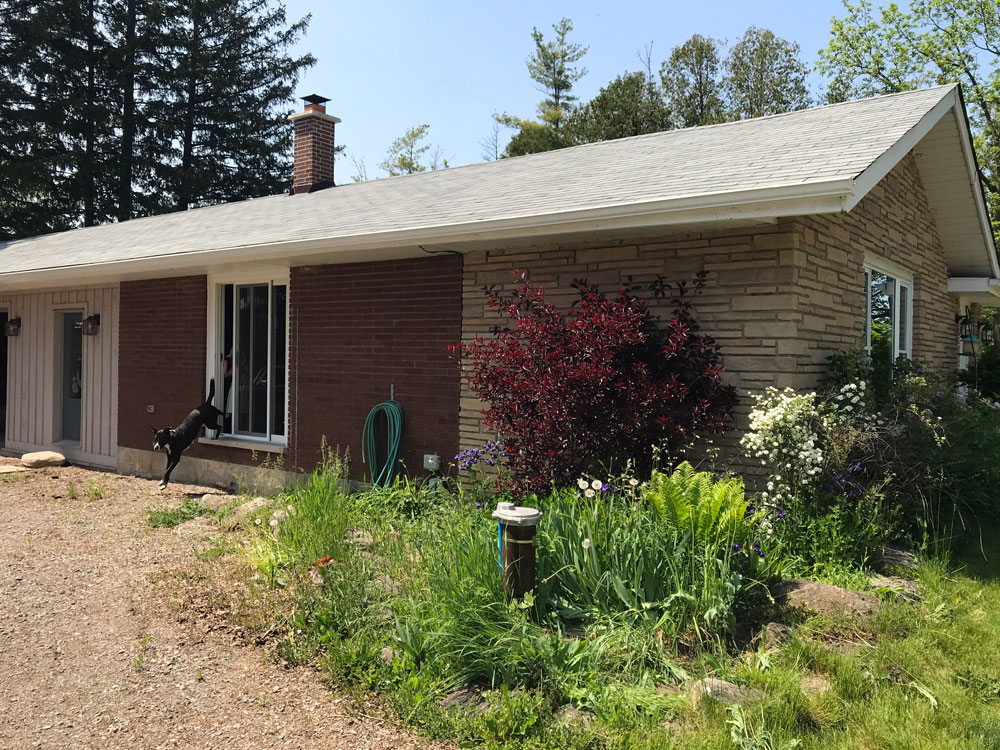
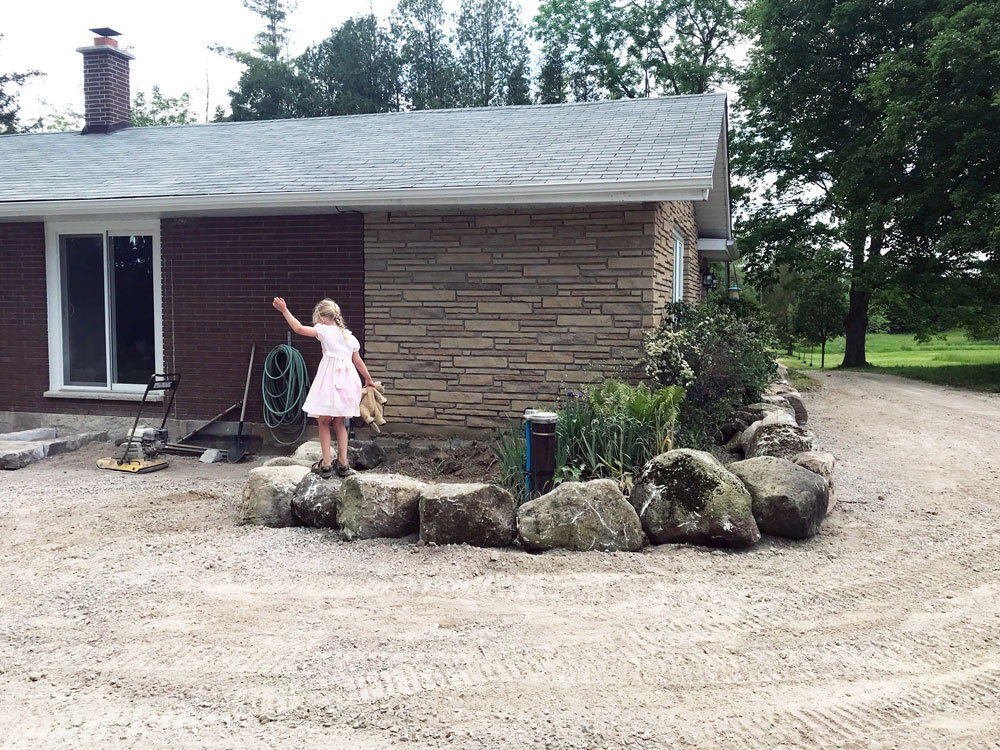
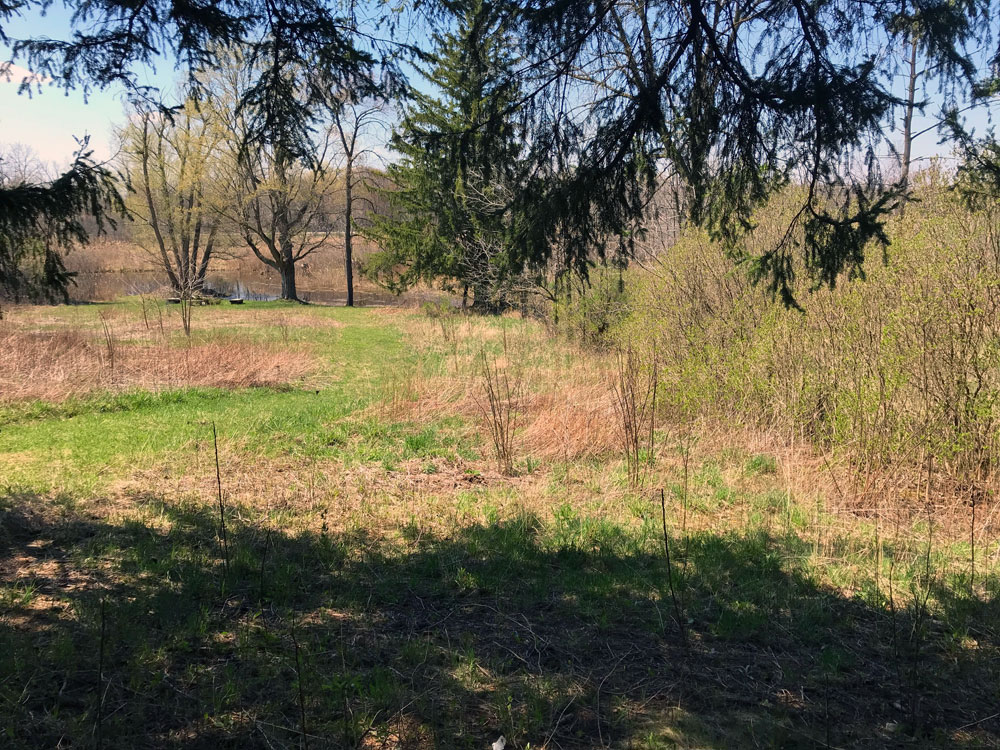
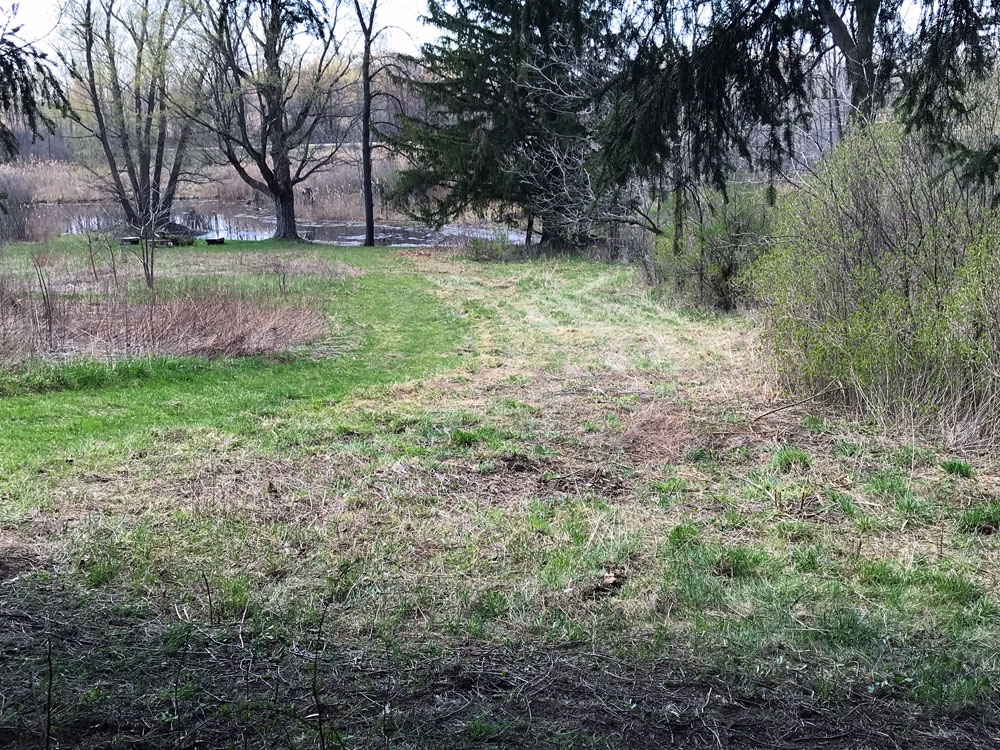
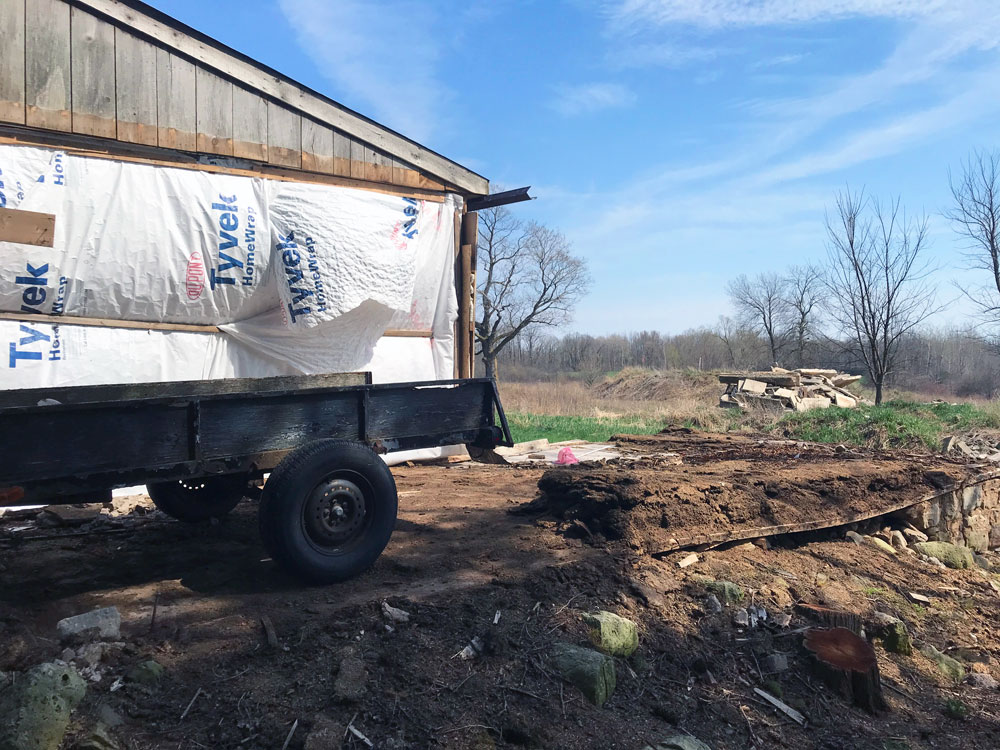
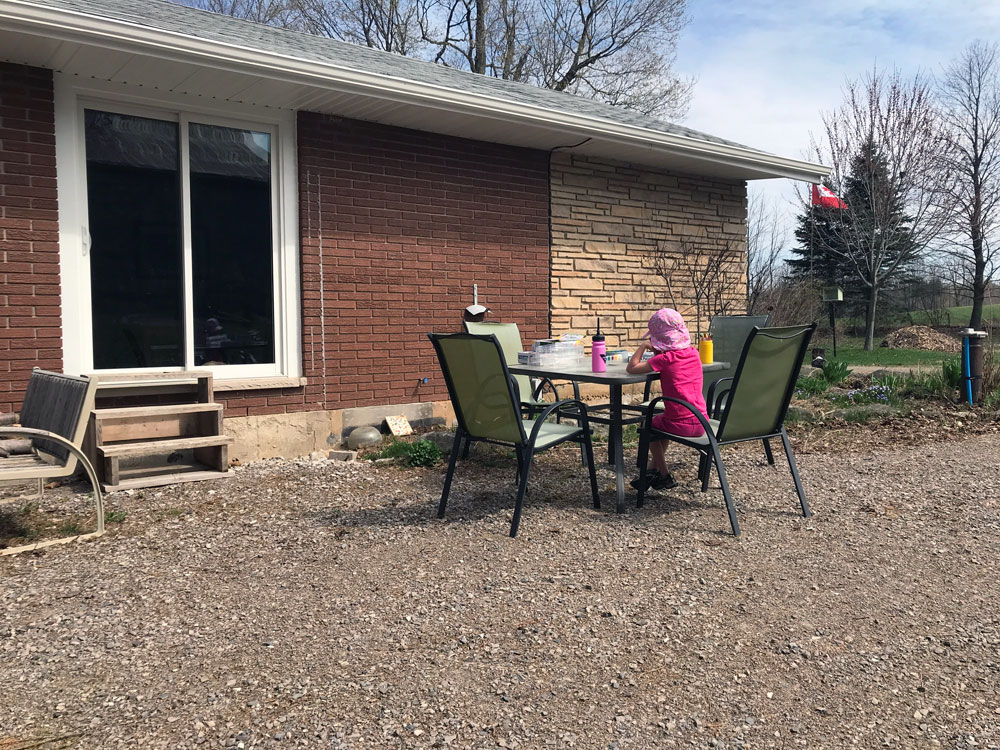
I’m still working on the turnaround garden (though we were in pretty good shape by 2015). We eliminated most of the flowerbeds around the house, but the ones we kept need ongoing attention (welcome to gardening). I’m continuing to ignore the rubble and rock piles, though they’ve been very helpful for the fireplace and sunroom demo and every rock pick-up we’ve done for the past 11 years. We kept the longe ring and put the vegetable garden there (also in 2015). The pond shore was a saga for many years, but we finally cleared it and built our firepit (in 2020–just 7 years late).
Here’s the long term plan.

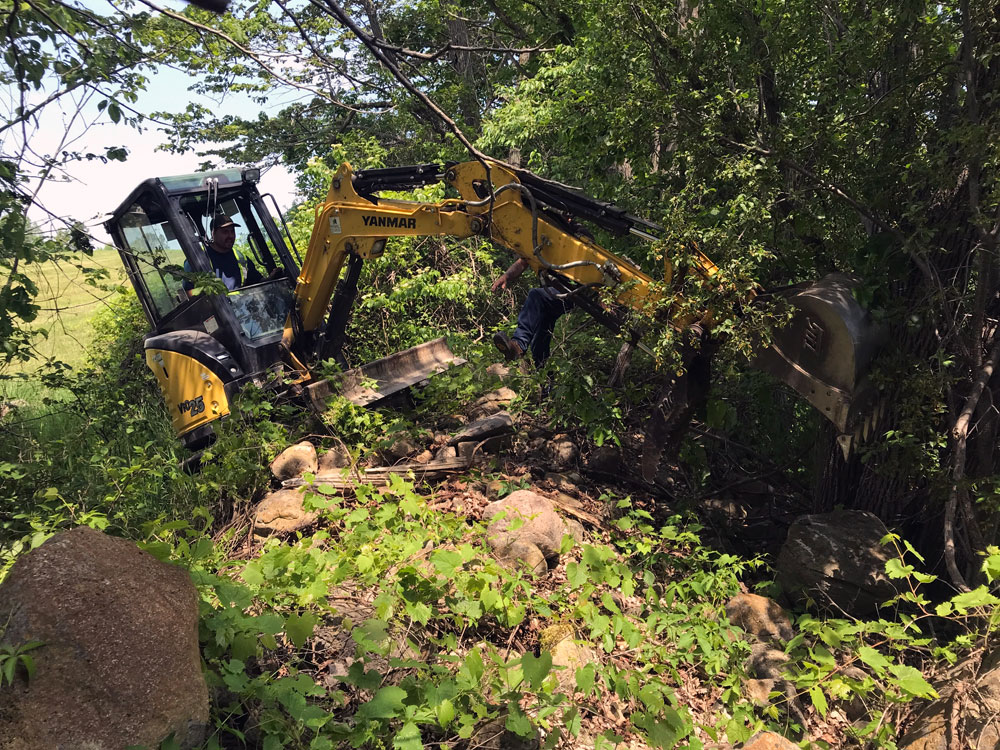
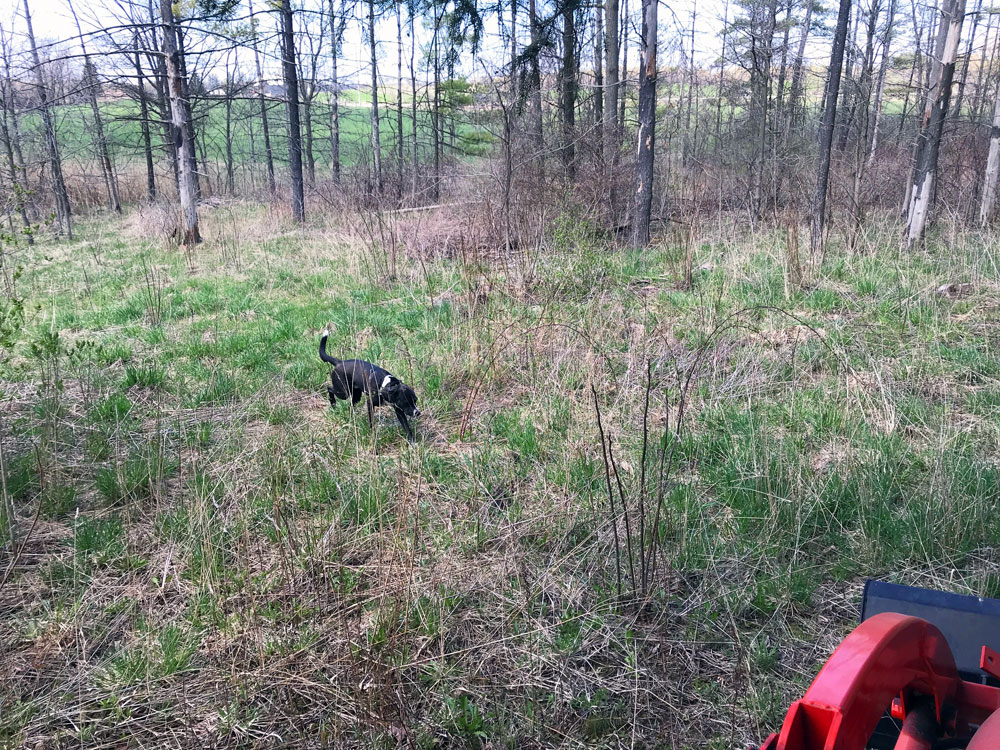
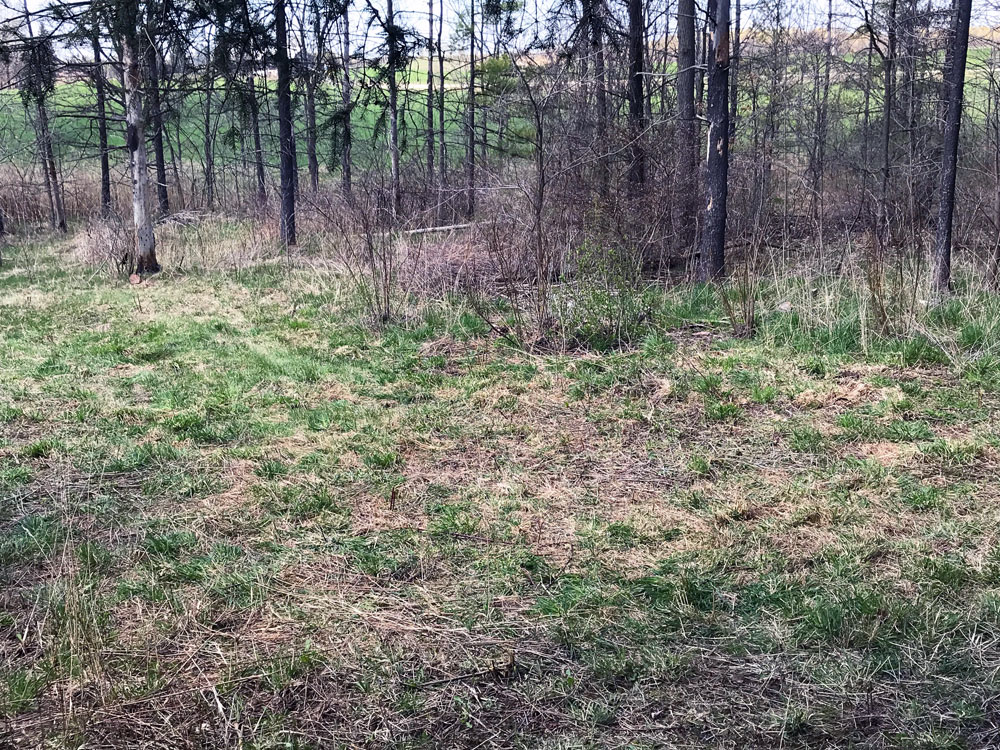
The garage and the driveway trees and lights are done. The bridge over the creek, the tree line clean up and the coop are in progress (some farther along than others). I still want to level the dirt pile behind the barn (now known as Grassy Hilltop courtesy of Ellie), although it’s come in handy over the past few weeks when our contractors needed topsoil (and Ellie does not like the idea of Grassy Level Ground). I still imagine how nice it would be to have a dock down at the pond, and I still want to shift the laneway to the back field slightly westward.

Overall, I’m proud of what we’ve accomplished. And I’m learning that landscaping is a process–and usually takes longer than I planned. Each thing I do builds on something I did before. And there’s always more to come. Thanks for following along.