There are three weeks left in the official One Room Challenge. And three weeks left in my personal mini-ORC, also known as mission finish the office.
Already the motivation of the ORC is working. I had a very productive weekend, and I’m excited to see the finishing touches for the office coming together.
Here’s the to-do list update:
Buy and install light fixture- Unpack remaining boxes and organize china cabinet
- Style china cabinet shelves
- Sort and file paperwork
Install gallery wall #1- Install gallery wall #2
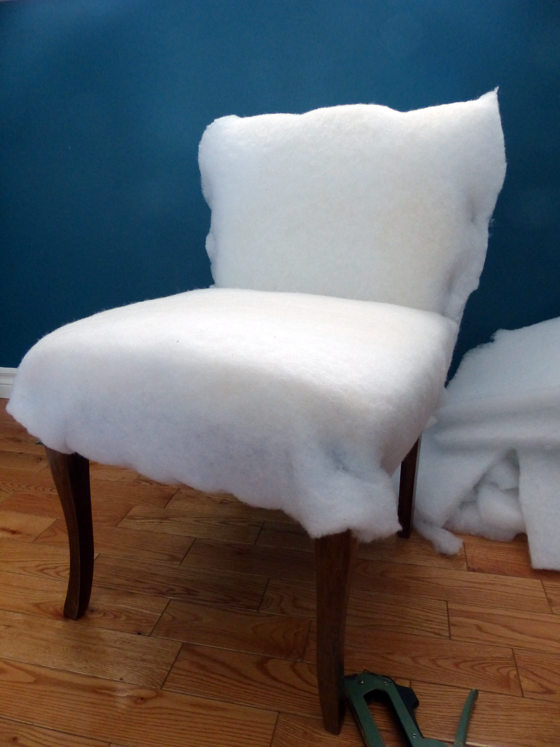
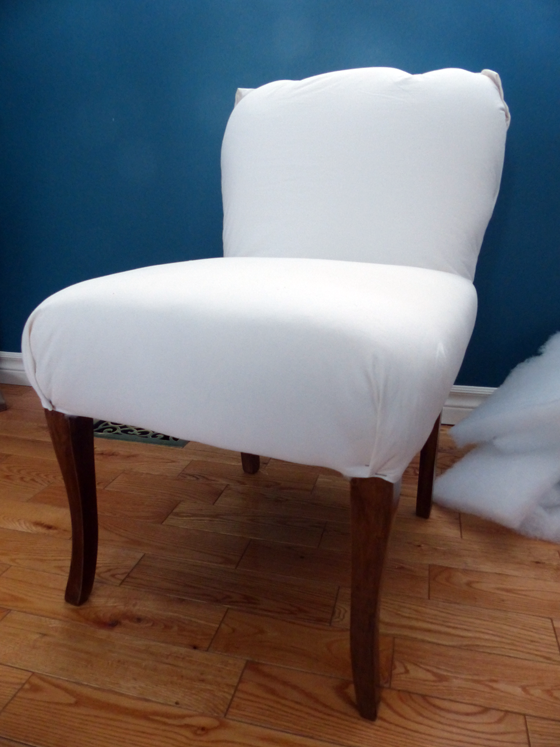
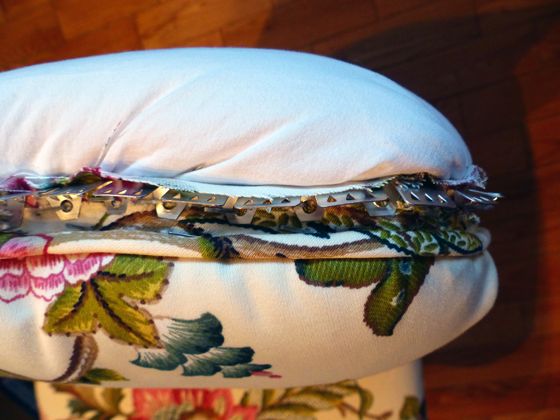
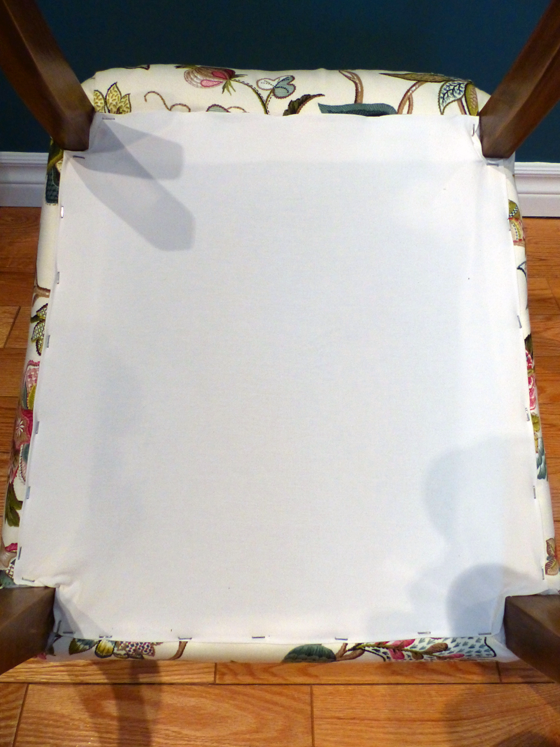
Reupholster seat of wooden chair
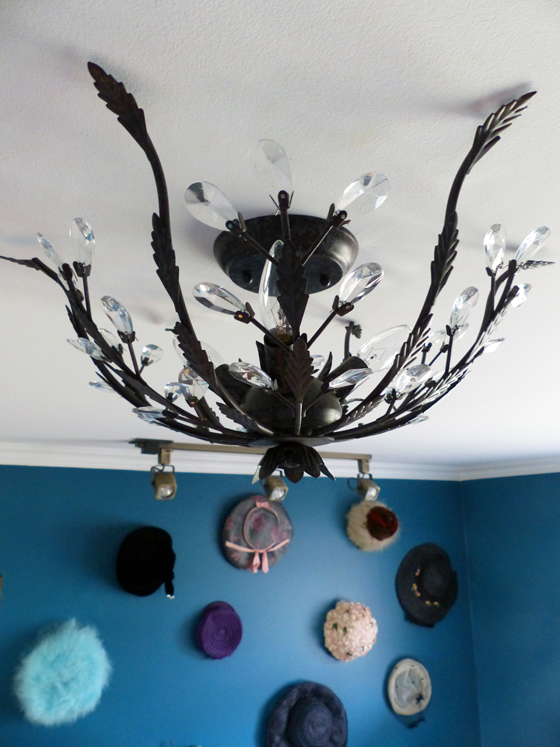
As you can see from the photo above, I have a proper light fixture now. I’ve envisioned this light fixture in the office for a long time. I second guessed myself for a moment when I finally bought it, but now that it’s installed it’s perfect. I love the dark metal and the vines and the crystals.
It’s kind of fun and a bit of a different experience to decorate a room completely for myself.
Something that’s also entirely for me is the gallery wall you see behind the light fixture. I’ll share more about that in a couple of weeks when I post the final the reveal.
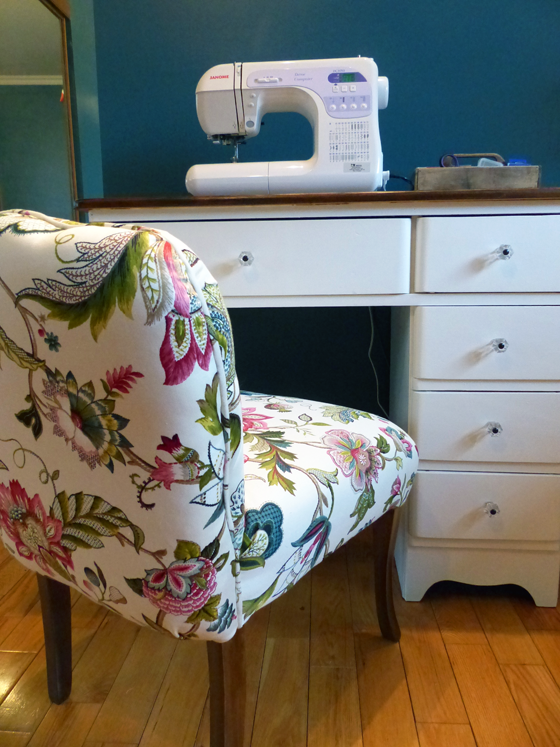
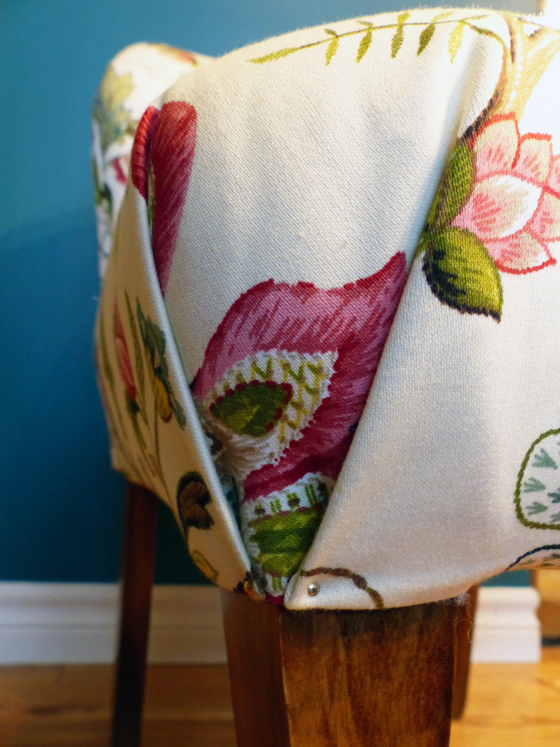
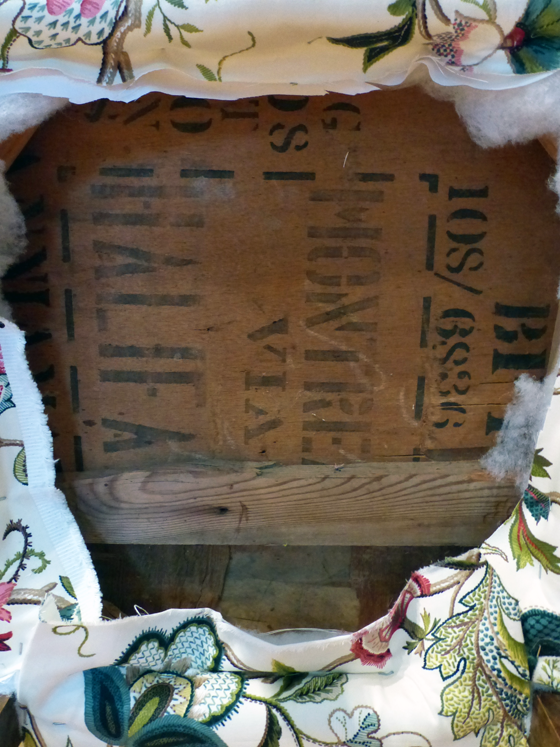
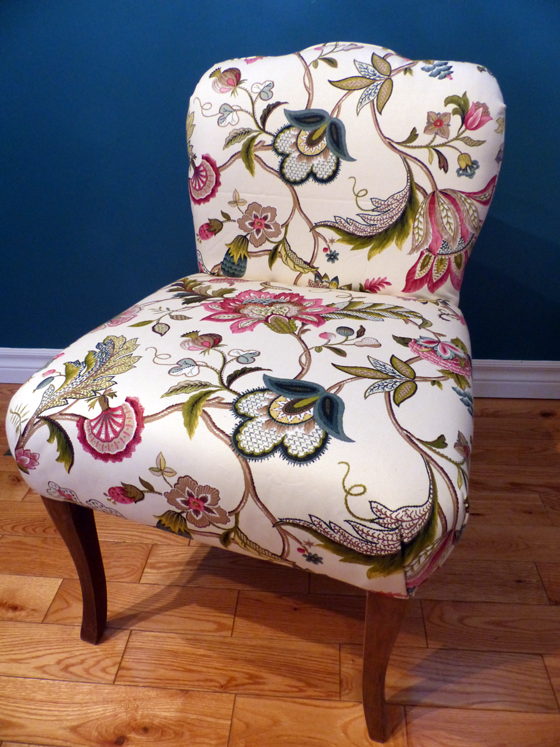
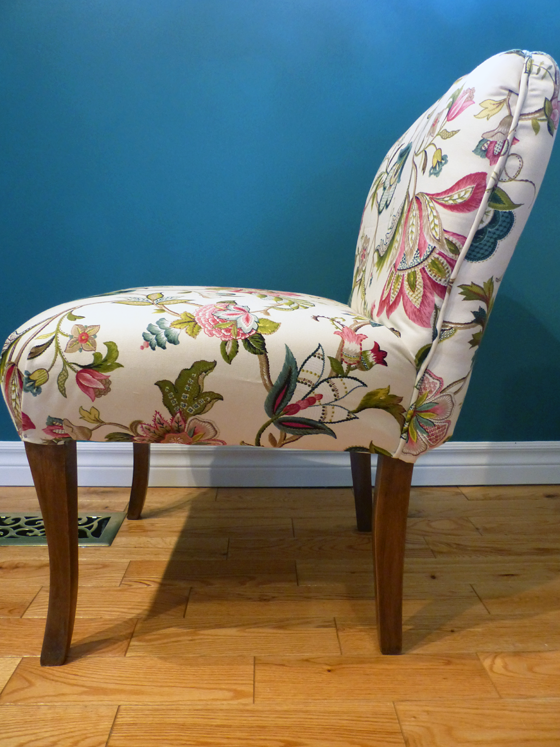
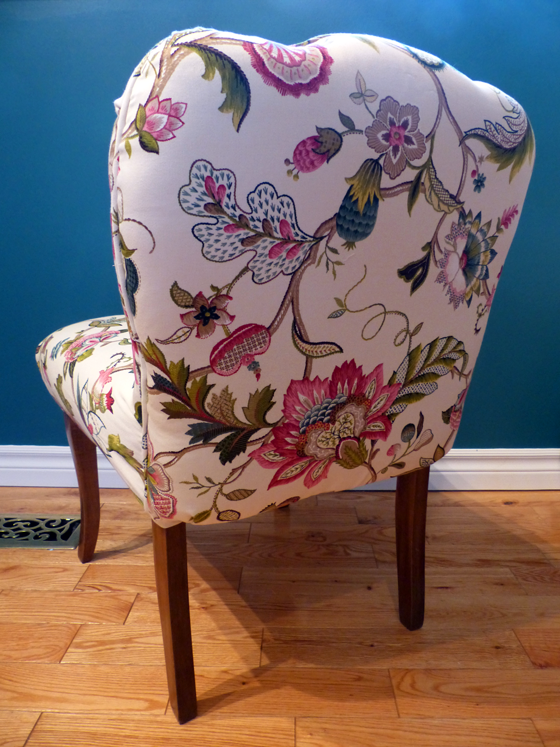
Another personal favourite is the Brissac Jewel fabric by P Kaufmann that I used on my bulletin board and slipper chair. It’s making another appearance, this time on a wooden chair that past owners left at the farm.
Upholstering this chair hadn’t been part of the original plan for the office, but I couldn’t let this chair go (I have a thing for chairs). Covering a slip seat is a whole lot easier than upholstering the slipper chair. Pulling all of the staples out of the old upholstery probably took longer than adding the new fabric.
The dark wood and the bright fresh fabric look so nice against the white desk and turquoise walls.

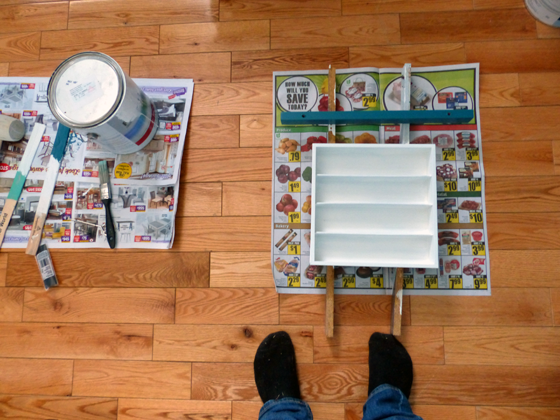
A major perk of the ORC is it ensures I complete all of the little details of a makeover. Details like paint touch-ups (which were also part of my weekend) and upholstering this chair.
It’s those little details that make a room come together. I’m thankful to finally be at that point with the office. Just a little more to go. We’re getting there.
So are all of the other bloggers that are participating officially in the ORC. Even though I’m not linking up, I encourage you to check out the other makeovers at Calling It Home. There will be new updates every Wednesday and Thursday until May 10.
Have you ever decorated a room just for you?