The recommended theme for today’s One Room Challenge update is setbacks. It turns out that this is actually a fitting topic for this point in the laundry room makeover.
Setback 1: The times in between
I’m not sure if anyone else has this problem, but this one’s a common challenge for me in DIYing. In between each stage of a project, I sometimes find it hard to change gears.
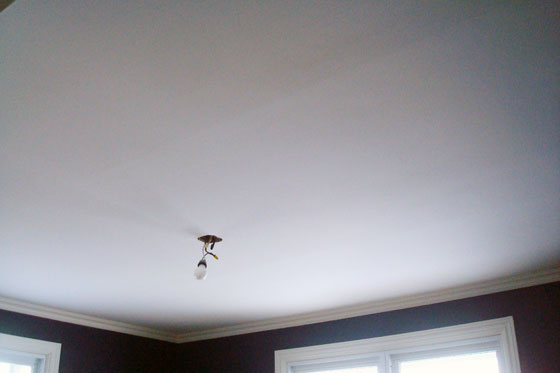
I finished painting the cabinets, but then the idea of getting the ceiling ready for painting–never mind actually painting it–was extremely challenging.
A great thing about the One Room Challenge is it helps keep me moving.

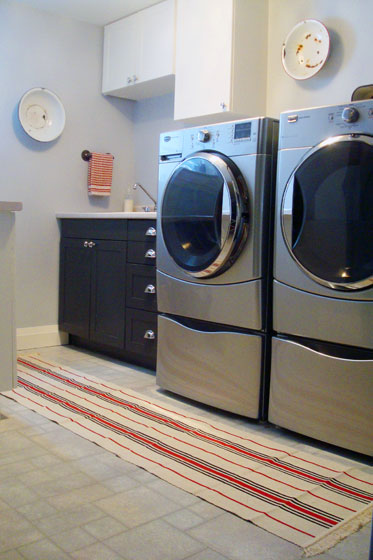
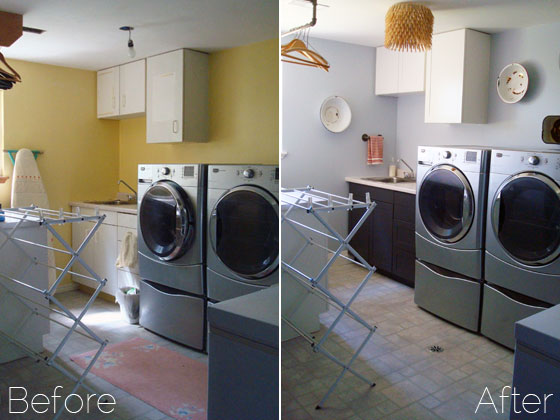
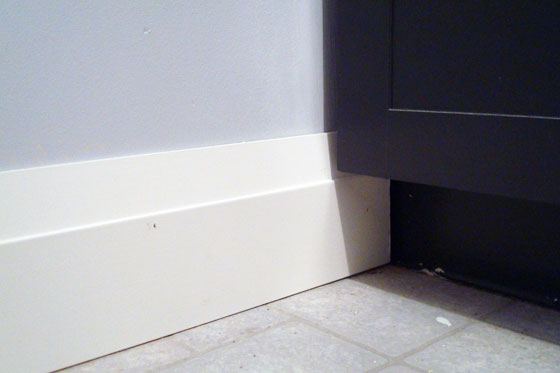
Baseboards installed. Yay!
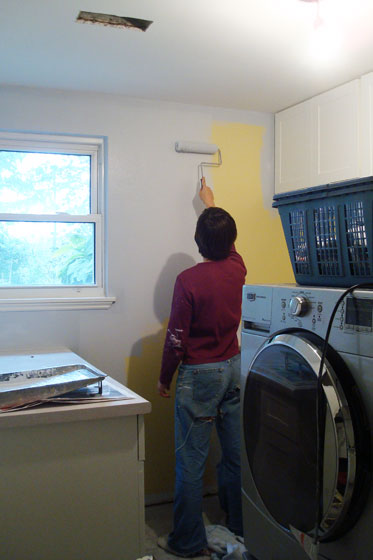
As I posted on Friday, work kicked my butt last week. I fought back, putting in extra time and staying late at the office. Of course, this meant that I had less time at home to work on the laundry room. Which meant that I finally started painting the ceiling at 9pm the night before my scheduled deadline.
I’m sure time will be a common challenge among ORC participants. Heck, finding time is a common challenge of DIYers everywhere, I think.
However, I am very pleased to report that I’m nearly on schedule. Here’s the original plan with adjusted deadlines and a few new tasks.
Add shaker style trim to the cabinetsPaint the cabinetsInstall doors and drawersRemove ceiling rack – By Oct. 3Patch ceiling and walls – By Oct. 3- Prime walls (pshaw, who needs prime?) and
paint ceiling – By Oct. 10
Paint and install baseboard and paint window trim – By Oct. 10 I was a bit behind schedule on install, but it’s done as of Oct. 13- Deep clean (sink, counter, floor, machines) –
Oct. 13 (Happy Thanksgiving Monday!) Rescheduled to Oct.19
- Paint walls (first coat is on, one more to go) – By Oct. 17
- New Replace ivory washer outlet with white one – By Oct. 19
- Level washing machine – By Oct. 19
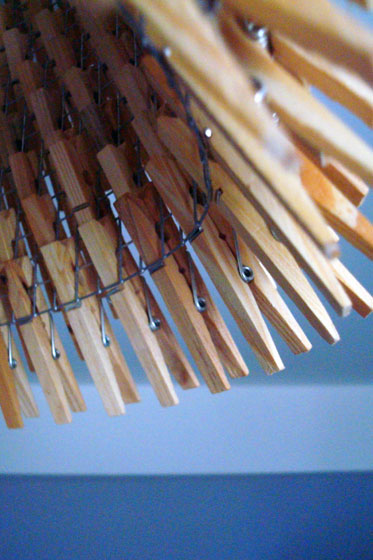
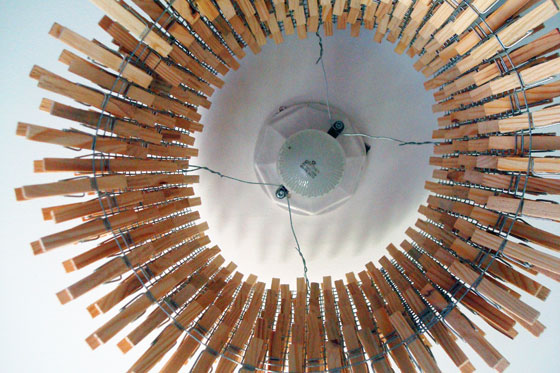
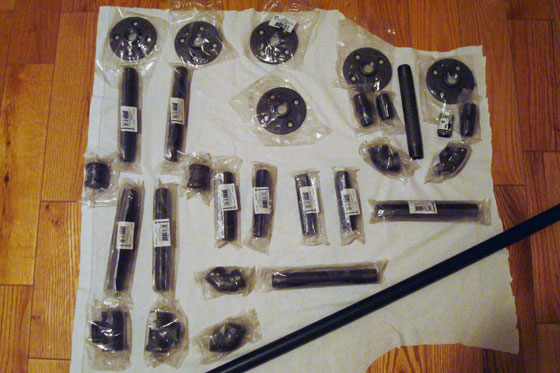
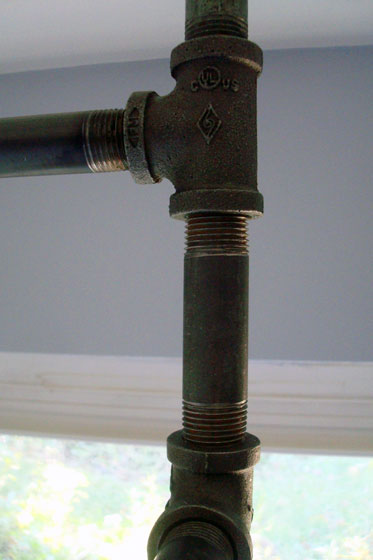
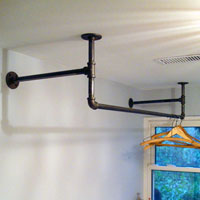
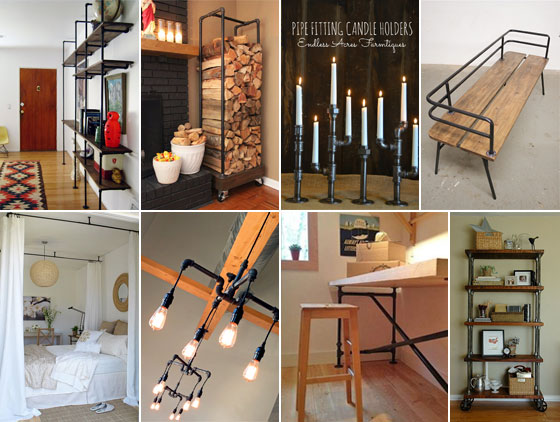
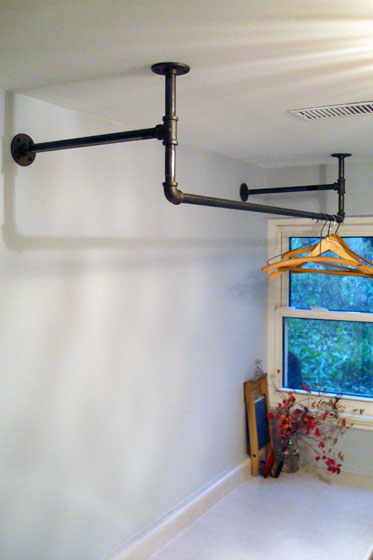
- Build and install ceiling rack – By Oct. 24
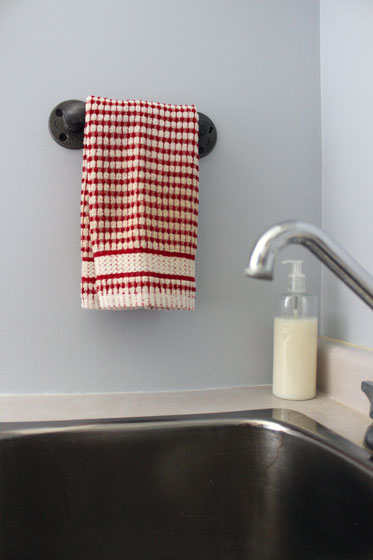
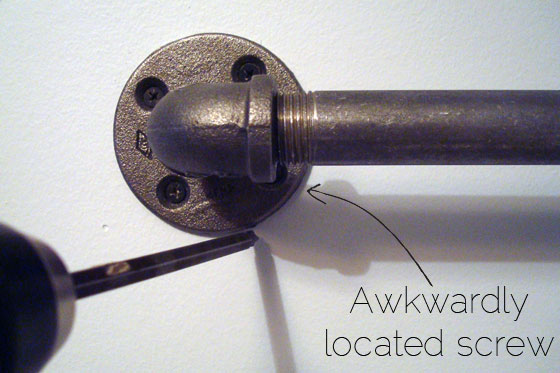
- Build and install towel bar – By Oct. 24
- Install cabinet hardware –
By Oct. 24 Rescheduled to Nov. 11 due to setback #3 (see below)
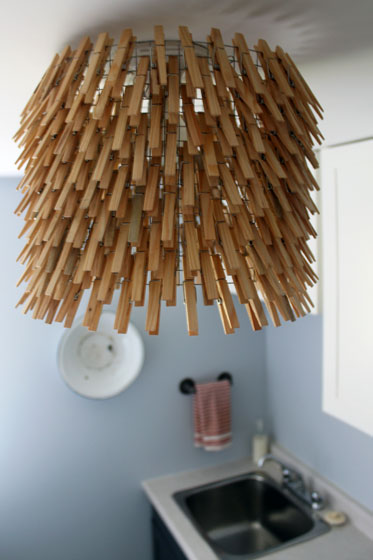
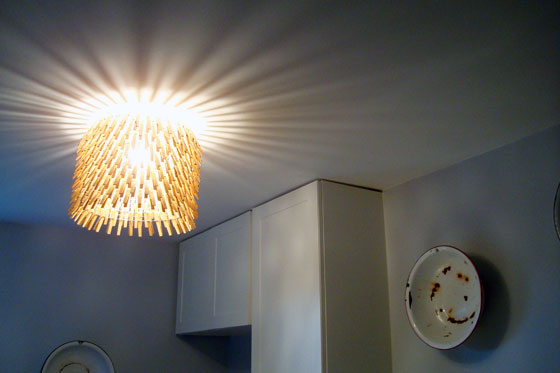
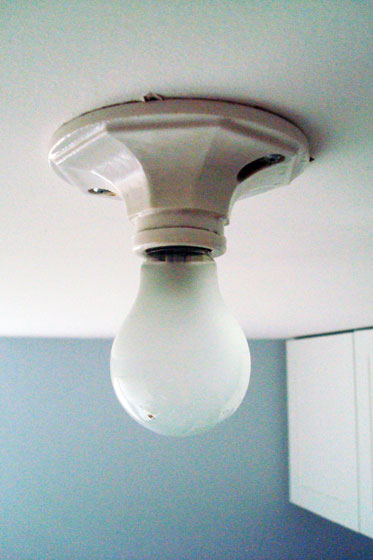
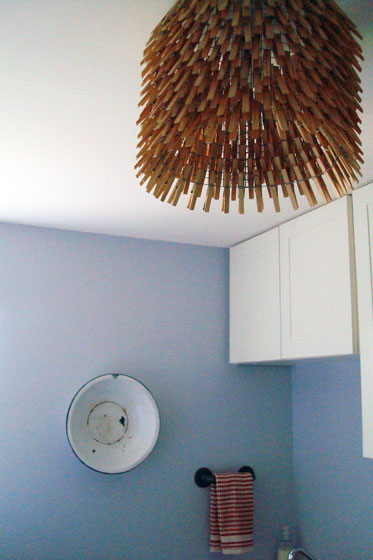
- Build and install light fixture – By Oct. 26
- New Remove non-working sprayer from the sink and plug the hole – By Oct. 26
- Decorate – By Oct. 31
So it might be a problem that I keep remembering new tasks to add to the list. It seems like I’m adding things as fast as I’m crossing them off. However, the progress is continuing despite a couple more setbacks.
Setback 2: Paint
The second setback isn’t really serious enough to be classified as a setback. It’s more of a lesson learned.
When it comes to painting ceilings, I just use white primer. We had a bit of primer left in the giant pail that we used for the rest of the basement reno. To make sure the colour was absolutely consistent, I wanted to use this primer. Well, it turns out that this paint has been sitting a little too long. There were all kinds of hardened bits in it. It made painting the laundry room ceiling incredibly frustrating. I got a mostly smooth finish, but I only did one coat. I think it looks good enough. If I have to, I will strain the paint and go again.
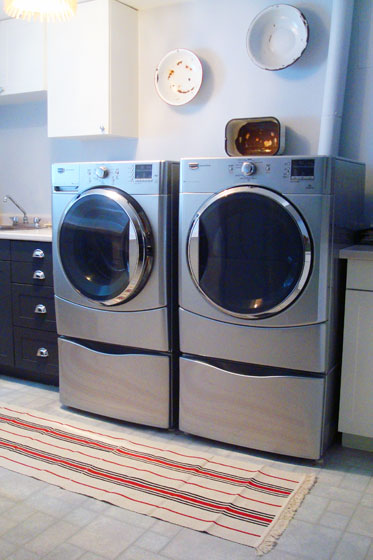
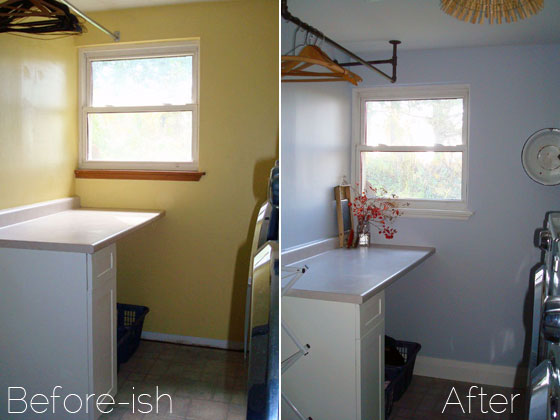
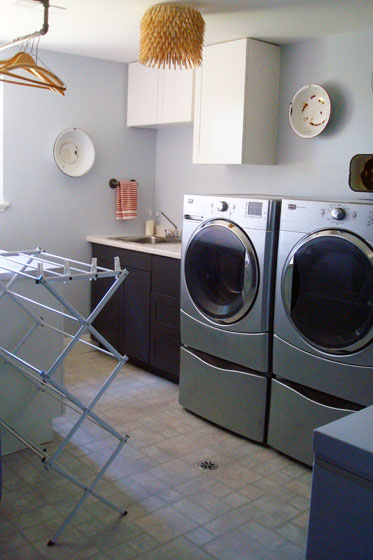
The other lesson learned (or confirmed) when it comes to paint is that BM Wrought Iron definitely has blue undertones. I first used Wrought Iron in Matt’s windowless bathroom. There it looks pretty pure, super dark grey. In the laundry room, where there’s lots of natural light from the window, the cabinets look a bit navy blue sometimes.
For the wall colour, we walked up the paint strip and chose a much lighter tone of grey from the same slip as Wrought Iron. It’s close to Bunny Gray (read the story of our Frankencolour). We already knew that this one was slightly blue as we used it on all of the other walls throughout the basement. I had intended that the walls and the cabinets would be a purer grey, but I don’t care enough to repaint.
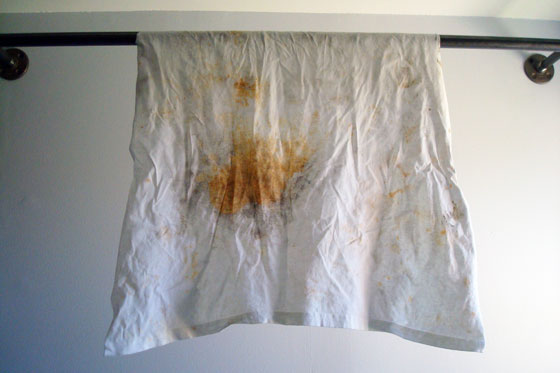
Plus, anything’s better than that yellow. Sing it with me people in the tune of Elton John, “Goodbye yellow gross paint.”
Setback 3: The hardware
The final setback I’ve had is the cabinet hardware. I wanted cup pulls for the drawers. I wanted them to be pretty simple without a flange or other details, and I wanted a chrome finish. I had ordered these pulls from Home Depot.

A week or so after I placed the order, I got a call from HD that they couldn’t get anyone at the manufacturer to answer email or the phone.
I looked at other big box stores and couldn’t find what I was looking for. HD had offered me a refund, but it took me awhile to make it into the store. By the time I was standing in front of the customer service desk, the associate let me know they’d started receiving orders again from the company. If you read my post on Friday, this is when I heard, “I’ll give you the refund, but let’s try and place the order again. I won’t charge you even if it goes through.”
How awesome is that?
A few days later I came home to a message from HD. My order went through (yay!), but the pulls are on back order (boo!). They should be here by Nov. 10. That’s just nearing the end of the One Room Challenge. I think I should be able to get them on in time for the final reveal.
The moral of the story
So, setbacks aside, the challenge rolls on. The best thing about this challenge is how encouraging everyone is. It’s been amazing to connect with other bloggers and have so many new people stop by my blog and offer their comments. Seeing everyone else’s projects is also super inspiring.
Make sure you get a chance to visit Calling it Home and see all of the works in progress.