The birds moved into the coop about a week ago, and I am proud to say this project is done.
Today I’m going to share all the finishing touches that went into completing this space.
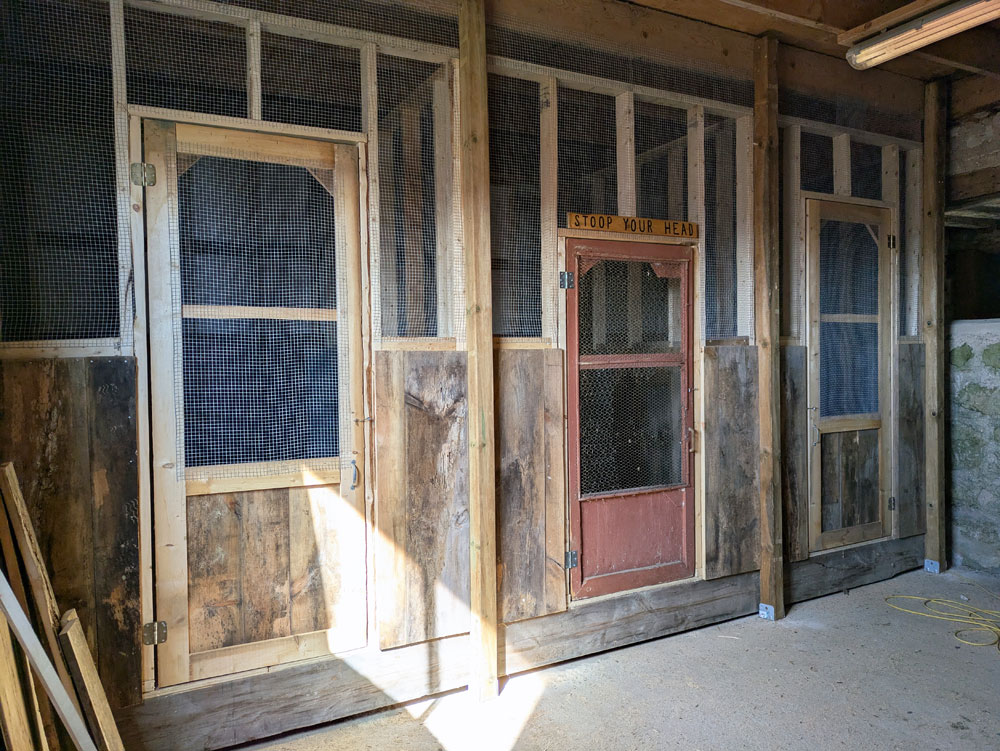
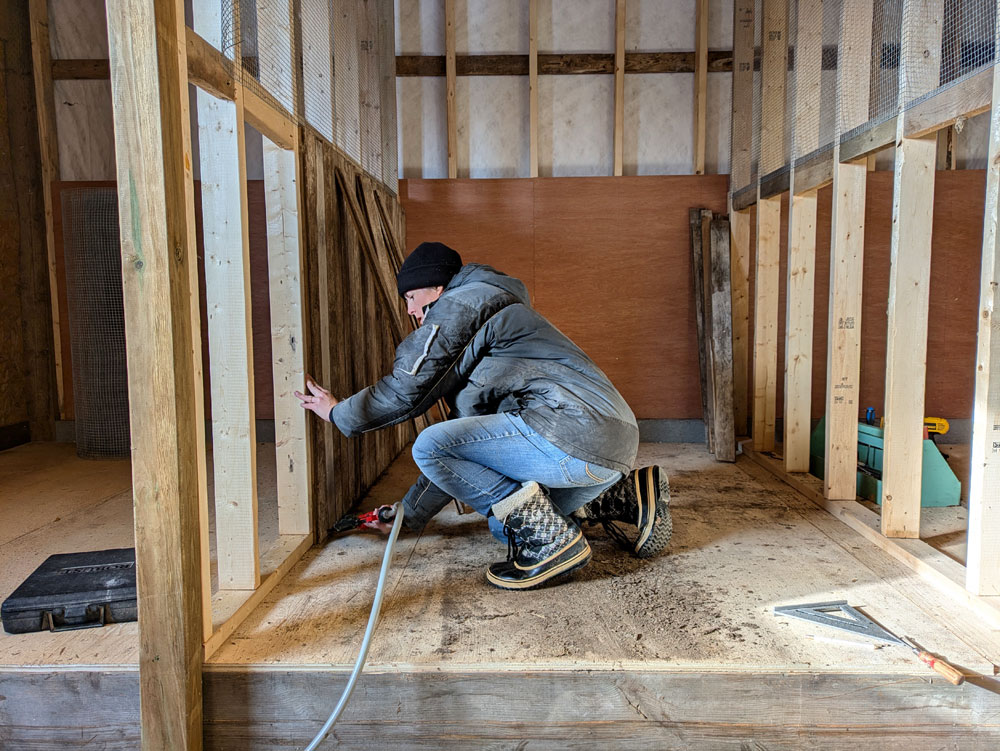
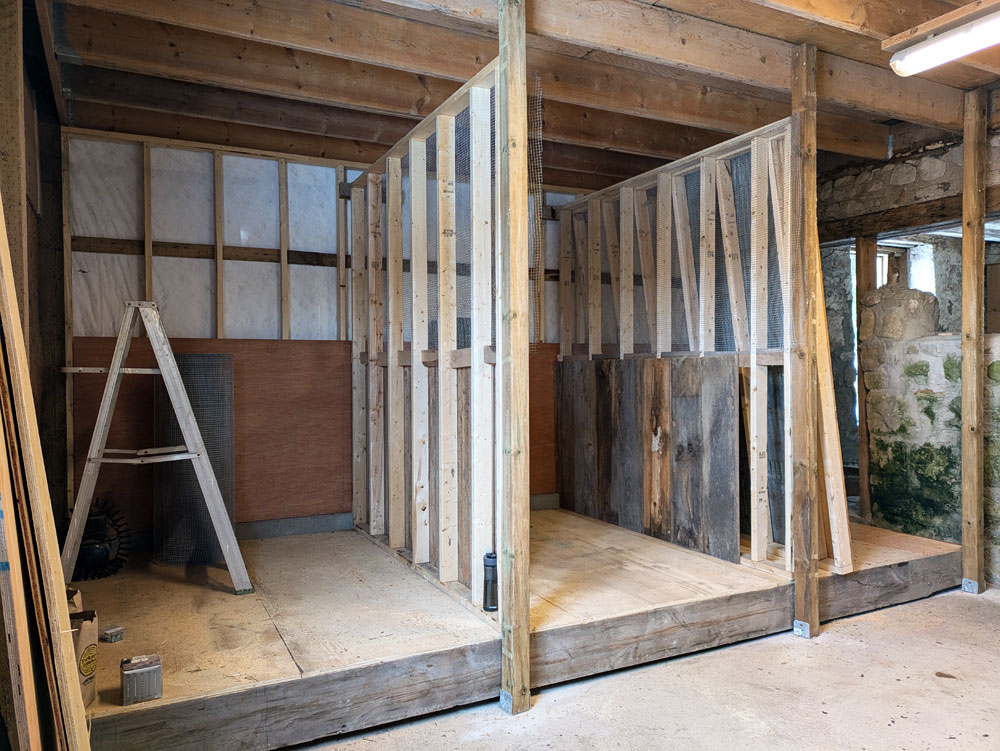
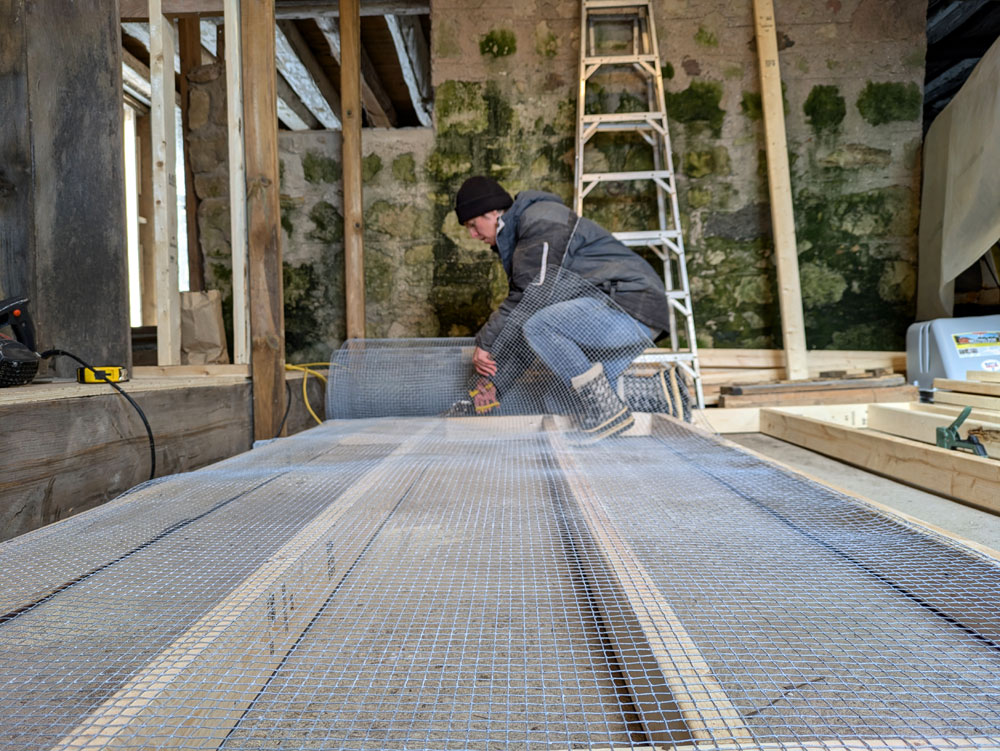
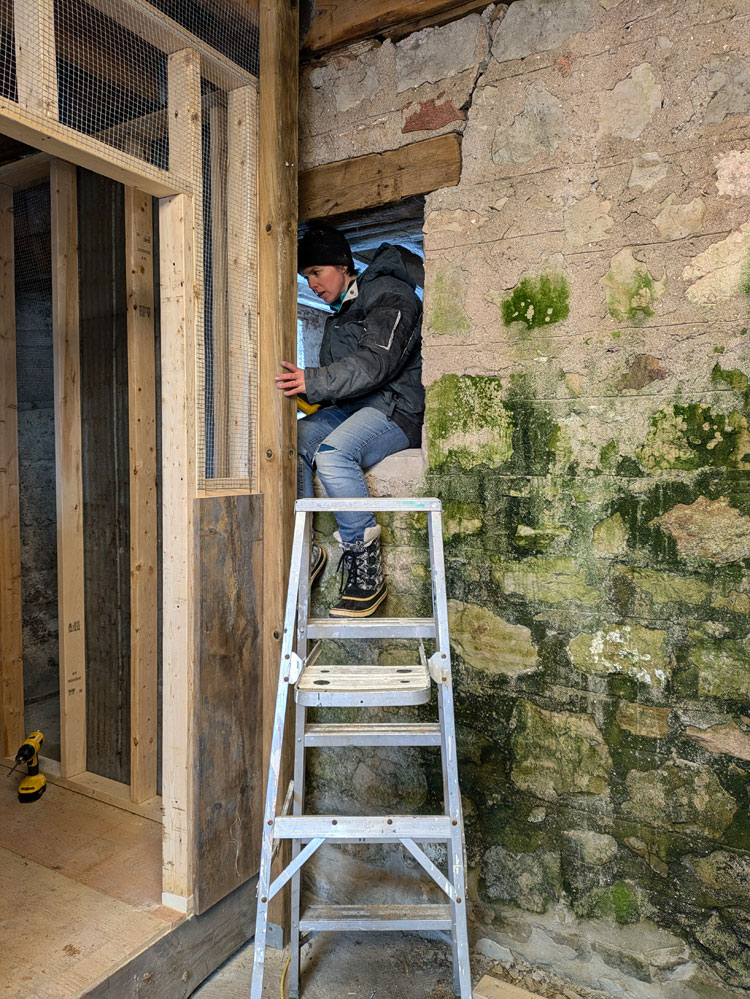
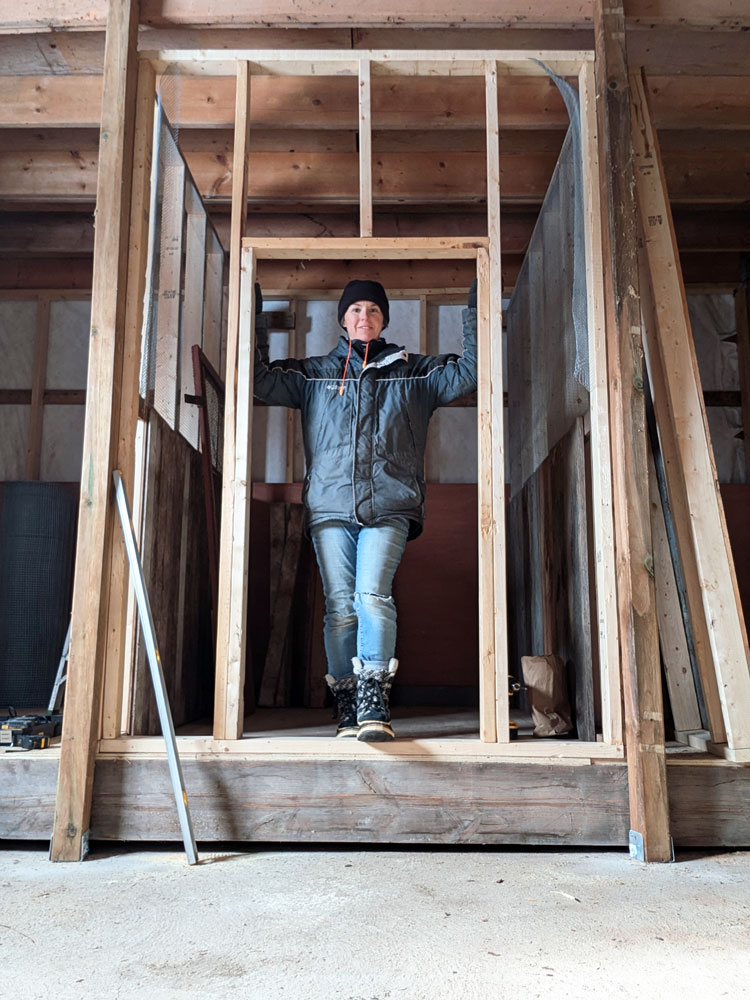
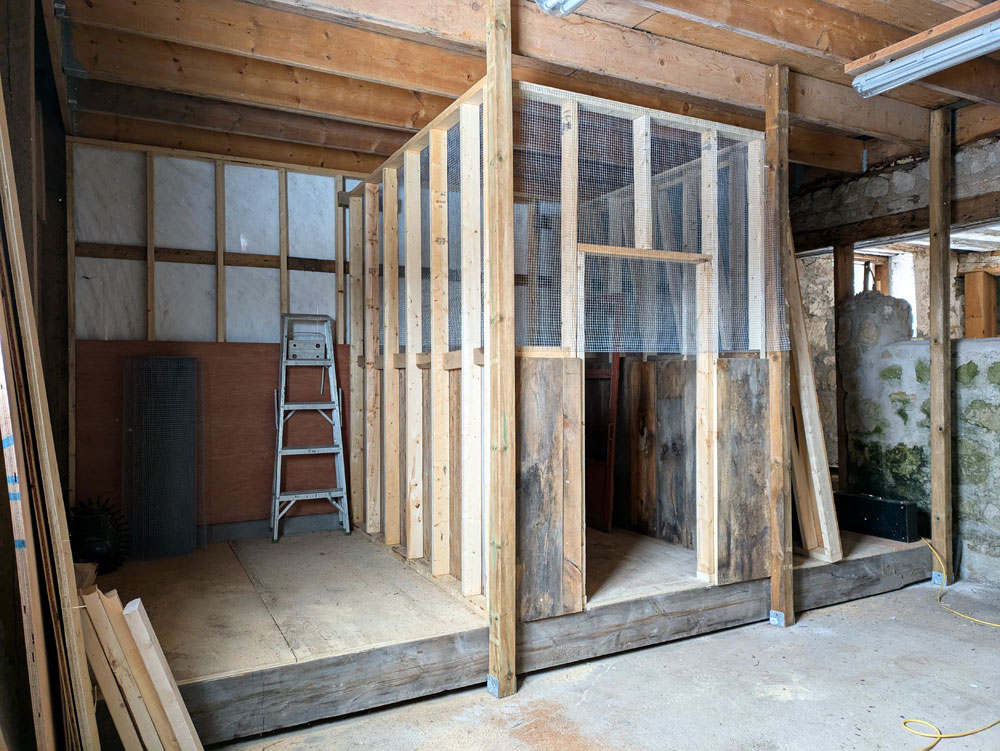
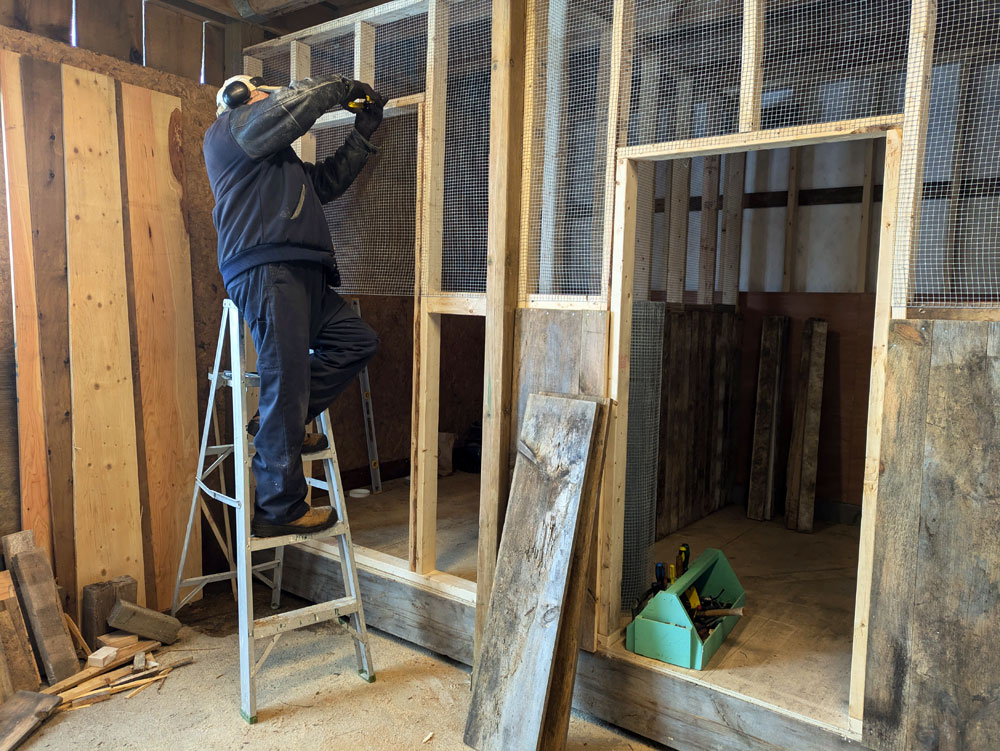
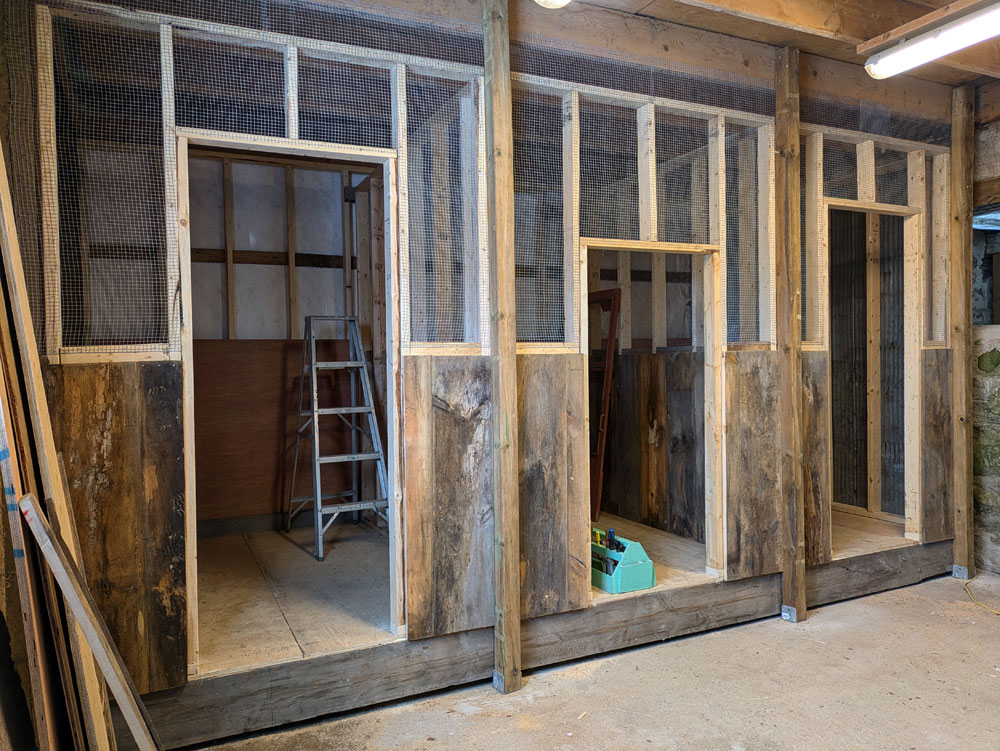
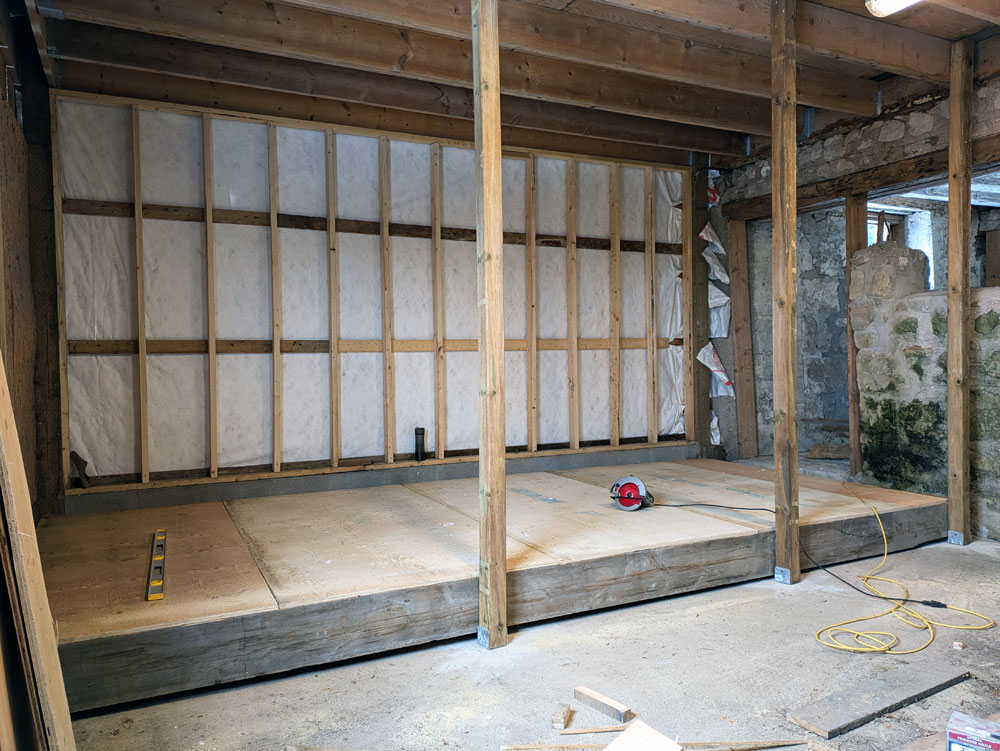
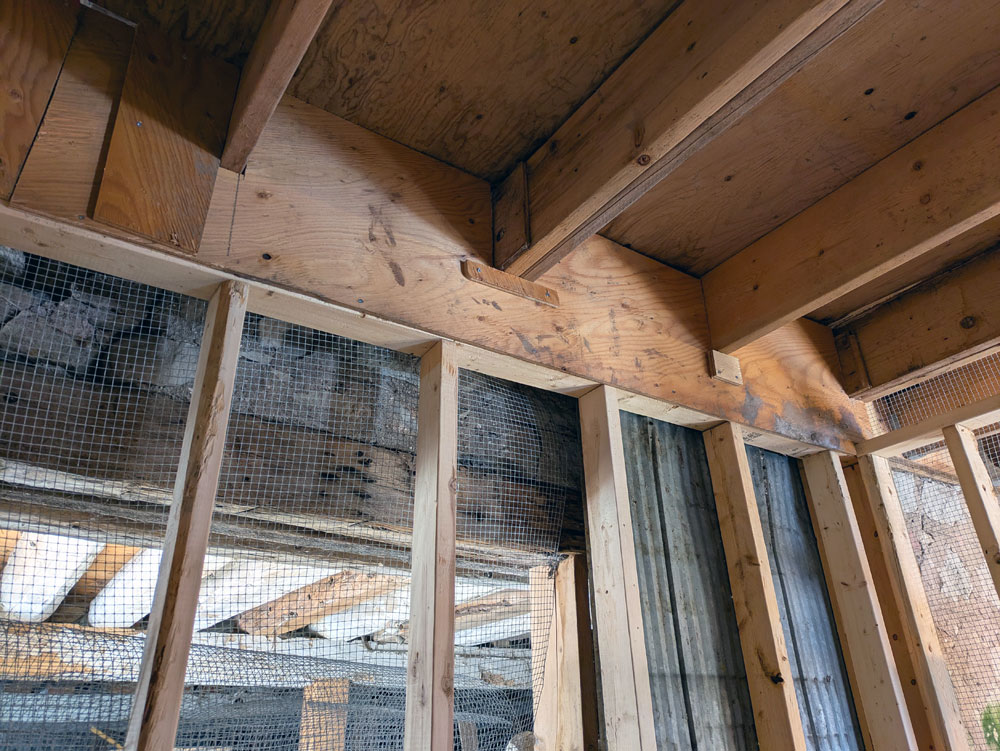
When we last visited the inside, the walls and doors were done, but the pens were not fully secure. I added mesh, boards, whatever worked around the perimeter of the coop along the ceiling. This will hopefully ensure that no climbing crawling predators can sneak over the top of a wall. It was fiddly work to make everything fit.
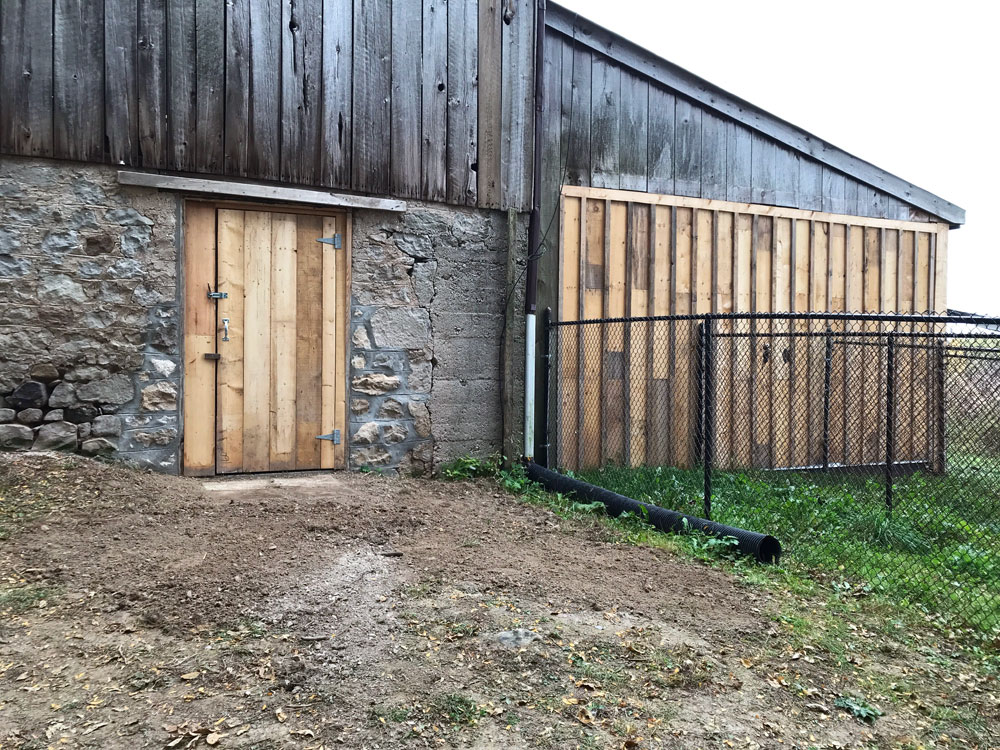
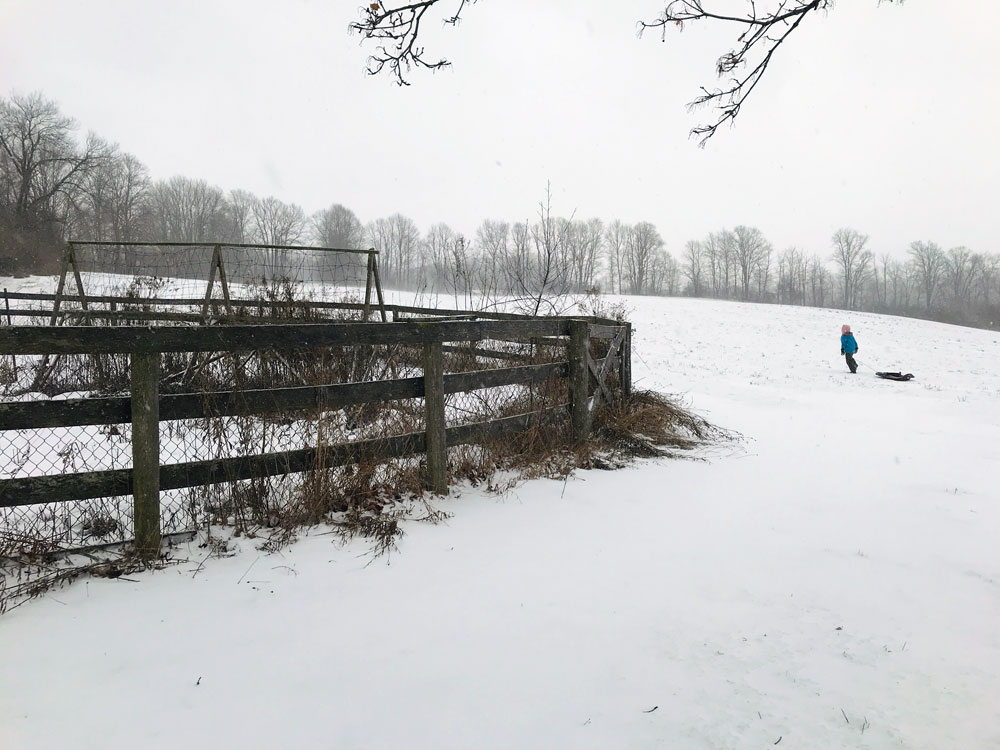
I also added a motion activated solar light on the back of the barn as an extra deterrent to anyone who comes creeping up through the field.
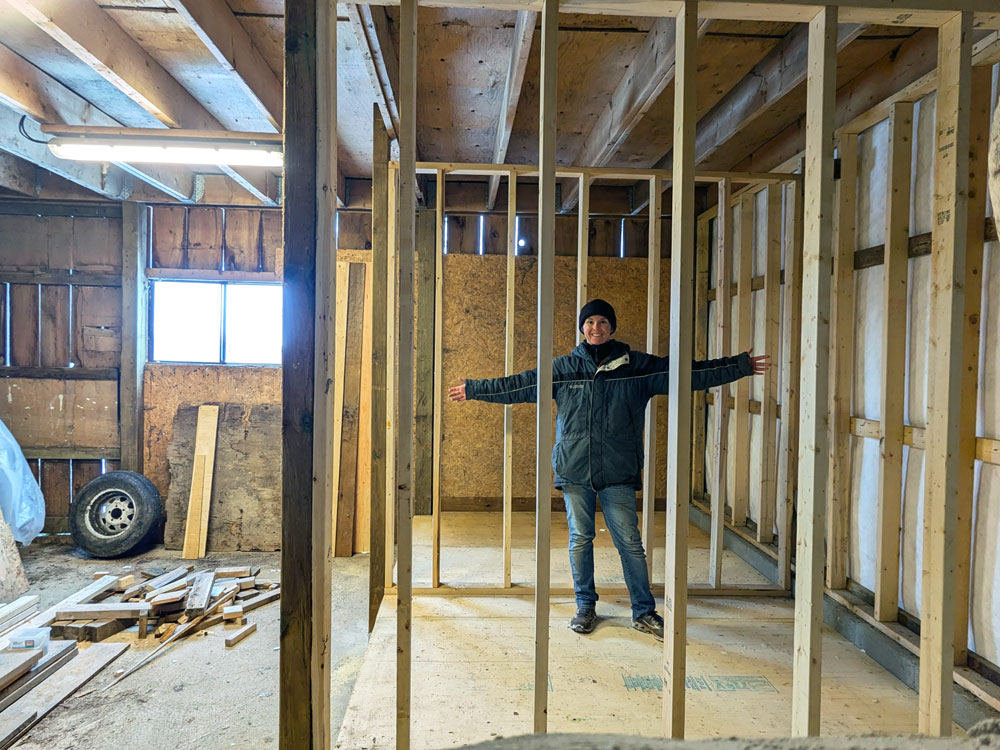
Then I needed to fit out the interior of the pens.
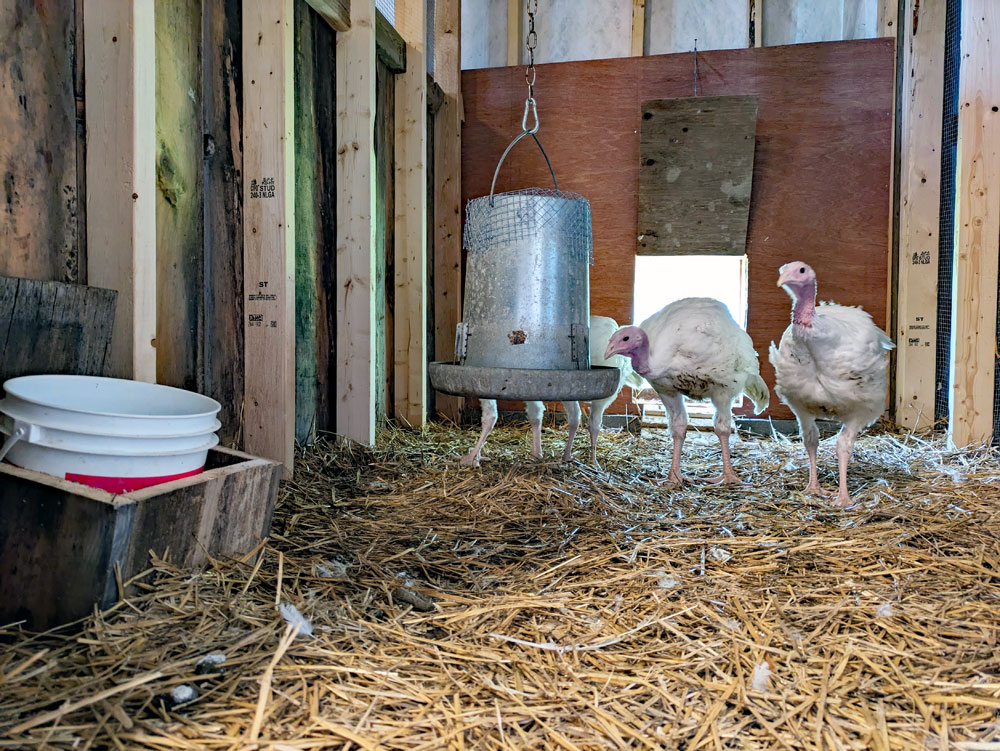
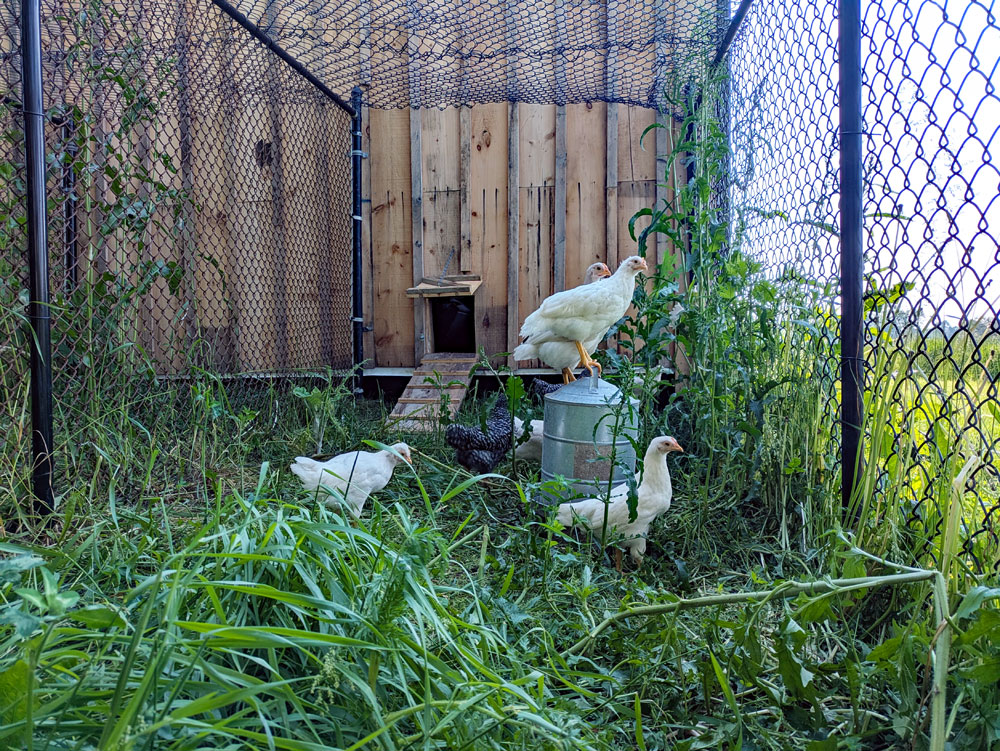
For the turkeys, this was simple: a feeder and a waterer. I found an old metal hopper feeder in the barn, so we washed it out, covered the top with mesh (to hopefully dissuade rodents) and hung it from the ceiling. It’s working very well for the turkeys. For their water, I went with a simple bucket. I built a little box to hold the bucket so the turkeys can’t tip it over (something they loved to do in the brooder). Right now the box is sitting on the floor, but I can attach it to the wall if I want to raise it up.
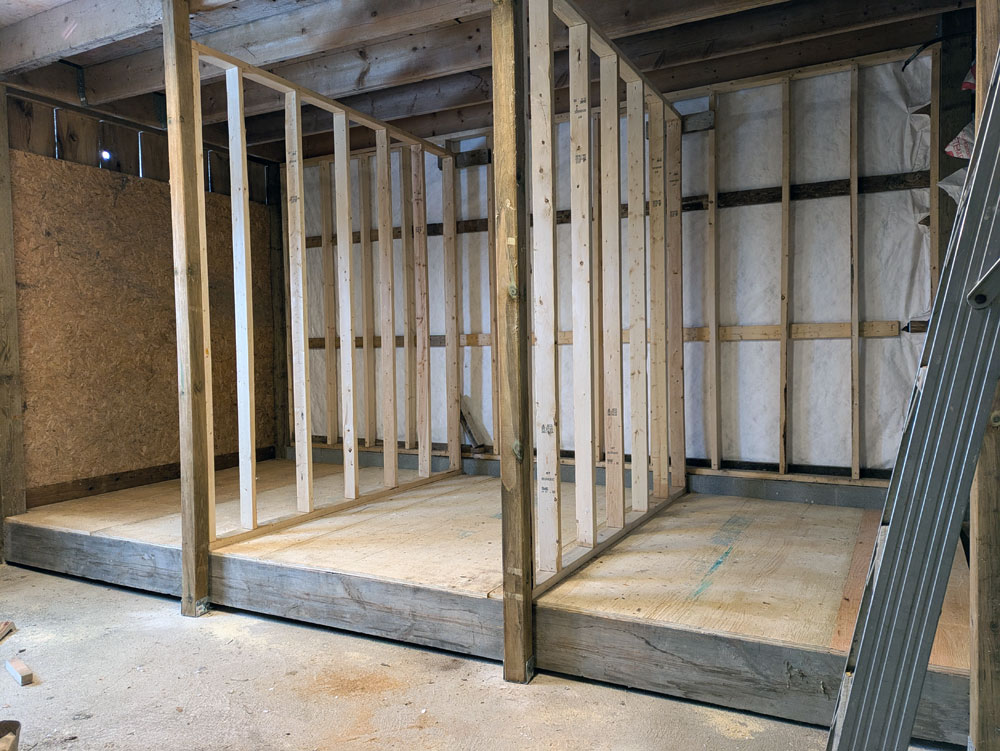
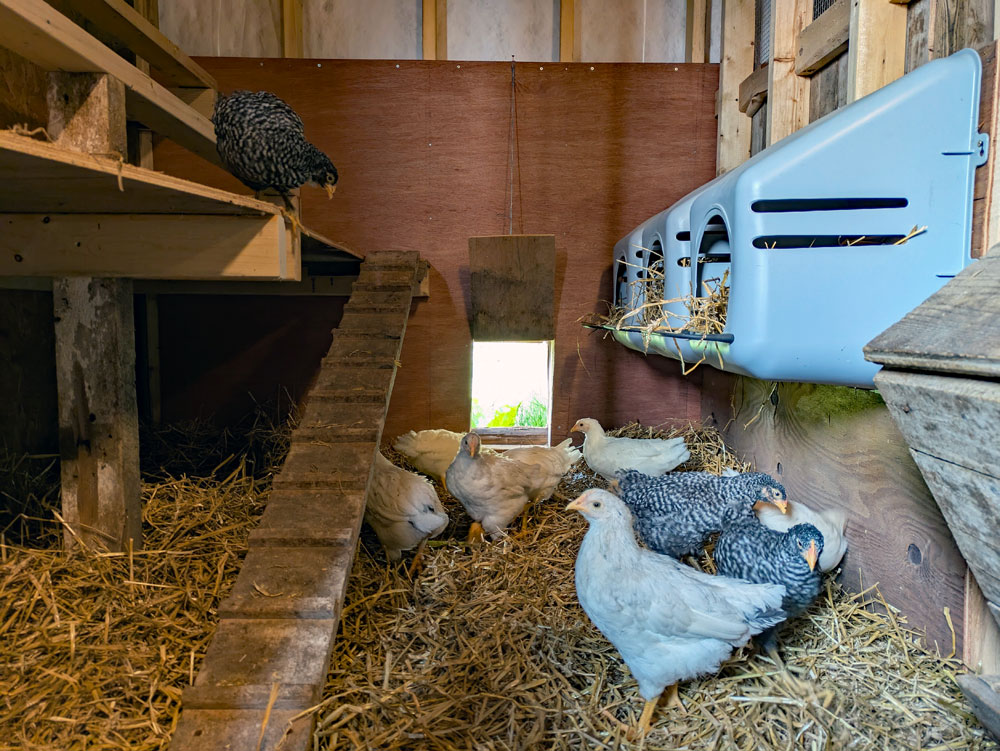
The chicken fit out took a little more work… and a relocation. The hens needed a few more things in their stall. Water and food, of course. But also nesting boxes and roosts. As I was planning the roosts, I realized everything wasn’t going to fit in the centre stall, which I had assigned to the chicks. But the end stall was a few inches bigger… just big enough for everything they needed. So they moved next door.
The nesting boxes are simple plastic bins that screw to the wall. They lift off the screws easily so I can dump out the straw or even rinse them out if I need to.
For the roost, I spent some time researching to figure out the best approach. Here’s what I found. Build your roost as the highest option in the pen. Chickens like to be high to sleep, so if your nesting boxes are the highest thing, that’s where they’ll sleep. Since I want them to sleep on the roost, I made sure the roosts were higher than the nesting boxes.
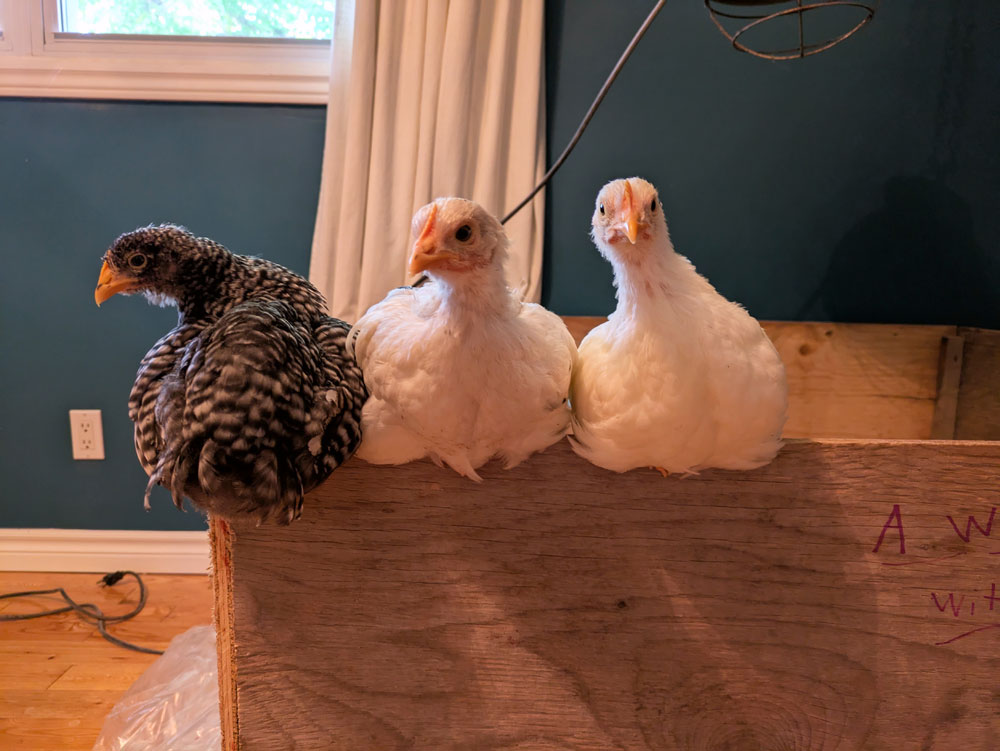
I also found that chickens like a sturdier perch. They are not songbirds who will wrap their toes around a branch (although watching them walk along the edge of the brooder box, I think they do pretty well). So I went with 2x4s laid flat for a nice wide perch.
The other topic was optimal spacing. The recommendation was 12 inches per bird. Since our order was for 15 birds, that meant 15 feet of roost. Our pens are 8 feet long, so this worked out easily to 2 roosts along one side of the pen.
A feature I added courtesy of my Dad is a poop board under the roosts. Roosts tend to be a messy area. Chickens poop in their sleep and sometimes even lay an egg. The board under the roosts will hopefully catch the mess and then I can easily scrape it off, rather than changing all of their bedding.
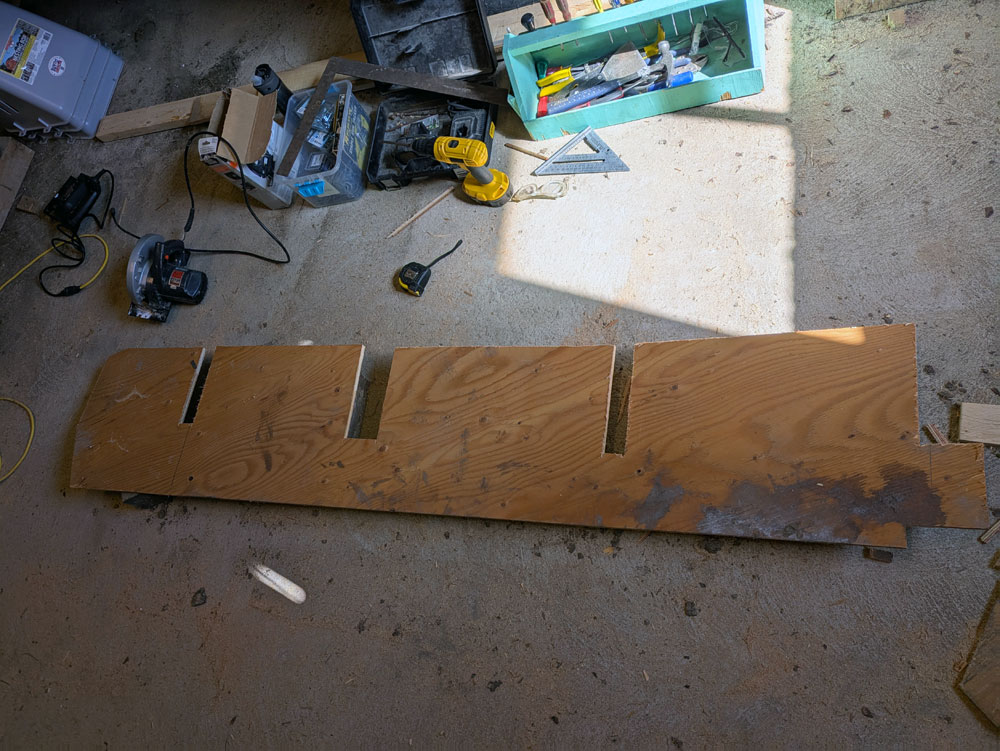
All of my research and planning complete, I went to work and built the roost. Along the way I also decreased our chicken order. The pen was starting to look a bit tight, and I was worried the birds would be too crowded. So I dropped our order to 9 birds. We ended up with 10, as the hatchery seems to have a practice of giving 1 extra chick. We have lots of room for everyone to be comfortable… and we’ll still have lots of eggs.
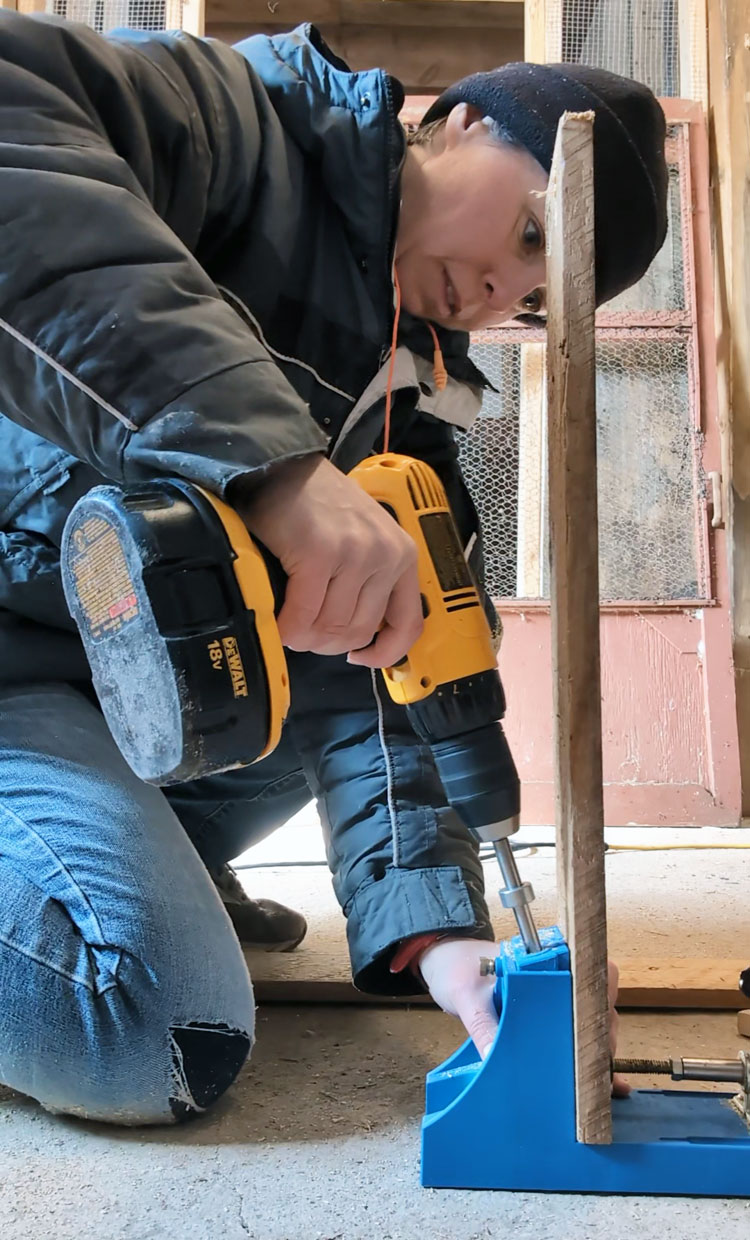
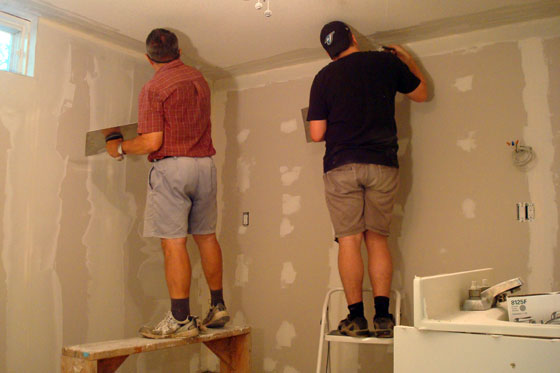
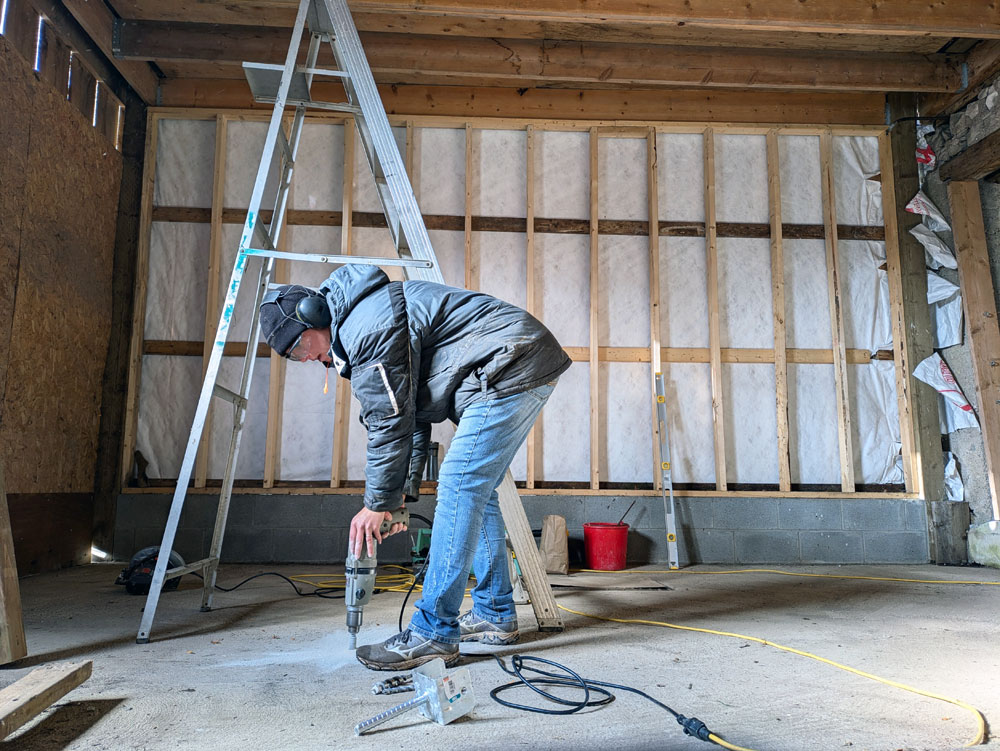
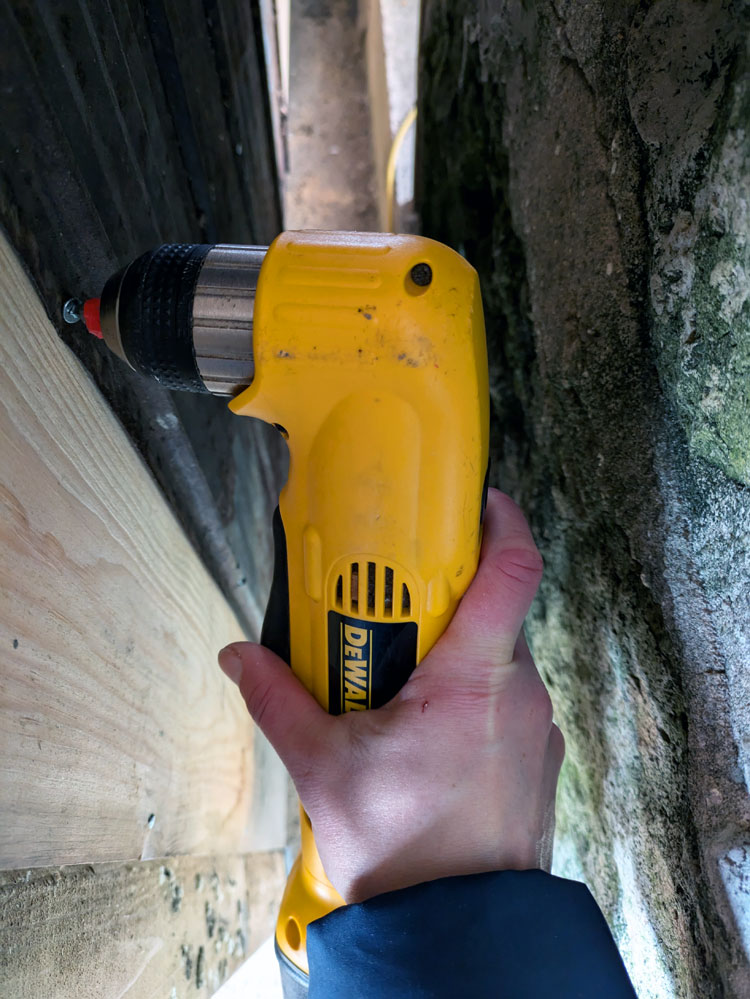
The roost turned out well… nice and sturdy. (From my attire, you can tell when I was working on this.)
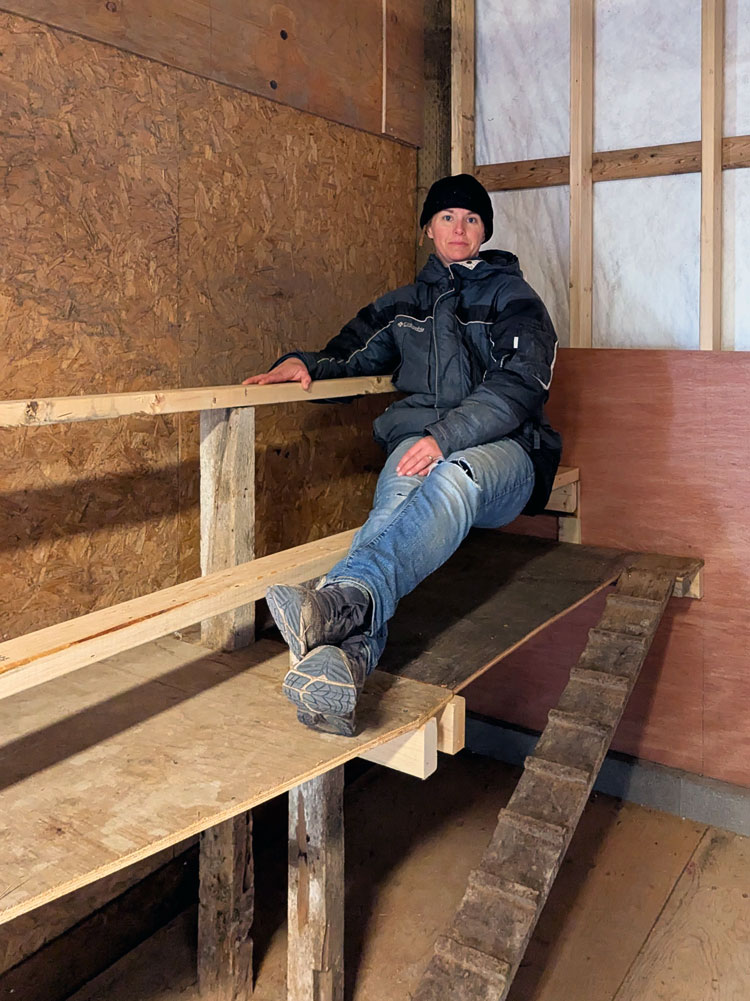
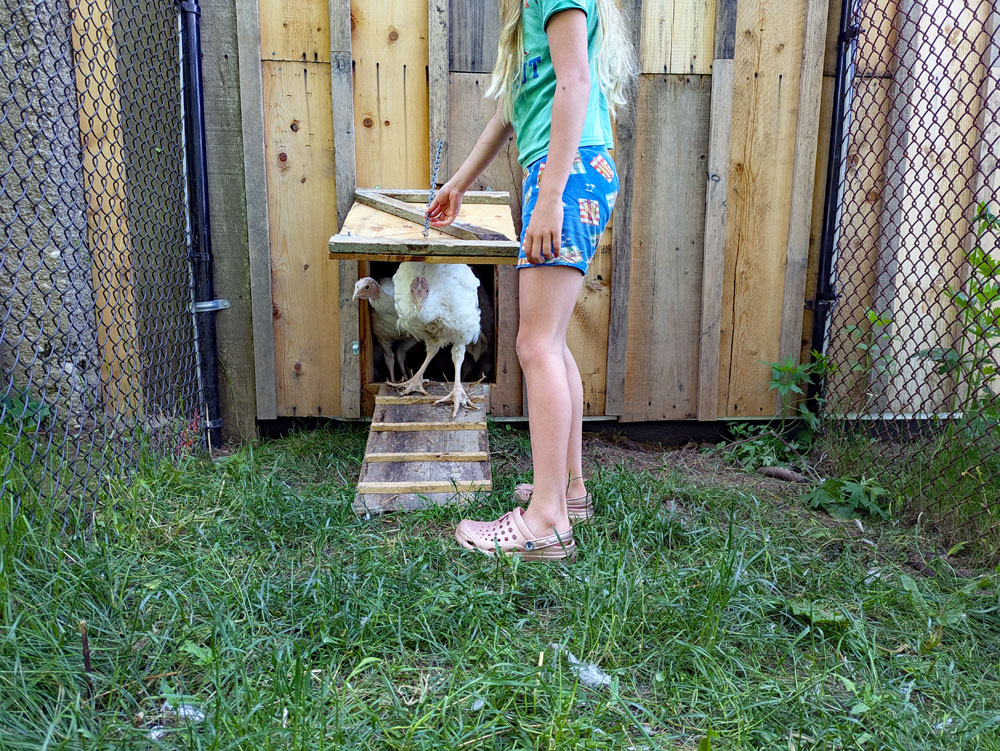
Then I added a little ramp that we had from the old coop in case any birds needed help getting up. It’s on a hinge so we can easily lift it out of the way when we need to clean out the stall.
The final touch was, once again, feed and water. The chicks have another bucket in a box, just like the turkeys for their water. For their feeder, I went with a wall mounted version to save space. This was another souvenir from the old coop that happened to fit perfectly in the remaining wall space.
After the first week, I made a couple of adjustments to decrease the size of the opening where the food comes out, because the chicks were spilling a lot of food, but otherwise it seems to be working well.
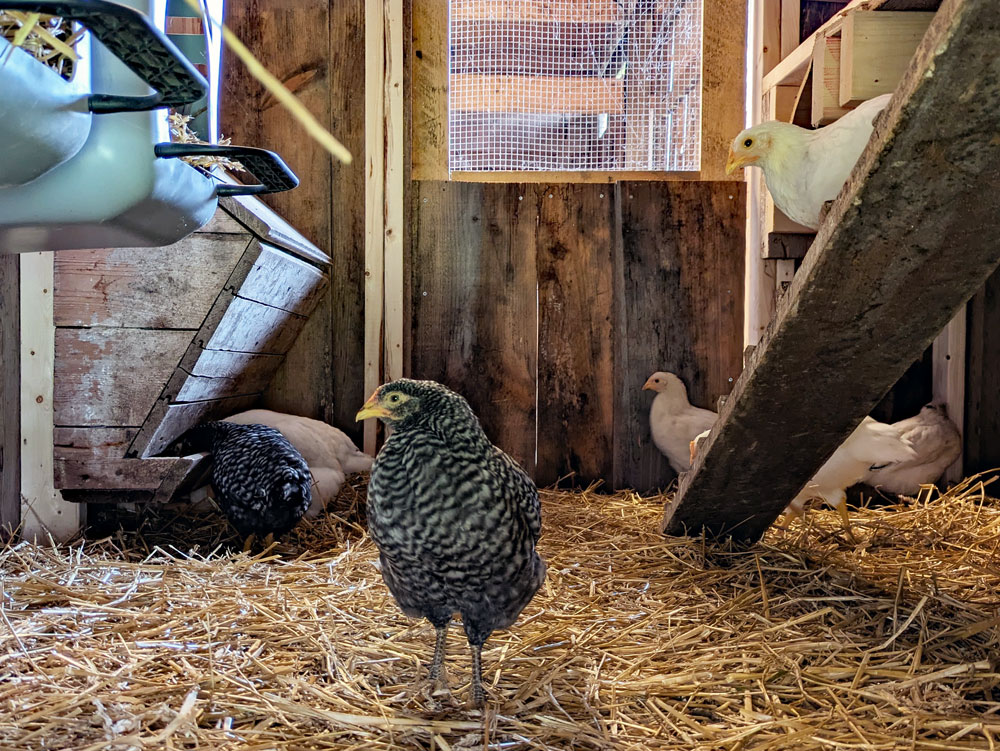
Each flock also has water in the run with two large metal waterers that we had stashed in the barn. (Yes, that is 2 chicks standing on top of the waterer.)
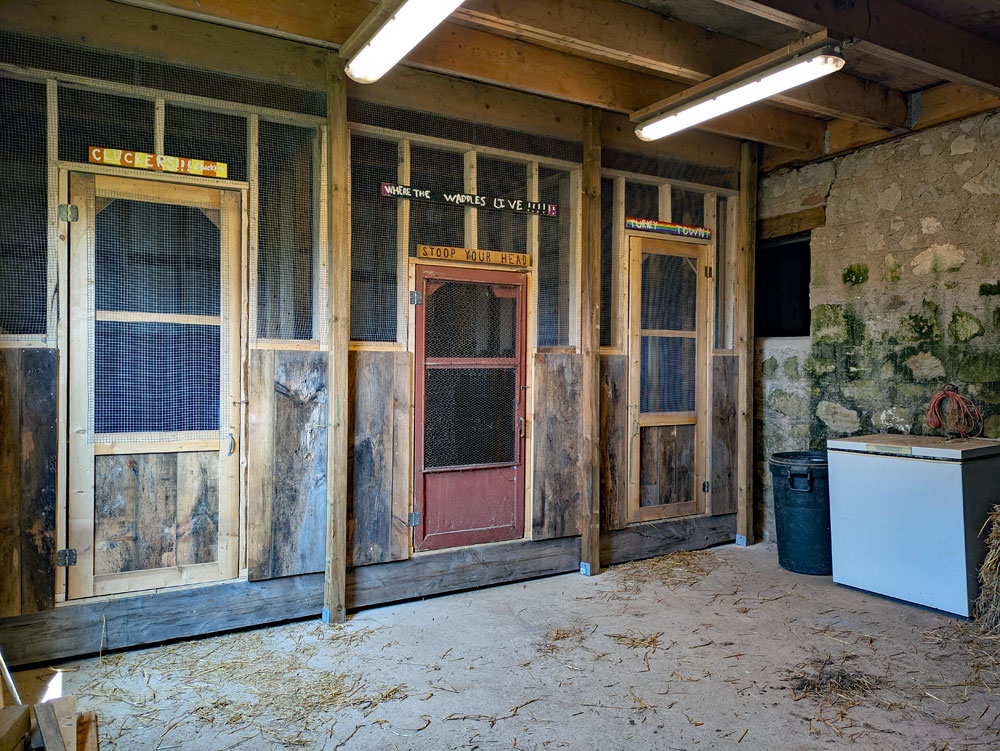
Ellie made some signs for each pen. The turkeys live in Turkey Town. The centre stall is Where the Waddles (will) Live. The hens are The Cluckers.

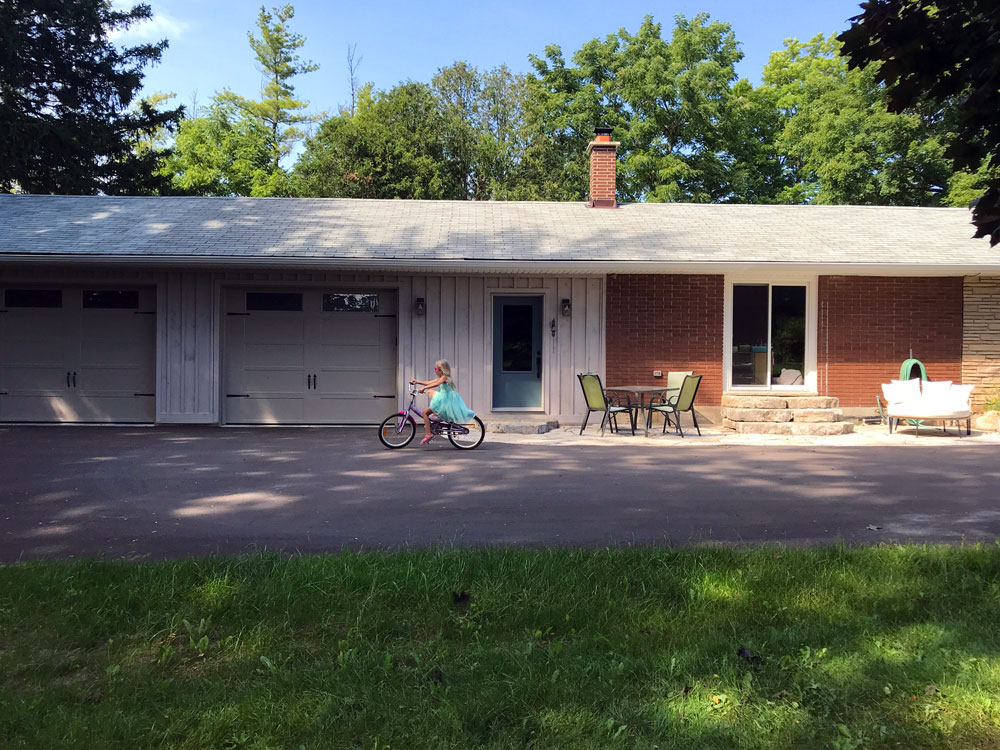
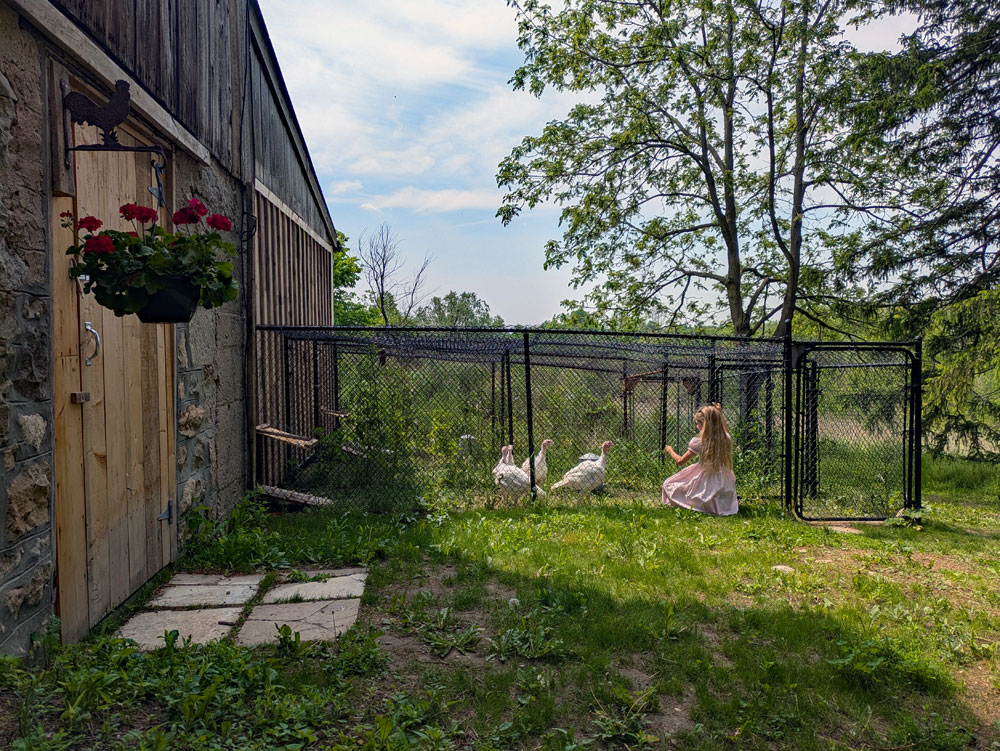
The final detail came from my Mom who bought me a coop warming present of a happy red geranium. This hangs by the door on a chicken plant hanger that used to be on the side of the house. I kept it during the garage demo and have been saving it for exactly this spot.
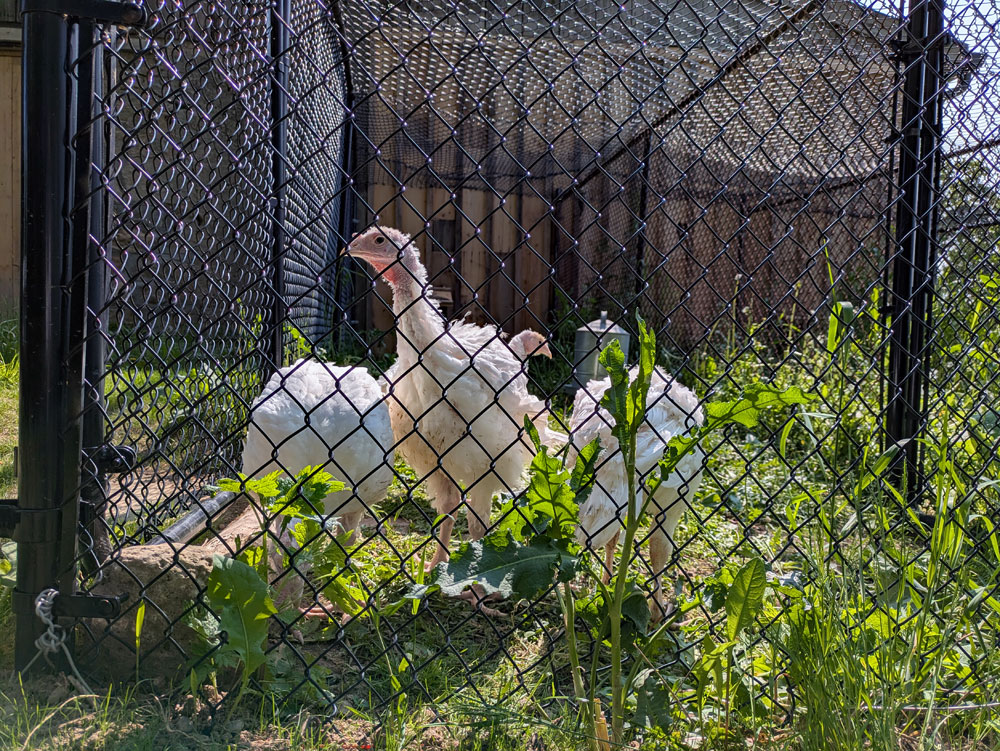
Since the turkeys and chicks moved in everything has been working really well. They seem comfortable in their pens and in the runs. We lock them in every evening, and it’s an easy task to move through the run, herd them inside, drop their little doors and latch them shut.
In the morning we open the little doors and they pop right out flapping and stretching. They’re eating down the grass and weeds that had grown pretty high in the runs.
I opened the gate between the Waddles and the Cluckers runs, so the chickens have double outdoor space. I had wanted this option during the run construction, which is why I had our contractor add extra gates. I’m pleased that it’s working as I envisioned. It’s nice to give the chickens some extra space and this way the grass doesn’t get overgrown. Win-win.
As a whole, the coop is working as I planned. I’m so proud of this project. It was a big build for me. I had help along the way on demo with my cousins, clean up with our landscapers, fencing with our contractors, walls and more fencing with Matt’s Dad, which I’m very grateful for. But the design and most of the work is mine.
It took figuring and muscle and time and energy and skill. I had what it took and I made it happen. It’s a really good feeling to see the birds in there, chirping (no clucks or gobbles yet), scratching, eating, drinking, snoozing, flapping… birding as they’re supposed to.
Thanks so much for following along with this project and cheering me on throughout it.
I shared the final video updates of the coop construction on Instagram. Follow me at juliaon129acres. If you want to relive the whole construction process, check out the coop highlights (part 1, part 2, part 3).