
The pond on a wintery November afternoon.
The pond on a wintery November afternoon.
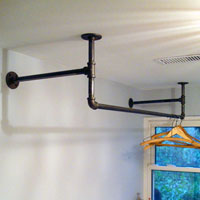
Pipe furniture is really popular these days. In the laundry room, you saw how I used pipe fittings to build the hanging rack and towel bar. Along the way, I learned a few lessons that I’m going to pass on to you.
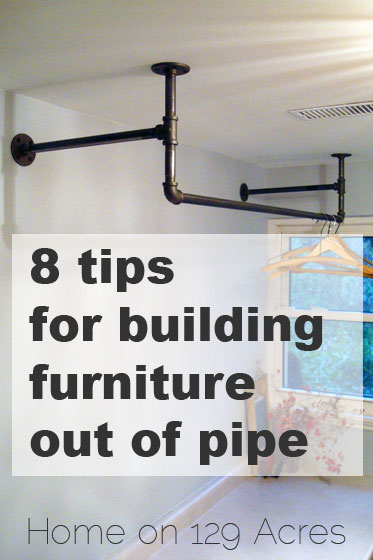
1. Pipe fittings are really easy to work with. The pieces go together very quickly. Assembling the towel bar probably took all of 10 minutes. I loved lego as a kid (who am I kidding, I still do), and this was like revisiting my childhood.
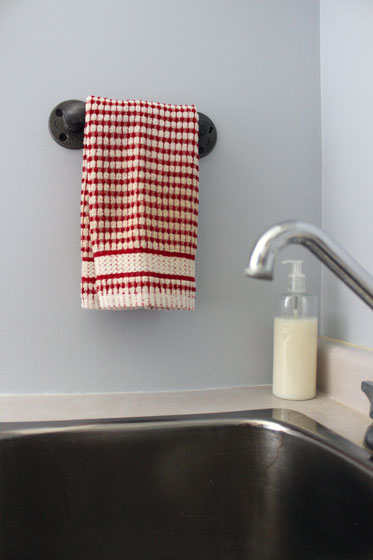
2. Pipe fittings are oily. The fittings come in black or galvanized options. I chose the black because it looks more rustic to me. However, the black coating rubs off really easily.
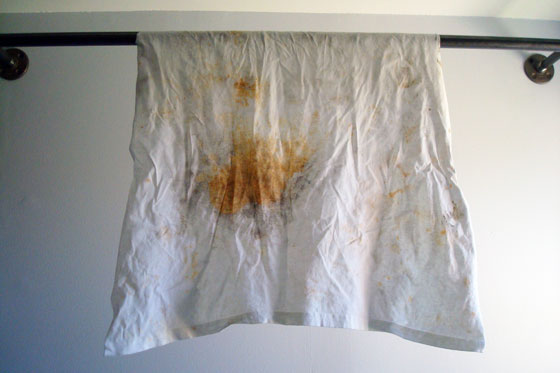
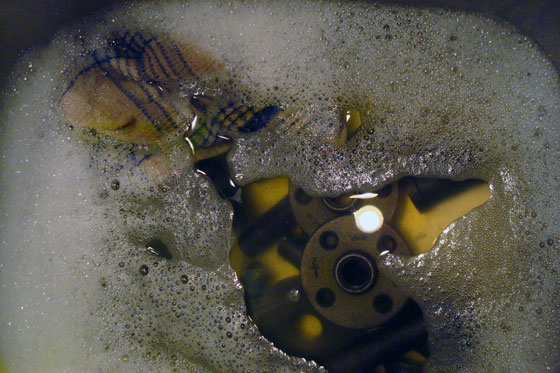
Before I could do anything with the fittings, I had to clean them. Some people online recommended degreaser, which I’m sure would have worked. I didn’t have any so I tried 2 other options: wiping them down with vinegar (didn’t really work) and washing them with dish detergent. The washing worked. I dried the pipes with a rag and let them sit for 24 hours to make sure the threads and interior of the pipes were completely dry before I did anything with them.
3. Pipe fittings come in different diameters. Pay attention to what diameter you choose, because different size pieces won’t screw together without special fittings. I chose the 1/2 inch size because it was a bit cheaper than 3/4.
4. Pipe fittings come in different lengths and connectors. You should be able to find the pieces you need for pretty much any project…
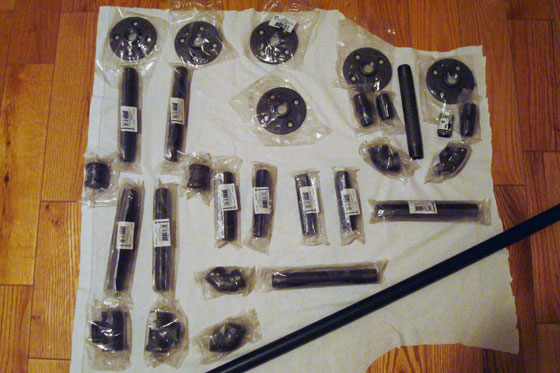
5. … But if you can’t, the store staff can cut the pipe too. The cutting was one of the dirtiest operations I’ve ever seen. I felt bad for making the staff person get so oily from running the cutting machine. The result though was the perfect lengths of pipe. The machine will also put threads onto your pipe.
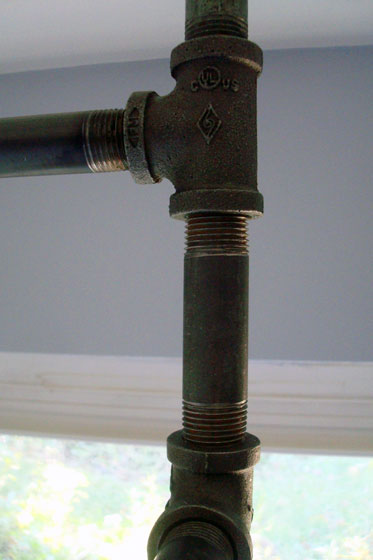
6. Pipe fittings don’t screw together fully. You’ll see the threads at each joint.
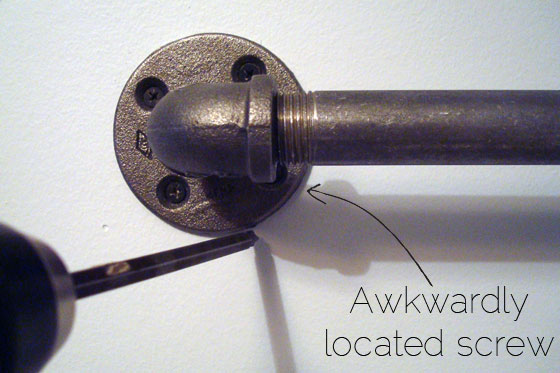
7. Drywall screws are good partners with pipe fittings. The pipe flanges attach to the walls with four screws. Since I chose black pipe, it made sense to use black screws. The coarse threads on the drywall screws dig into the wall and hold the pipe securely.
8. Attach the flanges to the wall first. Once your towel bar or hanging rack or whatever else you’re building is fully assembled, it can be hard to reach the screw holes in the flanges to attach your creation to the wall. However, attaching the flanges on their own is a piece of cake.
I elected not to paint my pipe fittings, although I’ve seen other projects online where people did. The finish isn’t pure black, but it’s a nice industrial dark grey–no sparkle here.
Just in case you’re interested in building your own towel bar or hanging rack, here are the pieces I used. I have to give credit for the hanging rack design to Angie over at Knick of Time. I’m not sure what pieces she used, but I think mine turned out pretty close. I spent a lot of time in the pipe fitting aisle at Home Depot. While my measurements may not be exactly the same as what you need, some of them might work for you and save you at least a bit of time.
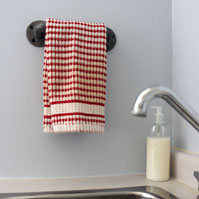 Towel bar
Dimensions: 10 3/4 inches long (from the outer edge of each flange) and projects 3 inches off the wall
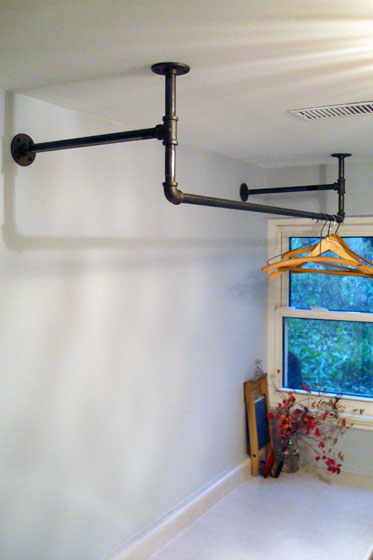
Dimensions: 50 inches long, hangs down 10 1/2 inches from the ceiling and projects 17 inches off the wall
And just in case laundry isn’t your thing, here are some of my other favourite pipe projects.
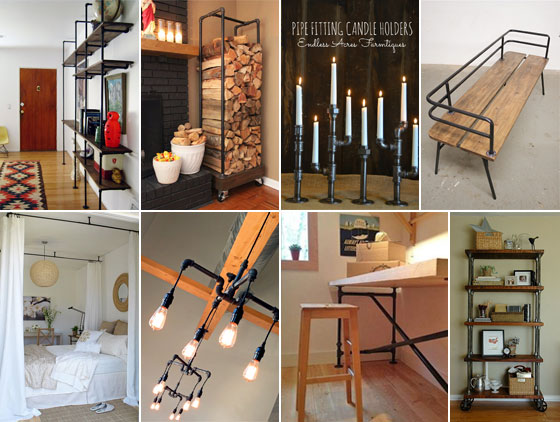
Sources (top row left to right) The Brick House, The Cavender Diary, Endless Acres Farmtiques, FunkTastik (Etsy) (bottom row left to right) Margot Austin via Decor Pad, Zazu Restaurant from Irene Turner, Bob Vila, Vintage Industrial via Miniature Rhino
If you’ve spent any time on Pinterest, you’ve probably seen furniture, lights, shelves and numerous other things made out of pipe fittings. They add a great industrial style for a pretty reasonable price.
Have you ever made anything out of pipe? Do you have any tips to share? Anyone want to make anything out of pipe? Do you like the rustic industrial look?
You saw the before and after of the laundry room last week. What you didn’t see was the cabinet hardware. Well, it finally came in. Between the sparkle of my new pulls and having an SLR camera for the weekend, I decided to reshoot the laundry room photos. You don’t mind do you?
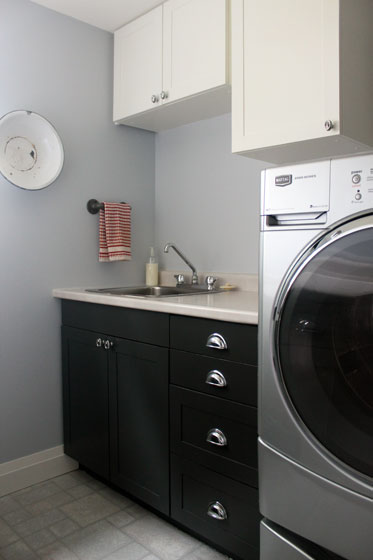
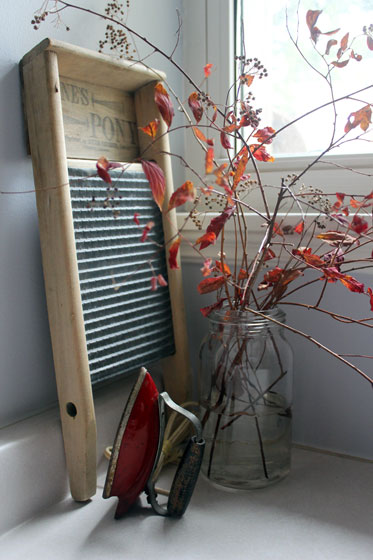
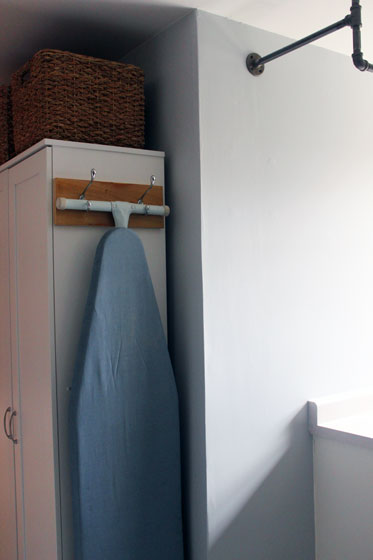
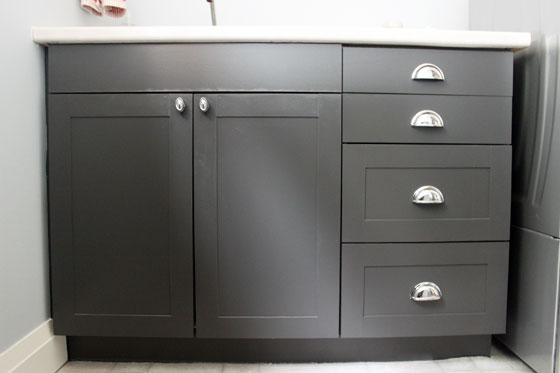
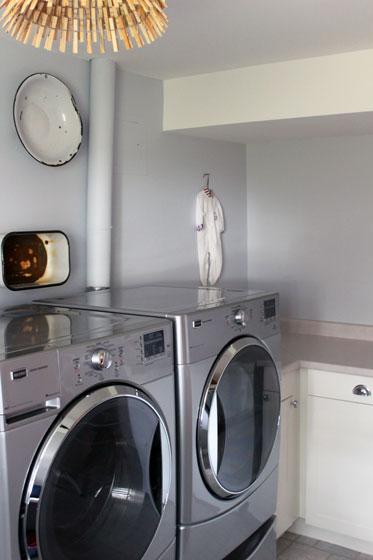
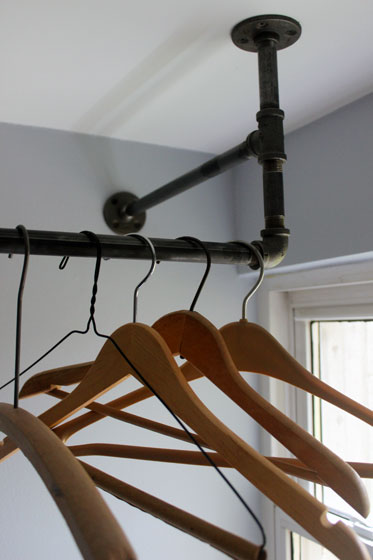
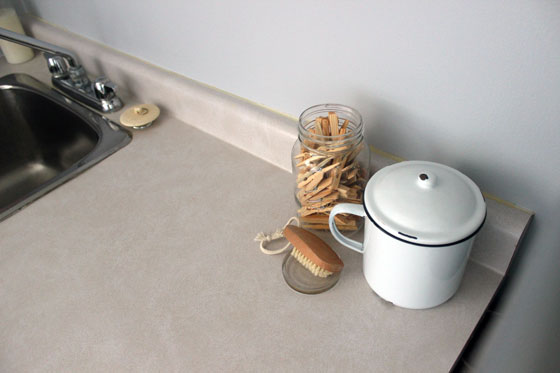
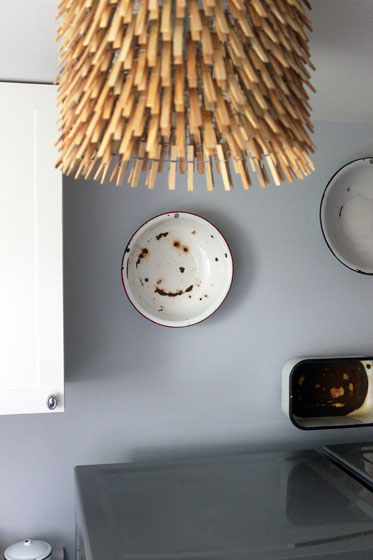
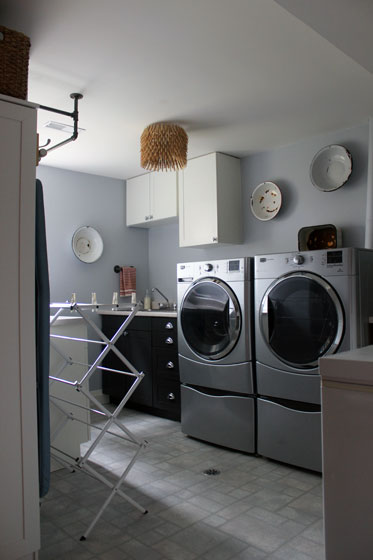
Thanks for your patience with my laundry room infatuation.
Remembrance Day is tomorrow. You might recall that this a very meaningful day for me.
In addition to marking the end of World War I and an occasion to remember the service and sacrifice of veterans as well as current soldiers, it is also my Grandpa’s birthday.
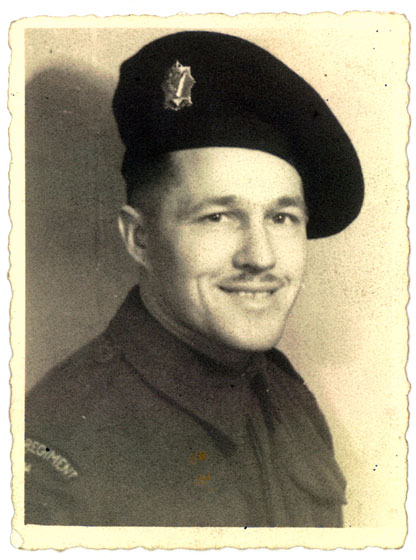
My grandfather at Avellino Dec. 29, 1944.
In Canada, many people observe Remembrance Day by wearing poppies for the weeks leading up to Nov. 11. The Royal Canadian Legion distributes the poppies. Poppies are never sold or purchased. People donate to the poppy campaign, and donations help ex-servicemen and women and their families.
A few years ago, I came across a free knitting pattern to make my own poppy from Canadian knitting designer Laura Chau. Laura wrote a great blog post earlier this month that includes a link to her pattern.
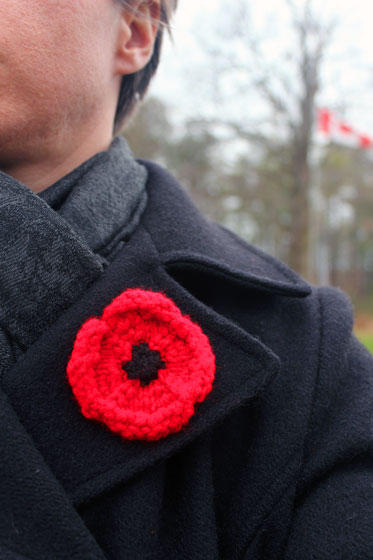
The poppies are easy to knit. To stitch one up is a small effort in light of what the poppy symbolizes.
Remembrance Day previously:
The sun has set on our first soybean crop.

As of two weeks ago, our fields are empty, so it’s time for the final report of the year.
At last report, the soybeans were just turning gold. By harvest time, there was no trace of green or gold left, except in the trees along the border.
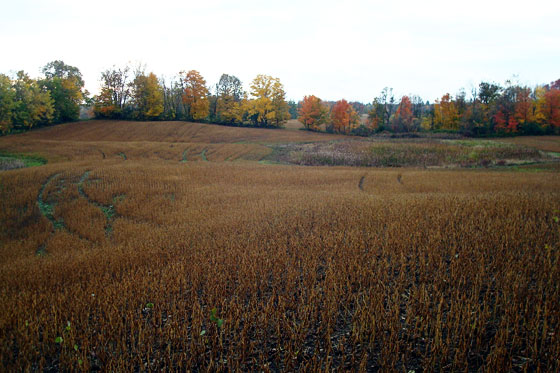

The plants dropped all their leaves and the beans dried.

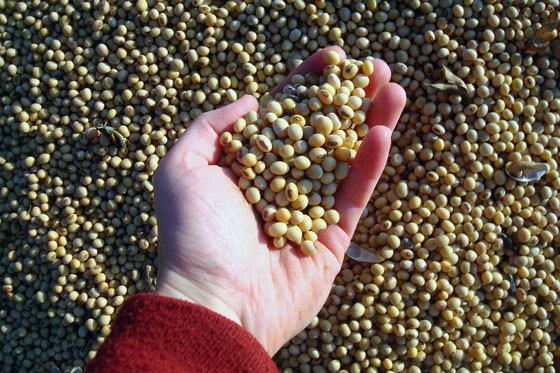
They no longer looked like edamame and they tasted a bit like peanuts.

And they sounded like rattles. I’m not sure if their sniffiness changed, but Baxter apparently liked the sound of them or the feel of them against his face… or something. Every field walk he insisted on walking through the plants.
I found the harvest part very interesting, so brace yourself for lots of photos.
The main piece of equipment is the combine.

This thing is massive.

I would not want to be a soybean.
From the combine the beans go into a trailer.

Again the scale is massive. The tires on this trailer are over 5 feet in diameter.

The trailer full of beans is relayed to a big truck for transport. (For scale, there’s a person standing on top of the truck behind the chute).

All that’s left are the dry stalks, husks and a few stray pods.
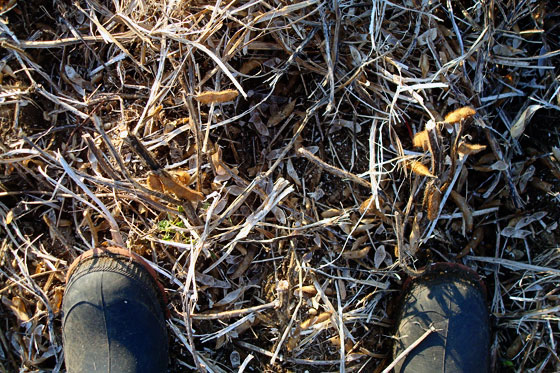
As of last weekend, the stalks got a light dusting of snow. Yes, already.

And so concludes our first season of soybeans.
Who else has had snow already? Is the harvest done where you live? Does anyone else find the harvest process fascinating? Are you as easily impressed as I am by farming equipment?
It’s time for the reveal in the One Room Challenge. Back in September, I was really excited to start making over the laundry room. At the beginning of October, I was really excited when I joined the One Room Challenge to help keep me on track. Today, you’re going to see how far the laundry room has come. (And, yes, I’m still really excited).
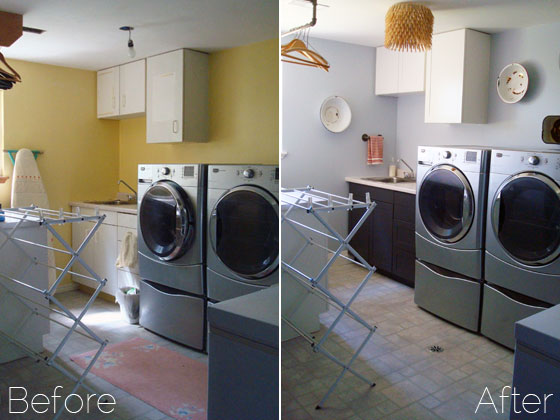
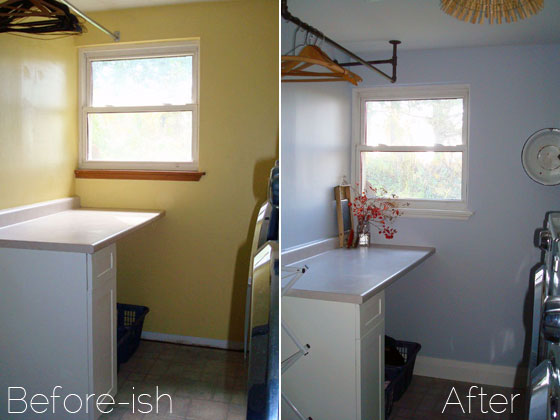
This makeover was all about simple upgrades.
I converted the cabinets to a shaker style by adding strips around the border. A black and white paint scheme freshened them the rest of the way. We’re still missing the hardware on our cabinets. They’re special orders and are taking their time coming in. So just imagine sparkly chrome knobs and cup pulls, would you? (I’ll post an update when the hardware finally arrives).

Fresh paint on the walls, ceiling and trim–and fresh baseboard all the way around–brought the laundry room up to the same standard as the rest of the basement.
Then it was on to a few fun projects.
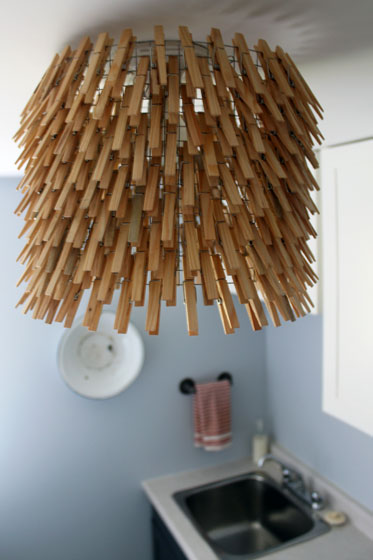
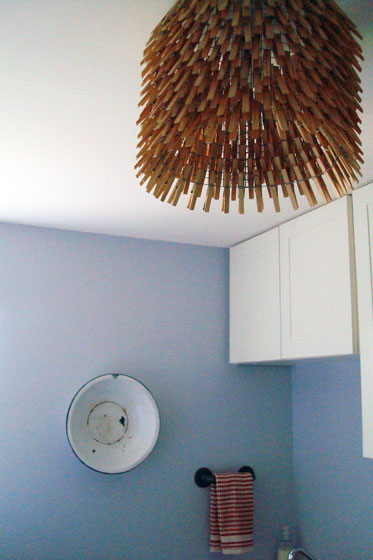
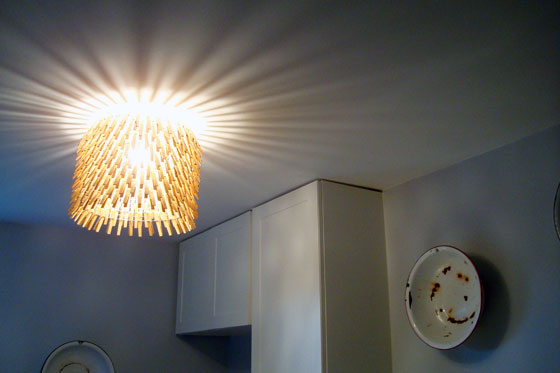
A light fixture made out of clothespins.
Look at the great pattern it makes on the ceiling when it’s all lit up.
To keep the wood tone accents going, I added a few baskets to the top of the free-standing cabinet Matt and I found a few months ago. I also made a simple hook board to hang the ironing board on the side.

To save electricity, we hang dry most of our laundry. (Yes, we’re just that green… and cheap). Only sheets, towels and dog beds get the privilege of the dryer. The white metal drying rack is a key feature of the laundry room. I made an additional hanging rack out of pipe fittings to help with the drying.
I also made a small towel bar out of some more pipe fittings.
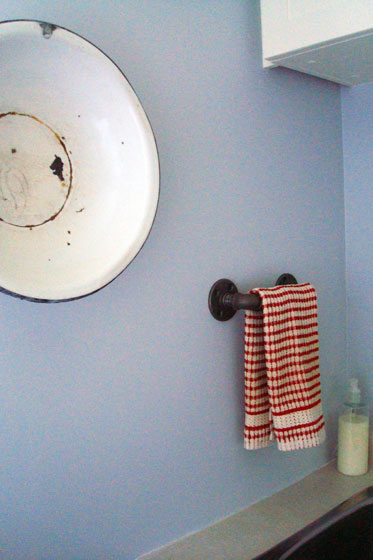
The picture above also gives you a glimpse of one of the main decorations in the laundry room. When it came to art, it took me a while to figure out what I wanted to put on the walls. Then I found this little enamel pot at Value Village.

It holds packets of washing machine cleaner, and it also reminded me that I had a small collection of enamel basins. My sisters, brother and I played with these dishes all the time at my grandparents’ cottage. When my grandmother sold the cottage, the basins were going to be thrown out. I was feeling sentimental, so I took them, although I wasn’t sure when I’d ever use them. Well, it turns out they work perfectly as decorations in the laundry room. They may have crossed over from rustic to rusty, but I still think they add a nice touch.
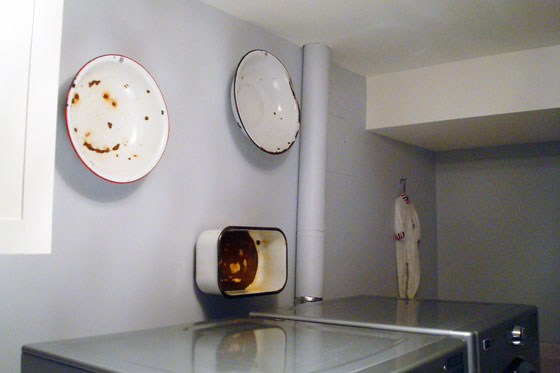
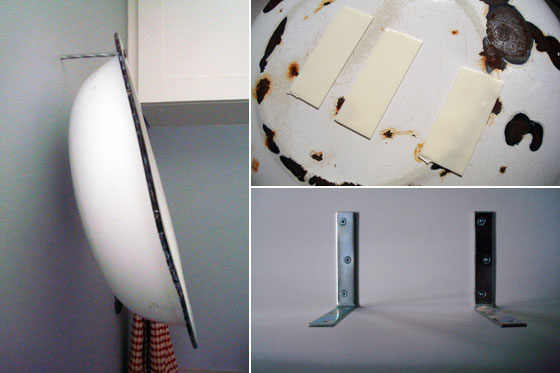
Hanging the basins facing out took a couple of tricks. First I needed a really long nail. I found some 5-inch spikes. The nails were too big to drive with just a hammer, so I drilled a pilot hole into the studs before I hammered in my nails. Once I hooked the basins on the nails, it turned out that their centres of gravity were a bit crooked. Some adhesive strips on the back stuck them to the wall and straightened them right up. For the rectangle basin, a couple of L brackets made a discreet and secure shelf.
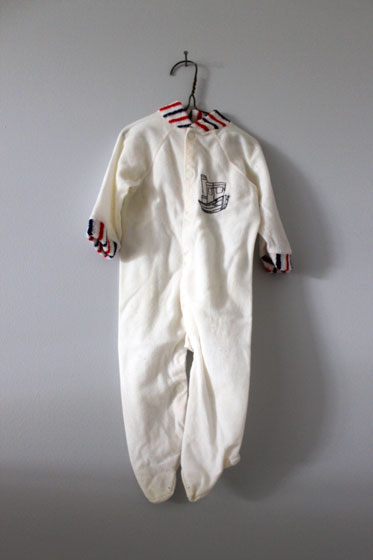
The other item decorating the wall is also both sentimental and non-traditional art. These are the sleepers that newborn Matt wore when he came home from the hospital the first time. (I know, awwwwwwww). His Mom gave them to us years ago. Again, I had no idea what I was going to do with them. Then I realized that the red and navy stripes picked up some of the colours I was using elsewhere in the laundry room. I’ll likely end up building a proper shadow box for them, but the mini hanger works for now.

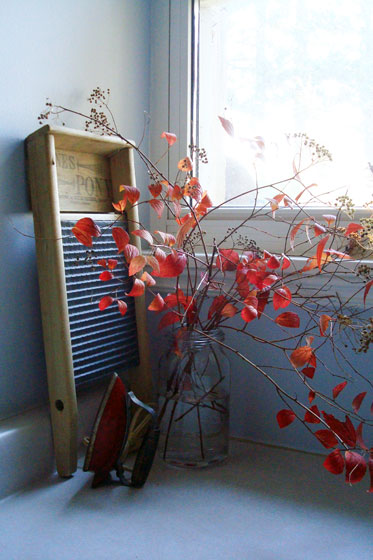
On the counter under the window, I have a few appropriately laundry decorations: an old washboard from my parents and a small red toy iron that my Mom had when she was a little girl.
It may have been a simple makeover, but the results feel dramatic to me. It’s a pretty, personal, fun and functional space.
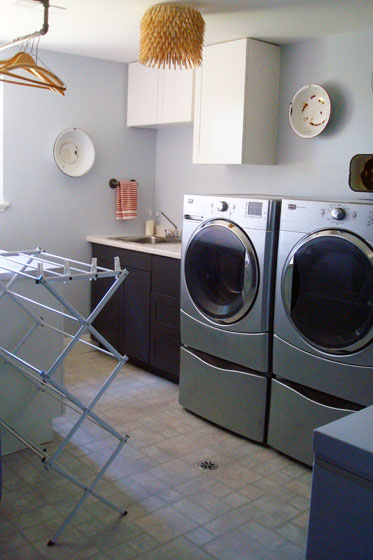
Thanks to Linda at Calling it Home for organizing the One Room Challenge. I’ve now crossed another room off my Home Goals 2014 list. Thanks to all of you reading along for all of your support and encouragement throughout. Be sure to pop by Calling it Home to see all the other rooms.
How many people dream of a pretty laundry room? Does anyone else collect enamel ware? Have you ever made anything out of clothespins or pipe fittings? Who else air dries their clothes? What’s the most unusual thing you’ve hung on a wall?
Linking to: Happy Housie Get Your DIY On: Wall Decor
This is the end, my friends. Not the end of the blog. Don’t worry. It’s the end of project season here at the farm.
For those that haven’t been following along since the beginning, I posted my 2014 Home Goals at the start of the year. Since then, I’ve pretty consistently done a project a month. As this is the first post of November, normally I’d be sharing with you the plan for this month’s project.
Well, there is no November project. Later this week, I’ll post the laundry room reveal, and that will be it for this year. Yes, there are a few more things on my original Home Goals list, but I’ve decided I’m ready for a break (not from blogging, just from projects).
Of course, I won’t be kicking back completely. Part of my rationale for stepping off the project train is to take care of some of the niggling little tasks that have been hanging around for a little while and maybe even start to get ready for Christmas. As well, I have a whole bunch of seasonal jobs that need to be completed so we’re ready for winter.
Matt already got a start on fall clean-up when he went over our eaves troughs with the leaf blower the other week.
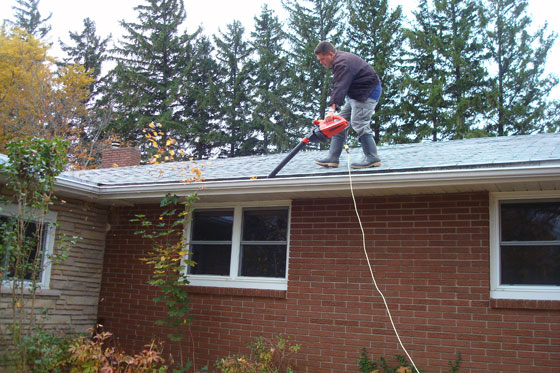
Here are some of the other things on my winter is coming to-do list:
Just seven. That’s about half of what I had our first fall.
So apparently I cannot stop with the projects after all. Stay tuned. It appears I’m going to be busy.
What’s on your fall to-do list? Are you feeling the pressure of a looming winter? Do you have a project cut-off point?

An early morning eclipse a few weeks ago made for a spooky start to the day.
Happy Hallowe’en!
We’re in the homestretch now on the One Room Challenge. Today is the second last post. Next week is reveal time. Make sure to visit Calling it Home to check out all of the great progress everyone’s made.
Fortunately, the laundry room makeover is in the homestretch too. My original project plan was to have all of the “work” done as of last weekend so that this week could be devoted to decorating. Guess what? I’m pretty much on schedule (aside from my back-ordered cabinet hardware).
The laundry room is currently a mix of projects to be finished and styling that has started.

I know you can’t see very much here (I have to save some suspense for next week’s reveal), but it’s looking so good. I’m super excited.
The suggestion for this post is to talk about if our plans have changed. Mine haven’t really. In fact, I realized over the weekend how close I am to my original plans.
I’ve been thinking about this laundry room for a long time. I love Pinterest, and I’ve been pinning laundry room ideas nearly since we first moved to the farm (see my board). I knew I wanted to make a clothespin light like this one from Young House Love. I knew I wanted to replicate the rustic drying rack from Knick of Time. I made both of these, and they turned out pretty much just like my inspiration.
Although I can’t truly say “made.” The rustic drying rack is being a bit cantankerous. Today will be sixth–that’s right, 6–trip to Home Depot for pipe. The main hanging part is working, but the horizontal braces are a total Goldilocks situation–either too short or too long. I keep buying new sections of pipe, but so far I haven’t found the right fit. The plan for this afternoon is to have the staff cut me the exact length I need (fingers crossed I’ve figured out what that is).

Although I had most of the laundry room worked out in advance, I did add a few things mid-project (changing the ivory plugs for white ones and removing the sprayer from the sink). Those can’t really be called a change in plans, though.
Now I just have to stay focused on the finishing details. That means I need to stop thinking about replacing the faucet and remember that I don’t have time to sew a new cover for the ironing board. The finish line is in sight. Now is not the time for detours and add-ons.
Do your projects usually turn out like you envision? Are there any other Pinterest fans? Do you like last minute add-ons too? Does anyone else start styling before the reno is completely finished?
So apparently it’s not fall after all.
One of our irises has popped out in bloom.

Should I be concerned? I know the climate’s changing, but this seems a little off. This iris bloomed already this year back in the spring. Isn’t that normal? Aren’t irises usually spring flowers?
At the base of the iris, the blooming sedum and fallen leaves give away what season it really is.

Tell me. How weird is this? Have you ever had a flower bloom out of season?
 Home on 129 Acres