We’re building a garage

There was one project that I didn’t share in my Home Goals post back in January. Of course, it was the biggest one. A garage!

(I am so excited.)

At the start of the year, we were in the plans and permit application stage, and I didn’t want to share anything until everything was approved and confirmed.

We have received our permits, demo is underway and construction will hopefully begin later this month.

So let’s talk about the garage.

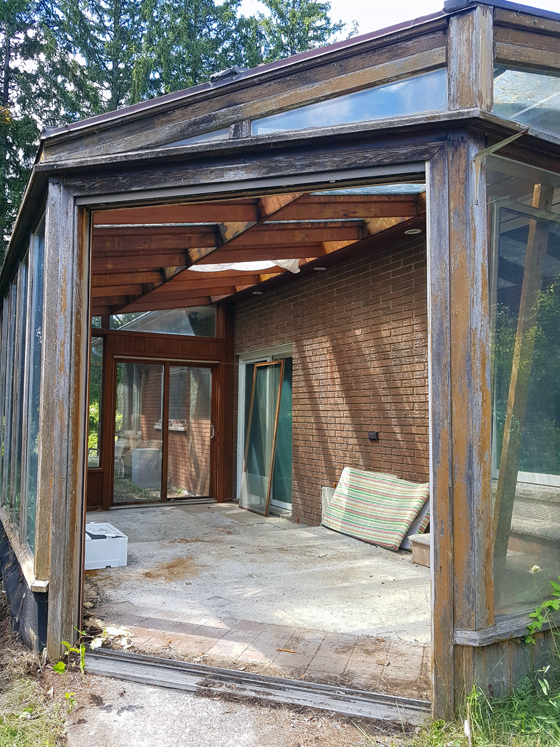
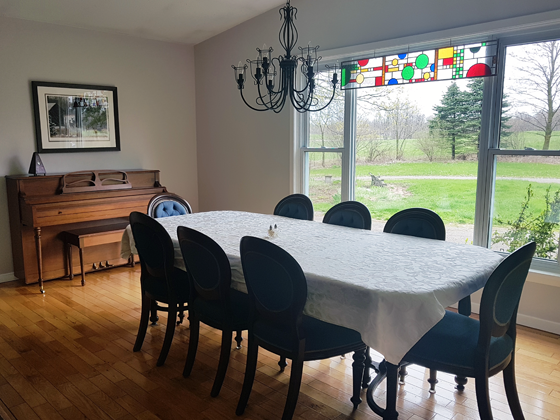
Here is our current floorplan.

Current floorplan

And here is my (not at all to scale) floorplan of what’s going to happen.

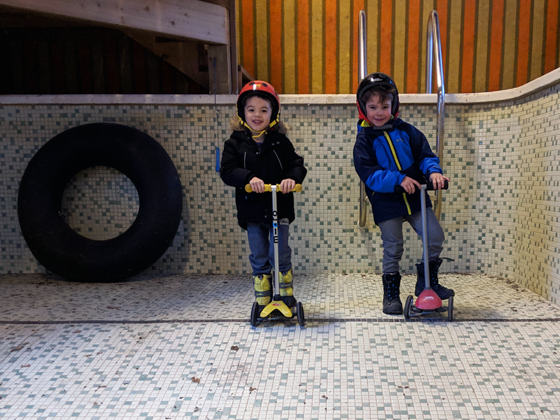
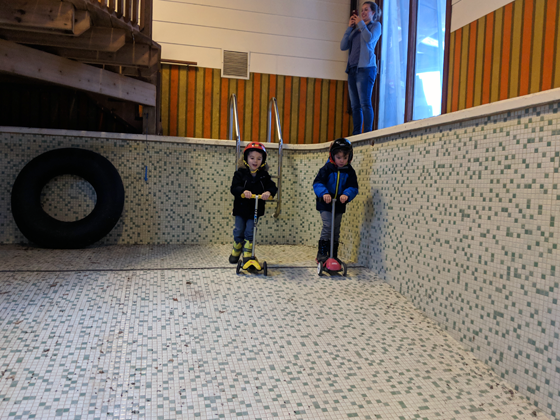
The indoor pool will be filled in (yay to no more pool!). The west wall (top wall in this floorplan) will be pushed out 10 feet. A wall will be built to make a mudroom.

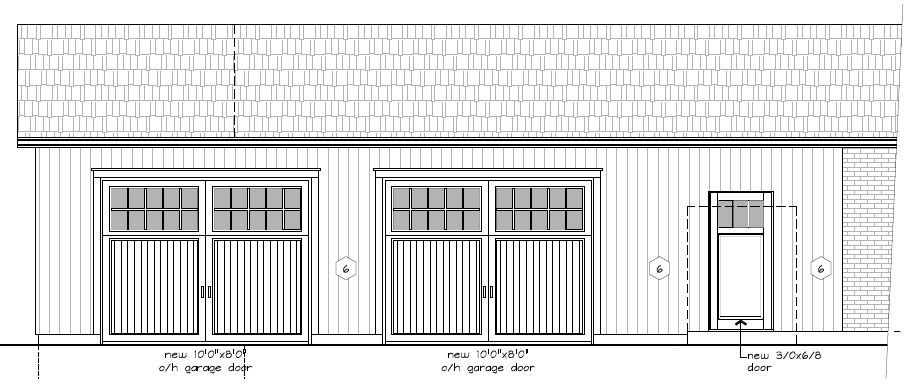
From the outside, it will look something like this.

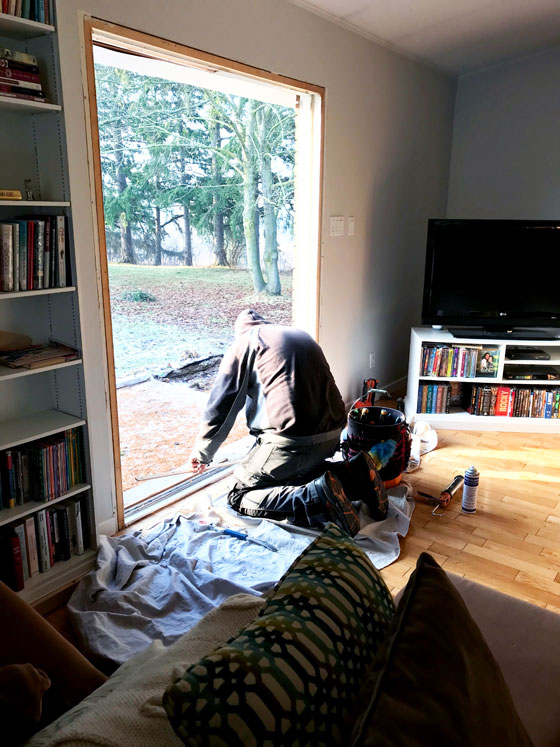
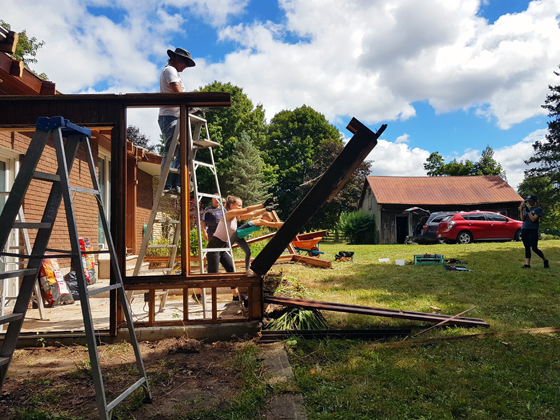
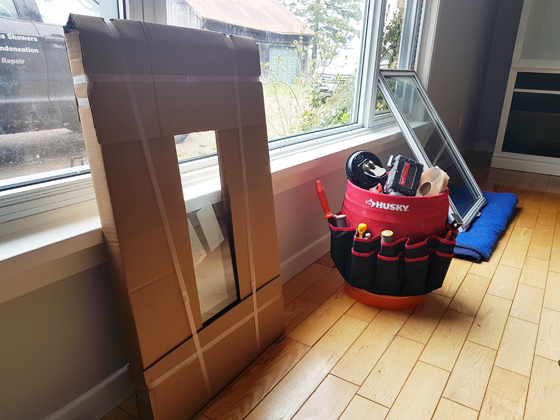
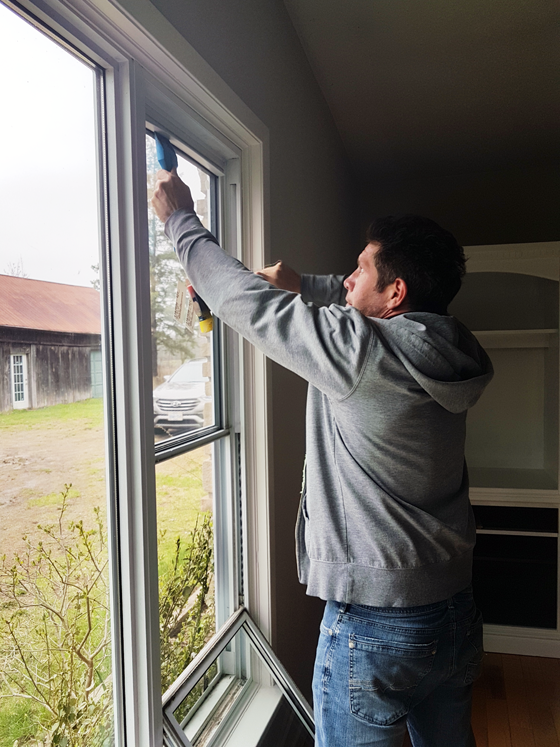
I want to do as much demo myself as possible before our contractor arrives. It will save us a bit of money, and it’s fun to be involved in this project.

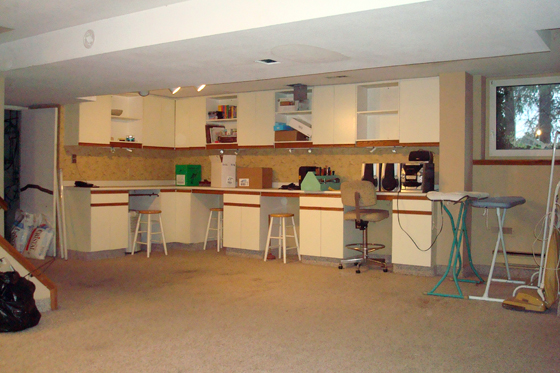
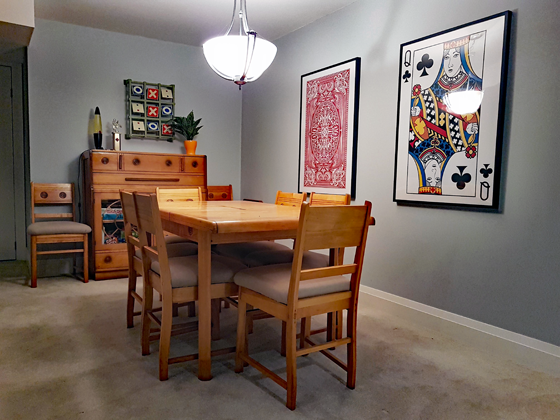
I started taking apart the pool in February. The first thing to go? That terrible indoor-outdoor carpeting coating the lower half of the walls.

Matt in the indoor pool

Yes, I will continue to share this photo as much as possible.

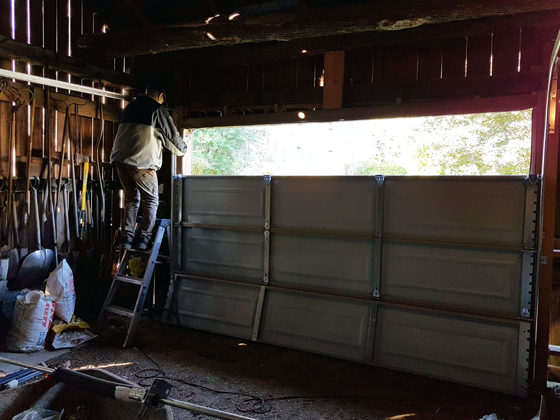
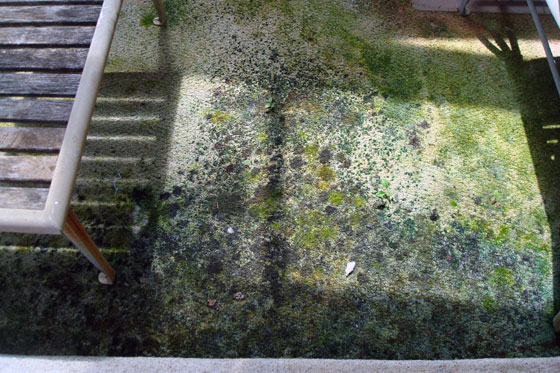
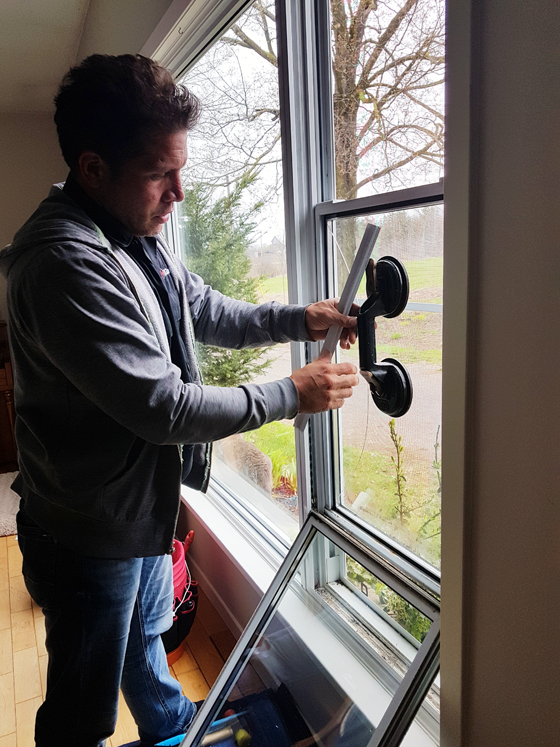
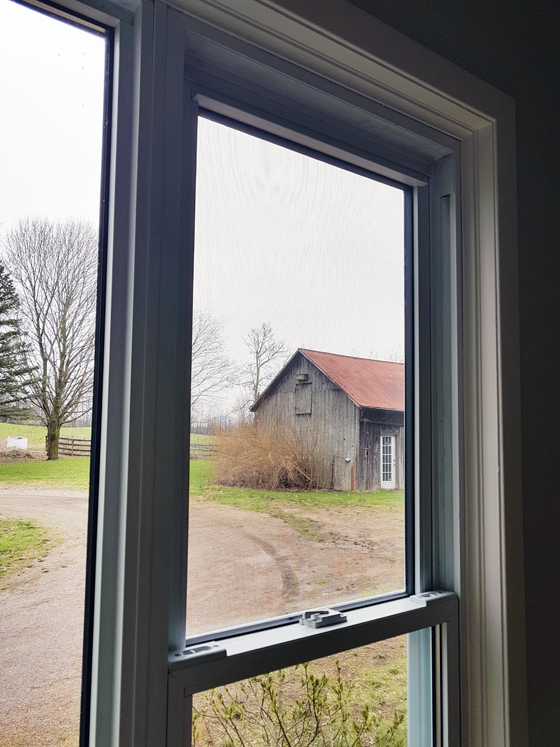
For the most part, the room has come apart fairly easily. The awkward thing is working around the pool. I feel very high when I’m up on a ladder with this deep gaping hole behind me. Matt’s Dad helped remove the siding above the windows. I only took down part of the ceiling, as the sections over the pool felt too high. I’m in the middle of taking down the deck off the kitchen. Hopefully I finish that off this week, and then the inside demo is done.

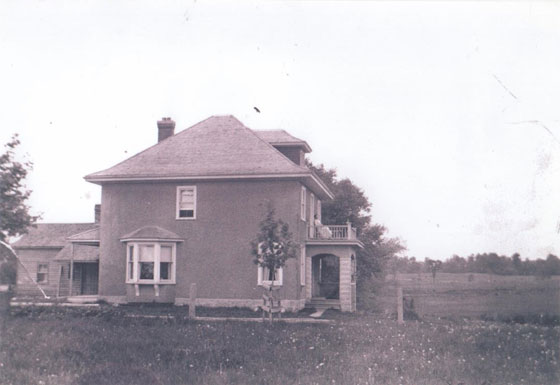
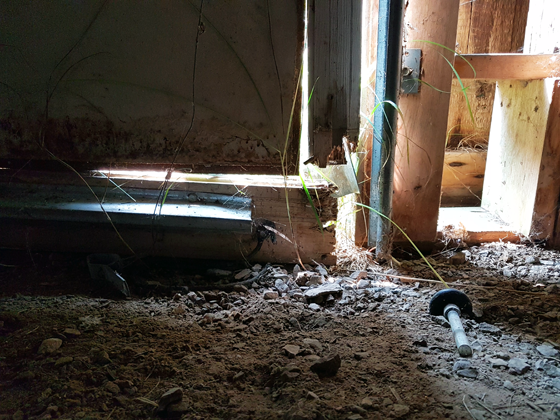
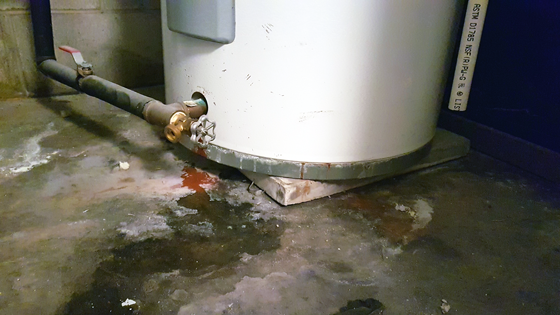
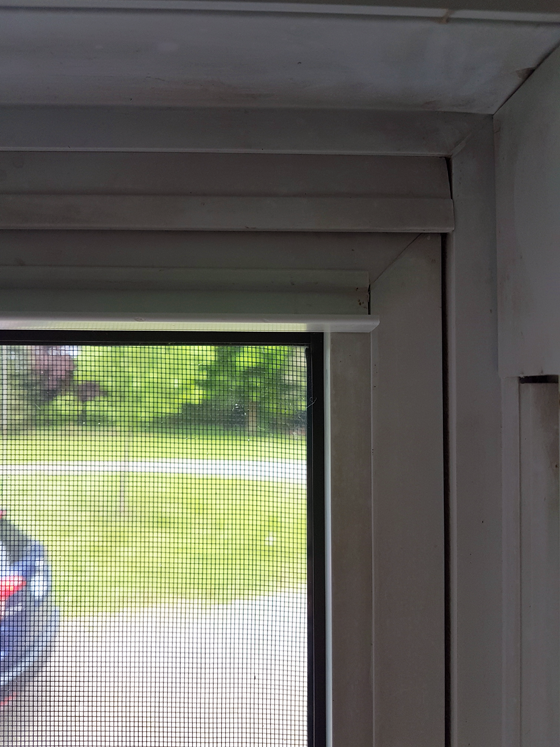
Nine years ago during our home inspection

Outside, I want to strip the brick and pick up patio slabs. The brick will be saved for future projects, and the garage will get new board and batten siding. But we need a bit more snow to melt before outside demo–or construction–can begin.

The garage has always been top on my reno list. Being able to load or unload the car without worrying about the weather. No scraping snow or frost off the car. Taking out the recycling without walking across the driveway to the driveshed. A mudroom with heat so that our boots aren’t freezing. So many good things are coming our way.

As long as I’ve been thinking about this project, now it’s time to make some decisions. I’ll be sharing some of those in upcoming posts and asking for your input.

And I’ll be sharing updates as construction begins.

Matt and I were saving for this project when Ellie was born. Our plan was to build the garage last year, but I decided to wait another year. I’m glad to be finally going ahead and working to realize our vision.

Farm-iversary 9 and a new project

Tomorrow marks 9 years since the farm became ours.

I’ve been trying to think about what I want to write for the anniversary, and I haven’t been sure what to say.

Looking back at previous farm-iversary posts, year 4 feels closest to what I’m feeling right now.

Four years ago, I started to live one of my dreams. It’s been a pretty amazing opportunity. Something I don’t take for granted and that is incredibly meaningful for me.

Obviously, life has changed a lot since I wrote those words. But they’re still true. This place is special. I feel Matt and my Dad here, and I see meaning all around us. I don’t take that for granted at all.

But rather than being sentimental today, what I really want to do is celebrate.

Because we are about to embark on a new project.

It’s big.

It’s something I’ve wanted for a long time.

It’s a… garage.

I’ve been planning this for years–9 to be exact. Our official planning process with a contractor and blueprints and permits started in the fall. Demo is underway (the old indoor pool is finally going away). Construction might start this month, depending on the weather.

Matt in the indoor pool

Nine years ago, during the home inspection.

I have so, so many more details to share. I think year 9 is going to be good. Stay tuned.

Do you celebrate your house’s anniversary? What projects are you tackling this year?

Replacing our drafty patio door

The living room has a big patio door on the south side. It gives us great natural light, which significantly increased when we removed the sunroom from the side of the house. I loved sitting on the couch in the fall, watching the leaves change colour.

But the beauty of fall is followed by the cold of winter, and I knew the patio door was a big source of drafts. I had felt that the sunroom provided some thermal buffer (perhaps wishful thinking). But with it gone, the cold air had a direct path through the door and into the house.

So at the end of the year (fortunately on a mild December day), we had the door replaced.

Of course, like so many things in this house, the door was “special.” It was right between five and six feet–the two standard sizes for patio doors. We went with a five foot door, and the installers built out the jamb and added some extra trim inside and flashing outside to cover the difference so it’s not noticeable.

Ellie plays in front of the patio door every day, and most lunchtimes are a picnic in the sunbeams that now stream through the window.

The feature I’m most excited about is the screen. With the sunroom in the way, we had no incentive to open the old patio door. We would have just smelled stinky old sunroom. Also, the door did not slide well and it didn’t have a screen. Now, we have a screen and a door that opens and closes smoothly. I am looking forward to fresh air as soon as the weather is warm enough to open the windows. For now, I’ll be enjoying my new view.

Anyone else dealing with winter drafts? Or enjoying winter sunbeams?

Home Goals 2021

It’s been a while since I’ve posted home goals. Looking back, 2017 is the last time I looked a year ahead and thought about what I wanted to change around the house and property. I was surprised it’s been that long.

But I am ready to think about home goals again.

It’s nice to feel this part of me coming back.

Here are some of the projects I’d like to tackle this year.

Playground expansion

The playground that we got for Ellie last year has been awesome. As soon as it arrived, I started thinking about how I could expand it. When I saw this set-up from heart of this home, everything came together in my mind (and in a hastily scribbled sketch).

Pond shore

Having déjà vu yet? Yes, the pond shore makes the list every year. And yes, with a lot of help we cleared the shore last year—or at least part of it. I’d love to clear a little bit more and build a little bridge so that we can cross the creek more easily.

Vegetable garden

Another item that always makes the list. Matt’s Dad and I cleared a lot of the weeds out of the garden last fall, and that gives me hope that I can maybe possibly hopefully manage one quadrant this year. I’d love to try raised rows, deep mulch and no dig. The promises of a low maintenance garden make me feel like the set-up would be worth it.

The last big junk pile

Between the garden and the tree line of the front field is one of our last remaining junky areas. It’s full of brush, skids, bricks, lumber, barrels, a basketball net and who knows what else. It’s in direct view out the dining room window, and I’m tired of looking at it every day. I’d like to finally tidy it up and mow the grass.

Bedroom refresh

I guess I should put at least one house project on my home goals list, eh? I saw before Christmas that Ikea has a new duvet cover in a pattern I’ve coveted for years. As soon as the king size comes back in stock, I’m planning to order it. I’m thinking a bedding refresh might inspire a couple of other changes. Paint? A different dresser? A better closet organizer? I have some ideas.

Source: Ikea

History

Connecting with the woman who’s family first owned this farm was a very meaningful experience of the last year for me. I am looking forward to continuing to stay in touch with her and learning more about this special place.

Black and white picture of a two story farmhouse surrounded by open fields

Even without goals the last few years, we’ve accomplished things around the house: demolishing the sunroom, redoing the dining room, setting up Ellie’s nursery (I have an update to share) and a new play area for her, clearing the pond shore, finally putting the finishing touches on the basement.

I’m proud of what we’ve done. But I’m also happy to be back in a more plannful frame of mind. It helps me focus–there’s that word of the year.

Stick with me. Let’s see what happens.

What are you aiming to do at your house this year? Are you focused inside or out? What would your dream playground have? Any tips for low maintenance gardening? Is there such a thing?

Basement games area before & after

I went waaaay back in the archives to start writing this post, and wow, that all feels like a lifetime ago. In some ways, I guess it is.

There is one space left in the basement that I still have not shared in its final finished version. Mostly because it was not finally finished. Oh those last little details can drag on.

In the 14th post that I published on this blog (#14! Just a month after we moved in! This post is #1,043!), I shared my plans for the basement renovation. I included this picture and wrote: “Sarah Richardson is known for putting a full size table in her family rooms as a spot for games, work, crafts or dining. I think that’s a great idea and we’ve got the space for one, so that’s on the list too.”

And here’s how our version turned out.

Games area in the basement

But before we jump into the details of the finished space, here’s how this spot looked when we first bought the house (after we’d cleared out a lot of the previous owners’ stuff).

The basement before

We knew we didn’t want the cabinets and work stations (I have no idea what they were used for). And with them gone, this became a big open area, right at the base of the stairs.

If you’ve been around here for awhile, you may recall that we not only removed the cabinets. We also removed the carpet and all of the drywall.

The exterior drywall came down so that we could reframe, rewire and reinsulate.

Spray foam insulation

The ceiling drywall came down so that we could find all of the hidden junction boxes and fix the electrical.

Burnt junction box

Sorry for the bad early days photo. This junction box was actually burned inside, hence the black.

Then we drywalled, painted, trimmed and carpeted. We eventually moved in some furniture and added a light fixture. Then, over the last year, I finally tackled the bare walls.

Hanging the playing card posters was Matt’s last DIY in this house. We did it almost exactly a year ago. And a couple of weeks ago, I hung the tic-tac-toe game and styled the top of the cabinet.

Games area in the basement

With that the games (crafting, work, etc.) area is officially done.

I’ll be sharing more details on this space next week. You know everything has a story with me.

Do you have an extra table space somewhere in your house? What’s your longest running DIY? Where do you usually stall in room makeovers? If you don’t stall, what’s your secret, please?

A new door for an old barn

The driveshed (aka our small barn) got a spruce up last week. A new garage door.

The existing garage door had always been a bit of a beast. Heavy. Didn’t slide very well. It pretty much always took my full body weight to close it, and even then I couldn’t always get it latched. (I feel like the driveshed looks particularly sad in this picture.)

Broken garage door on the small barn

Perhaps because I used so much force as I pulled it down, the bottom of the door started to fall apart this year. As in the whole lower panel started to come off. Then the roller went crooked and I could barely move the door.

Being me, I thought, “I can fix this.”

I bashed at the roller until I finally broke it off the door.

Garage door with a broken roller

As I looked at the splitting, rotted, old wood, I said, “I’m going to spend days Mickey Mousing around with this and still have an old door.”

Ellie said, “Mickey Mouse? Where mouse?”

It took me a couple of weeks more to accept that I needed to order a new door, but I got there eventually.

Pushing the lawn mower and wheelbarrow around all of the detritus in the driveshed, through all of Ellie’s toys, past the garbage and recycling bins and bumping out the person-size door was not fun.

But no more. The new door was installed last week.

Installing a new garage door on the small barn

Installing a new garage door on the small barn

It slides up and down and latches, exactly as a garage door is supposed to. Even on an old barn that’s saggy and terribly out of square. (But a bit less sad looking now, I think.)

New garage door on the small barn

So long, sunroom

On the very first day we owned the farm, we had no heat and no hot water. It was the beginning of March. In Canada. Not warm.

When it came time for lunch, we retreated to the one and only room that felt somewhat comfortable: the sunroom. Thanks to glass roof and walls, it was warm. Though that was about all it had going for it.

Inside the sunroom

The panes of glass in the roof looked shattered (it was just a film). The carpeted floor was filthy.

Shattered windows in the sunroom

Moss growing inside the sunroom

Over the past 8 years, the sunroom has deteriorated even further. The only times I used it were in cool weather when I needed a workshop. I didn’t care about making the room messy, and it kept the mess or fumes out of the house.

We never had plans to fix the sunroom. All along we’ve wanted to get rid of it. And last weekend, we finally did.

Demoing the sunroom

I had been prepping for a couple of weeks. A friend and her two kids had helped me empty the room, remove one of the patio doors, cut down the overgrown brush around the outside and take off the exterior siding. I had taken out the baseboard heaters and the interior paneling.

Demoing the sunroom

As each piece came out, I got to see just how disgusting the sunroom was. There were rot and ants and disintegrated insulation and mossy carpet. It. Was. Gross.

And now it is gone.

A bunch of cousins showed up last weekend, and we carefully took out all the glass. After a few cuts with the sawzall, the rafters and frames were gone too.

Demoing the sunroom

Demoing the sunroom

The glass is in the barn in case I want to build a greenhouse someday. The metal is in the trailer to go to the charity bin at a local special needs riding school. I burnt the wood over the weekend–one of our biggest fires ever. The wee bit of garbage all fit in the trunk of my car and went to the dump last week.

Demoing the sunroom

Demoing the sunroom

The roof needs some patching (I’ve bent some flashing to cover any openings for now) and I’d like to remove the concrete slab, but those are (hopefully) next year’s projects. For now, I’m thrilled to have the main eyesore gone.

Demoing the sunroom

Demoing the sunroom

In this year with so much change and uncertainty, it feels really, really good to complete one house project. Especially one that’s been on the list for so long. Matt and I have a vision for this house, and I’m working toward that, ever so slowly.

Upgrading our leaky hot water tanks to fibreglass

“So you find that ominous puddle of water beneath your hot water heater. As you thoughtfully mop up the floor, … you are faced with one of two courses of action. The first, and… most soul-satisfying action would be to tear the unit bodily from the fittings and heave it lustily into the trash heap. But as your arms flex under this thought stimulus, you question your physical ability to perform this feat with all the zest and spontaneity the occasion requires. After all you are not as young and husky as you once were.”

Alfred J. Taylor in Popular Home Craft, February 1945

I received a copy of this magazine over the weekend, and it contained the article “Make That Water Heater Last.” The article talks of the demands of the Second World War and the impossibility of finding a plumber or buying a new heater when the old one starts to leak. It gives practical advice about how to “fortify your resolve” and “fix it yourself and make do.”

But beyond all of that, it is so well-written. The sentences are beautiful and funny. I couldn’t resist borrowing some of Alfred J. Taylor’s words to start this blog post, even if we did not have to make do when our “faithful old tank[s]” started to leak last year.

I’ve scanned the whole article to share it with you, in case you want a glimpse into home repair circa 1945 (don’t miss the last line… or the last two paragraphs… you know what? Just read the whole thing).

When we moved to the farm, we upgraded pretty much every system in the house. As part of our new geothermal heating and cooling system, we got two new hot water tanks. But within a few months of installing them, our hot water got super stinky. We didn’t want to shower it was so bad.

After a bit of online research I was able to figure out that the anodes in the tanks had likely become home to some malodorous bacteria. We decided to have the anodes removed, and our odor problems went away.

But a new problem arose. Without the anodes, the tanks were more susceptible to rust and likely wouldn’t last as long.

Last summer, we noticed some seepage around the bottom of the tanks. They had lasted just over 7 years before rusting out.

Leaking hot water tank

We started investigating our options and getting quotes.

Ultimately, we decided to go with one of the options our geothermal company had offered when they were fixing our stinky water issues: two new anode-less fiberglass tanks.

Rheem Marathon hot water heaters

Not the cheapest solution, but hopefully the longest lasting one.

(For those asking, “What about tankless?” I don’t like tankless water heaters. I’ve used them a few places and the water never gets hot enough for me. I like my showers to be scalding. Also, our geo system generates some excess heat, which is captured by our dual tank system, so we feel like we’re pretty efficient and environmentally friendly right now.)

I often joke that we have a science experiment in our utility room between the water treatment system and the geothermal. Now we have two spacecraft as well with these capsule shaped tanks.

(And for Mr. Taylor, with his iron cement and assorted wrenches, thank you for your encouraging, educational and entertaining article.)

Repair, don’t replace, your broken vinyl window

Vinyl windows have a good reputation for being low maintenance and energy efficient. However, they sometimes get a bad rap for longevity–as in they only last so long before they have to be replaced. Wood window aficionados will talk about how their windows can be repaired multiple times and last for decades or even centuries.

When I walked into the dining room one morning a couple of months ago and saw that one of the panes of glass had cracked, I was immediately anxious. All of our windows are vinyl, and the one in the dining room is huge. Replacing it would be expen$$$ive.

Cracked window pane

After a bit of research, I discovered that there was in fact a way to repair the broken pane, and I didn’t have to replace the whole window.

Phew.

This was one of the tasks on my One Room Challenge to-do list, but I didn’t go into any details during my ORC posts. You’ve seen the new dining room, but I wanted to share more on the window.

The dining room window is made up of five panes of thermal glass. The centre is a large fixed pane. At either end we have a double hung window. The upper sash on the right side was the one that cracked.

Dining room window

My online search uncovered multiple window repair companies. I picked four and called them up.

I asked about their process and timelines, gave them the measurements of my window and got a rough quote.

The quotes were all over the map: $450+tax on the high end to $175 all-in on the low end. For reference, our pane was 17 1/2 inches wide by 28 1/2 inches high.

Beyond that, between the different companies everything was pretty much the same. Someone would come to the house to measure the window accurately. They would then order the new pane of glass. It would be a thermal pane, just like the rest of the window. The new window would arrive in 2 to 3 weeks and then a repair person would return to install it. Install would be quick, about an hour.

The company with the cheapest price (The Glass Medic for locals) had a bunch of super positive reviews online, so I decided to go with them.

There was a slight delay as delivery schedules were adjusted for the Easter holiday, but our new glass arrived, along with the our installer, Mark.

Repairing a vinyl window

The old glass was held in place with plastic strips. Mark popped them off and lifted out the broken pane.

Repairing a vinyl window

He cleaned the frame carefully and put little spacers in place to allow room for the glass to expand–so it hopefully doesn’t break again.

Repairing a cracked vinyl window

Repairing a cracked vinyl window

Repairing a cracked vinyl window

He put the new thermal pane in place and reinstalled the strips. Then he wiped off the window,  and the job was done.

Repairing a cracked vinyl window

Repairing a cracked vinyl window

I am super happy with our repaired window. Obviously I’m very relieved we didn’t have to replace the whole thing. I’m also somewhat surprised that I hadn’t heard of these types of repairs before.

Repairing a cracked vinyl window

Broken panes, broken seals, a variety of issues can all be repaired. This obviously saves money, but also saves waste as a whole window is not going in the garbage (an often cited objection to vinyl windows).

What type of windows do you have at your home? Have you ever broken a window? We’re not sure how ours cracked. Mark said it could have been a long-time fault in the glass that finally came out. Have you ever fixed a window? Or replaced one?

Repair, don't replace, your broken vinyl window

Scooting around

I think we may have finally reached the thaw. However, as winter dragged on… and on… it was a rare day that I didn’t say the word “garage” to Matt.

Actually, the season really doesn’t matter. I say “garage” pretty much every day.

If you’ve been following along, you may recall that the plan is to transform the indoor pool into a mudroom and attached garage.

Matt in the indoor pool

Right now, the pool isn’t doing much, beyond a bit of storage.

However, at Ellie’s birthday party last month, it became a scooter park.

Riding scooters in the indoor pool

Riding scooters in the indoor pool

I never expected–or wanted–to own an indoor pool. Scooter park wasn’t even near the list.

Do you have any unexpected features at your house?